
Short version:
You can grow beansprouts from the dried mung beans that you buy for cooking. Growing just requires soaking overnight, draining in the morning and then rinsing and draining twice a day. Sprouts are ready to eat within a week.
I have never cooked using mung beans myself, though I have eaten plenty of things containing mung beans cooked by others, especially by my mum. In fact, the only times I’ve only ever bought mung beans were to grow beansprouts. Beansprouts are easily grown at home in a jar from the dried mung beans available in any large supermarket.
How to grow
Find a clean a jar (sterilising using a hot wash in the dishwasher is fine or washing in very hot soapy water will do). Yay for reusing and then recycling afterwards anyway. Please make sure your hands are clean when dealing with the sprouts. Add about a centimetre of dried mung beans, cover with water and soak overnight. The next morning drain.
Then every morning and evening rinse the beans with water, always pouring off as much excess as possible. The most easy way of doing this is to cover the top of the jar with a bit of old tights (clean ones of course) or cheese cloth, secured with an elastic band. All you have to do then is add water through the cloth and then drain through the cloth.


Really easy. Takes about half a minute each time. BUT… the sprouts you grow will be all curly and wibbly. This is because every time you tip the jar to drain you will change the orientation of the beans. The direction it is growing its roots in will constantly be changing.
There is another way to grow beansprouts that take a bit more prep. The daily rinsing and draining are as quick and easy though.

You will get a root that curls in all directions. You can get the shoots on the right by following the method below. These were both after 6 days at room temperature. The roots are starting to go brown so they need to be washed and put in the fridge now.
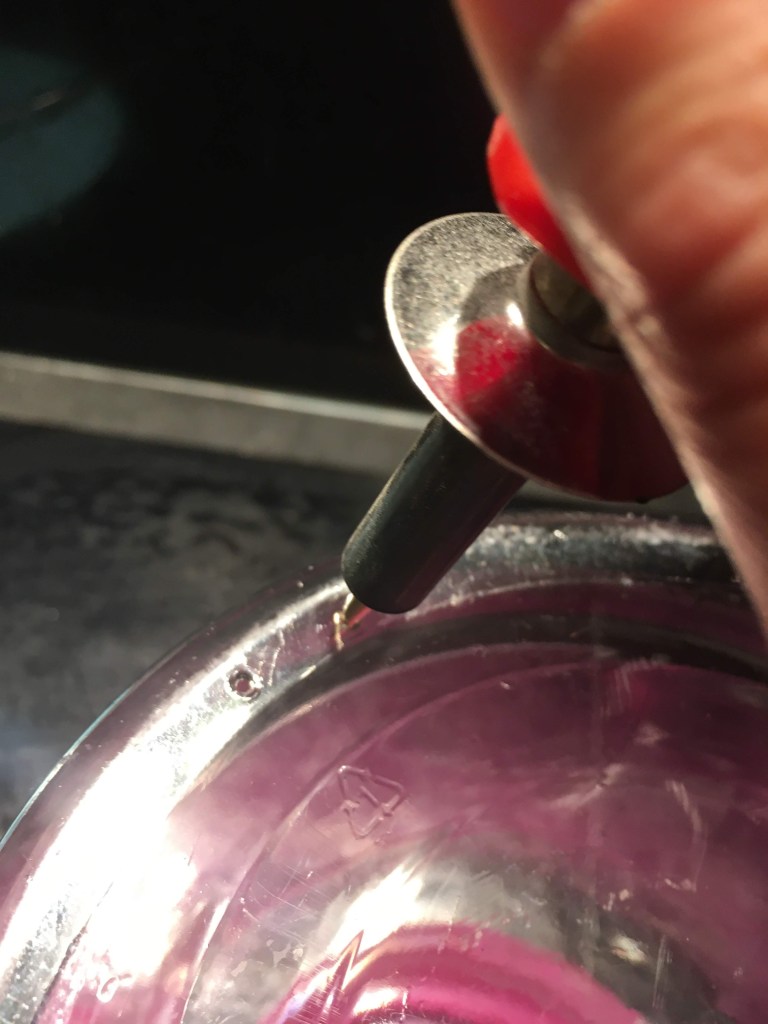

You need a plastic container. Poke or drill 5 – 20 holes in the base of the container, depending on its size and the size of your holes. You can use a bradawl (make sure it’s clean though – I wouldn’t put our old filthy bradawl anywhere near this project) or a heated pin. I have a woodburning tool that is really speedy. You also need something that can sit on top of the beans that is around the same size and shape of the container and a weight of some sort. I found this green flexible Tupperware lid and a weight from my fermenting kit. You will also need a tray or plate to collect any remaining water draining through the bottom.

See the water draining straight through?
You do this so that you keep the beans in place when they get rinsed. The roots will always (for most of them) be pointing down. The holes at the bottom mean that you never need to tip the container to drain the beans. The weight on top helps hold them in place, but it also gives something for the growing beans to push against. This makes the root thicker. Using this method, you will get straighter thicker beansprouts.
However, it is still hard to get beansprouts that look as lovely as the ones you get in the supermarket. Still, they are fresh, nutritious, low in calories, high in fibre and protein and you can still get them without going to the shop. You just need to get hold of mung beans first, but they keep for ages if stored well.
Within a week you will have beansprouts. If you’re not ready to eat them after a week, you should give them a good wash and put them in the fridge as the tips will start to go brown.
jar – after 1 day 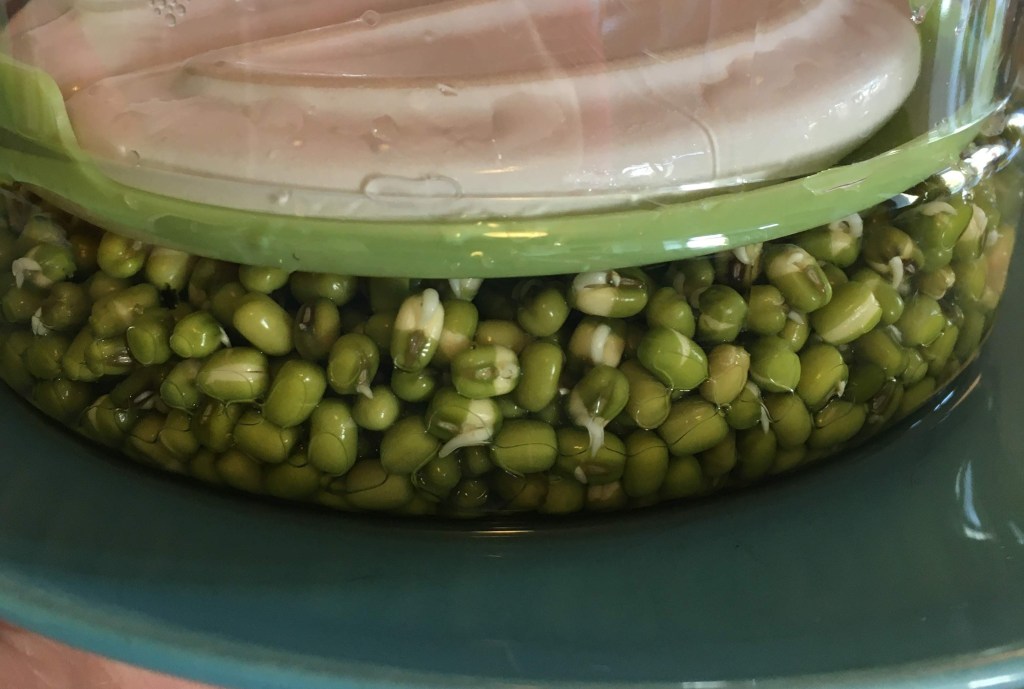
bottom draining tub – after 1 day 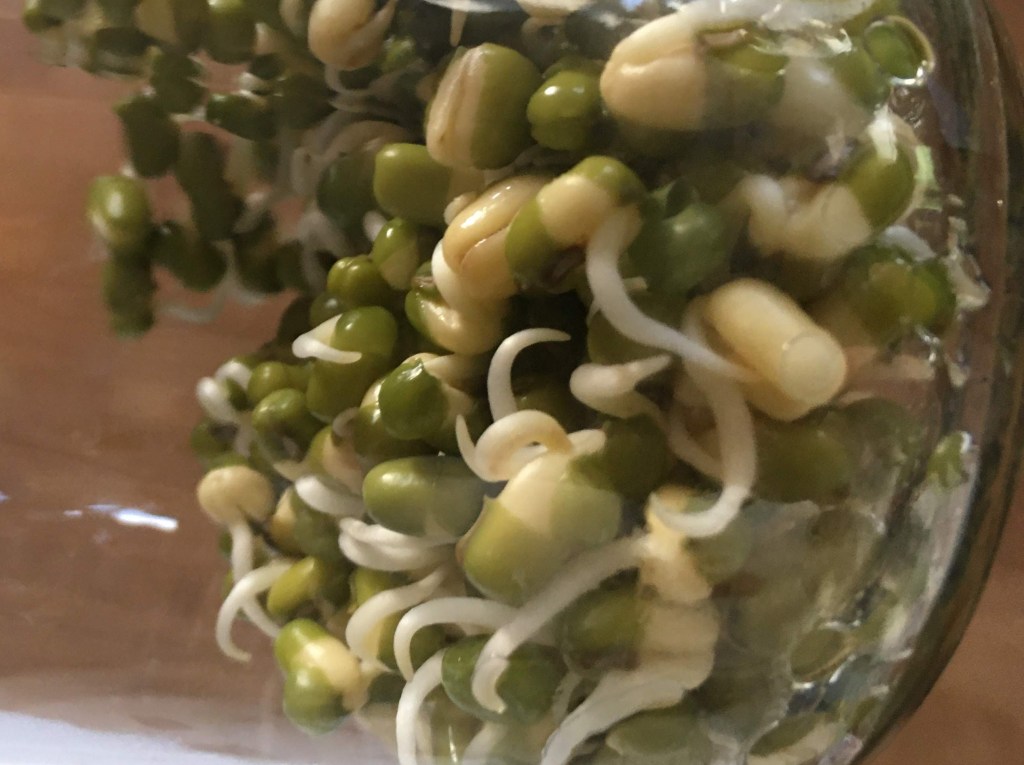
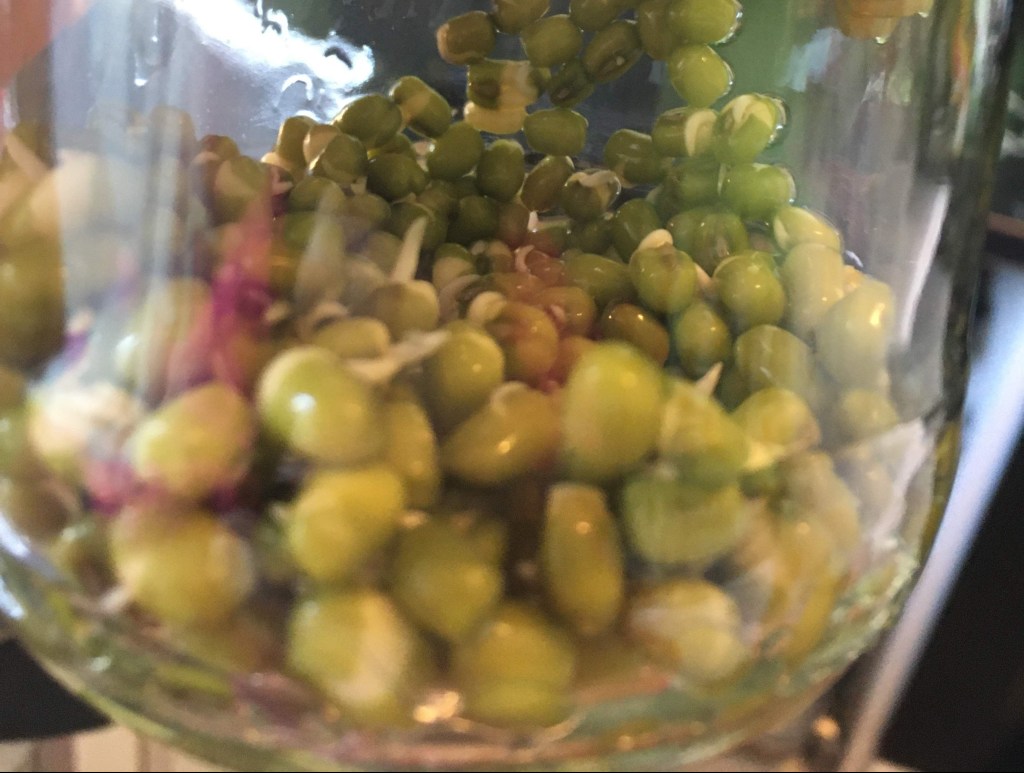
jar – after 2 days 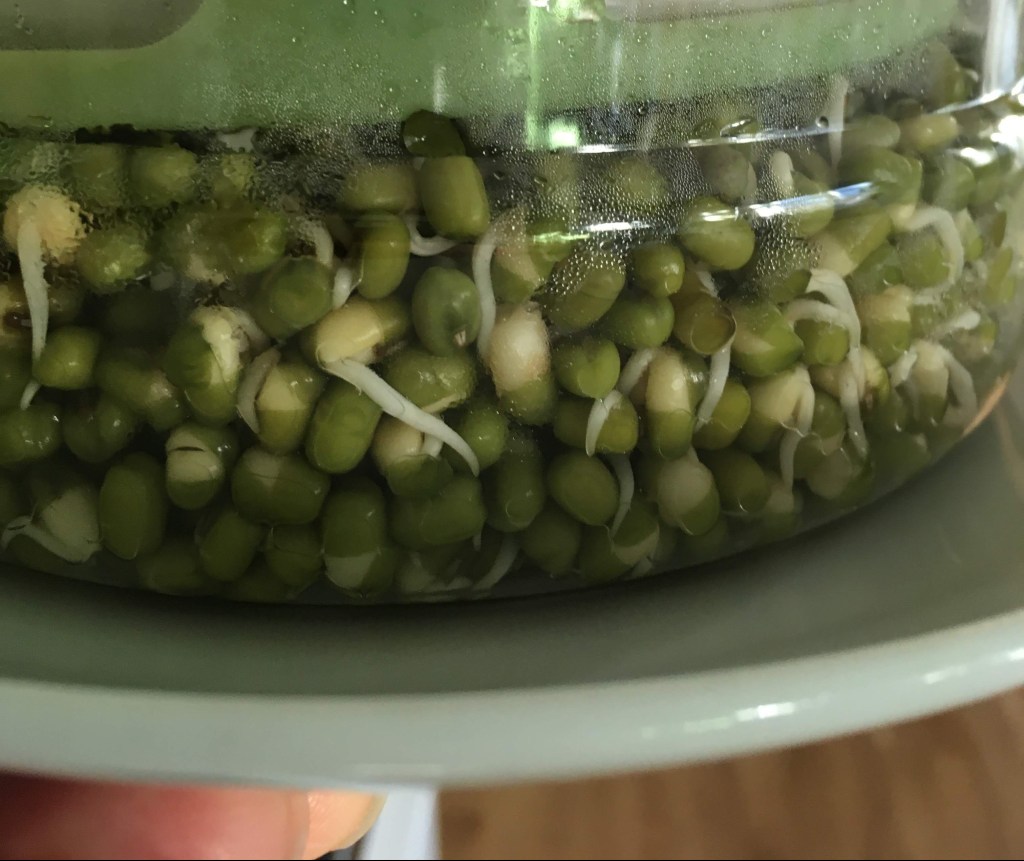
bottom draining tub – after 2 days 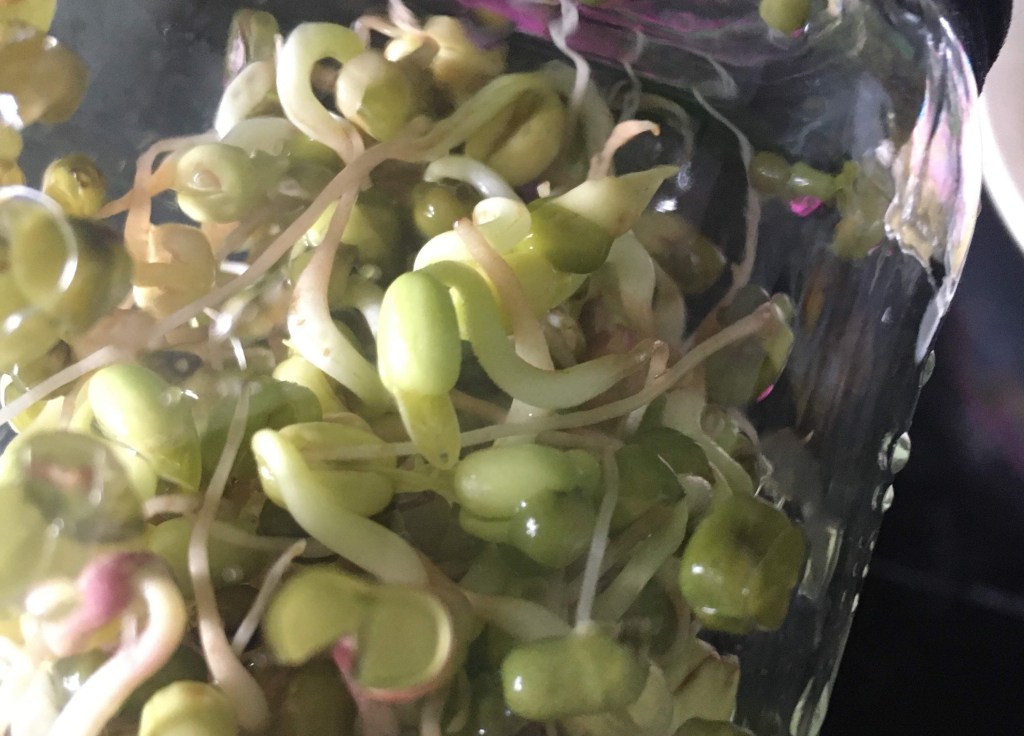
jar – after 5 days 
bottom draining tub – after 5 days
How to eat
You can literally wash them and stir fry them, add them to noodles or soups. My favourite is to make fresh pickles. You blanch them till thoroughly cooked and add a dressing of soy sauce, sesame oil and vinegar (cider or balsamic is nice). You can also add a tiny bit of honey (or pinch of brown sugar) to sweeten.

Stir fried in a pan with juices left after frying a pork chop. 
Blanched and pickled
At this stage they still had great texture in what was left of the bean. That part was nutty and sweet. The white root bit tasted fresh and juicy and had that crispness that you get in apples. The root doesn’t have a strong flavour. It was a bit lettuce like. The overall beansprout was a lovely addition to a lunch and the four year old even ate a few of the plain blanched ones. This particular batch was used in 3 meals.
WARNING!
I haven’t said chuck them in a salad. Unfortunately, the lovely warm environment that suits the growing of sprouts also suits unwelcome listeria, E.coli and salmonella. For safety it is best that you cook beansprouts rather than eat them raw in salads. This is the NHS advice here.
This applies to shop bought sprouts as well as home grown ones, unless they are labelled ready to eat. Some producers can take steps to ensure no harmful bacteria exists. I don’t know what those are, maybe they are irradiated or maybe the growing of the actual mung beans themselves is done under more sterile conditions. I’m afraid it isn’t a matter of technique. It’s to do with the bacteria that may exist on the beans. You have probably kept everything clean and looked after it well, but all it takes is for there to be one harmful bacterium on one of the dried mung beans. You can’t treat them to kill the bacteria as you will then kill the seed. The warm, damp environment is suitable for the pathogens. Luckily, cooking will kill them so feel free to sprout, COOK and eat!
Other sprouts
You can also sprout a plethora of other seeds. I’ve found this fun looking website that sells seeds specifically for sprouting:
https://www.wholesale.molesseeds.co.uk/sprouting_seeds/
I’m afraid I have never used the company so I don’t know personally if they are any good. I have eaten and like soya bean sprouts and alfalfa but I have only ever sprouted mung beans and I have the mung beans in my house at this time so I will continue to do so whilst stuck at home. If I get around to buying and sprouting any of the others, I shall let you know. Of if you have grown any that you recommend, please feel free to share in the comments.

One thought on “Beansprouts”