Short version:
Radishes can be available as early as 4 weeks from seed. They’re fine in a big pot and you can also eat the greens too. The young shoots are great stir fried if you leave them to turn into triffids. The flowers and green seed pods also make a great snack. Kids find them to grow and they’re great to carve.
Radishes are a great quick crop veggie for these lockdown times. Being so small you could grow radishes almost anywhere. They can be used to fill up space in between other larger vegetables when they are still small. They are great in borders or round the edges of beds. They are compact enough for balconies and deep window boxes. You can eat all the radish, including the greens so it feels like a triumph to waste absolutely nothing. When you buy them in the shops, if you’re lucky enough to get ones with tops on (so you can see how fresh they are), chances are they will be too wilted to be particularly appetising. They can be grown through most of the year so are a great vegetable for winter and the hungry gap. One of my weirder bonus points is that radishes come out very cleanly (unlike beetroots, which I always have to hack at with a knife and peel).
How to grow
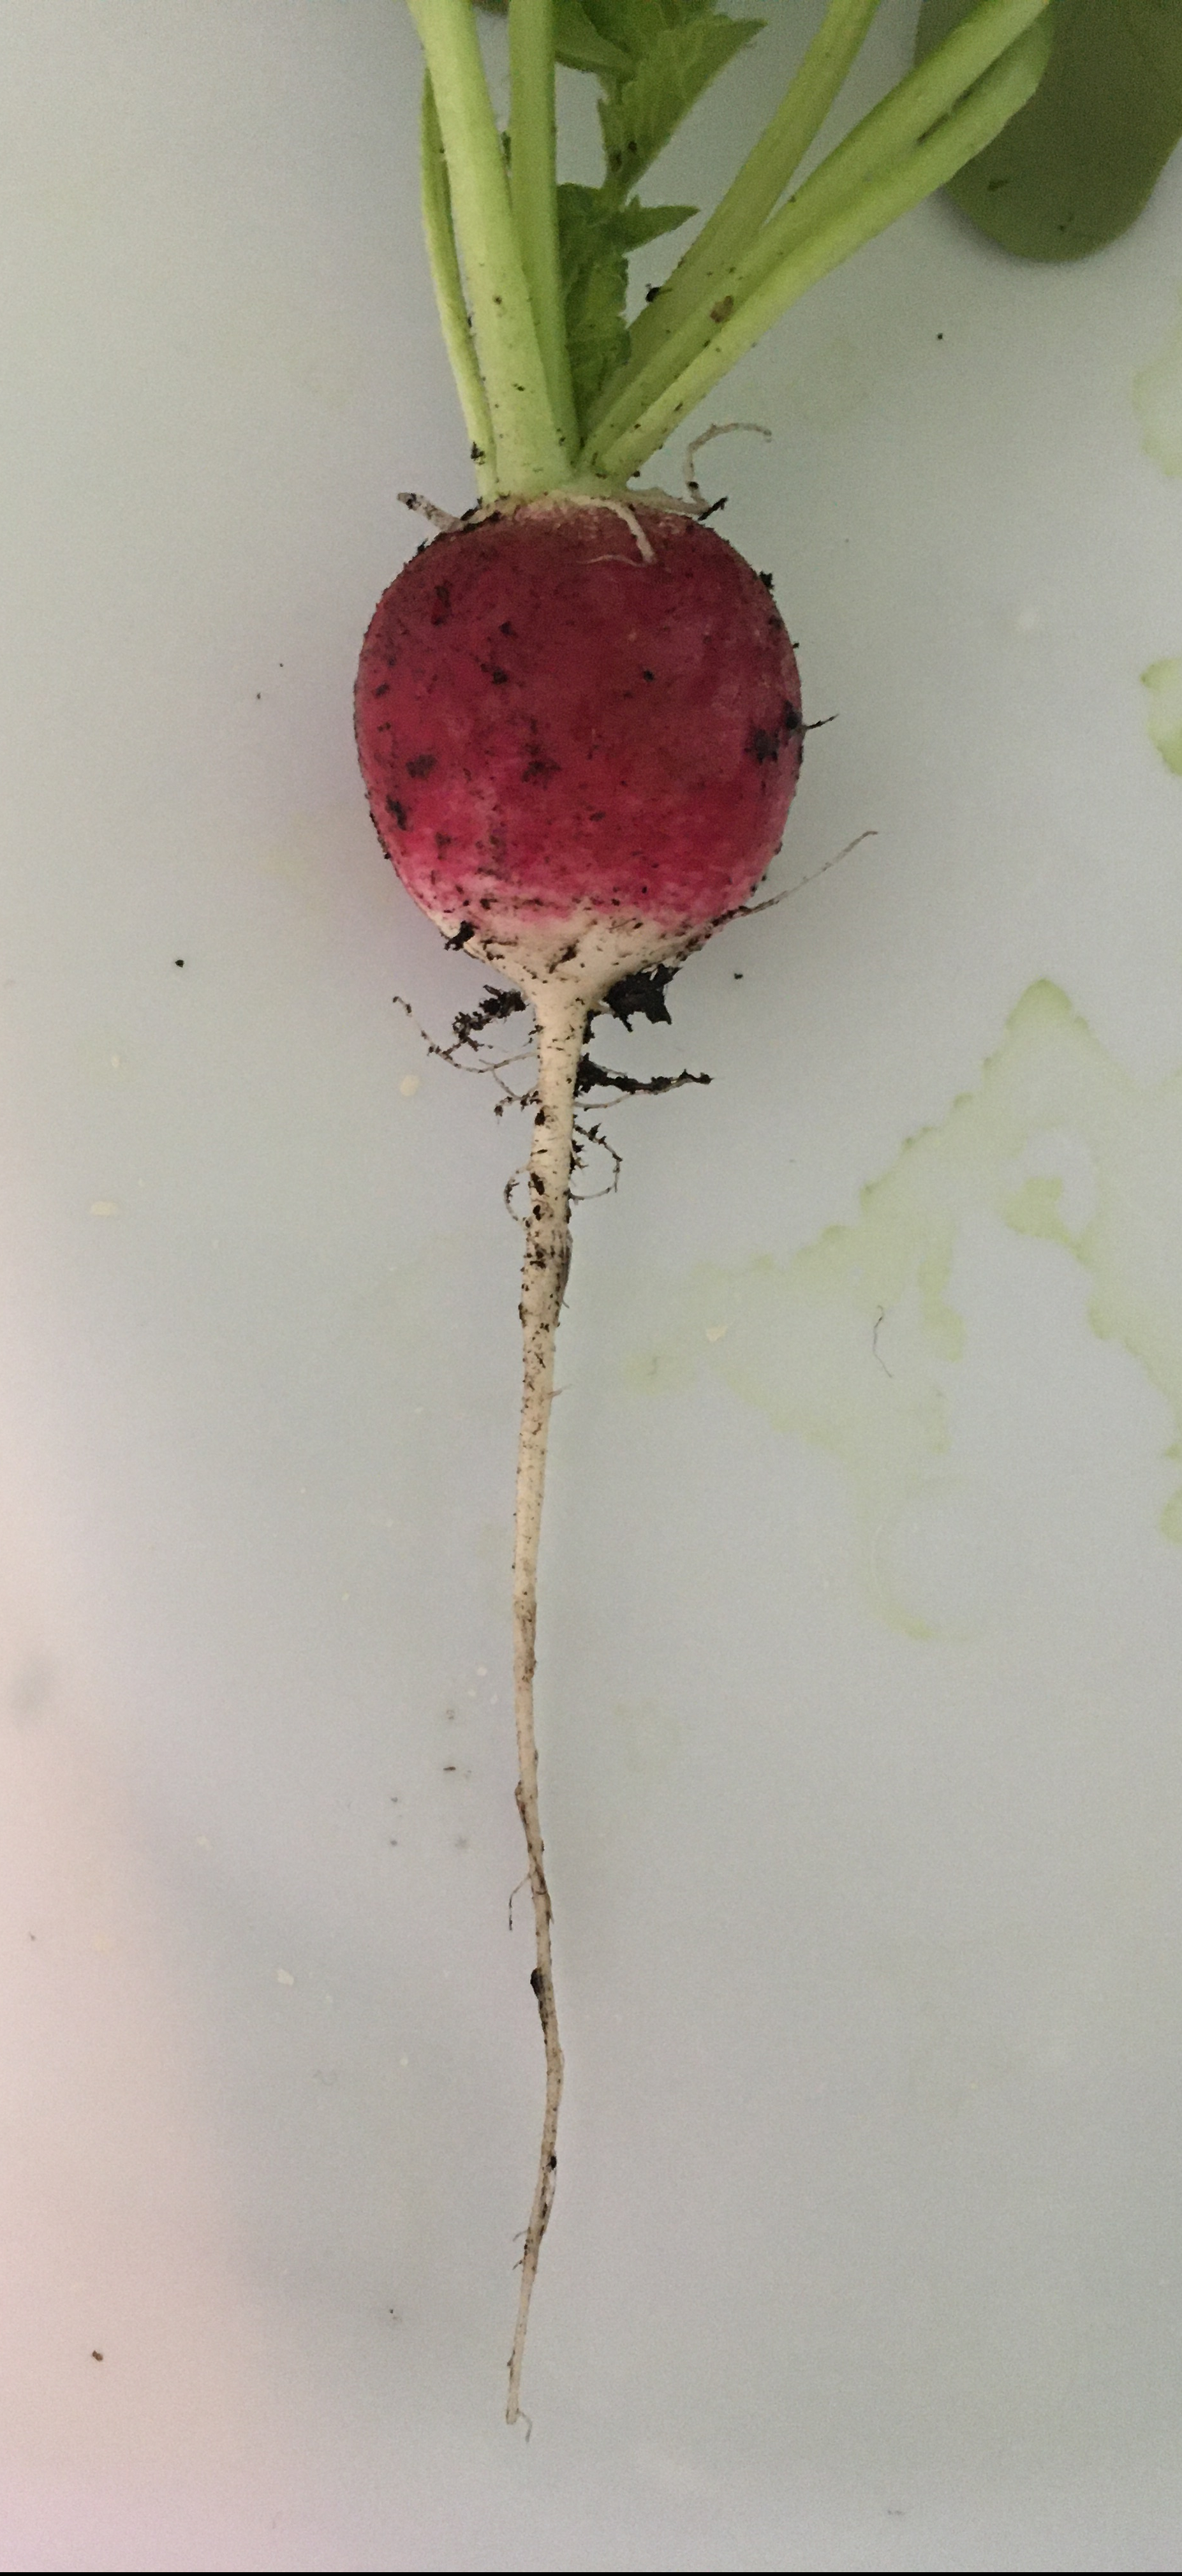
That root is unexpectedly long!
- Sow straight into the ground. Radishes don’t like having their roots disturbed. This is great as this saves time and effort transplanting.
- Ensure that the soil is stone free and has a good amount of compost. Radishes don’t like to dry out too much, nor do they like being waterlogged. Sounds like hard work but basically, they don’t do well straight into my rubbish heavy clay, stony soil. I prefer to grow them in pots anyway as they are small and can be put anywhere (like the shed roof). Soils with more compost retain water better without getting waterlogged. Radishes do have roots that extend beyond the base of the radish so have a pot that allows about a foot depth of compost.
- Sow the seeds in staggered rows about 1.5cm deep and leaving about 4cm between seeds. Many recommendations say to sow in rows and then thin out. You can do this and eat the thinnings but it ends up being more time consuming and I often find that pulling up a spare seedling will disturb the other seedlings around it. If you just sow them where you intend them to grow, then your job is done till harvesting (except for regular watering of course). Alternatively, you can also sow the occasional seed here and there around bigger plants. Because the radish is primarily a root veggie, it won’t have the same nutritional needs as fruiting plants. You can sow around aubergine, peppers, chillies and squashes if you start early enough.
- Water the seeds in and then ensure that the radishes don’t get too dry – moist but not waterlogged. Good compost and a pot with a hole in the bottom can reduce the worry.
- You can sow a few seeds regularly (every couple of weeks) to ensure a consistent supply of radishes in spring and in autumn. There’s not much point sowing in summer as it can get a bit hot so the plants will bolt. You’ll get small woody radishes and thin flower stems. If you leave some radishes past their best in late autumn they will provide you with leaves over winter. In early spring they will have plenty of new growth and flower shoots.
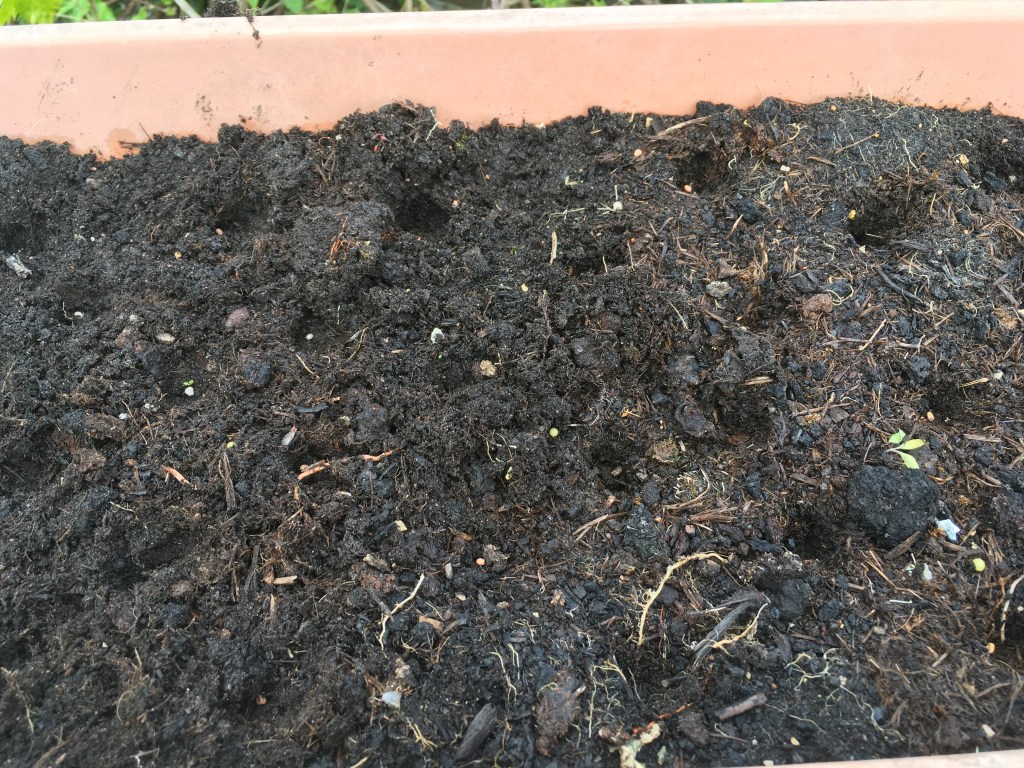
I literally poke holes with a finger in staggered rows and pop a seed in and cover. 
This is a good pot depth. The pot is on top of the shed. Just chucked up there and ignored for 4 weeks 
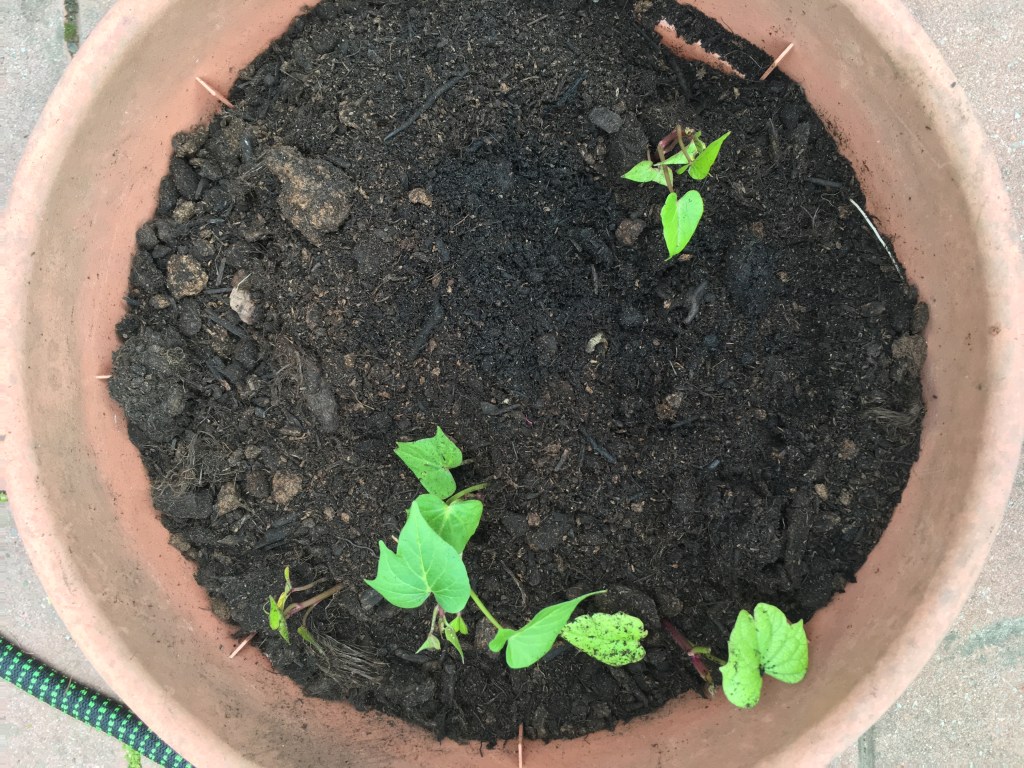
Radish seedling 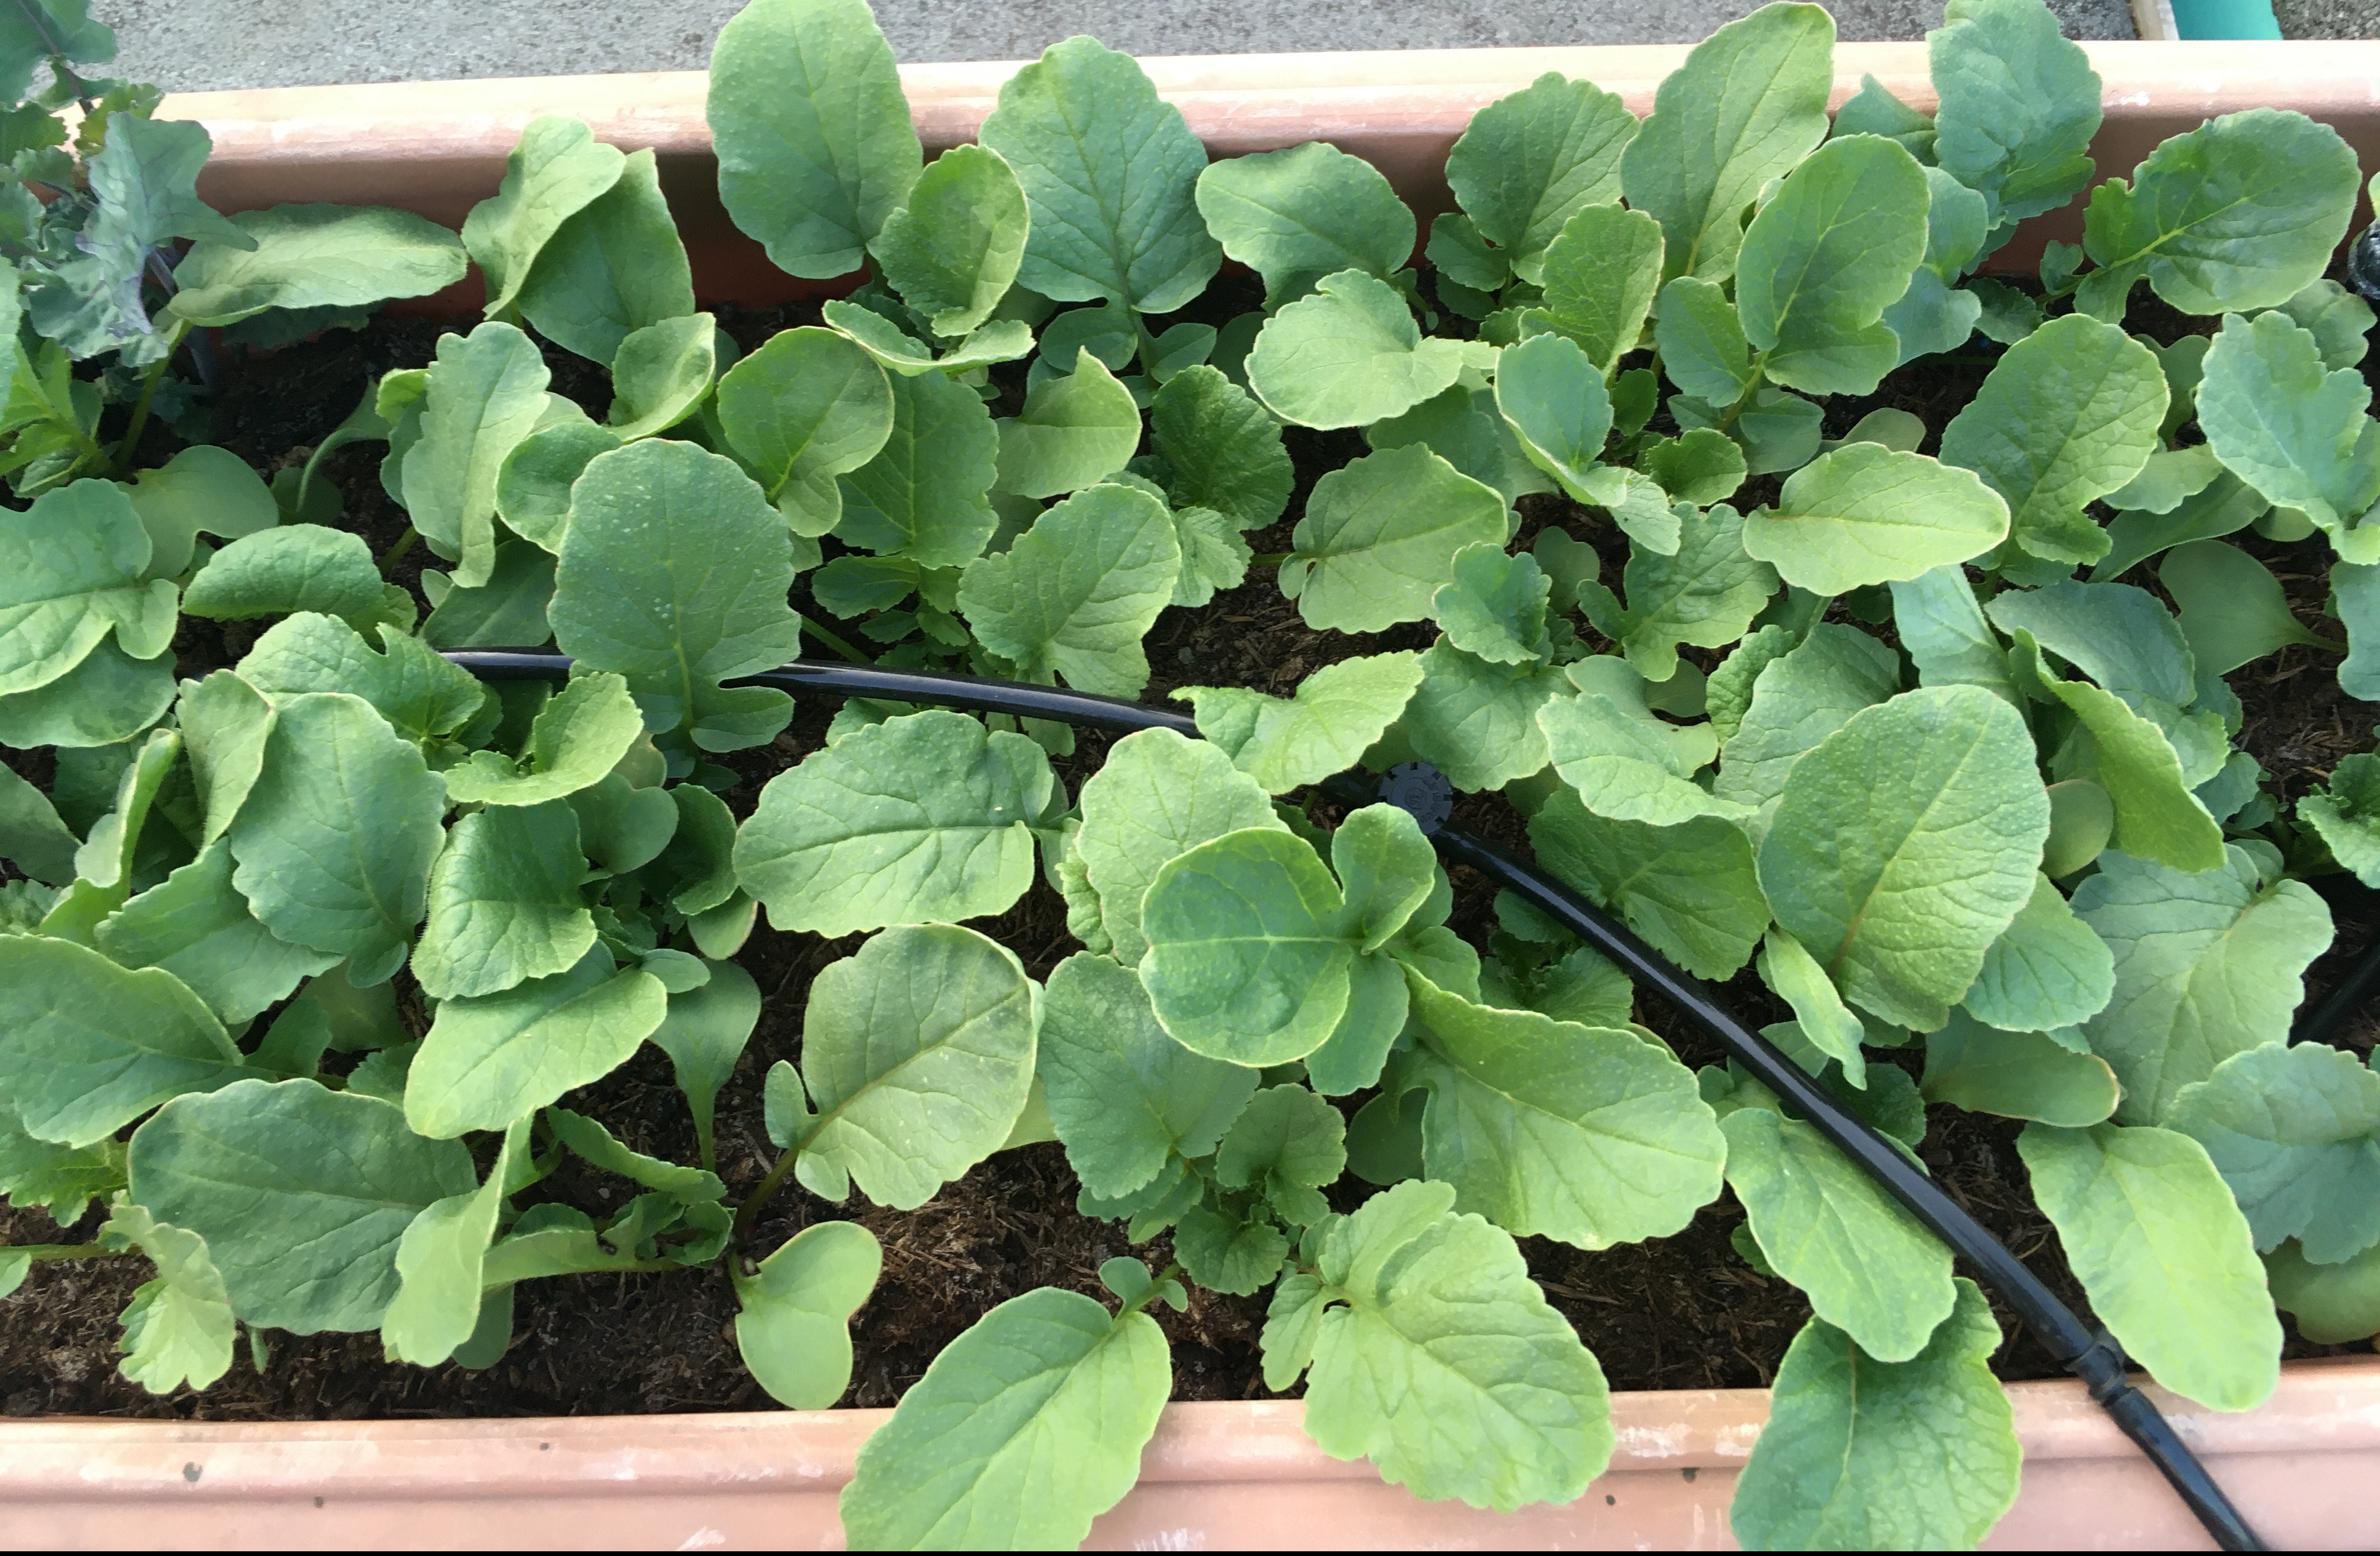
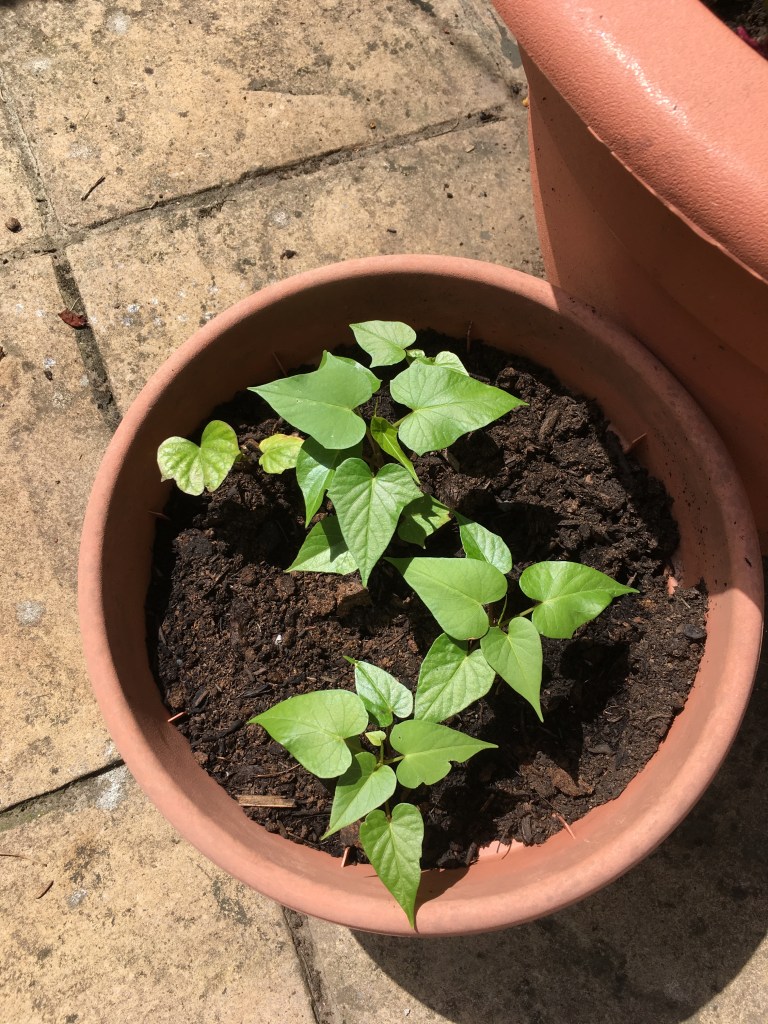
After 3 weeks. It looks like this. The drip irrigation pipe is helpful so I don’t have to keep climbing up to the roof to water (don’t tell my mum I keep climbing on the shed). 
I have sown 2 rings of radish seeds around the edge of this pot with a melon in the middle. In 4 weeks when these radishes are ready to be harvested, the melon will still be fairly small.
How to harvest
When conditions are suitable you could be harvesting lovely little radishes 4 weeks from sowing. Because I’m trying to use the garden as a larder I go and gather each day. With radishes you can check they’re ready by pushing the soil away from the base of the leaves. You can see how big the radish is. Around the size of a ping pong ball is ideal (depending on your radish variety). Pick the biggest ones and leave the rest to grow.

Remove some soil / compost from around the top to judge size and for easy harvesting. 
Fairly clean right? Snip off the tips and remove any unpleasant looking leaves 
After a wash they’re ready to eat!
If you don’t harvest the radishes when they’re the right size, you can leave them to grow into shoots to be used like purple sprouting broccoli. You could sow them slightly further apart or harvest and leave well-spaced plants with this intention from the start. The flower shoots and young leaves make a great green vegetable.

This is a radish when left for 8 weeks. That whole shoot makes for yummy eating. 
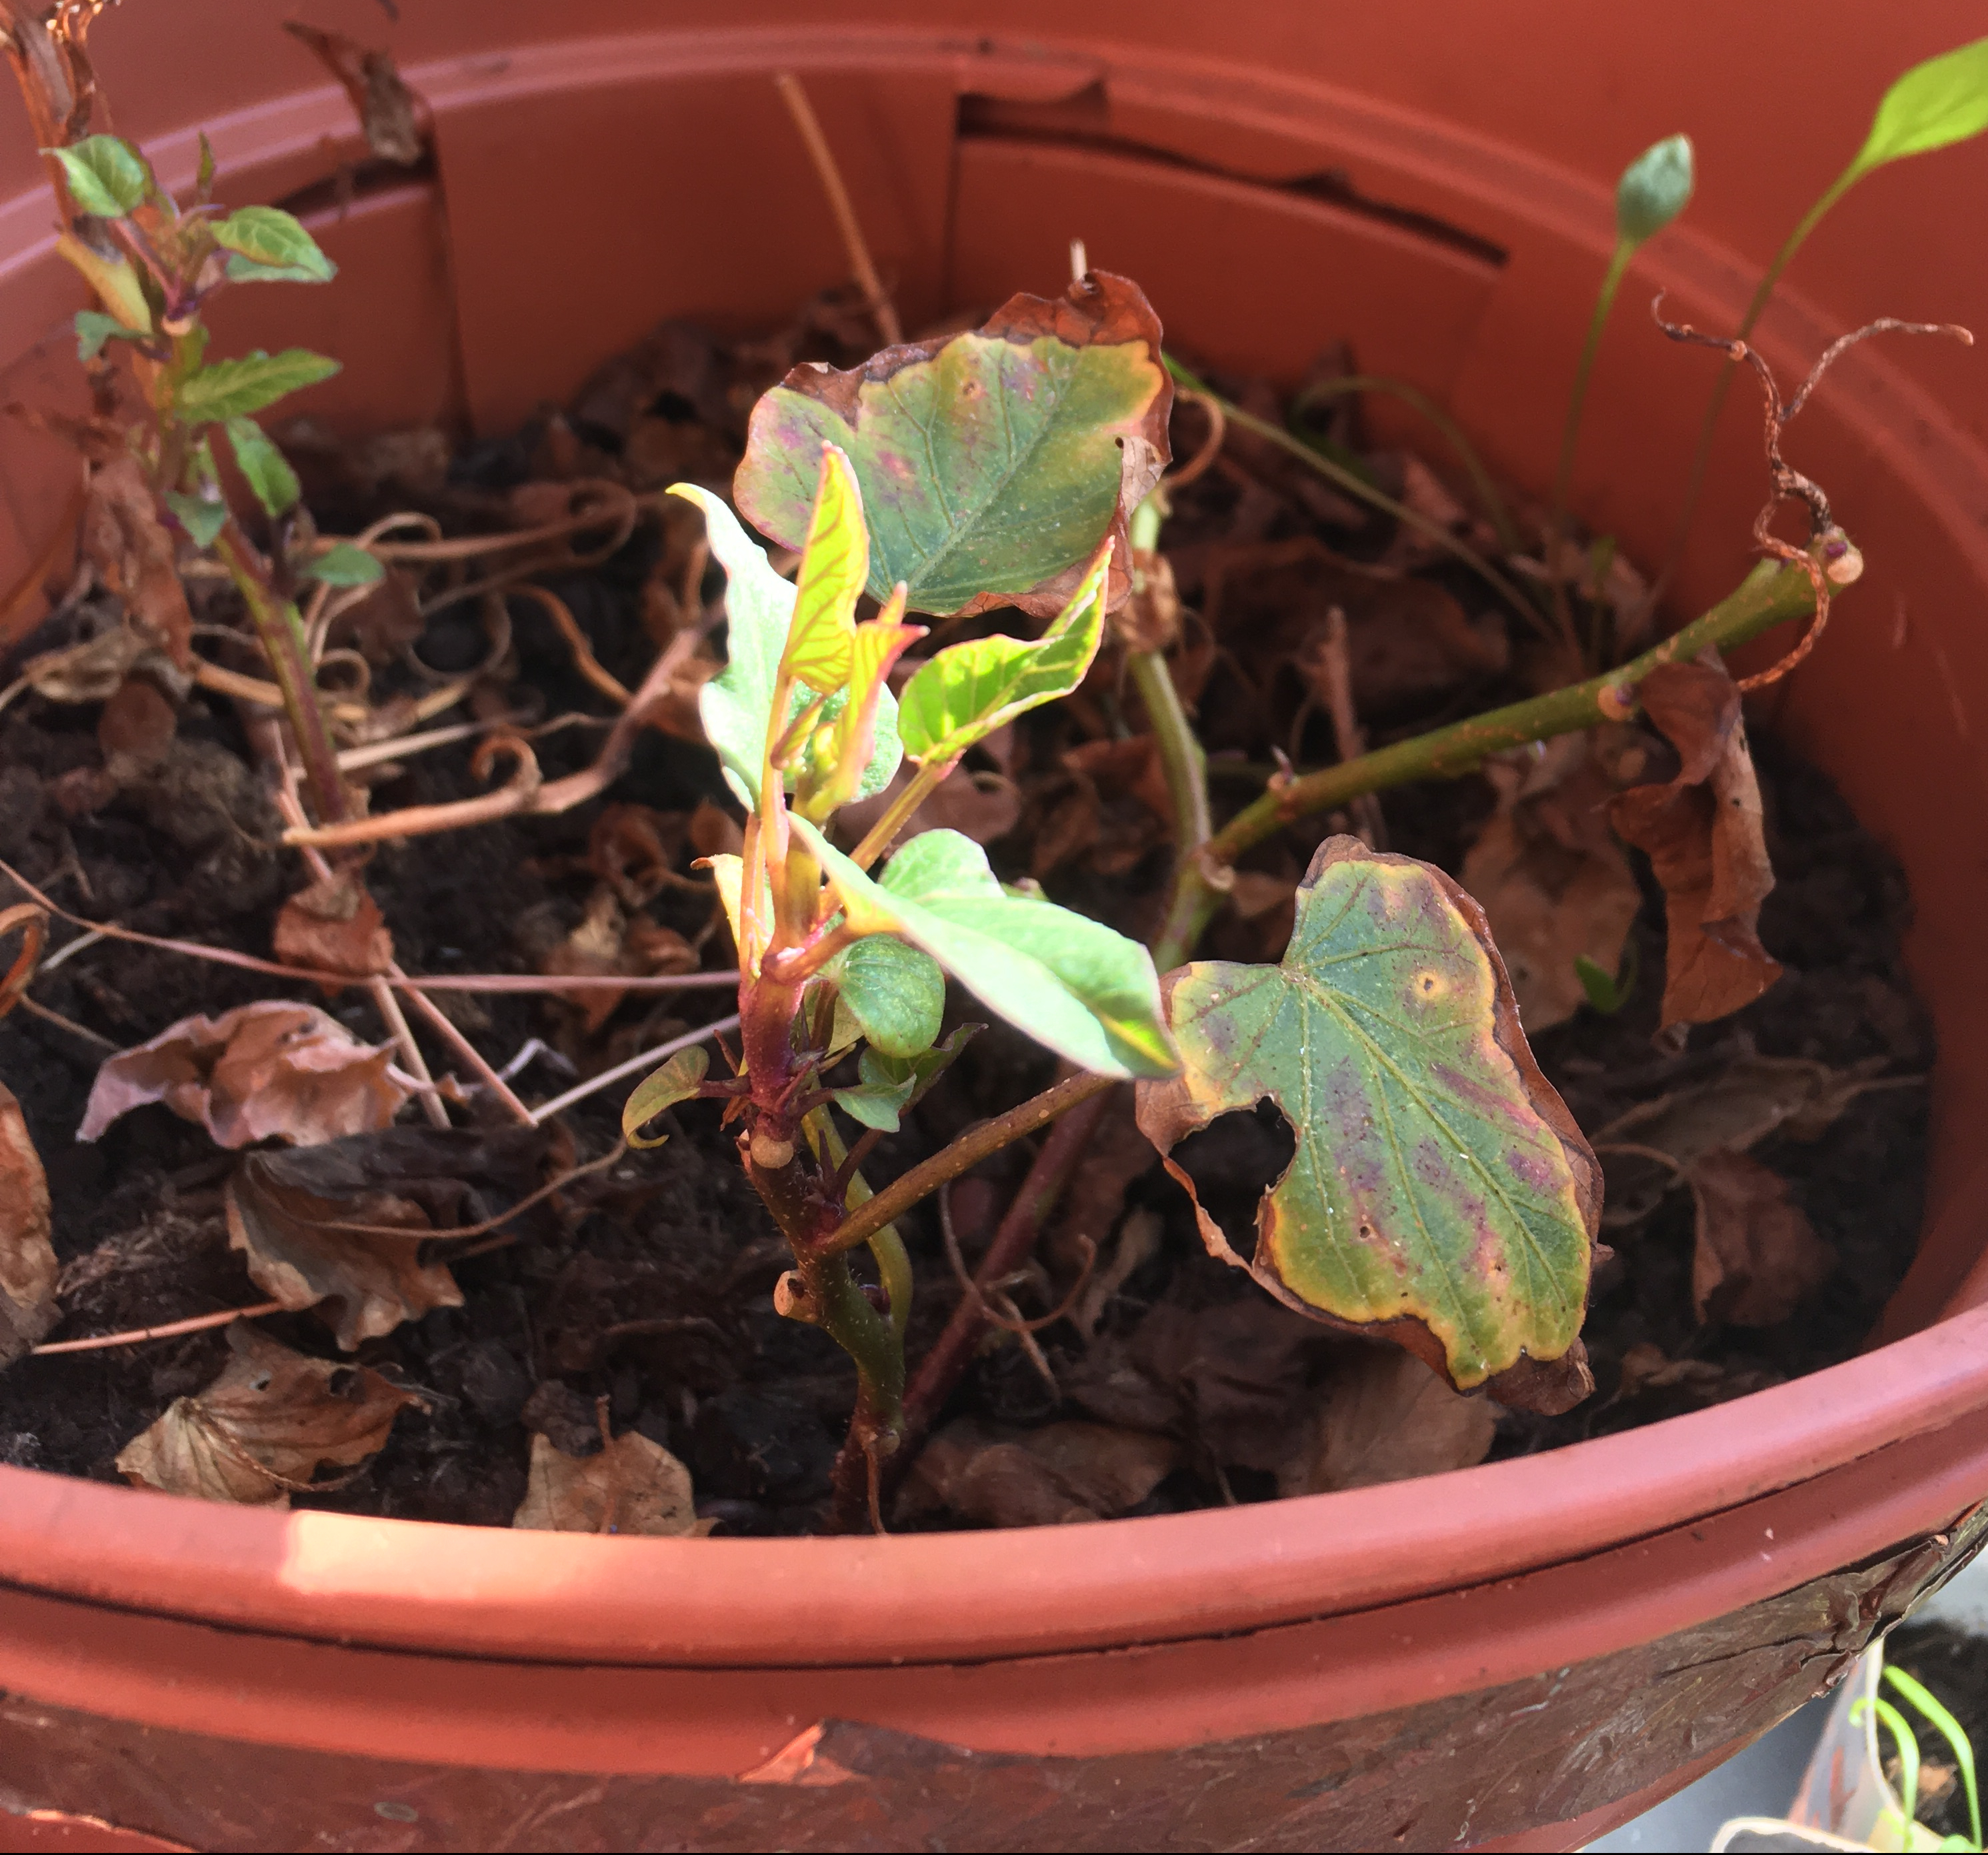
These have been left for about 4 months. This was taken in early March. This has been providing welcome greens in the winter and continued to do so for another month.
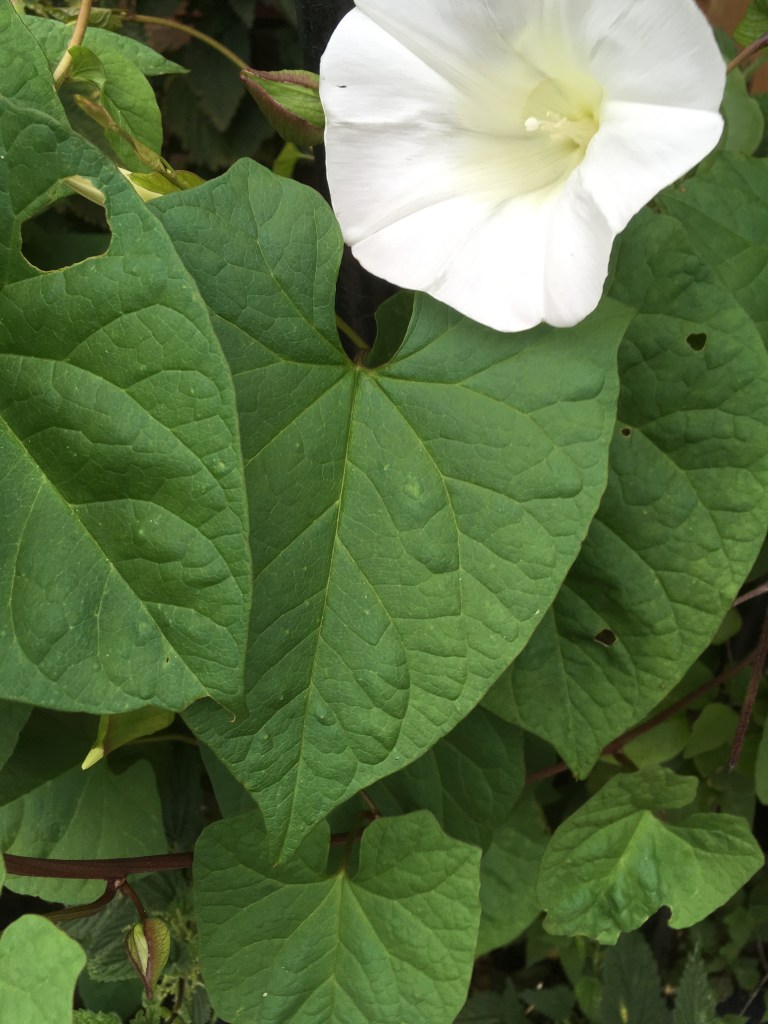
The flowers themselves and green seed pods make a great snack.
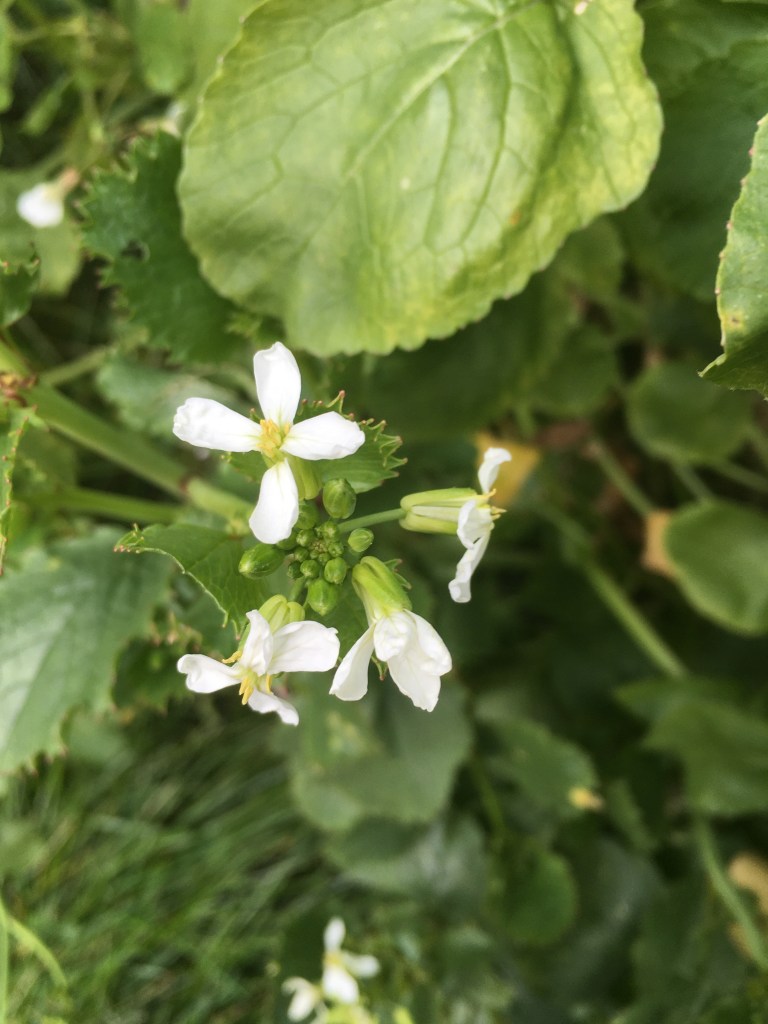
4 petalled flowers. 
They also come in lilac. 
The young green seed pods.
How it tastes
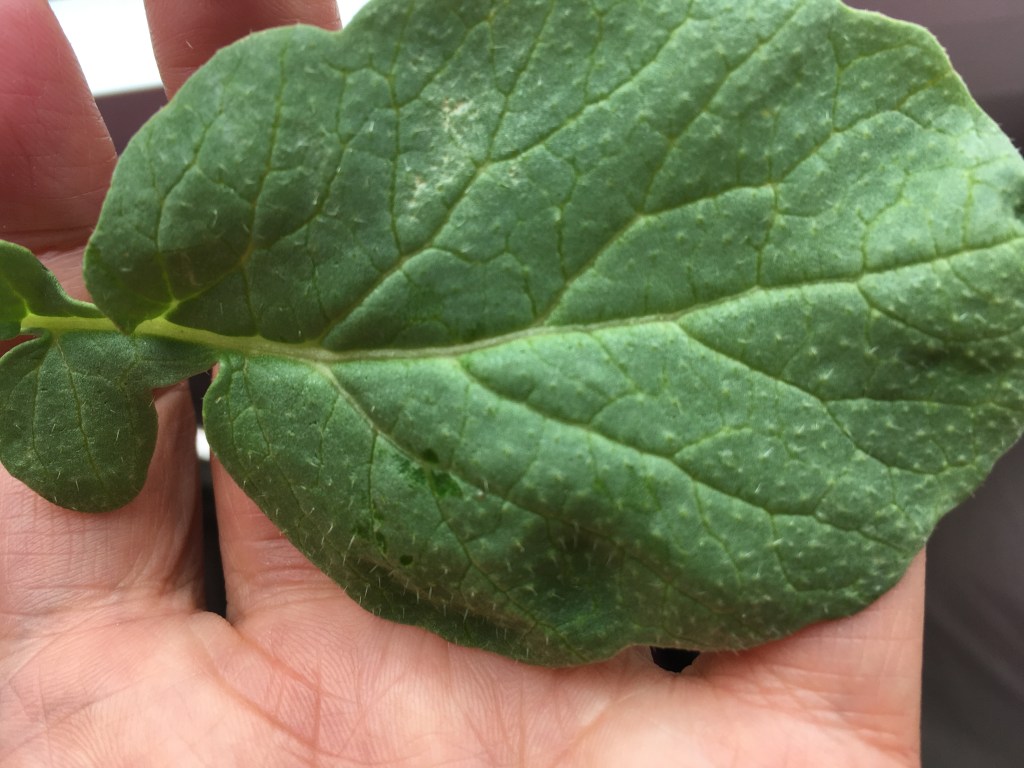
The bumps are slightly prickly to the touch.
I absolutely love the radish for being one of the few vegetables where you can utilise absolutely every part of it. They are primarily grown for the roots, but the greens are fantastic. They’re no good in salads as the leaves have slightly prickly bumps on them but when they’re cooked these completely soften.
The radish itself, when raw has that horseradishy / mustardy taste. They can be quite hot. It will depend on the variety. They have a lovely crunch when raw and are tasty and cute sliced thinly into a salad. The whole family prefer them cooked. They taste like turnips and are great sautéed or roasted. They lose their spiciness when cooked.
The greens that come with the radishes can be thrown into the pan when the radish roots are almost done. They can be used to bulk up stir fries or blitzed into sauces. The young greens from a radish pulled for the root have a chard like taste. The thing that I find it most similar to is theChinese leaf – choi sum.
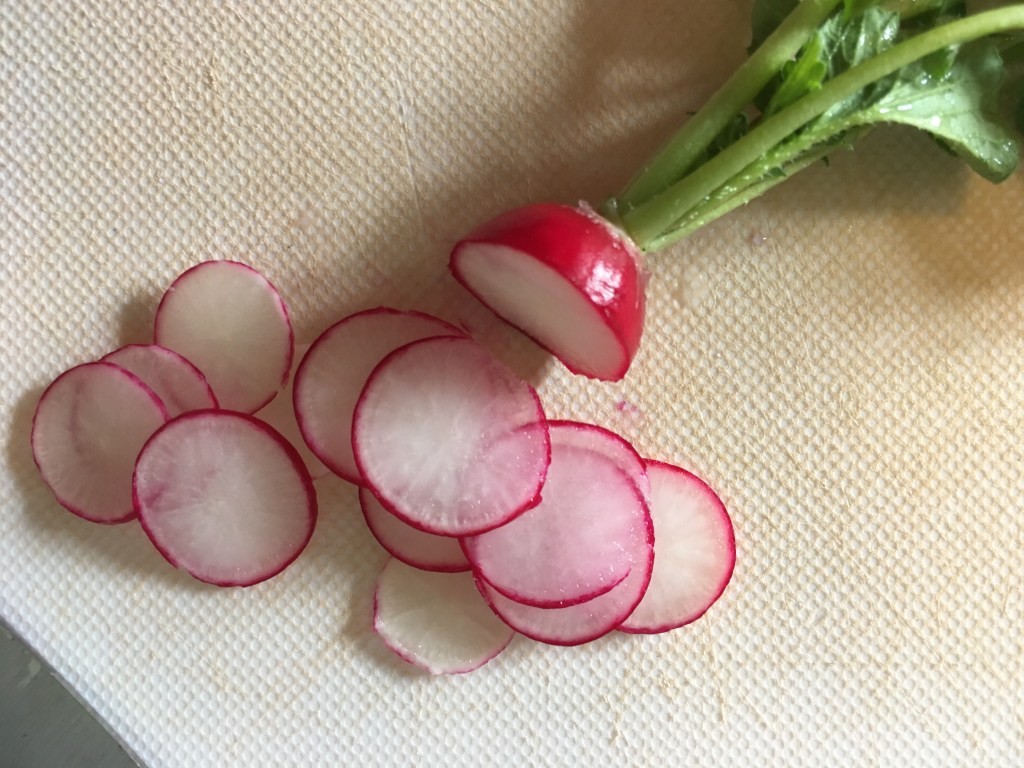
Look how cute the slices are! 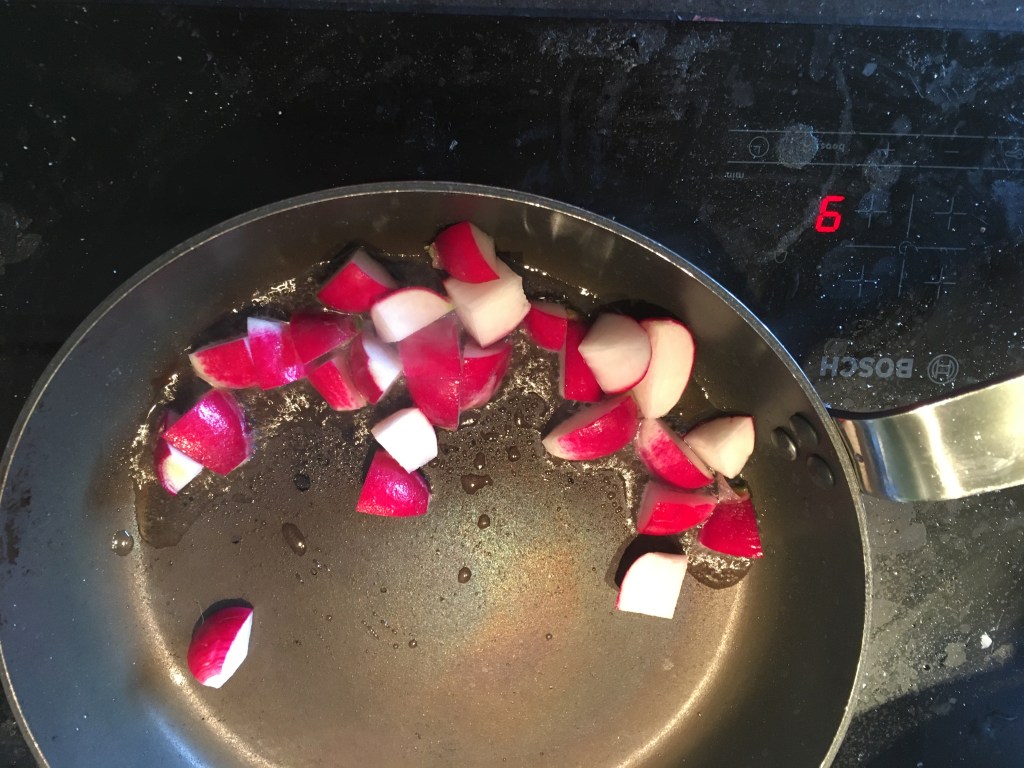
Or… add to hot oil, fry for a minute to soften… 
…add the greens and cook for another 2 mins. Season… 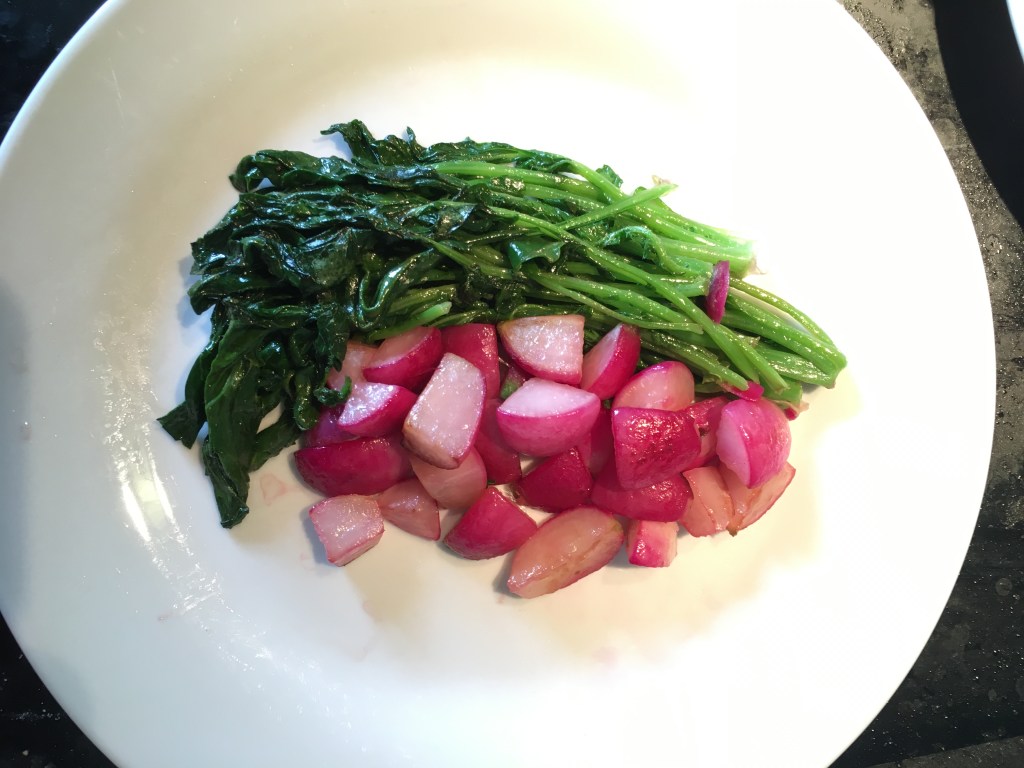
…and serve!
The flower shoots and young leaves can be used like purple sprouting broccoli. It’s a bit softer in texture and taste like a cross between broccoli and cooked radish.

They even look a little like purple sprouting broccoli 
Wilted and soft with still a slight bite to the stem.
The cute little flowers can be added to salads and taste a little like cabbage, but with a hint of sweetness to it.

If you leave it a bit long the flowers will go mental and then when the seed pods are ripe, the radishes will self seed. It’s better to catch the radish shoots when the buds are still closed and then you encourage more tasty new growth. These radishes now need to be dug up. 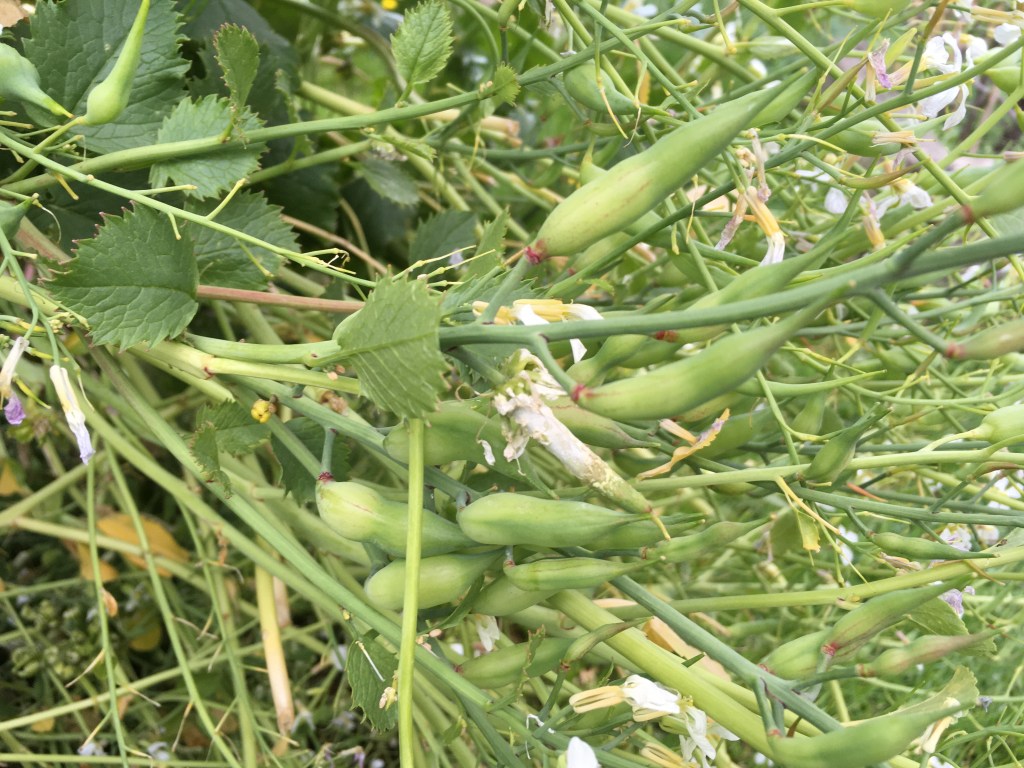
A different variety with longer seed pods. They can have a bit of a kick.
The raw green seed pods are juicy and have that same slightly sweet cabbagy taste. I’m afraid I haven’t yet collected enough of them to have tried cooking with them.
I generally just snack on the flowers and seed pods raw whilst in the garden.
The older leaves are a bit more prickly and even with lots of cooking can still be a little weird on the tongue. These are better added into a blended soup.

I leave you with a last image. The radishes are great fun to carve because of the amazing contrast of the pink against the white. In case you can’t tell…er… it’s supposed to be a rose. I carved it for my little one… like the cat boy Halloween pumpkin. Incidentally, radishes are a fun one for kids. The seeds, whilst small, are still manageable. She likes to drop them into the holes that I’ve made in the compost. They seedlings appear within a week. They can be harvested quick and they’re easy for little ones to pull out. They’re also an amazing colour. Littl’un asked for a radish and called it her jewel. She won’t eat the radish itself, raw or cooked, but she does like the shoots of the overgrown ones.