
Short version:
My method for novices deterred by the perceived effort, cost or time taken to grow seeds, though I’m probably upsetting experts with my inability to follow instructions.
- Collect toilet roll tubes, tetra pack cartons and plastic tubs for free and environmentally friendly containers.
- Choose seeds wisely
- Fill with normal compost
- In the recommended month sow 1-8 seeds (depending on plant) in each container, picking a suitable container for each plant.
- Place on a windowsill / warm place and keep the compost damp.
- When planting out pop the whole toilet roll in the hole so you don’t disturb the roots. When planting Tetra Pak you can cut off the bottom and put the whole carton into the soil to provide a bit of protection from pests.
It’s easy to be overwhelmed with all the information on different months to sow, types and mixes of potting soil, necessary temperatures, levels of light and water requirements, seeds that need soaking, scratching or a cold spell in the fridge. Then after all that, planting those seedlings outside requires another long list of requirements.
If you have the time, the patience of a saint and all the fancy equipment, like under pot heating, growing lights, a greenhouse, cold frame or even things like perlite and vermiculite then following all the guidelines could give you perfect results.
The question is: ‘How much worse will it be if you don’t follow instructions to the letter?’ Seeds may take longer to germinate. Fewer seeds may germinate. Seedlings may be weaker. At worst, nothing grows, and you’ve wasted the cost of a few seeds.
If you have a lack of space like me, I would advise starting most plants indoors. This provides a good start and ensures that something is actually growing before it takes a spot in the garden. You then also have spares for gaps as they appear. Planting straight into the ground can also lead to small stalks of nothingness – evidence of marauding molluscs. More mature plants are less susceptible or recover better.

My runner bean stalk of nothingness. 
This was a kale I thought would do OK. It did not.
Also, my neighbour reminded me last week that those new to gardening can find it difficult to distinguish between intentional seedlings and weeds. Once you’ve been growing a while, you’ll be able to tell the difference but until that time – by growing everything in separate containers you’ll have no issues with identification.
1. Find containers

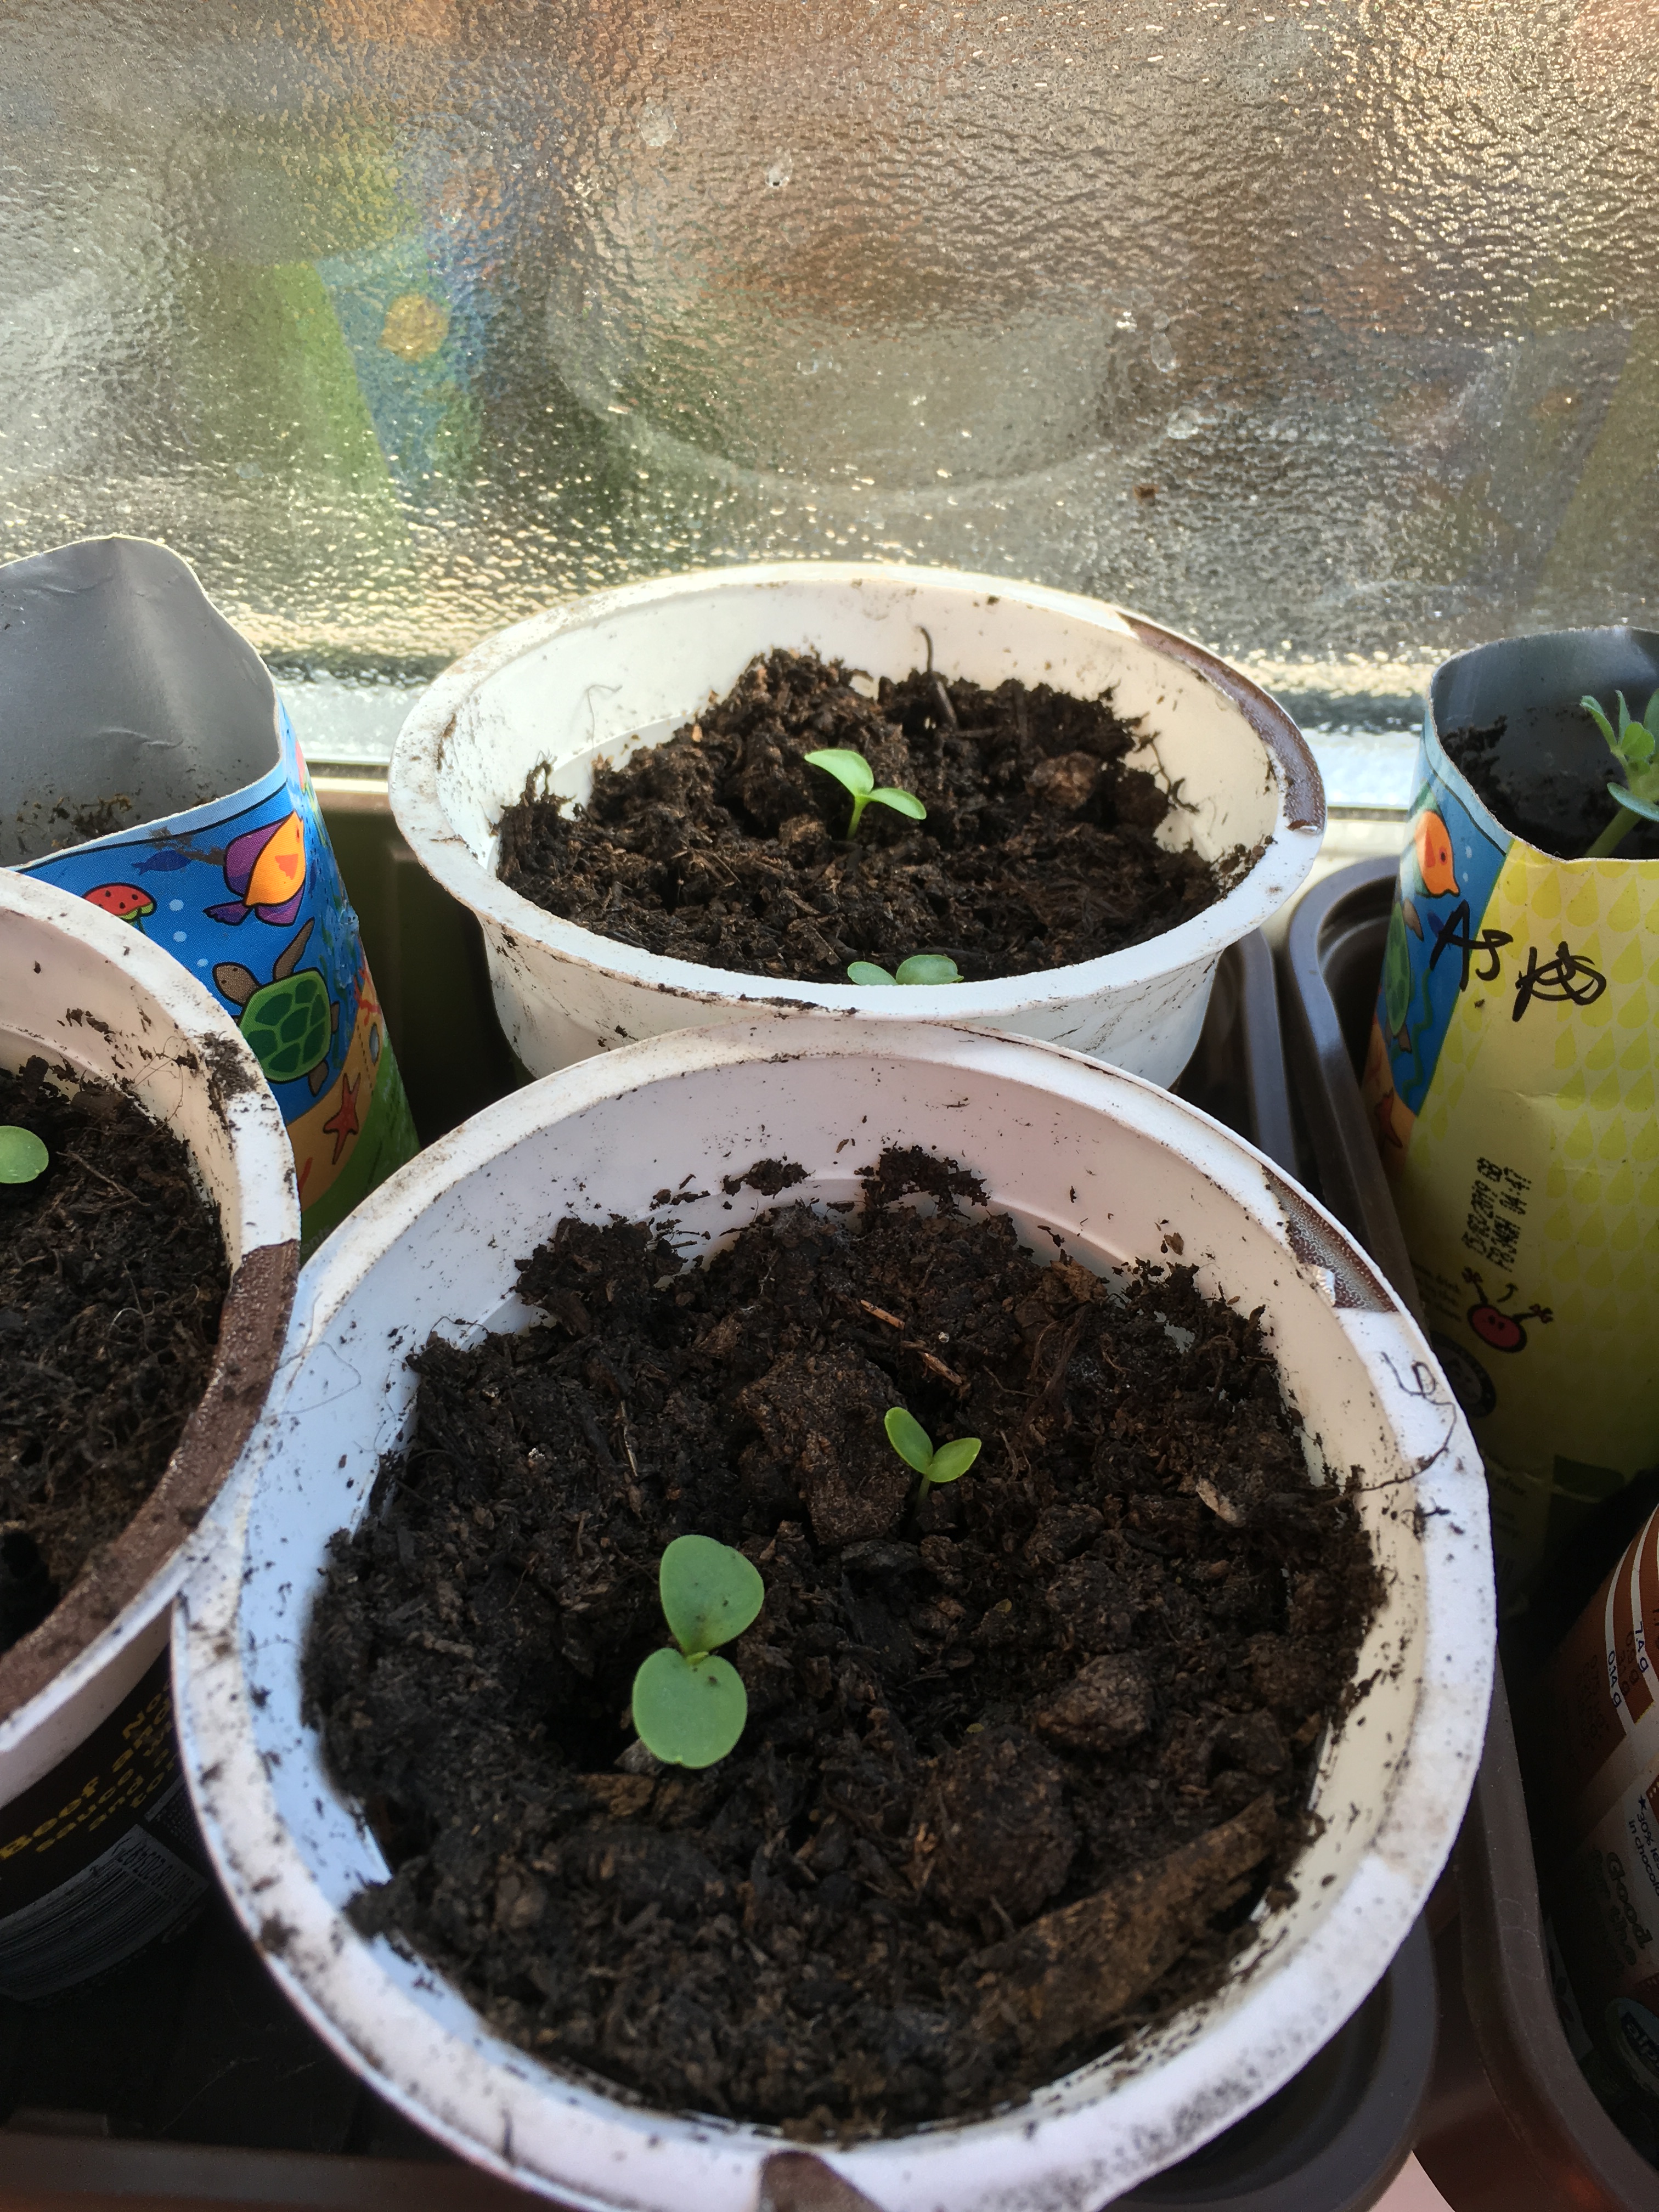
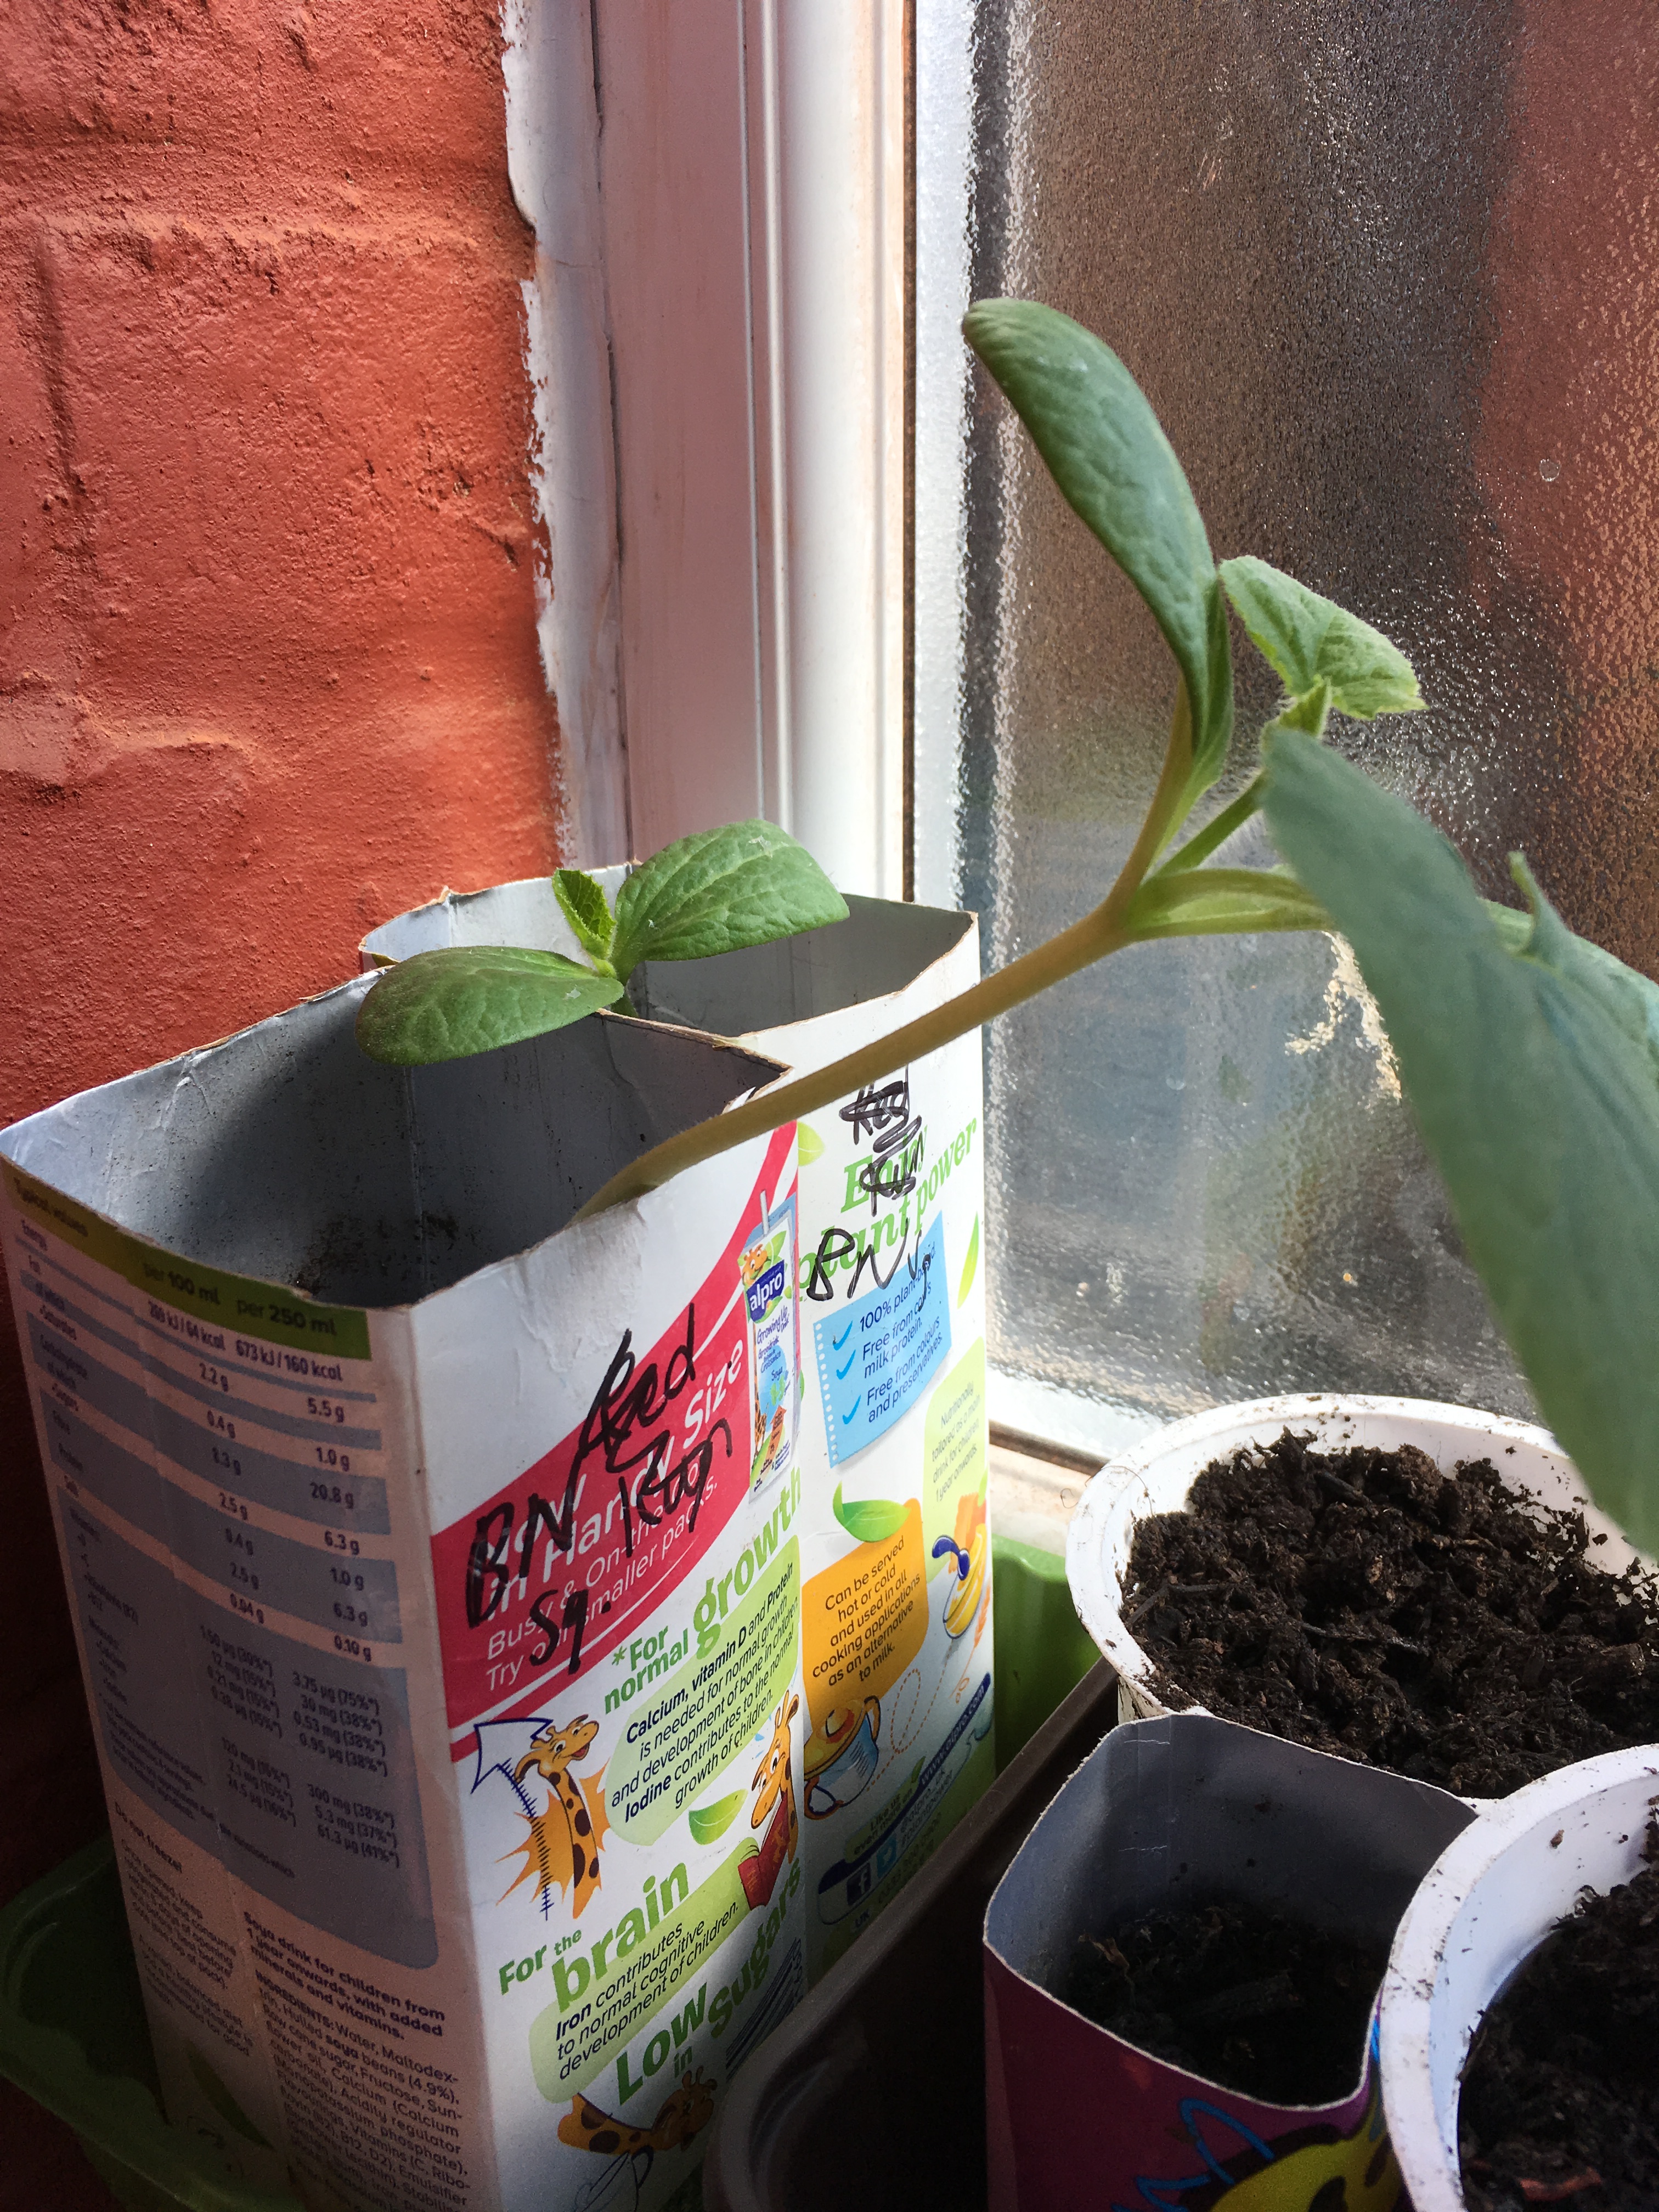
Toilet roll tubes – great biodegradable modules that you pop straight into the ground. It doesn’t disturb the roots and it’s a good way to reuse waste packaging. These are only suitable for fast germinating and growing seeds like peas and beans as the cardboard can go a bit mouldy and fall apart if left damp for too many weeks. Name and date the tube in pencil.
Mushroom boxes – stack the toilet rolls in here so that they don’t fall over and have somewhere for their water to drain into.
Plastic pots – pierce the bottom. A bradawl is the easiest, or even a pin heated with a lighter will do.

Couldn’t find the bradawl. Used a nail. 
Heat the pin. 
Pierce straight away. 
A pin pierced hole is small, but it does still drain. 
If you have very small spaces use two pots together. Pierce just the inside one and the outside one collects the excess water.
Tetra Pak cartons – If you pull out the side tabs and flatten the top they cut easily. You can also cut a corner on the bottom to allow for drainage.

Both shapes are great. 
Flatten the top to cut straight across with scissors 
Also cut a bottom corner. 
Make sure you put into a tray for the excess water. If you don’t cut the drainage hole your plants can easily be waterlogged which can lead to a premature demise.
Make sure you wash the plastic pots and Tetra Pak cartons thoroughly before use. You can write names and dates with a permanent marker. Place these in the mushroom boxes or a tray of some sorts to avoid water draining everywhere.
You now have many randomly sized pots for free and even better you’re helping the environment. You haven’t bought a plastic pot, made from crude oil, that uses energy and creates carbon dioxide in the manufacturing. You are reusing something pre-made for another purpose and when you’re finished with it you can wash it and still put it into your recycling.
2. Choose your seeds wisely
Don’t be tempted to plant the seeds out of an apple you just ate or out of the butternut squash you had for dinner. Despite being an advocate of free or cheap growing, this is not usually a successful way to grow food. The first issue is that a lot of tasty fruit doesn’t provide you with seeds that are ‘true’. That seed will have the half the DNA of the mother plant but the pollen that led to fertilisation could have come from any of the species including crab apple. You might be lucky enough to get a tasty undiscovered variety, or you could get something sour and gross. This gamble would be fine if you didn’t have to wait several years for the first apple to find out. Your butternut squash may produce fruit (yes – squashes are technically fruit) in the first year but it, again, may not taste as good. If the original was grown in another country your new plant may also not be suited for your climate. It may grow but might not fruit. It also may not be disease resistant.
Buy from a reputable supplier. Spend time reading the back of packs and choosing types of edibles and varieties that will work in your garden for its conditions. It may be worth noting that if you live in a paved or concreted yard – you could grow amazing summer squashes or aubergines. Generally, cities are warmer than the countryside and when there is a lot of concrete absorbing and radiating heat it can push the temperature higher still. You won’t, however, be able to grow deep rooted plants like artichoke without a ridiculously large pot.
Sow things that work for your soil and circumstances. E.g.

Tomatoes (or squashes, cucumbers, peas, artichokes) need full sun. 
Runner beans (or brassicas, watercress, aliums) still do well in partial shade 
Caucasian spinach (or winter purslane) for deep shade 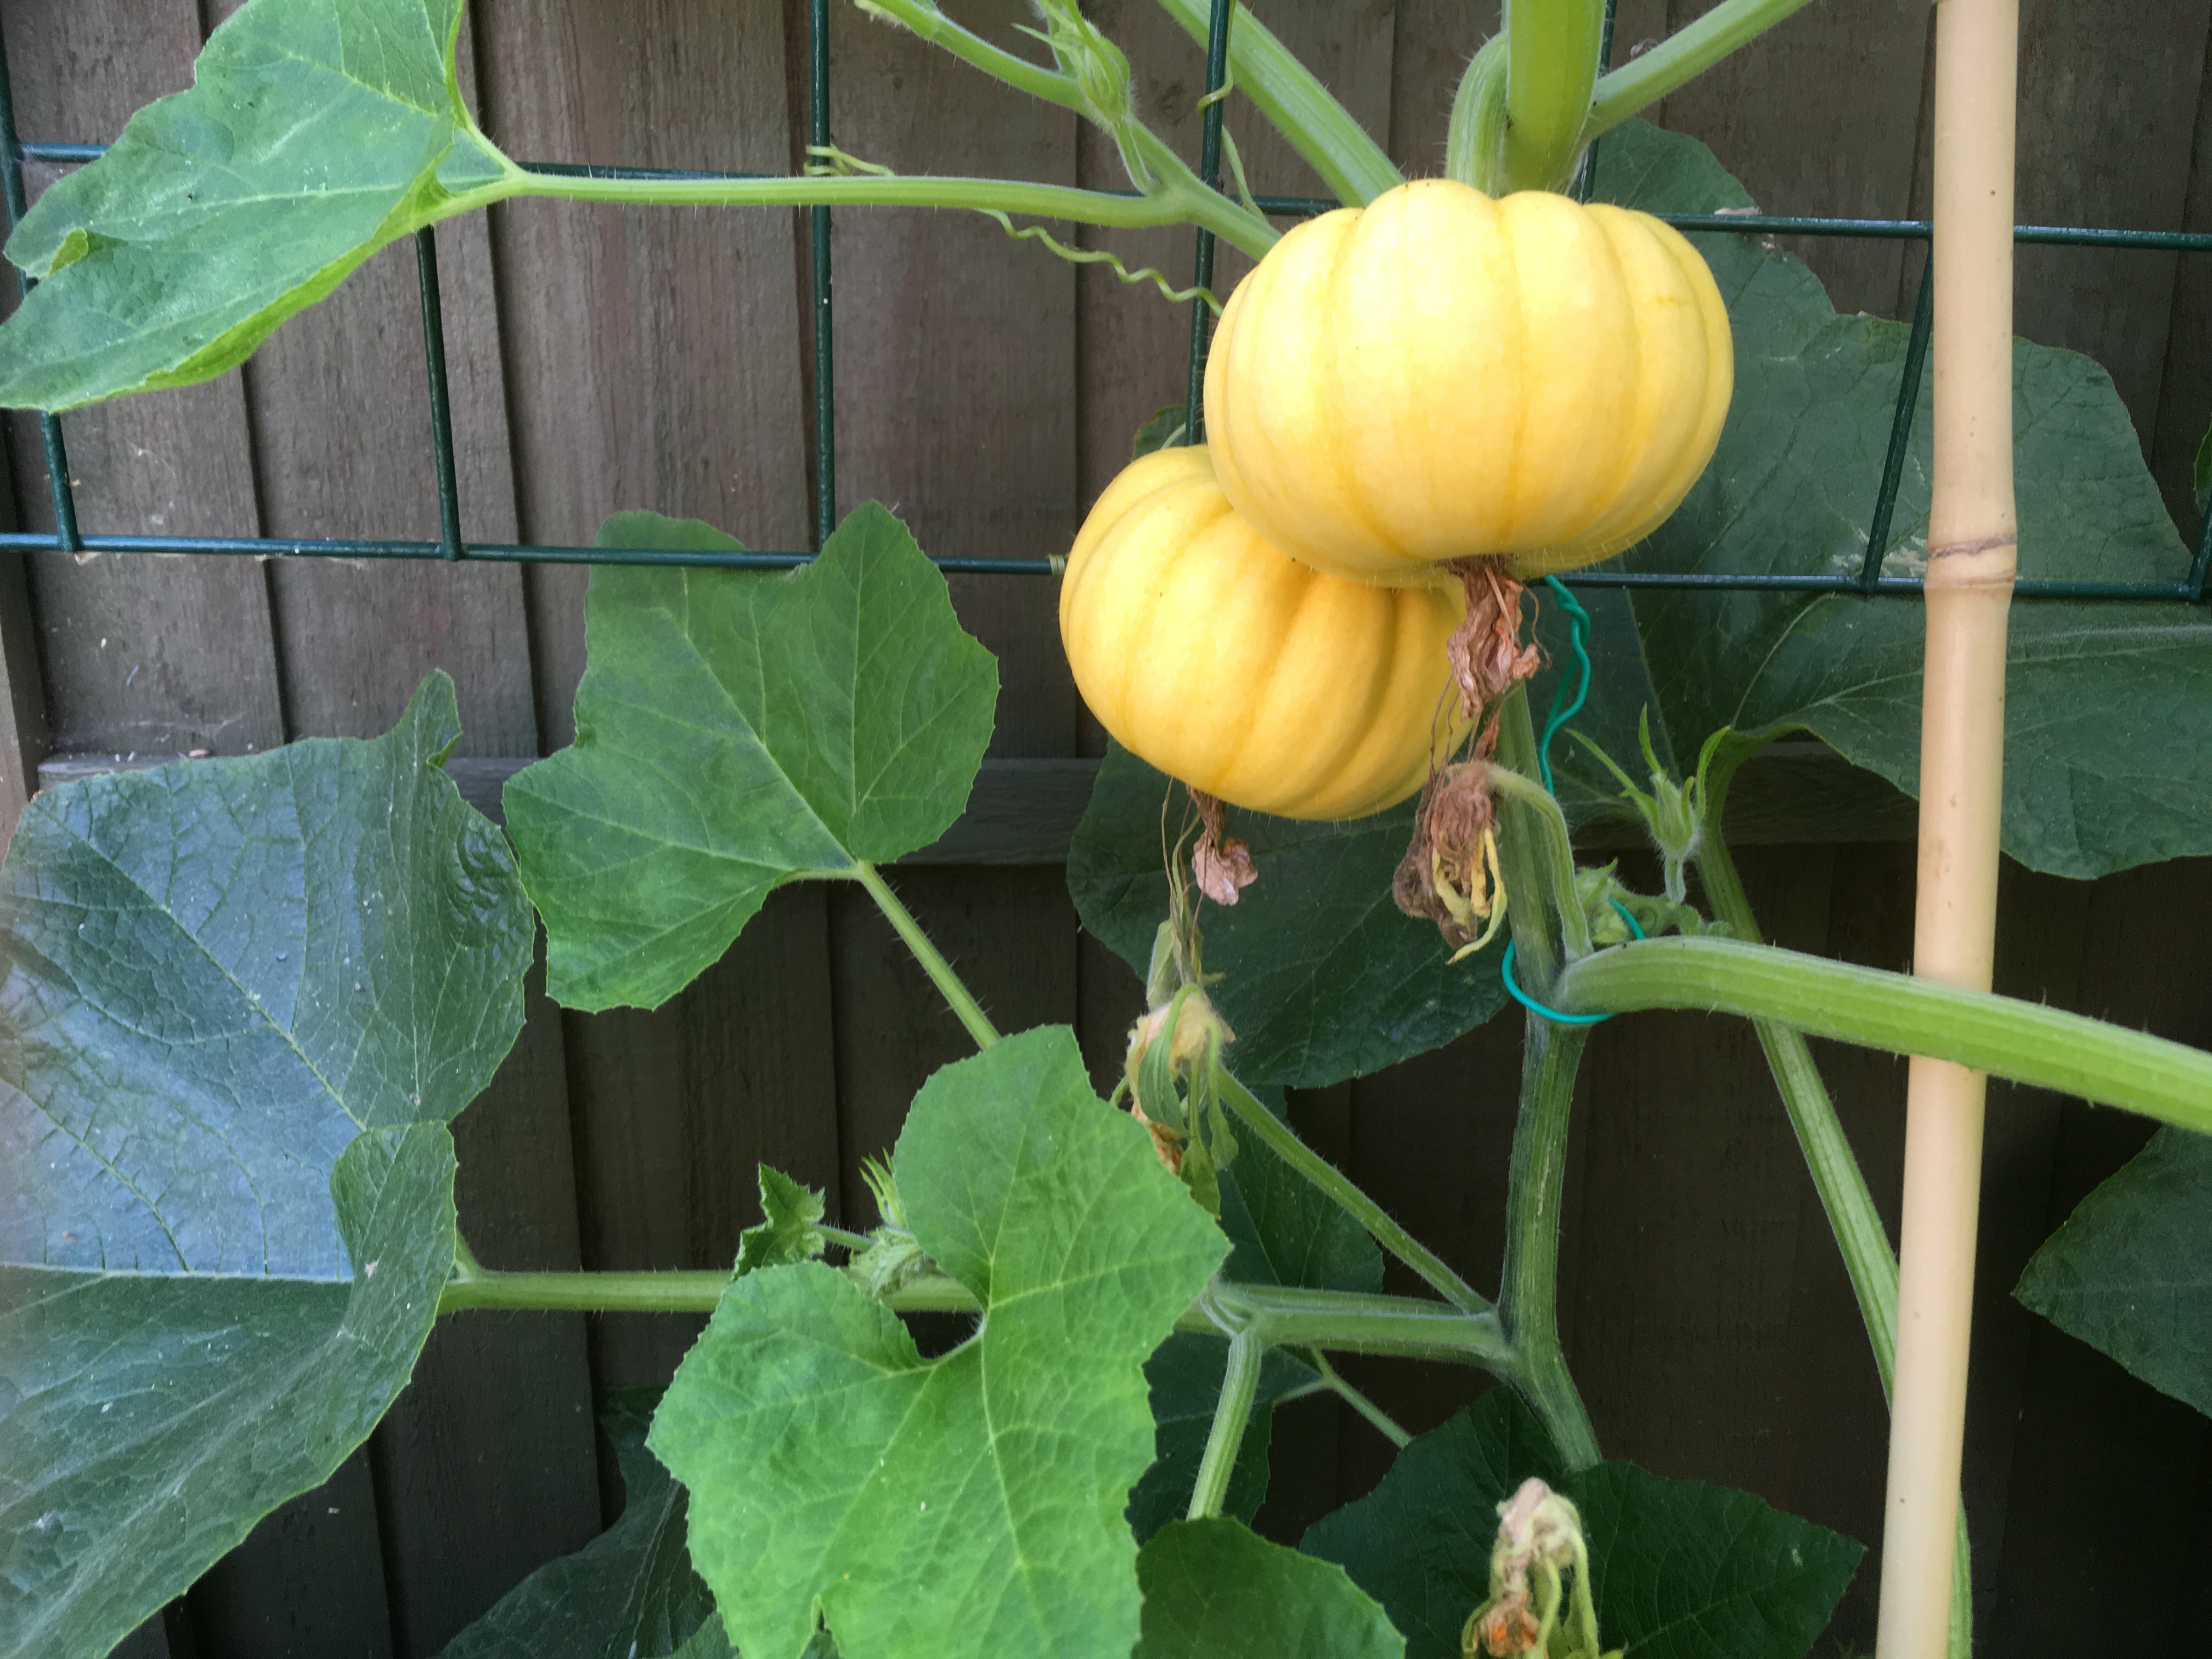
If you want pumpkins but lack space, mini pumpkins can be trained vertically 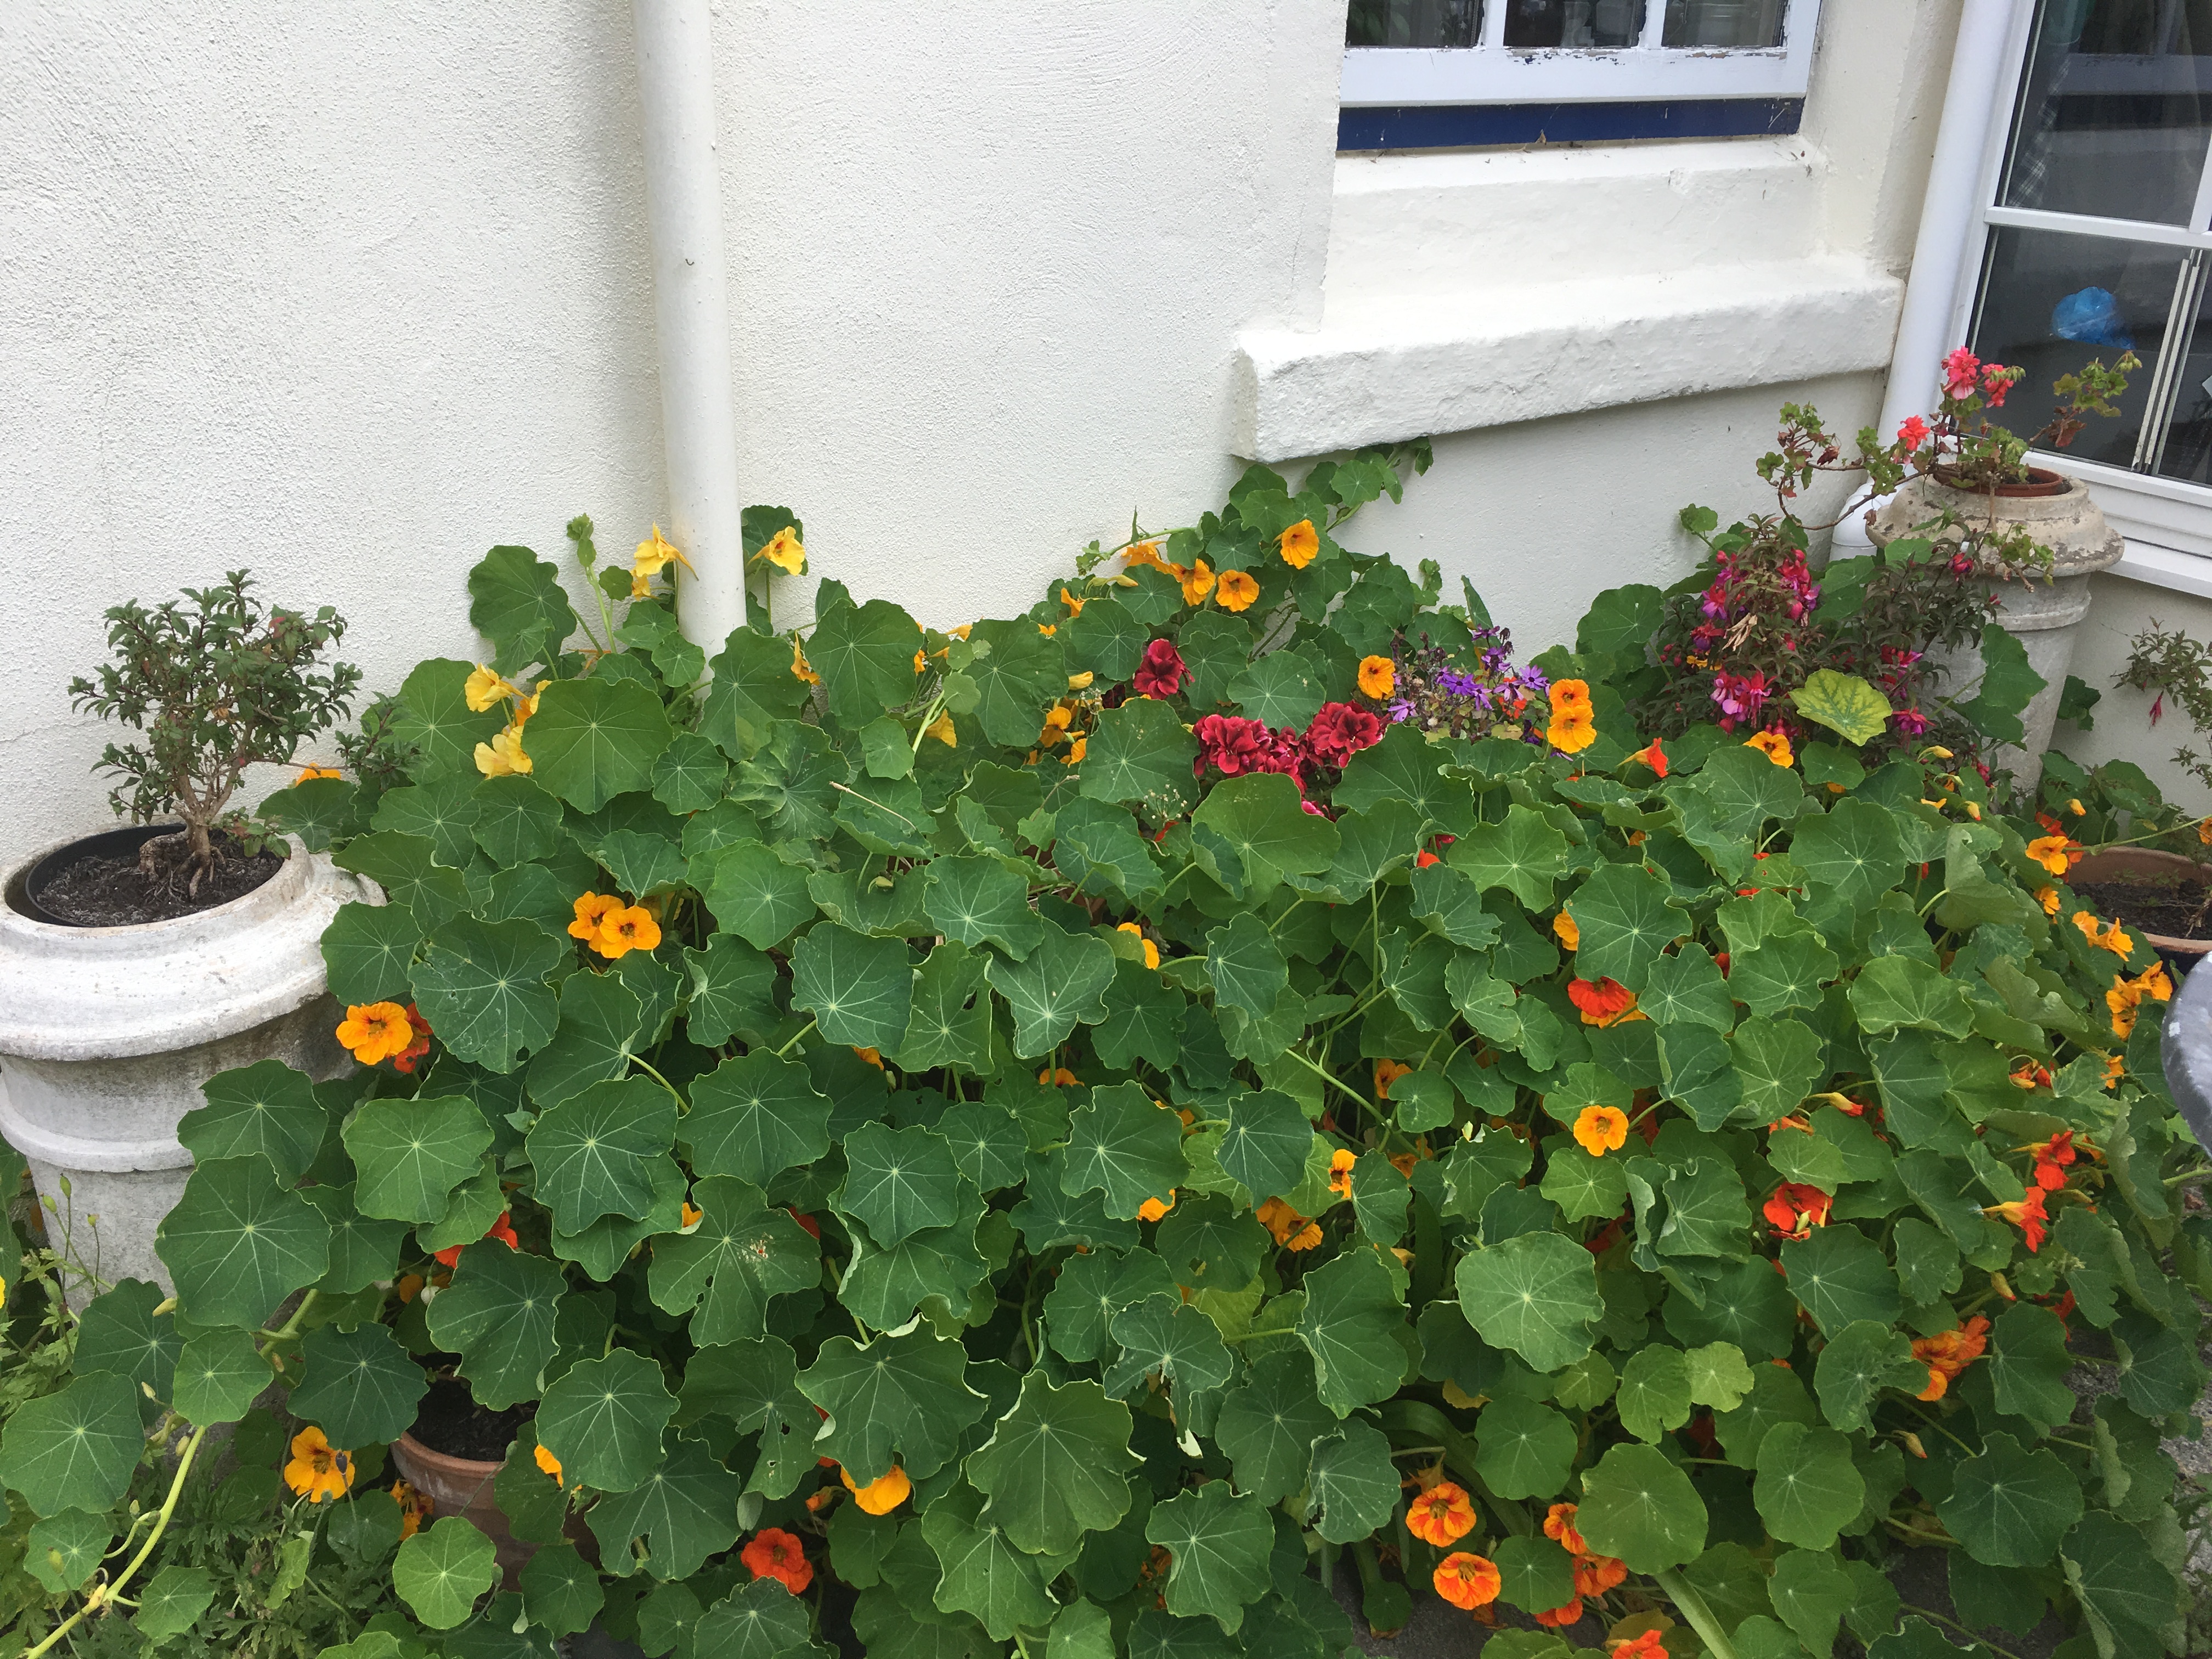
If you have the space bushy nasturtiums look fab. 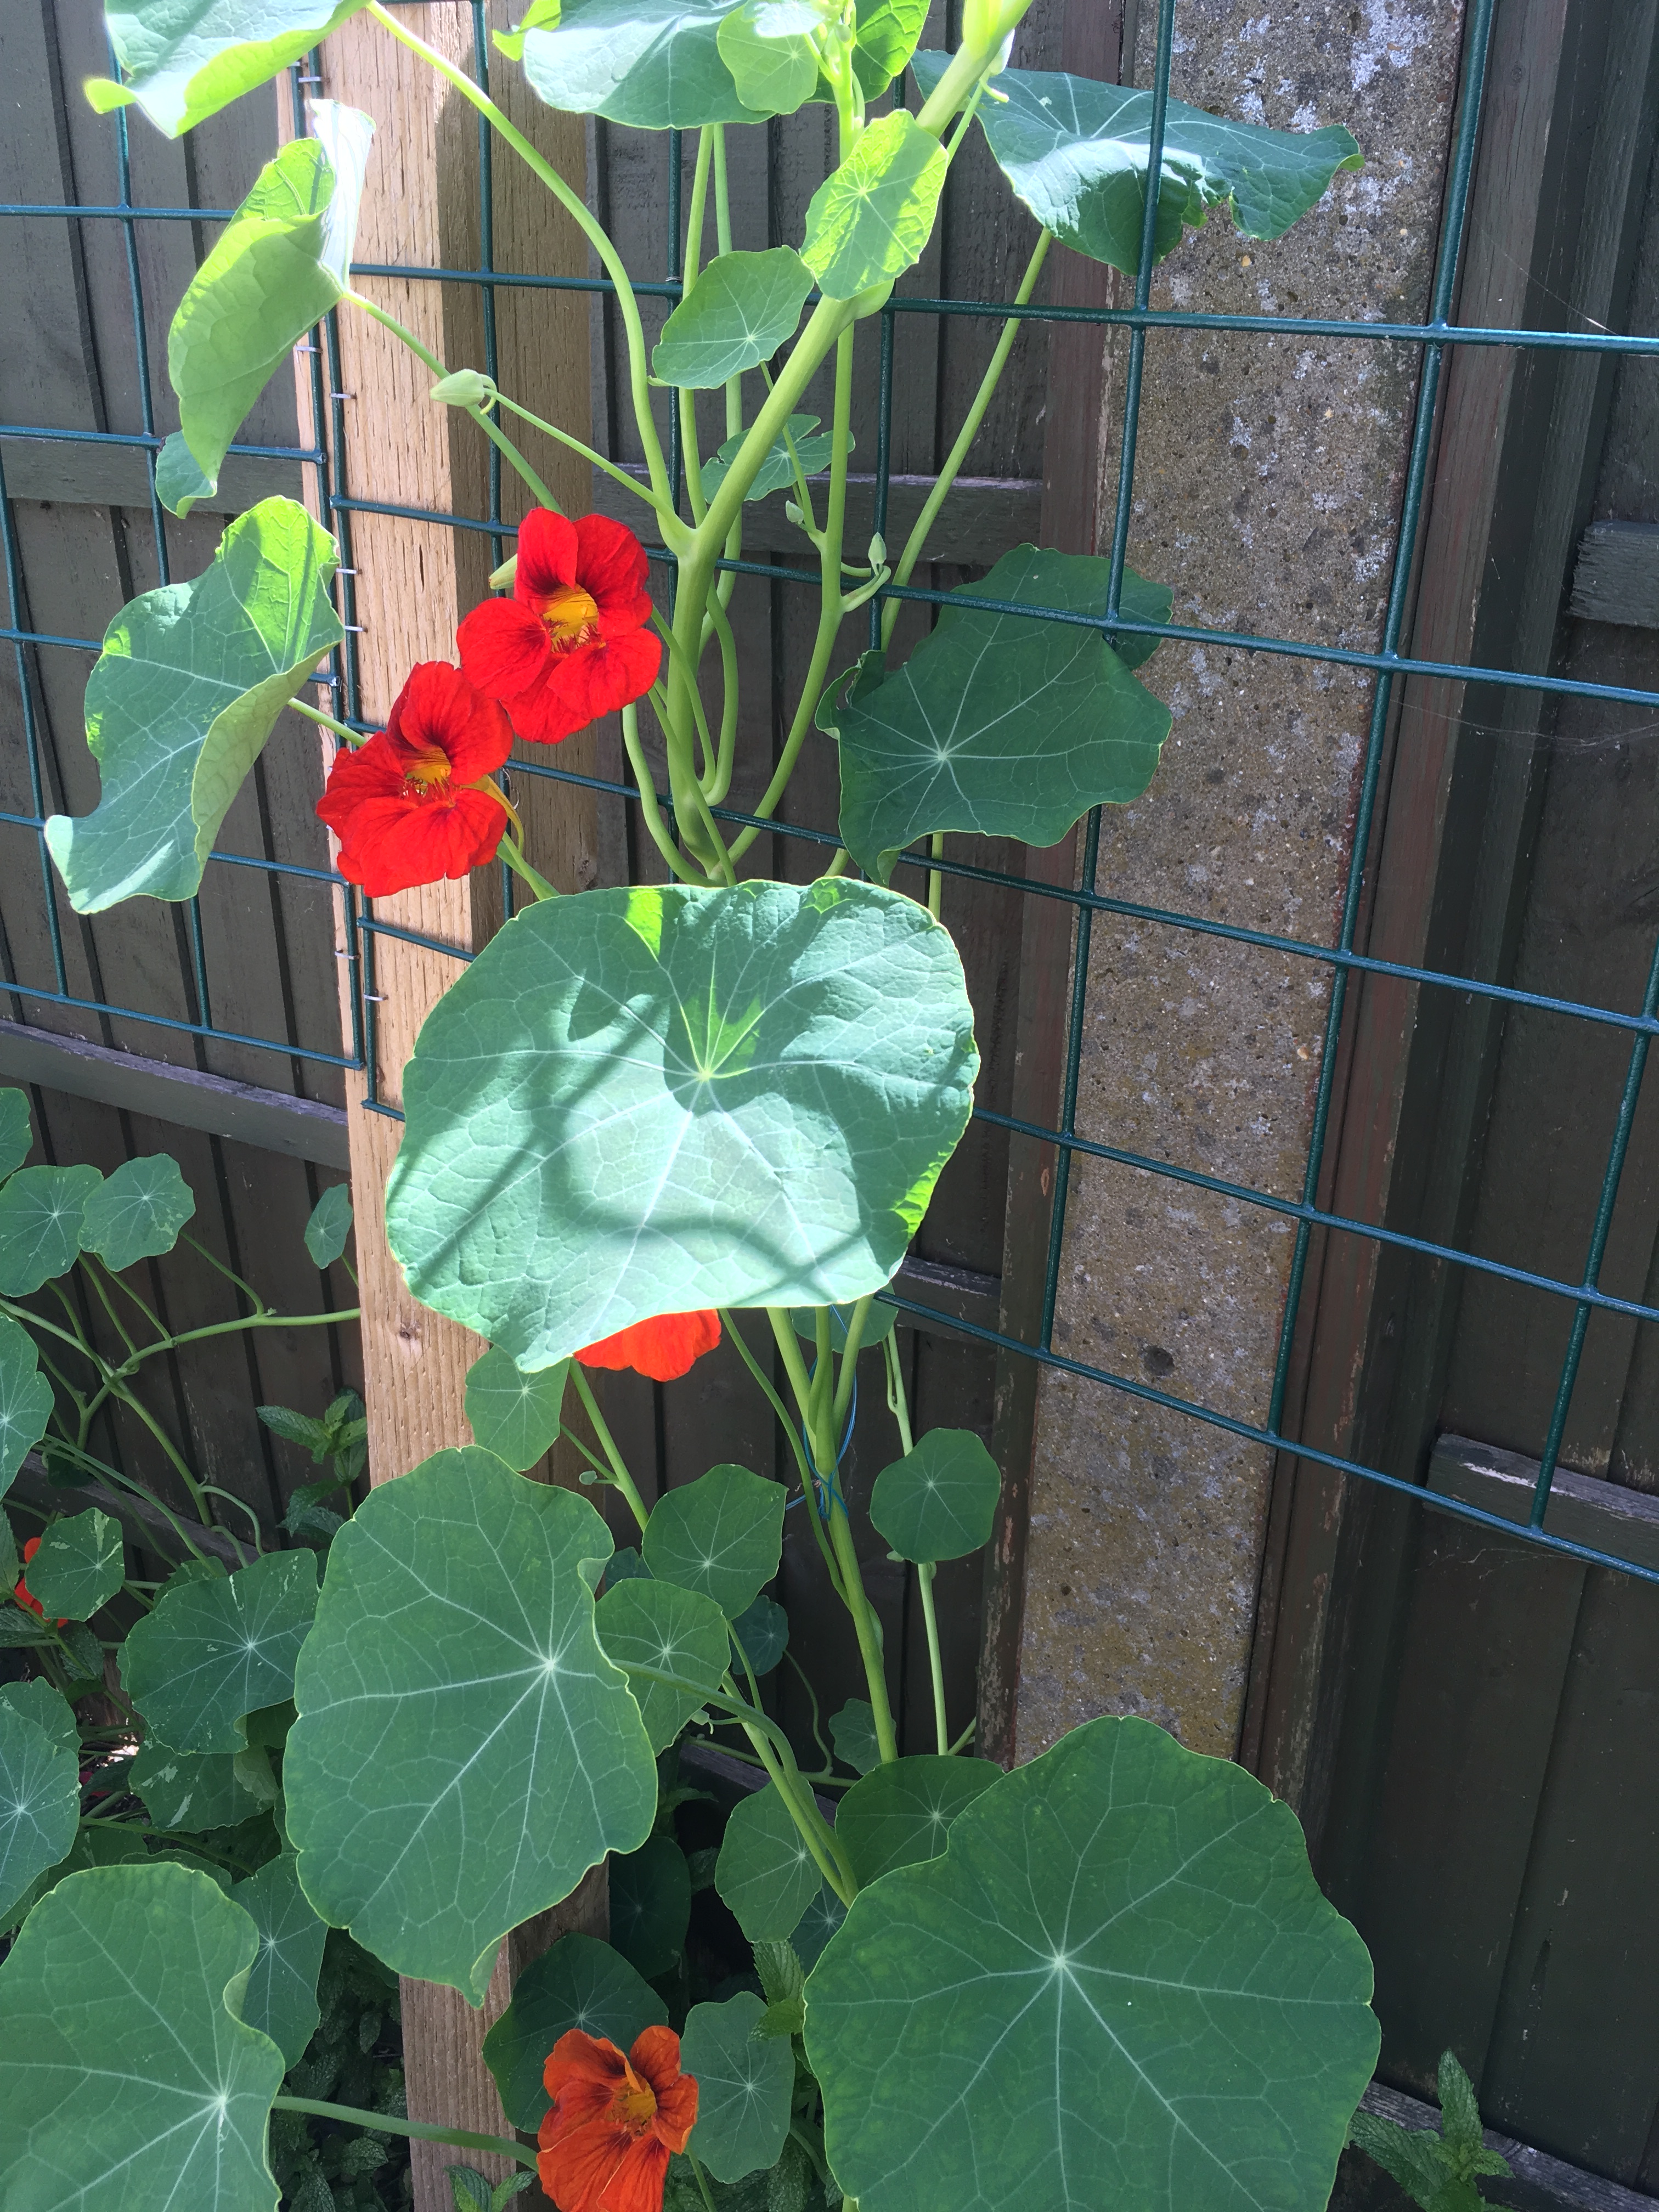
If not you can get trailing/climbing varieties that will cover a trellis and taste just as good.
Seeds come in ridiculous quantities for small garden growers. I would never be able to plant 15 courgette or tomato plants in a year. I’d manage maybe 2 or 3. Kale comes in packs of something like 50 and at a push I’d manage maybe 10 plants. A great way to lower costs is to swap seeds or even plants with a neighbour. Seeds usually have plant before date, usually a couple of years after purchase.
Sort your acquired seeds into the months to be sown in. Sowing at the right time is something that I do believe is important. By sowing at the correct time, you ensure the soil outside will be suitable (frost free and/or warm enough) by the time your seedling is big enough to go out there. You also give your new plant a long enough period to grow and fruit to ripen before the weather turns cold. I.e. If you sow a tomato seed in January the plant will have grown far too big and probably died before the weather is warm enough to plant it outside. If you sow it in August by the time the plant has matured enough to flower the weather will be turning too cold to set or ripen fruit. I’m not too strict about dates though – if something should be sown February to March, I’ll still merrily sow it in the first 2 weeks of April. I would just maybe leave those plants indoors for a little longer so that they can catch up.

This is my crude, but effective, seed filing system. In early Jan before I start I sort everything into the month I’m going to plant in. If I sow something that I think I’ll want to sow again in a later month e.g. peas, beans and coriander rather than put it back into the original envelope I’ll put it into the next month I’ll want to sow it in. That’s why every Jan I need to resort.
Unless you have lots of experience for now avoid the seeds that need scarification (scratching the surface of the seed) or stratification (a period of cold).
3. Fill containers with Compost
The cheap and lazy me uses whatever giant bag of compost I happen to have open at the time. I feel it’s more efficient to sow everything in 30 pots in one go once or maybe twice a month. E.g. early March I may sow 5 containers of runner beans, 5 sugar snaps, 5 fine beans, 2 tromboncino, 2 pumpkin munchkin, 3 cherry tomatoes, 2 thai basil, 3 basil and 3 coriander. I’m sure each type of plant would have its own ideal type of potting soil but it’s so quick, easy and cheap just to fill all the pots with the same soil. Let’s face it – if it can’t grow with the decent compost I provide indoors, then it sure as hell isn’t going to make it in my terrible clay soil outdoors.
4. Sow your seeds
I don’t believe in thinning. The idea that you sprinkle lots of seeds into a tray of compost, wait for them to grow and then prick individual seedlings into their own pots sounds like an inefficient use of time and resources. So many seedlings get squished or die in the process and roots get tangled. I also don’t have the heart to kill a food plant when the books say sow 2 or 3 together and pinch off the weakest 2.
How many you sow in each pot depends:
Things that will grow into tree/bush type things and you want to keep indoors for as long as possible like tomatoes, artichoke, pumpkins and other squashes, physalis, etc I’d stick to one seed per larger container.
Things that you just want to make plug plants for like kale, swiss chard, rocket, nasturtiums, you can do one seed per small container.
Things that grow tall and thin like cucamelons, peas and beans I tend to do 2 or 3 to a container.
Tender herbs that get cut down quite quickly (basil, coriander, dill) and so don’t get chance to grow very large I’ll sprinkle maybe 5 or 6 seeds in one.
I’d suggest planting a few more containers than you need in case you have a couple of dud seeds. You then also have a spare or two if you do plant out your first seedlings and they get ravaged by the slugs and snails. You can always give these away or do a seedling swap.
Label them so you know what you have. If you’re fastidious: plant, variety and date. If you’re me there’ll be an unintelligible scrawl on the side naming many different plants after I’ve used the same container a couple of times.
5. Leave to grow

Windowsills or any sunny spots will do. Keep the soil damp. Some seeds germinate almost immediately whilst some take a little longer. There may be containers that continue to look barren. Not all seeds within a pack are viable. Some plants are just harder. I’ve failed to germinate perilla, tomatillo and pomegranate this year. Following instructions to the letter may have led to success. Then again, it may not have. If you think something hasn’t grown pop something else into these pots. Because I like to keep it easy, cheap and avoid anything too time consuming I give up on the harder to grow things. There will be some things that are better (though more expensive) bought as plants.
6. Choose a spot suitable for your plant
You can ‘harden off’ your plants by putting the containers outside during the day and bringing them back indoors for cold evenings. If the nights aren’t freezing, I have often skipped this step with little or no damage. You will have to see for yourself how necessary this is for your garden. If unsure plant one straight into the ground and see if it’s doing OK a couple of days later.

These two tomatoes at the base of the two canes were sown at the same time and planted out at the same time. The one on the left though had a tree collard that was too close. I removed it when I could see there was a problem but it still hasn’t recovered.
Ensuring enough sun, space and supports if necessary, gives you less work in the long run. If your plant is susceptible to slugs and snails, then you can cut the base off the container so you have a couple of inches of container as a barrier, but the roots still have soil access. You can put slug tape around the container or cover with the top half of a bottle to stop them getting in. I only bother with really precious plants that are very attractive to critters.

Just half a pot in the ground 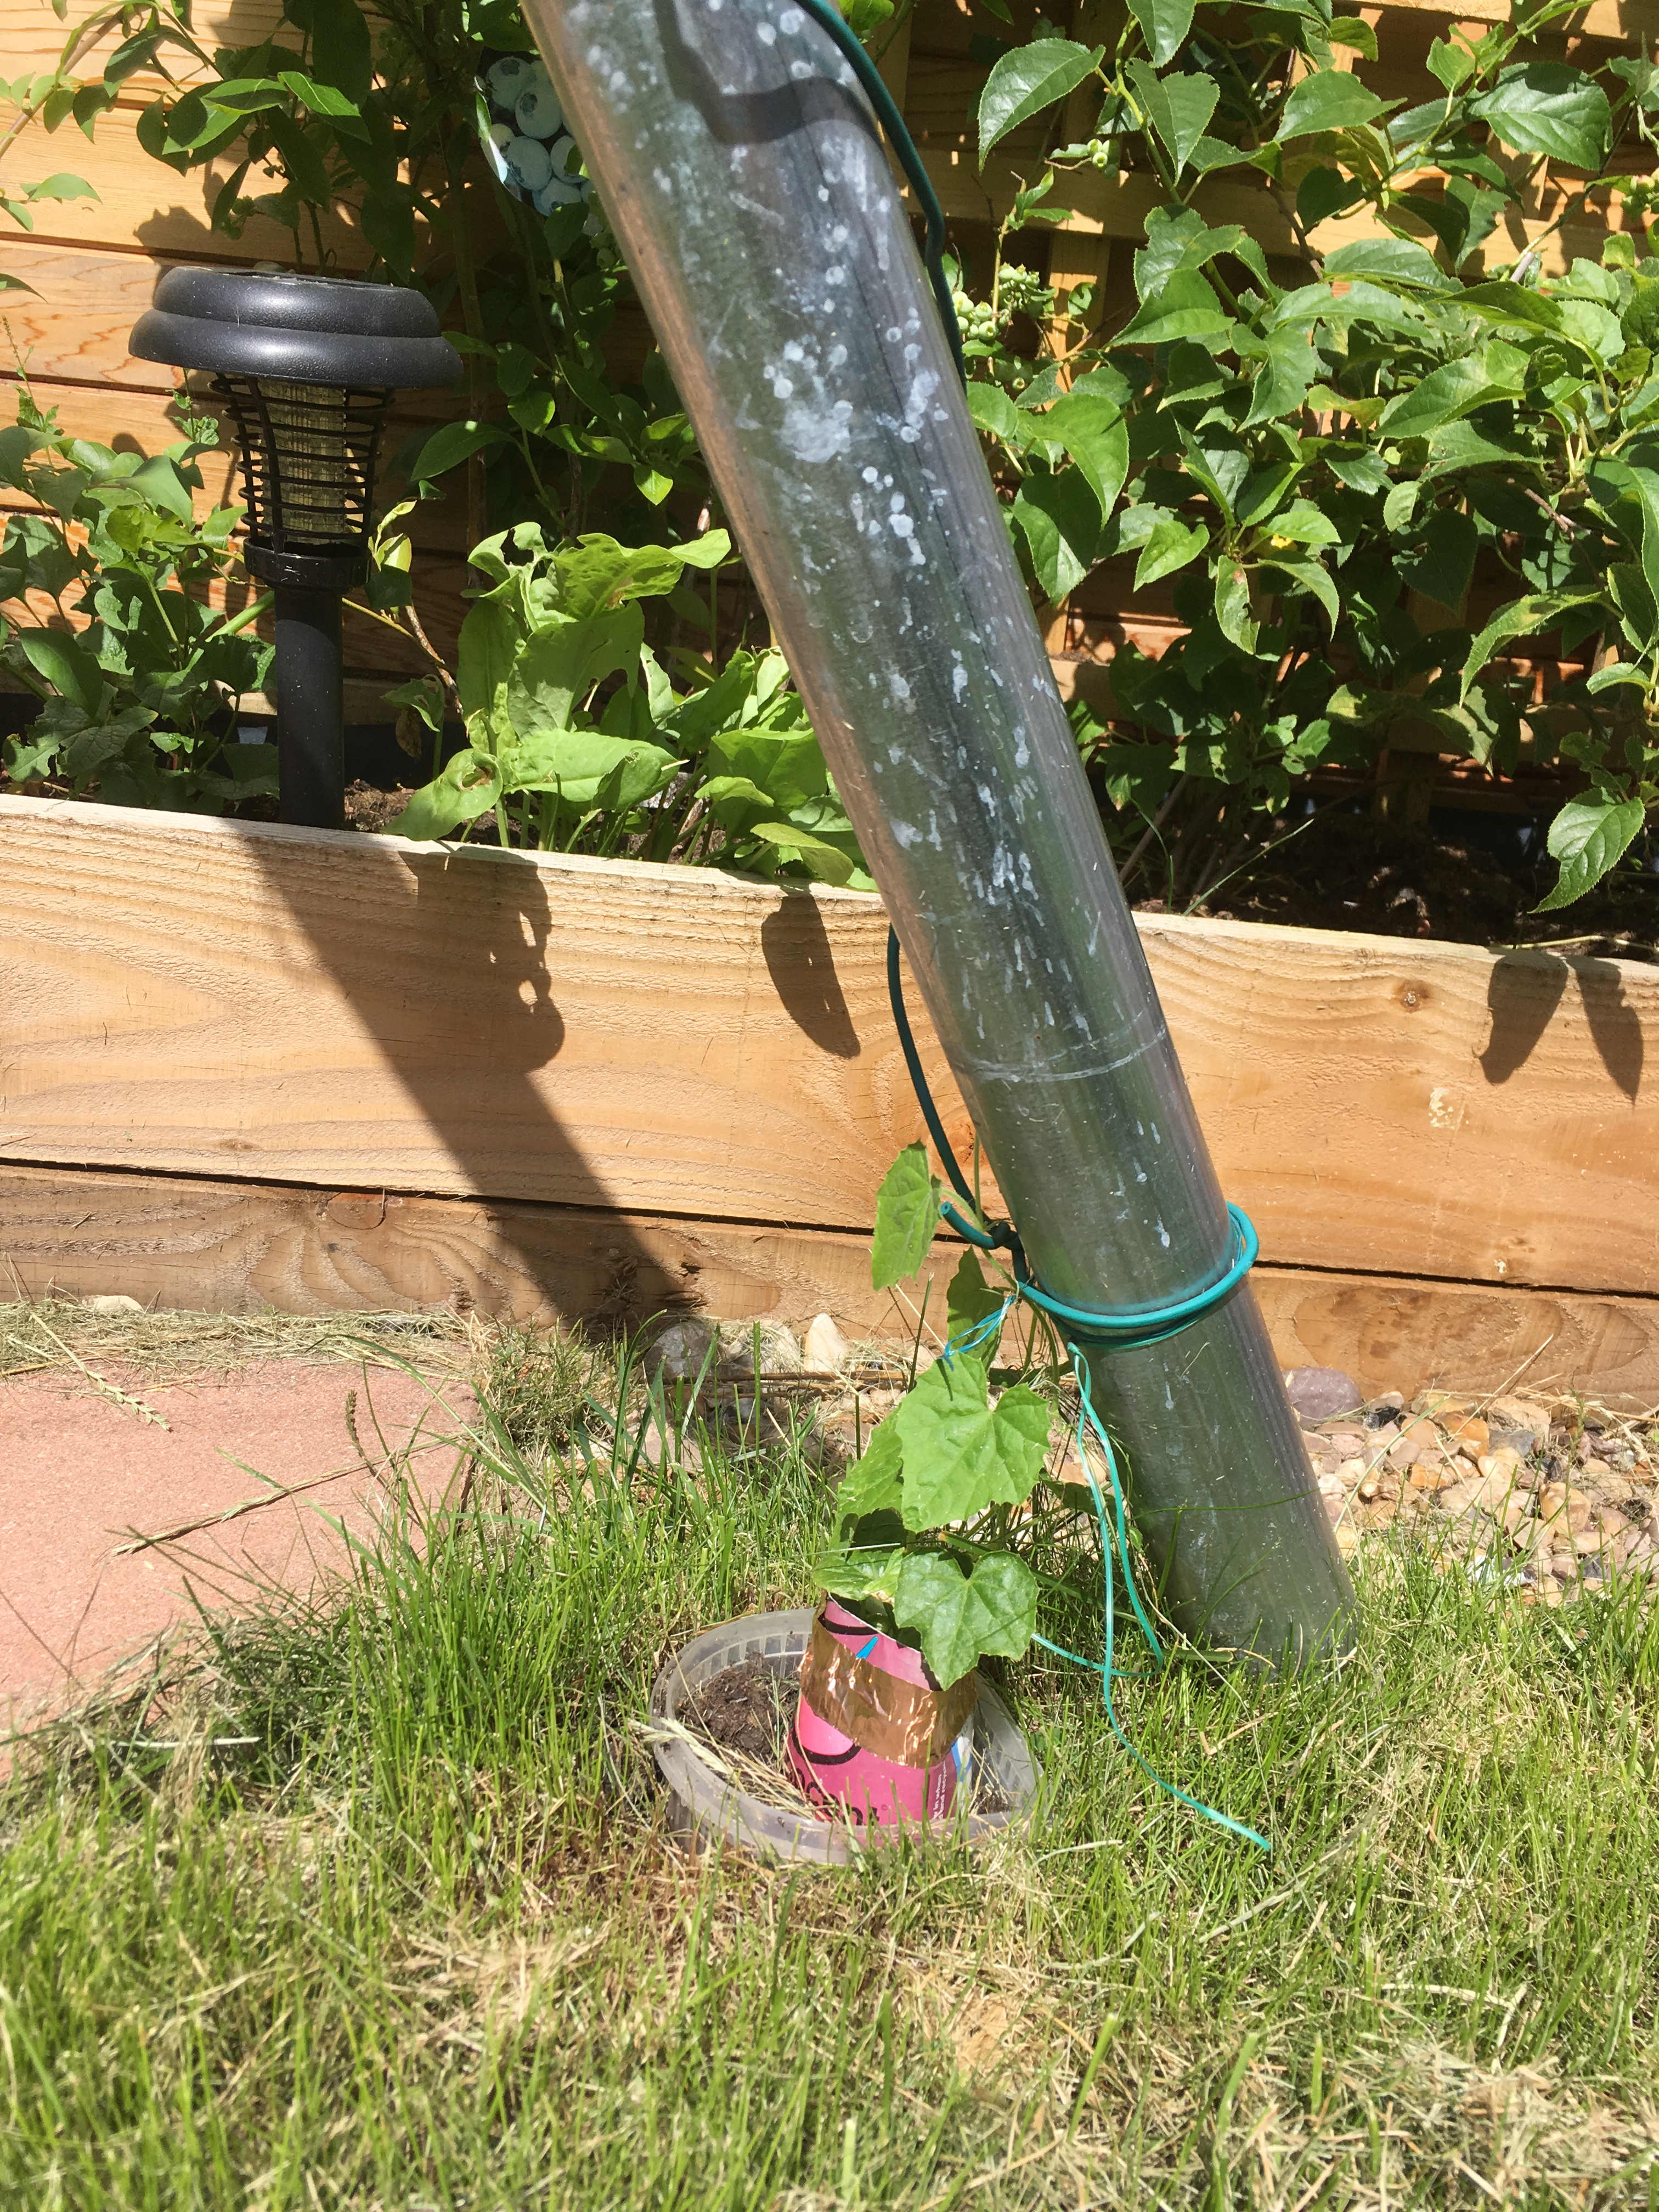
This carton has a ring of copper slug tape 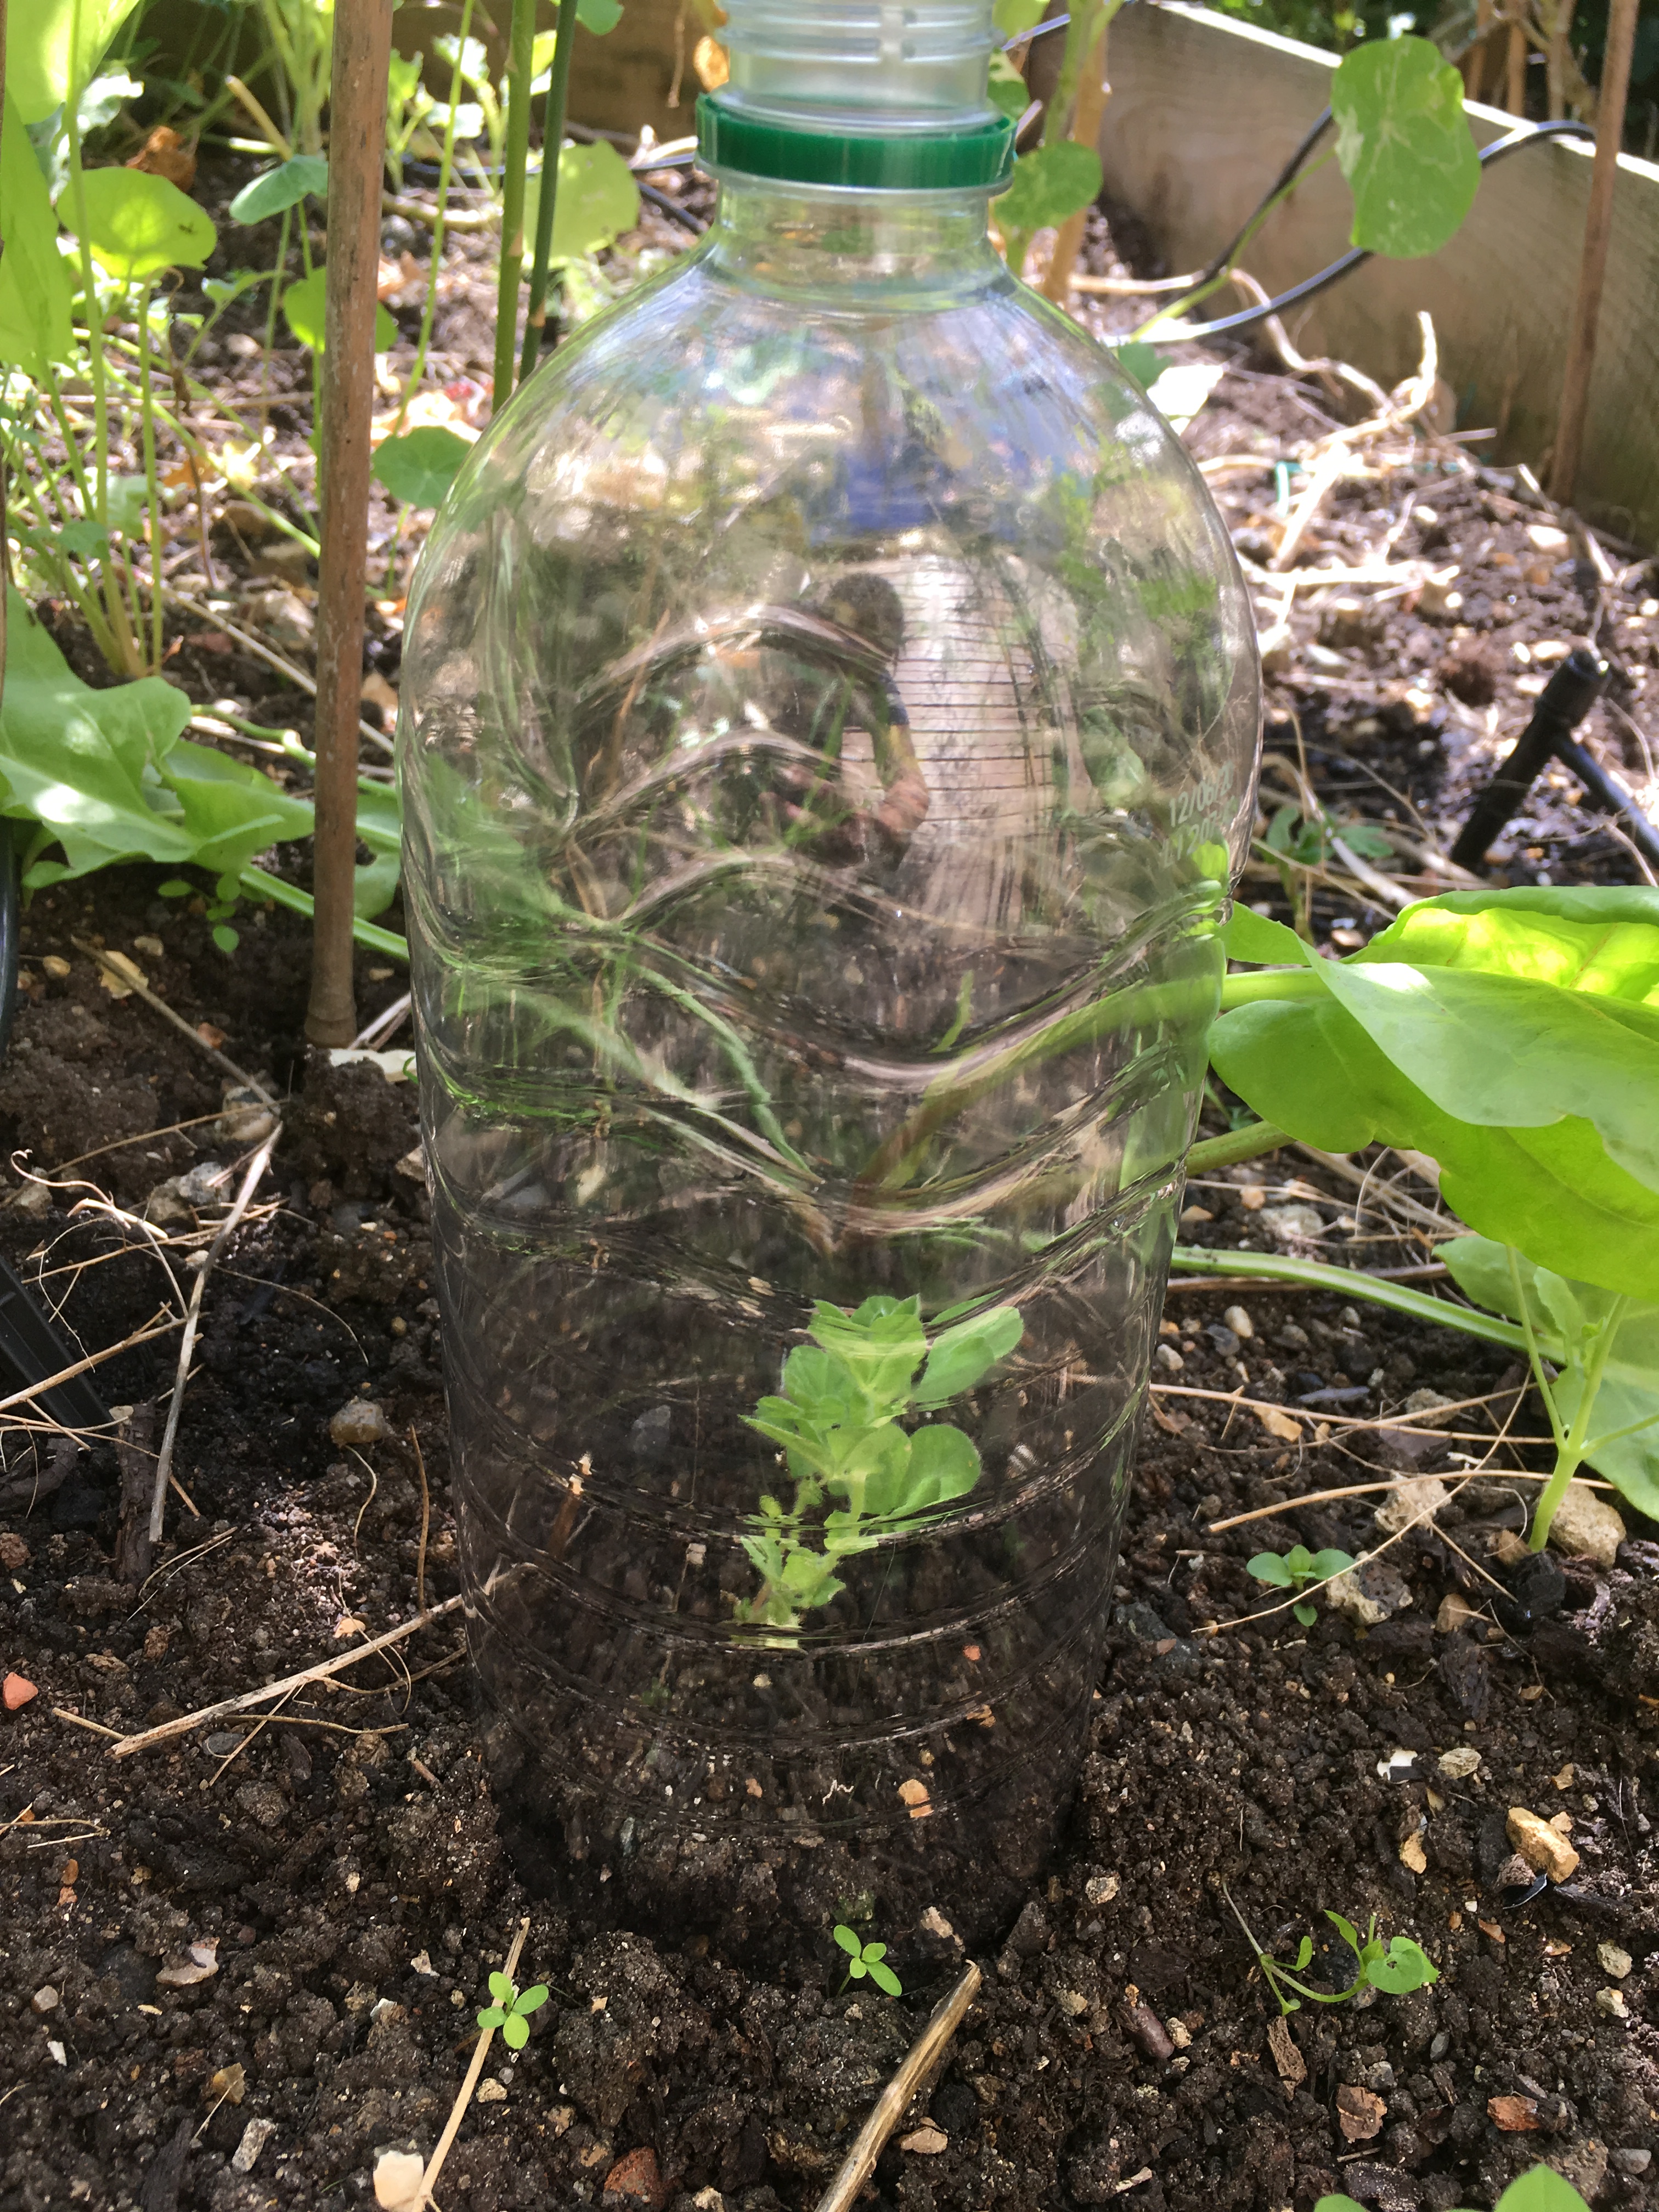
2 litre bottle cloche
After all that it’s worth noting that carrots, beetroots and turnips are best sown in situ. Because they are easy small plants grown in larger quantities, they are just a faff to put in containers first. Beetroots will need thinning no matter how careful you are as each ‘seed’ is actually a cluster of seeds.
Then after that has been said, by growing perennials or self-seeding varieties you cut out all the above work. However, perennials usually take much longer to establish themselves and become productive. To get self seeders into the garden of course you need to sow them first. Things like peas, beans and squashes don’t have a perennial version and they can provide you with food as you wait for your perennials to get going.
So, being end of June, there’s still time to sow some kale or Swiss chard for eating in spring, or peas (including sugar snaps and mangetout), beans (runner or French), beetroots, kohl rabi, , quick growing herbs (like basil, dill, coriander) or salad leaves for something yummy this year.
Today, out of that list I’ve only sown peas, but I’ve also sown an array of edible flowers that should hopefully make it into the lawn (more on that later). All of those would germinate in situ in this lovely weather, but the lawn flowers seedlings would never survive being trampled and I’m sure those little slimers are just waiting to take the growing tips of my beans! Grr…


7 thoughts on “Sowing seeds”