Here’s a couple of pallet planter ideas:


I’d like to show you how we built the easiest and most convenient one. The others, in more detail at the end either require either more than one pallet, a lot more work or can be more difficult to maintain once finished.
Materials:
- One Pallet Check for safety. Generally if they have no markings then they have not been treated. Markings like DB – debarked, KD – kiln dried, HT – heat treated are all safe. MB means treated with methyl bromide and is to be avoided. Check for spillages on the pallet. If you can’t identify the spill then be aware it could be an unsafe chemical.
- Screws – length and number depends on your pallet and how many pieces of wood you need to go through and how you’re putting it together. The pallet you have may be very different to the one I used. Here’s your chance to get creative! If in doubt about 30 self tapping wood screws around 5cm in length should do. They will typically be phillips (cross head) screws. Self tapping means you shouldn’t need to drill a thinner hole into the wood first.
Optional Extras:
- Landscaping fabric or plastic sheeting – thick black bin liners or rubble bags will also do for plastic sheeting. Landscaping fabric won’t help protect the wood from rotting but may feel more natural.
- Staples
Tools:
- Hand saw
- Electric screwdriver with a Philips screw bit – I’d call this essential as a manual screwdriver will have driven you insane after the first two screws and you’ll give up unless you’re really tenacious.
- Hammer
- Protective gloves – why get avoidable splinters?
Optional extras:
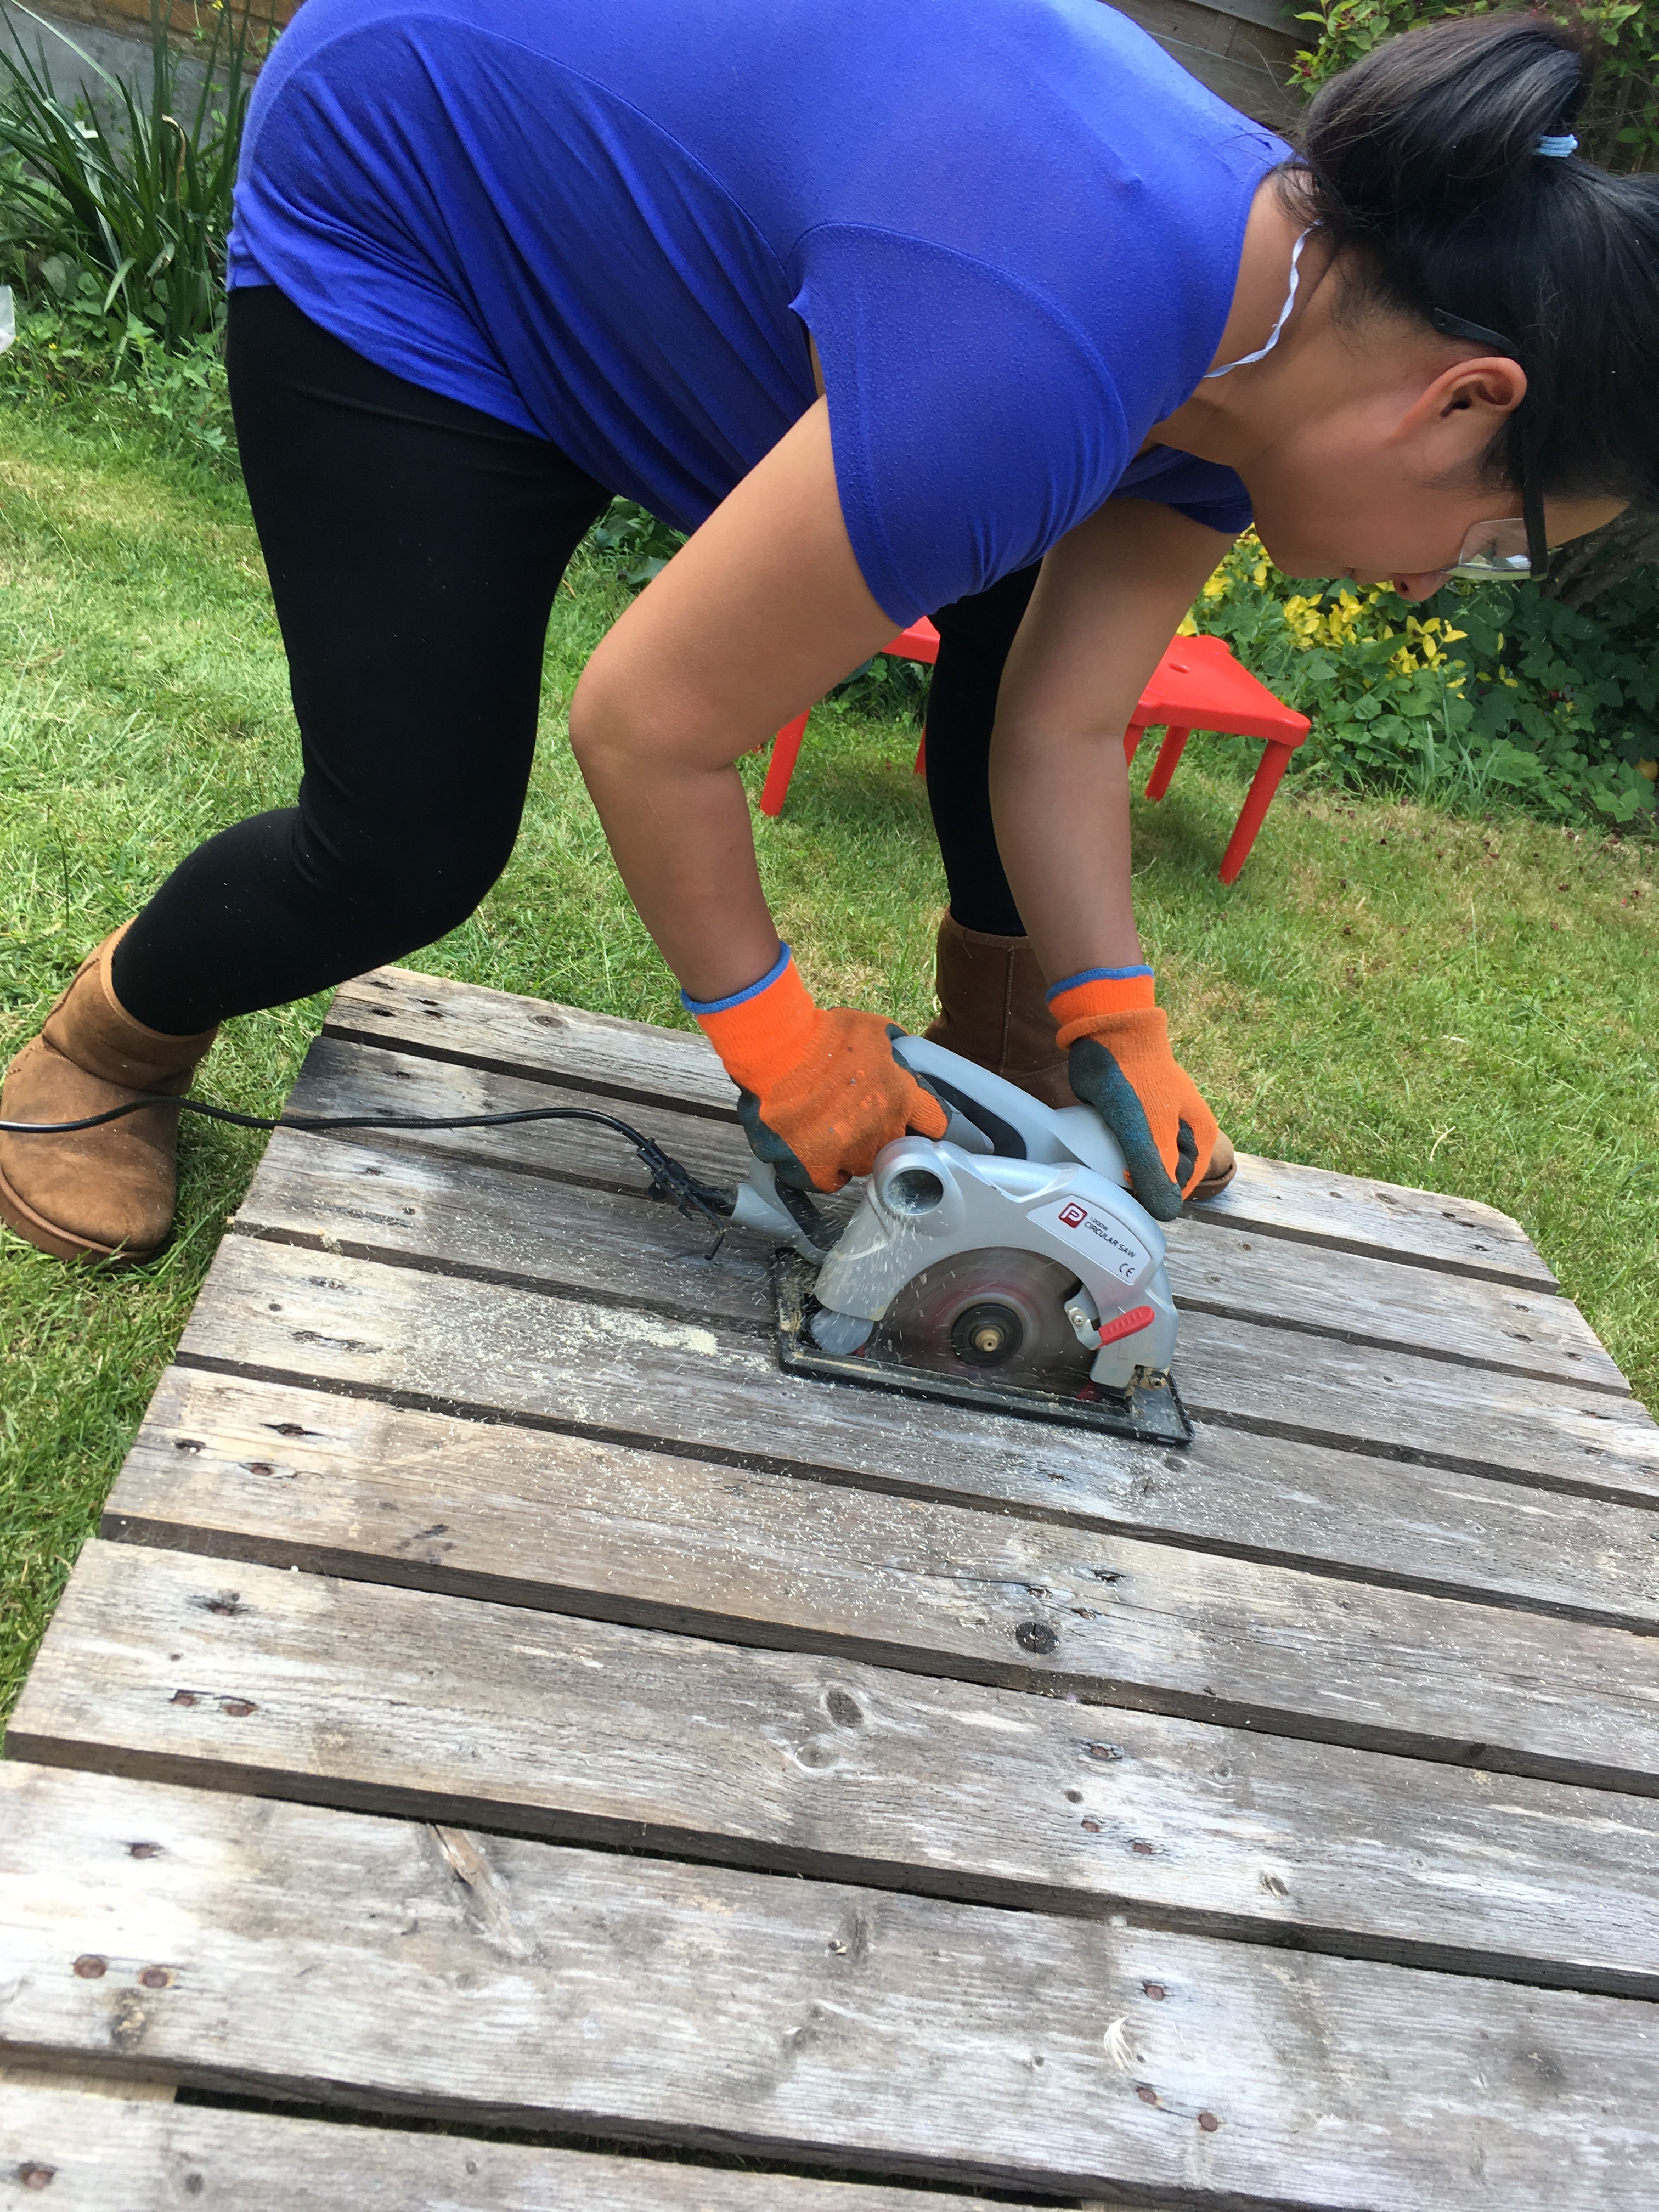
- Circular saw (with safety goggles)
- Crowbar
- Scissors
- Staple gun
- Electric drill

Step 1 – Get a pallet
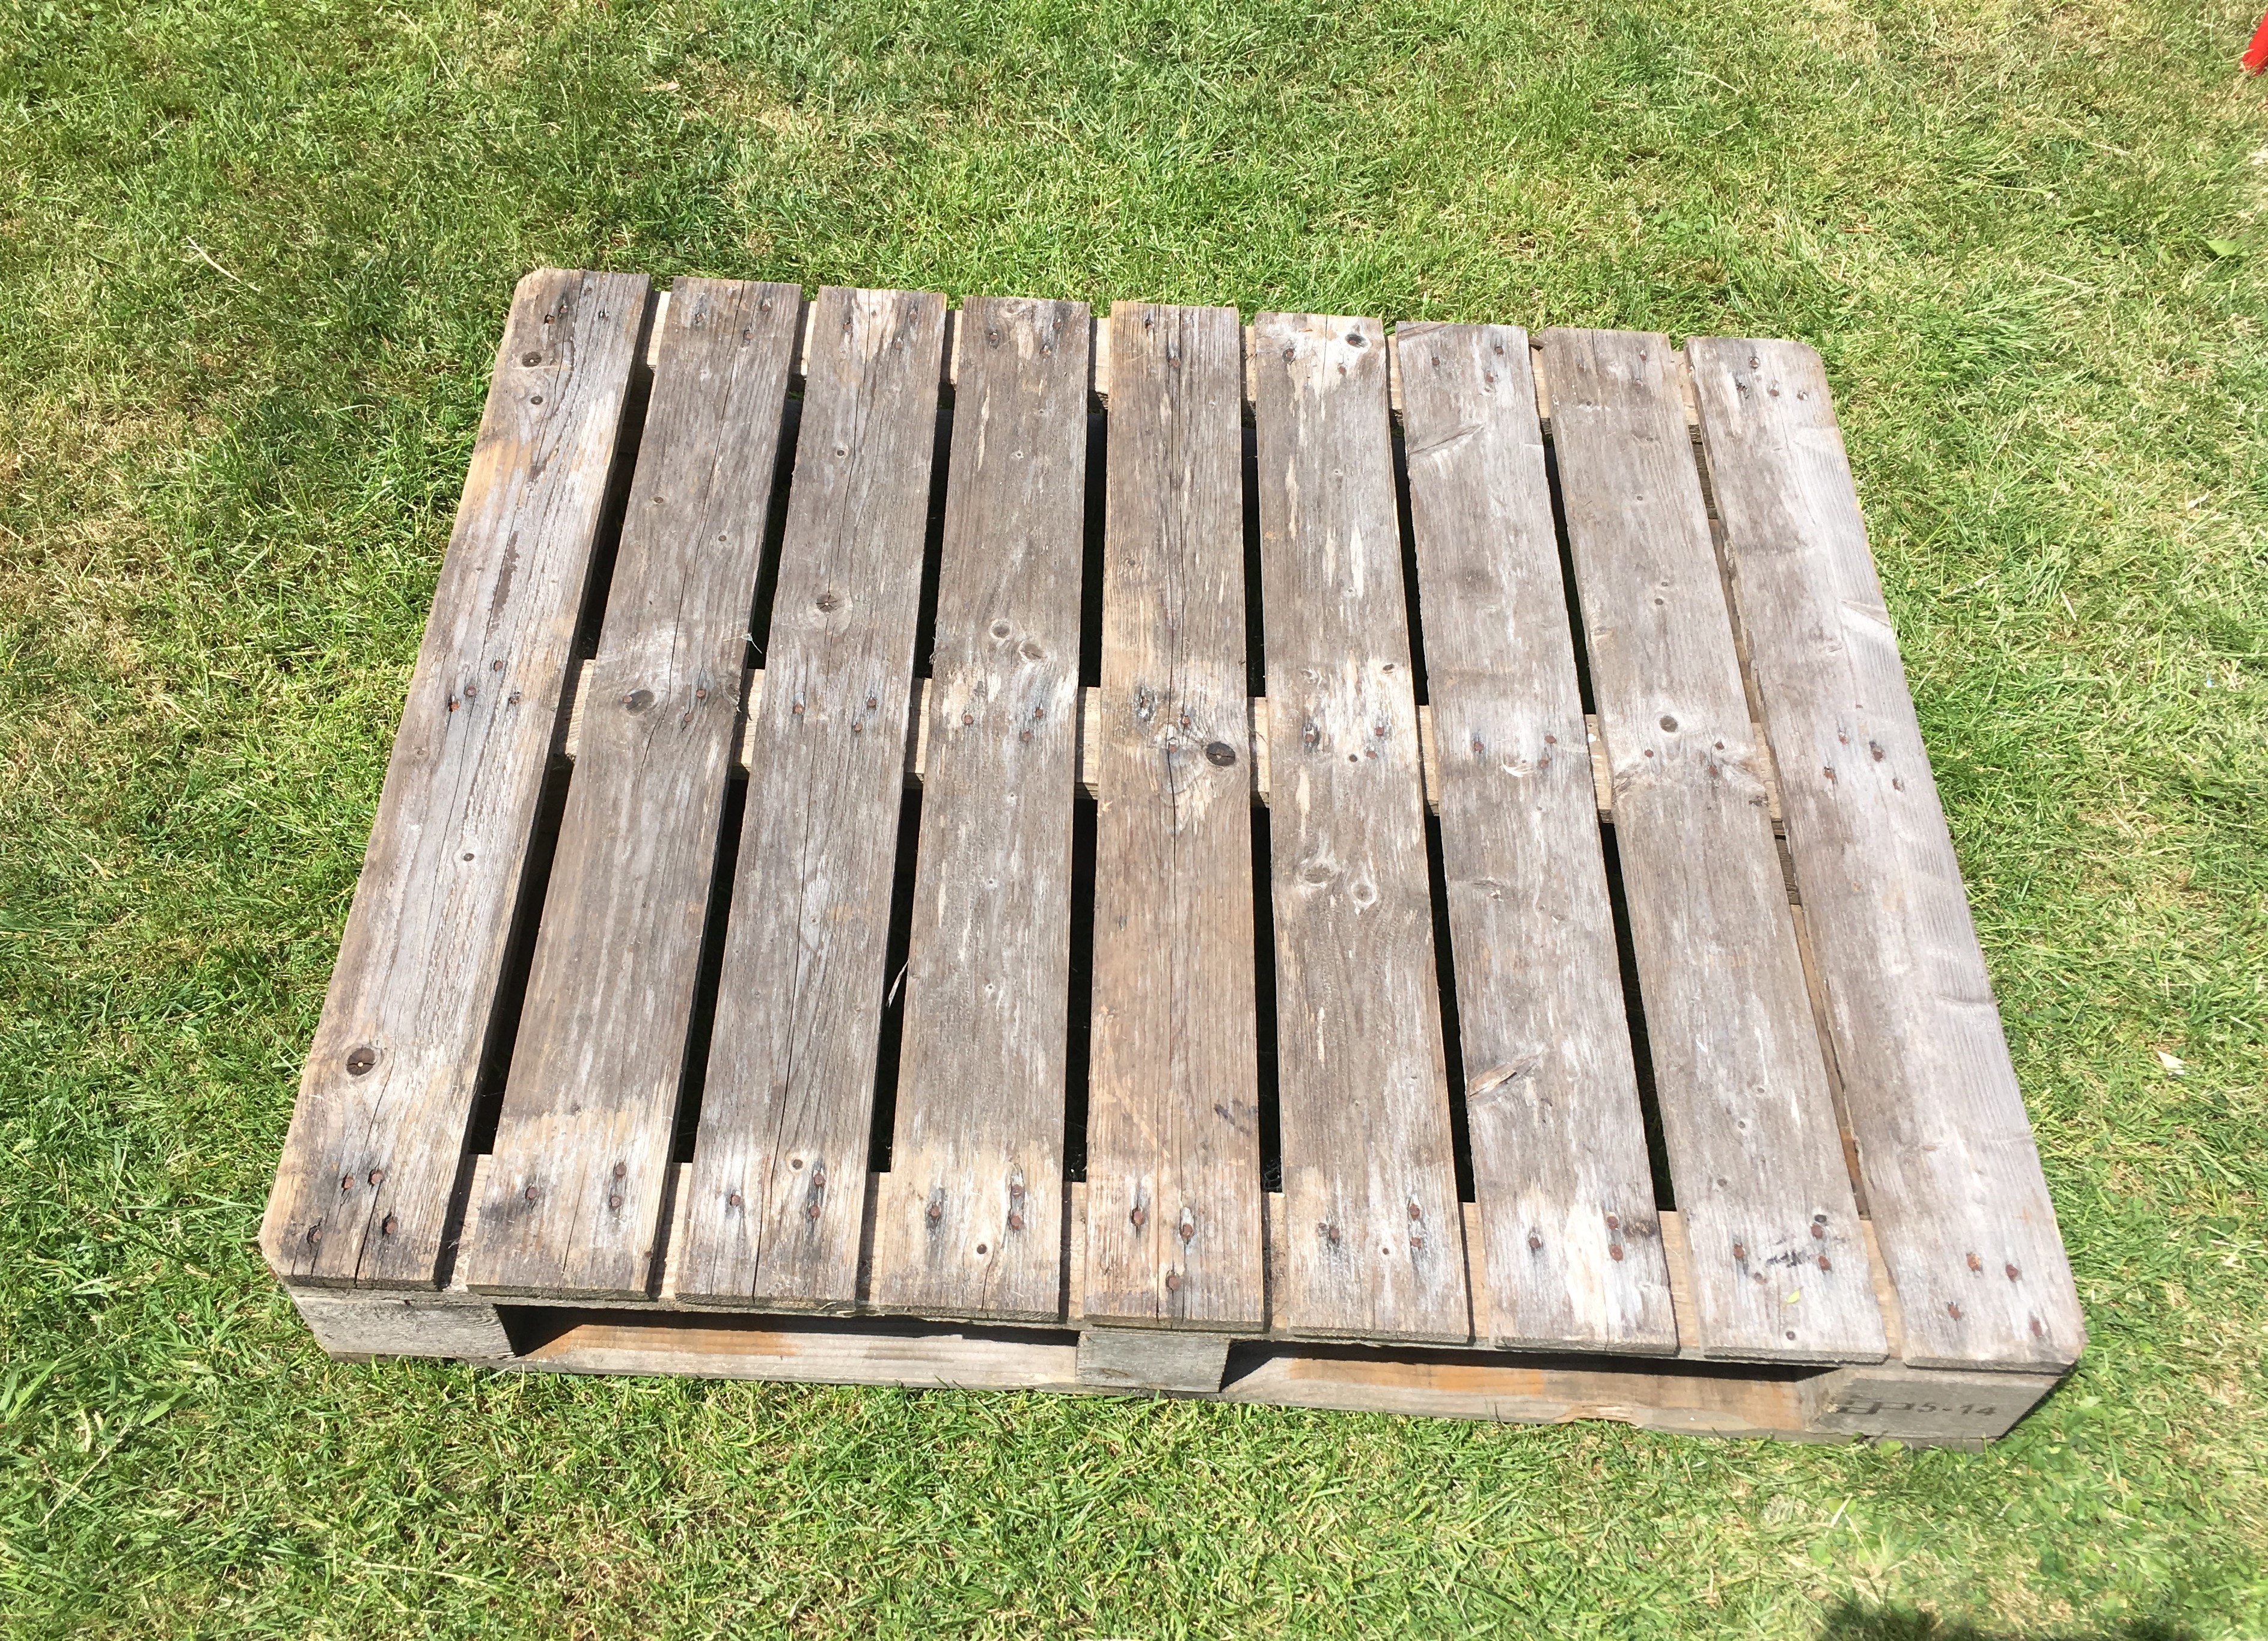
If you don’t have your own have a look around your local streets for anyone who having works done. I have seen them left outside people’s houses for the taking. This seems to be the new unofficial London way of reusing. For anyone unfamiliar with the practise, residents leave unwanted but still usable things outside on the street and anyone passing can help themselves. Sometimes it will have helpful note attached.
Step 2 – Plan and cut the pallet
With this particular pallet there were 9 slats so it was perfect for cutting into 3 sections. The top and bottom thirds made the front and back and the middle section provided the two sides. It should go without saying, but please be extra careful here if you’re not used to DIY. If you’re using a circular saw, make sure you use eye protection.
3 slats per section 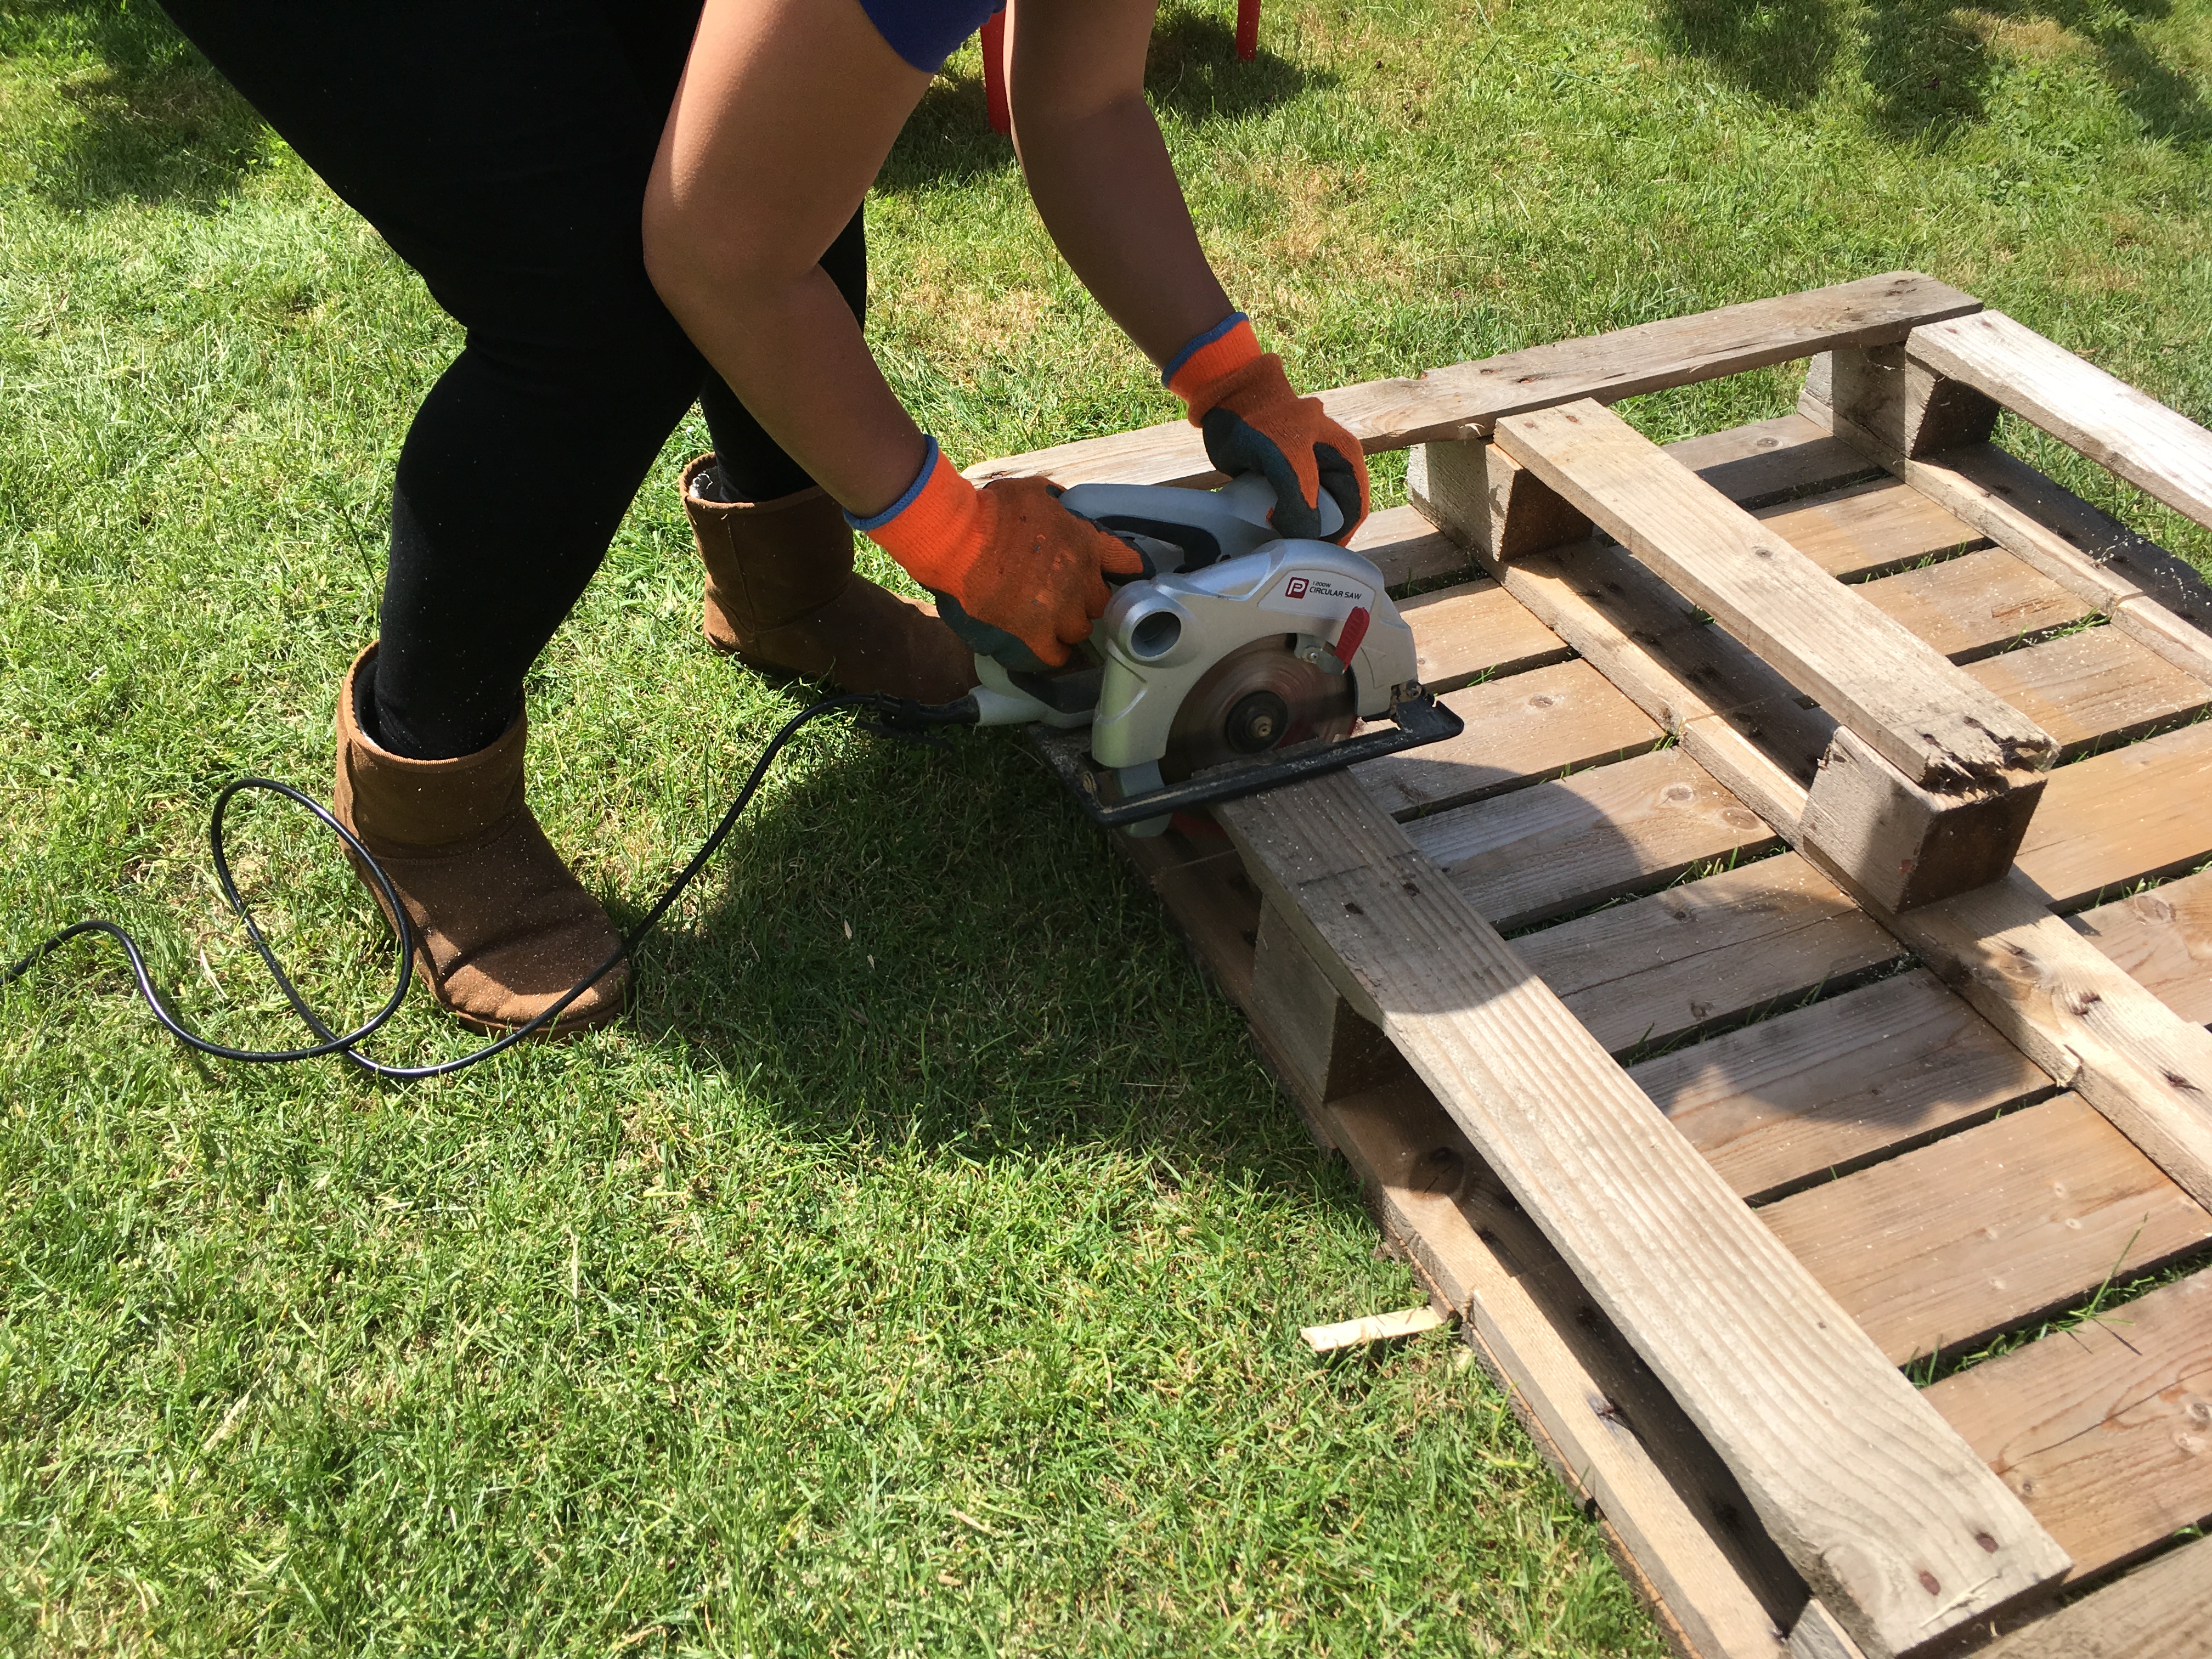
The supports at the back also need cutting 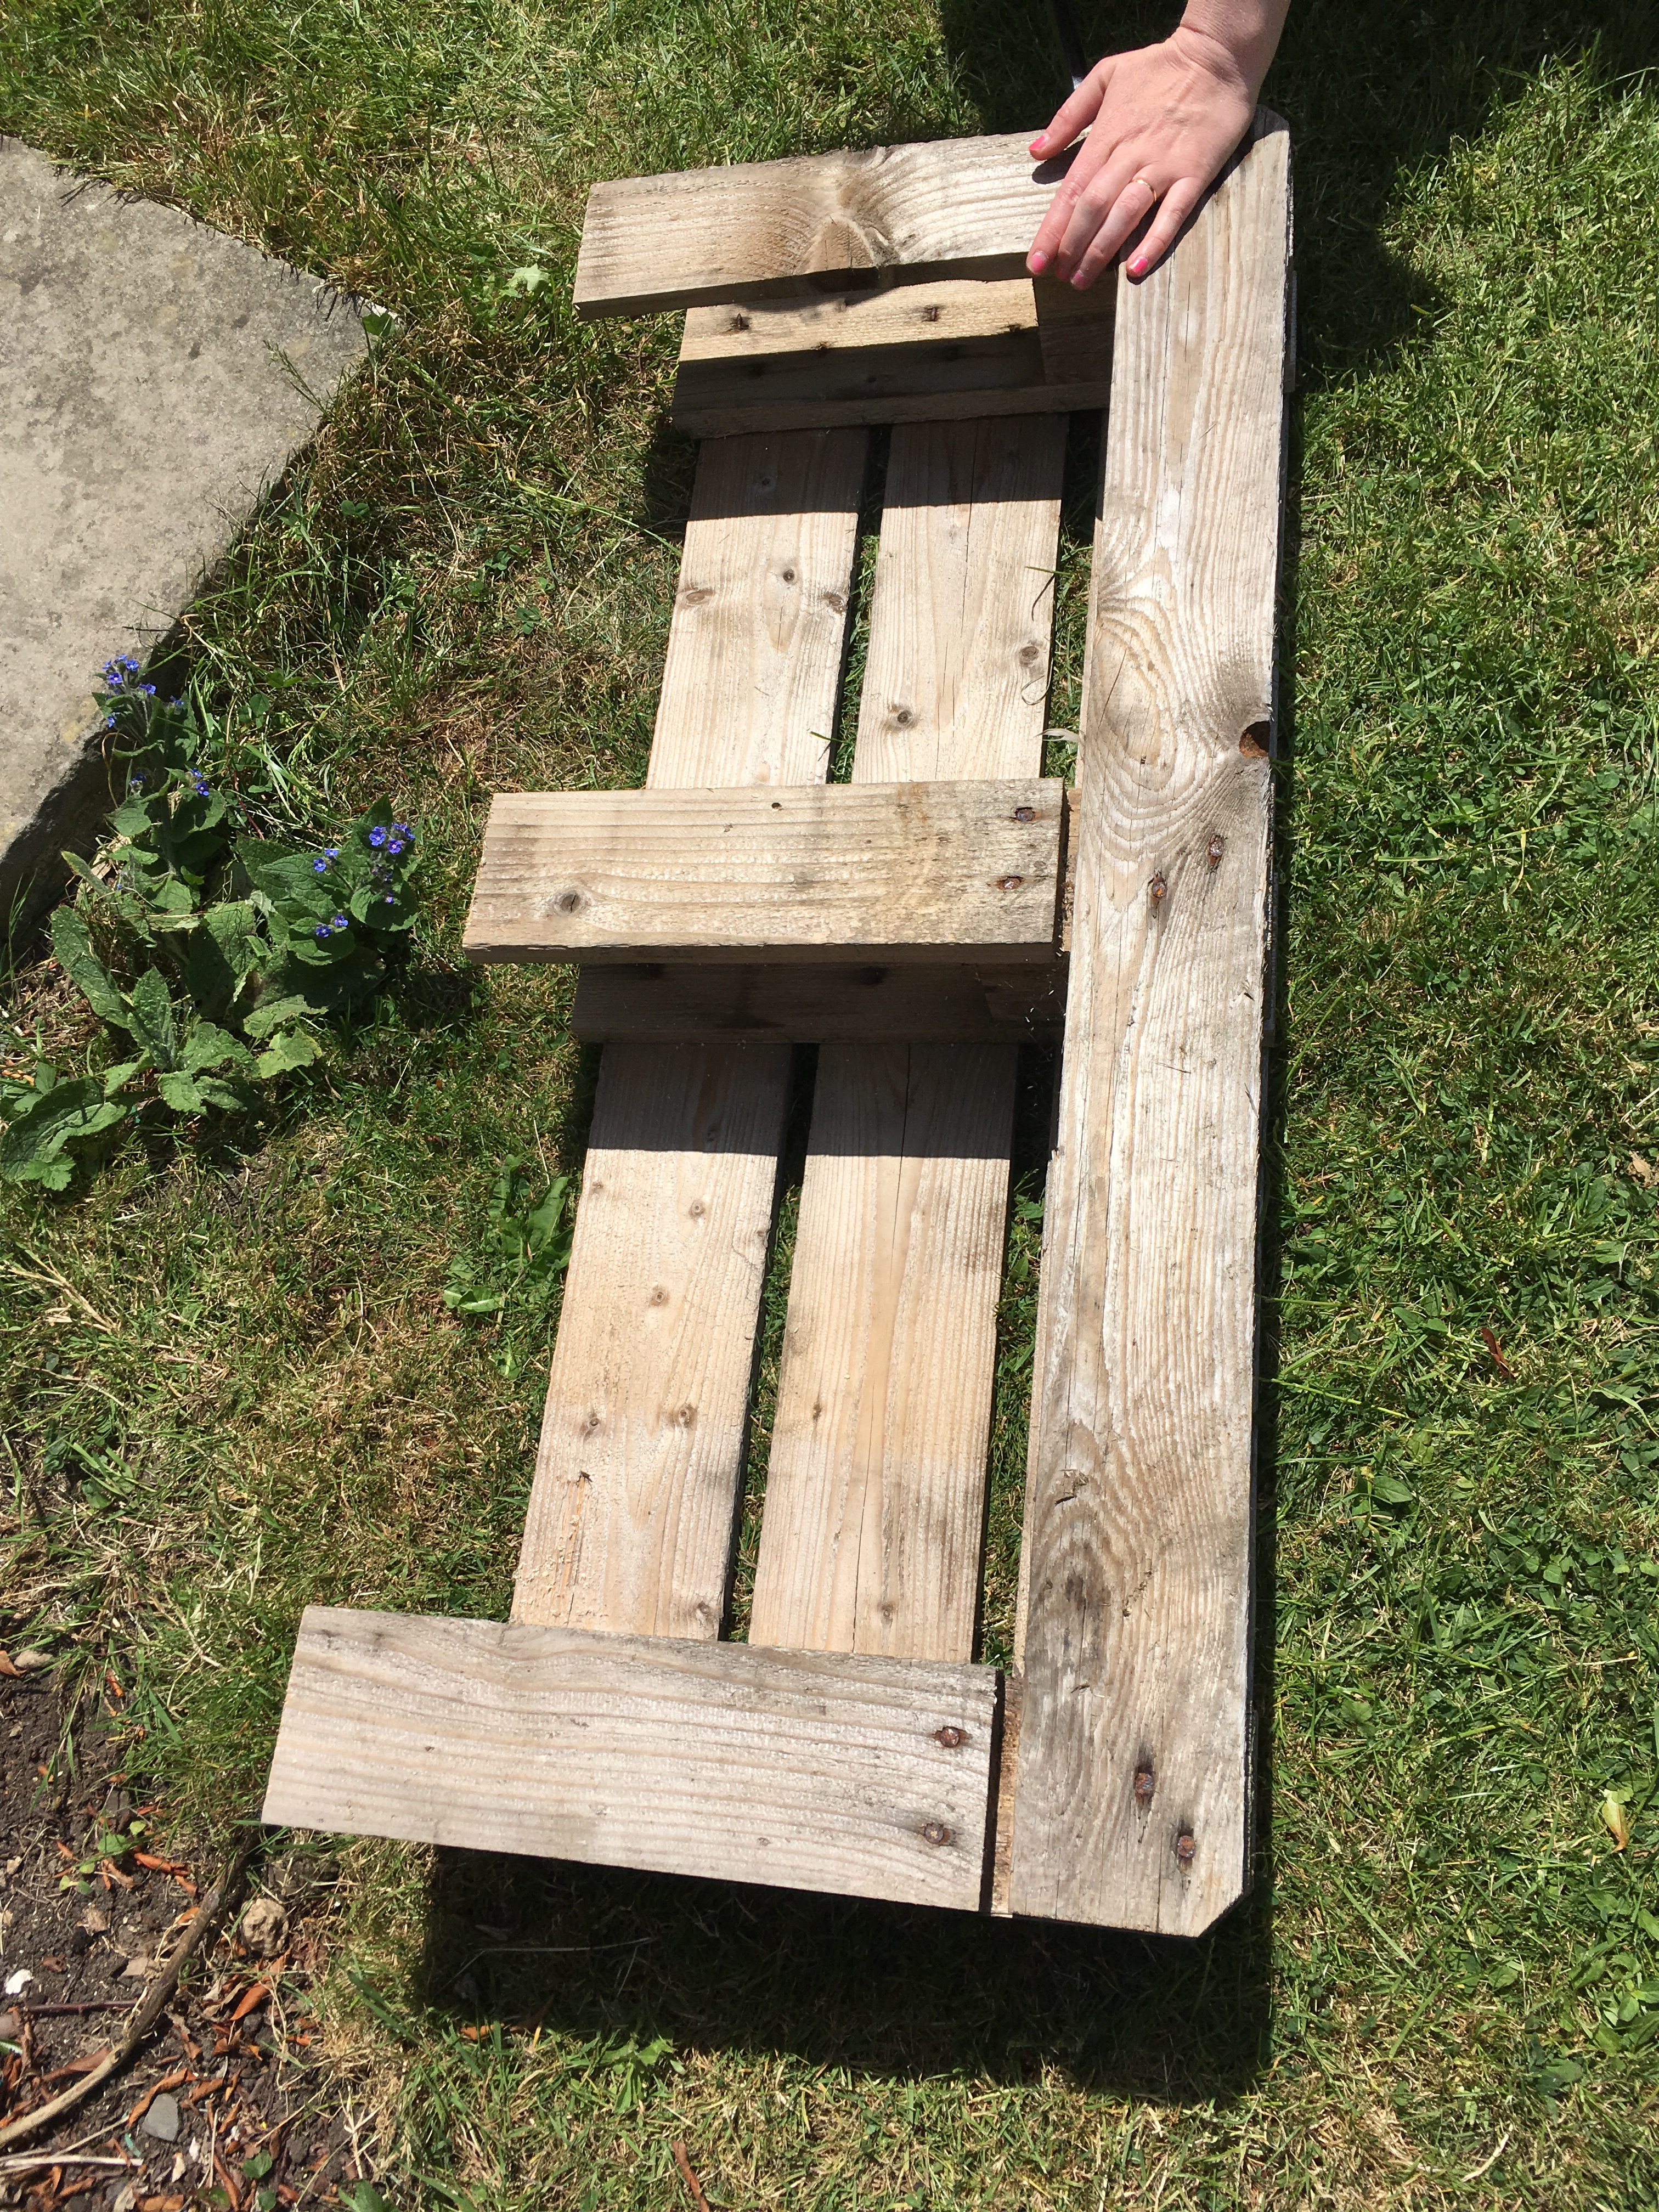
You get 2 of these 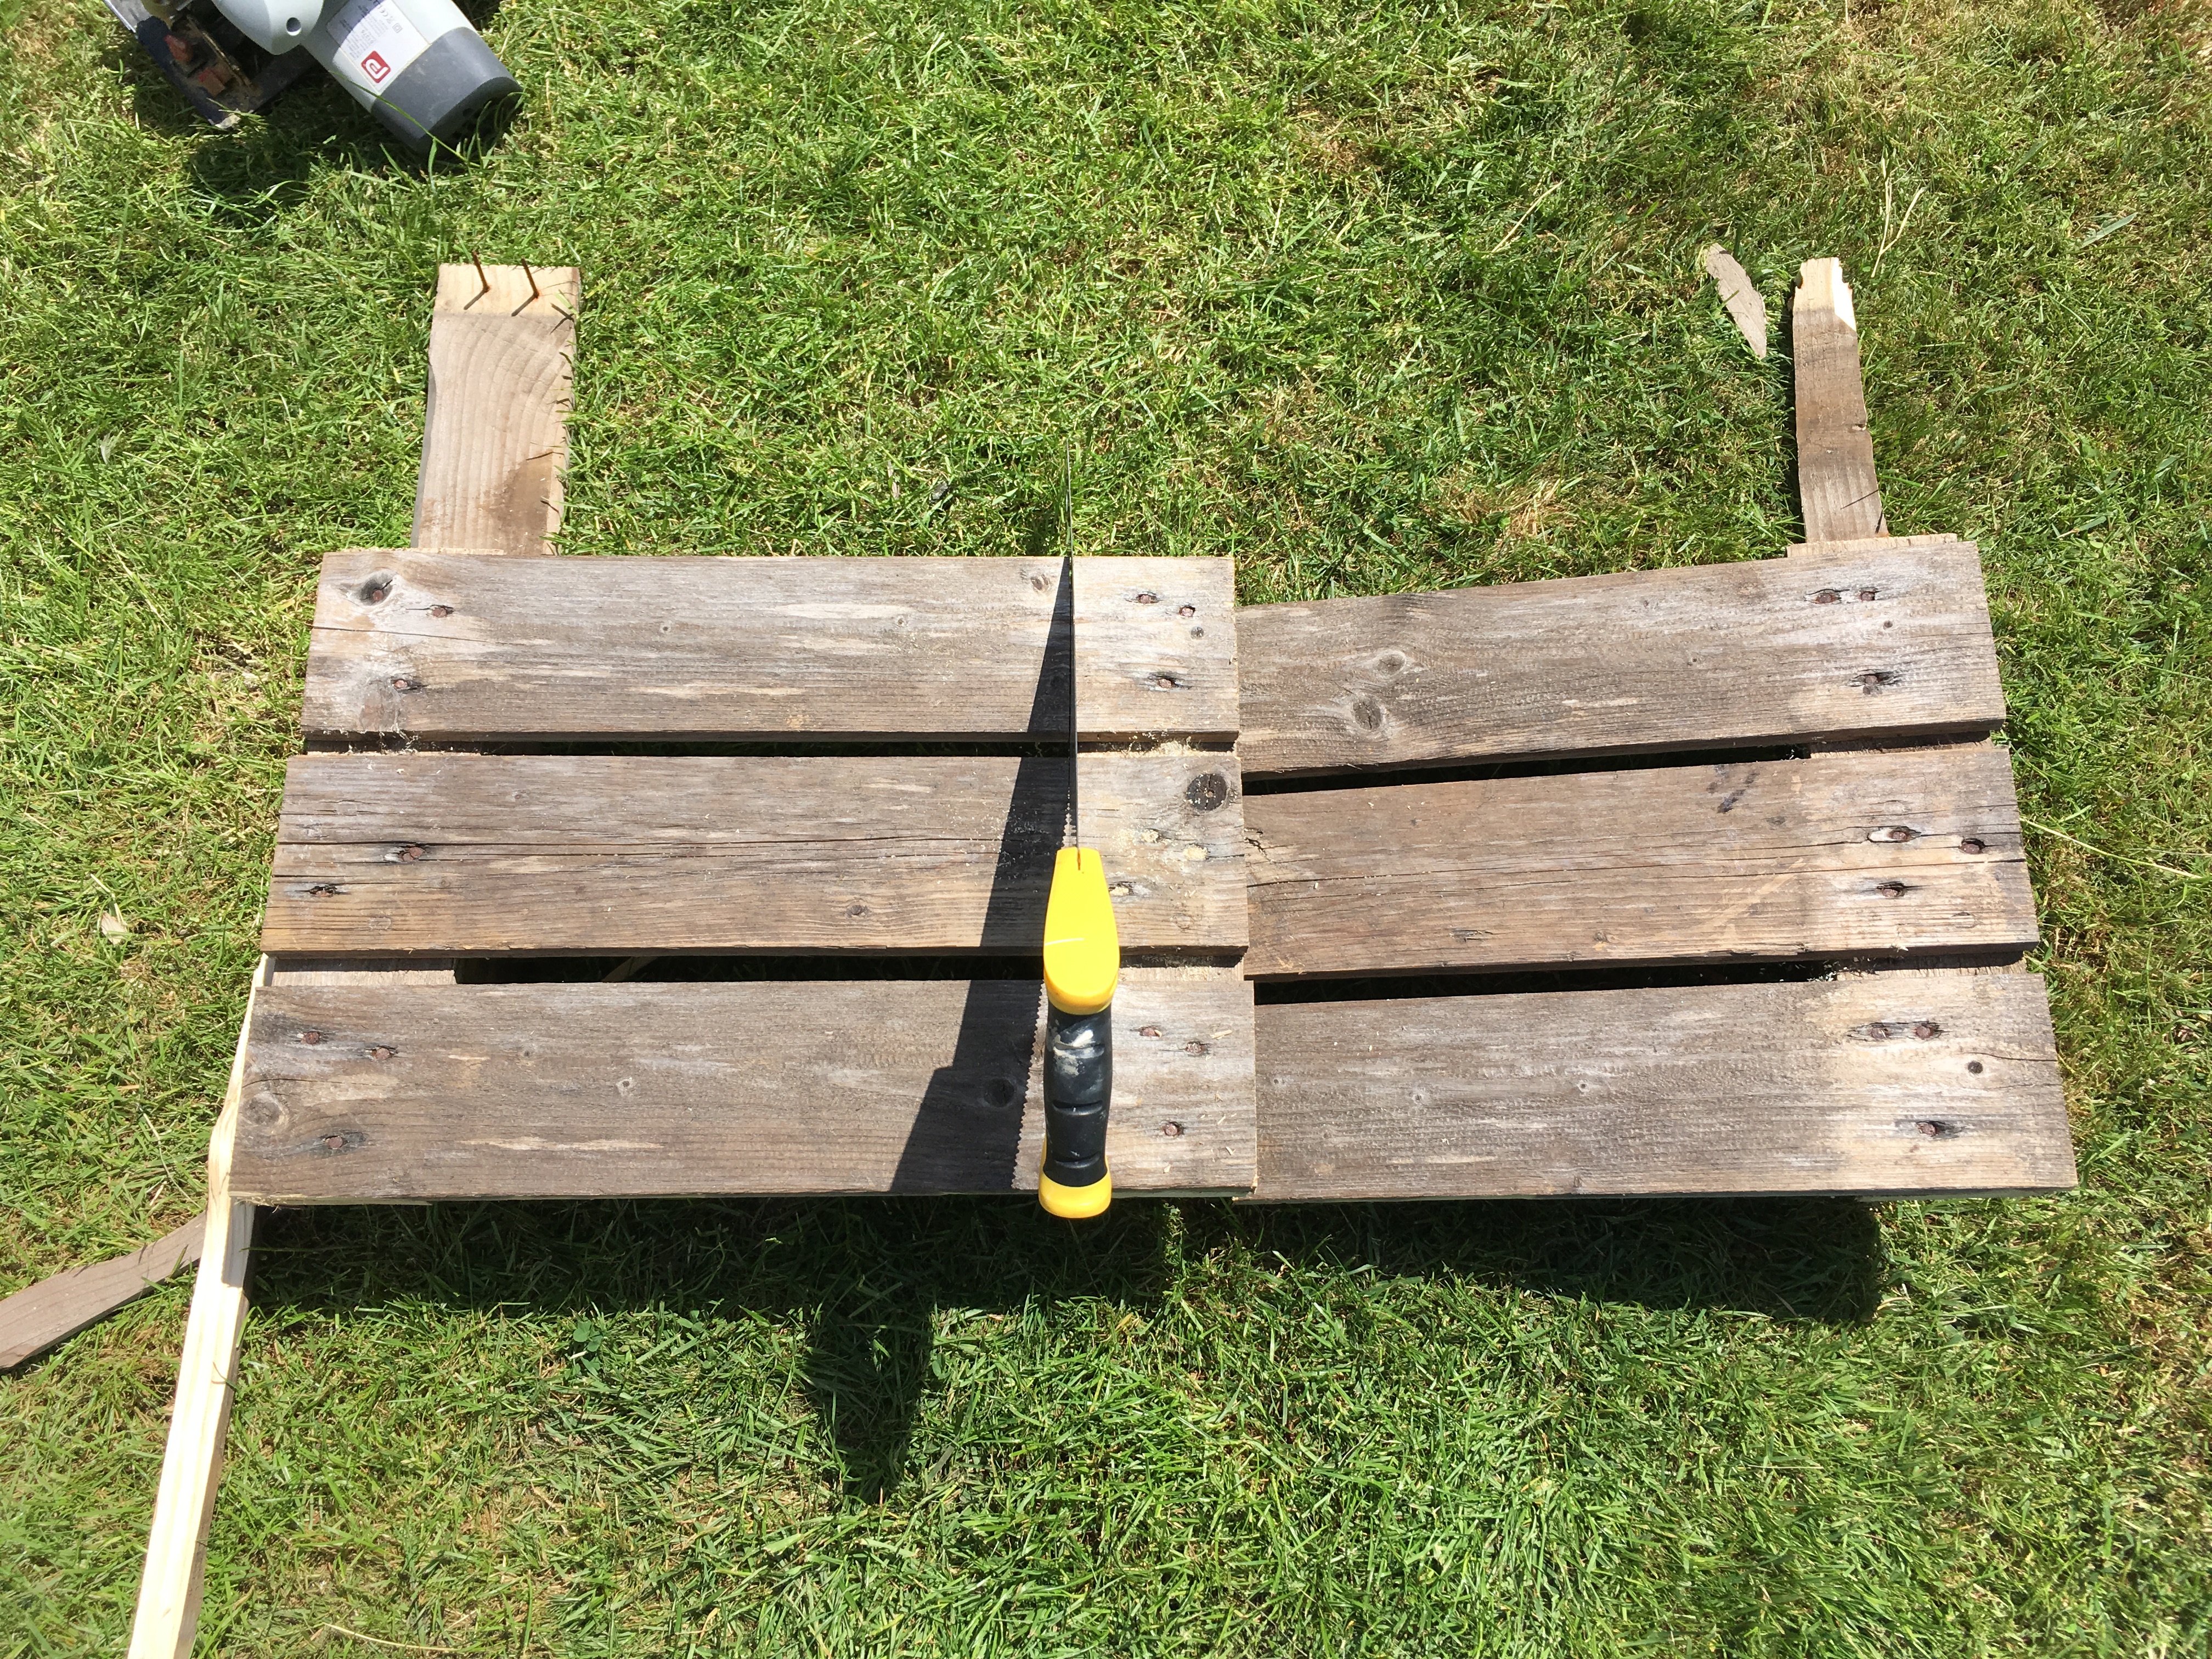
Cut the middle section into 2 – but here it was easier to saw the middle section out rather than to pry it off and then sawing in half
Step 3 – Remove unwanted bits

Use a crowbar or hammer to remove bits that stick out but be aware the wood may splinter so eye protection is advisable. 
Remove any exposed nails or knock them in with a hammer, if easier. 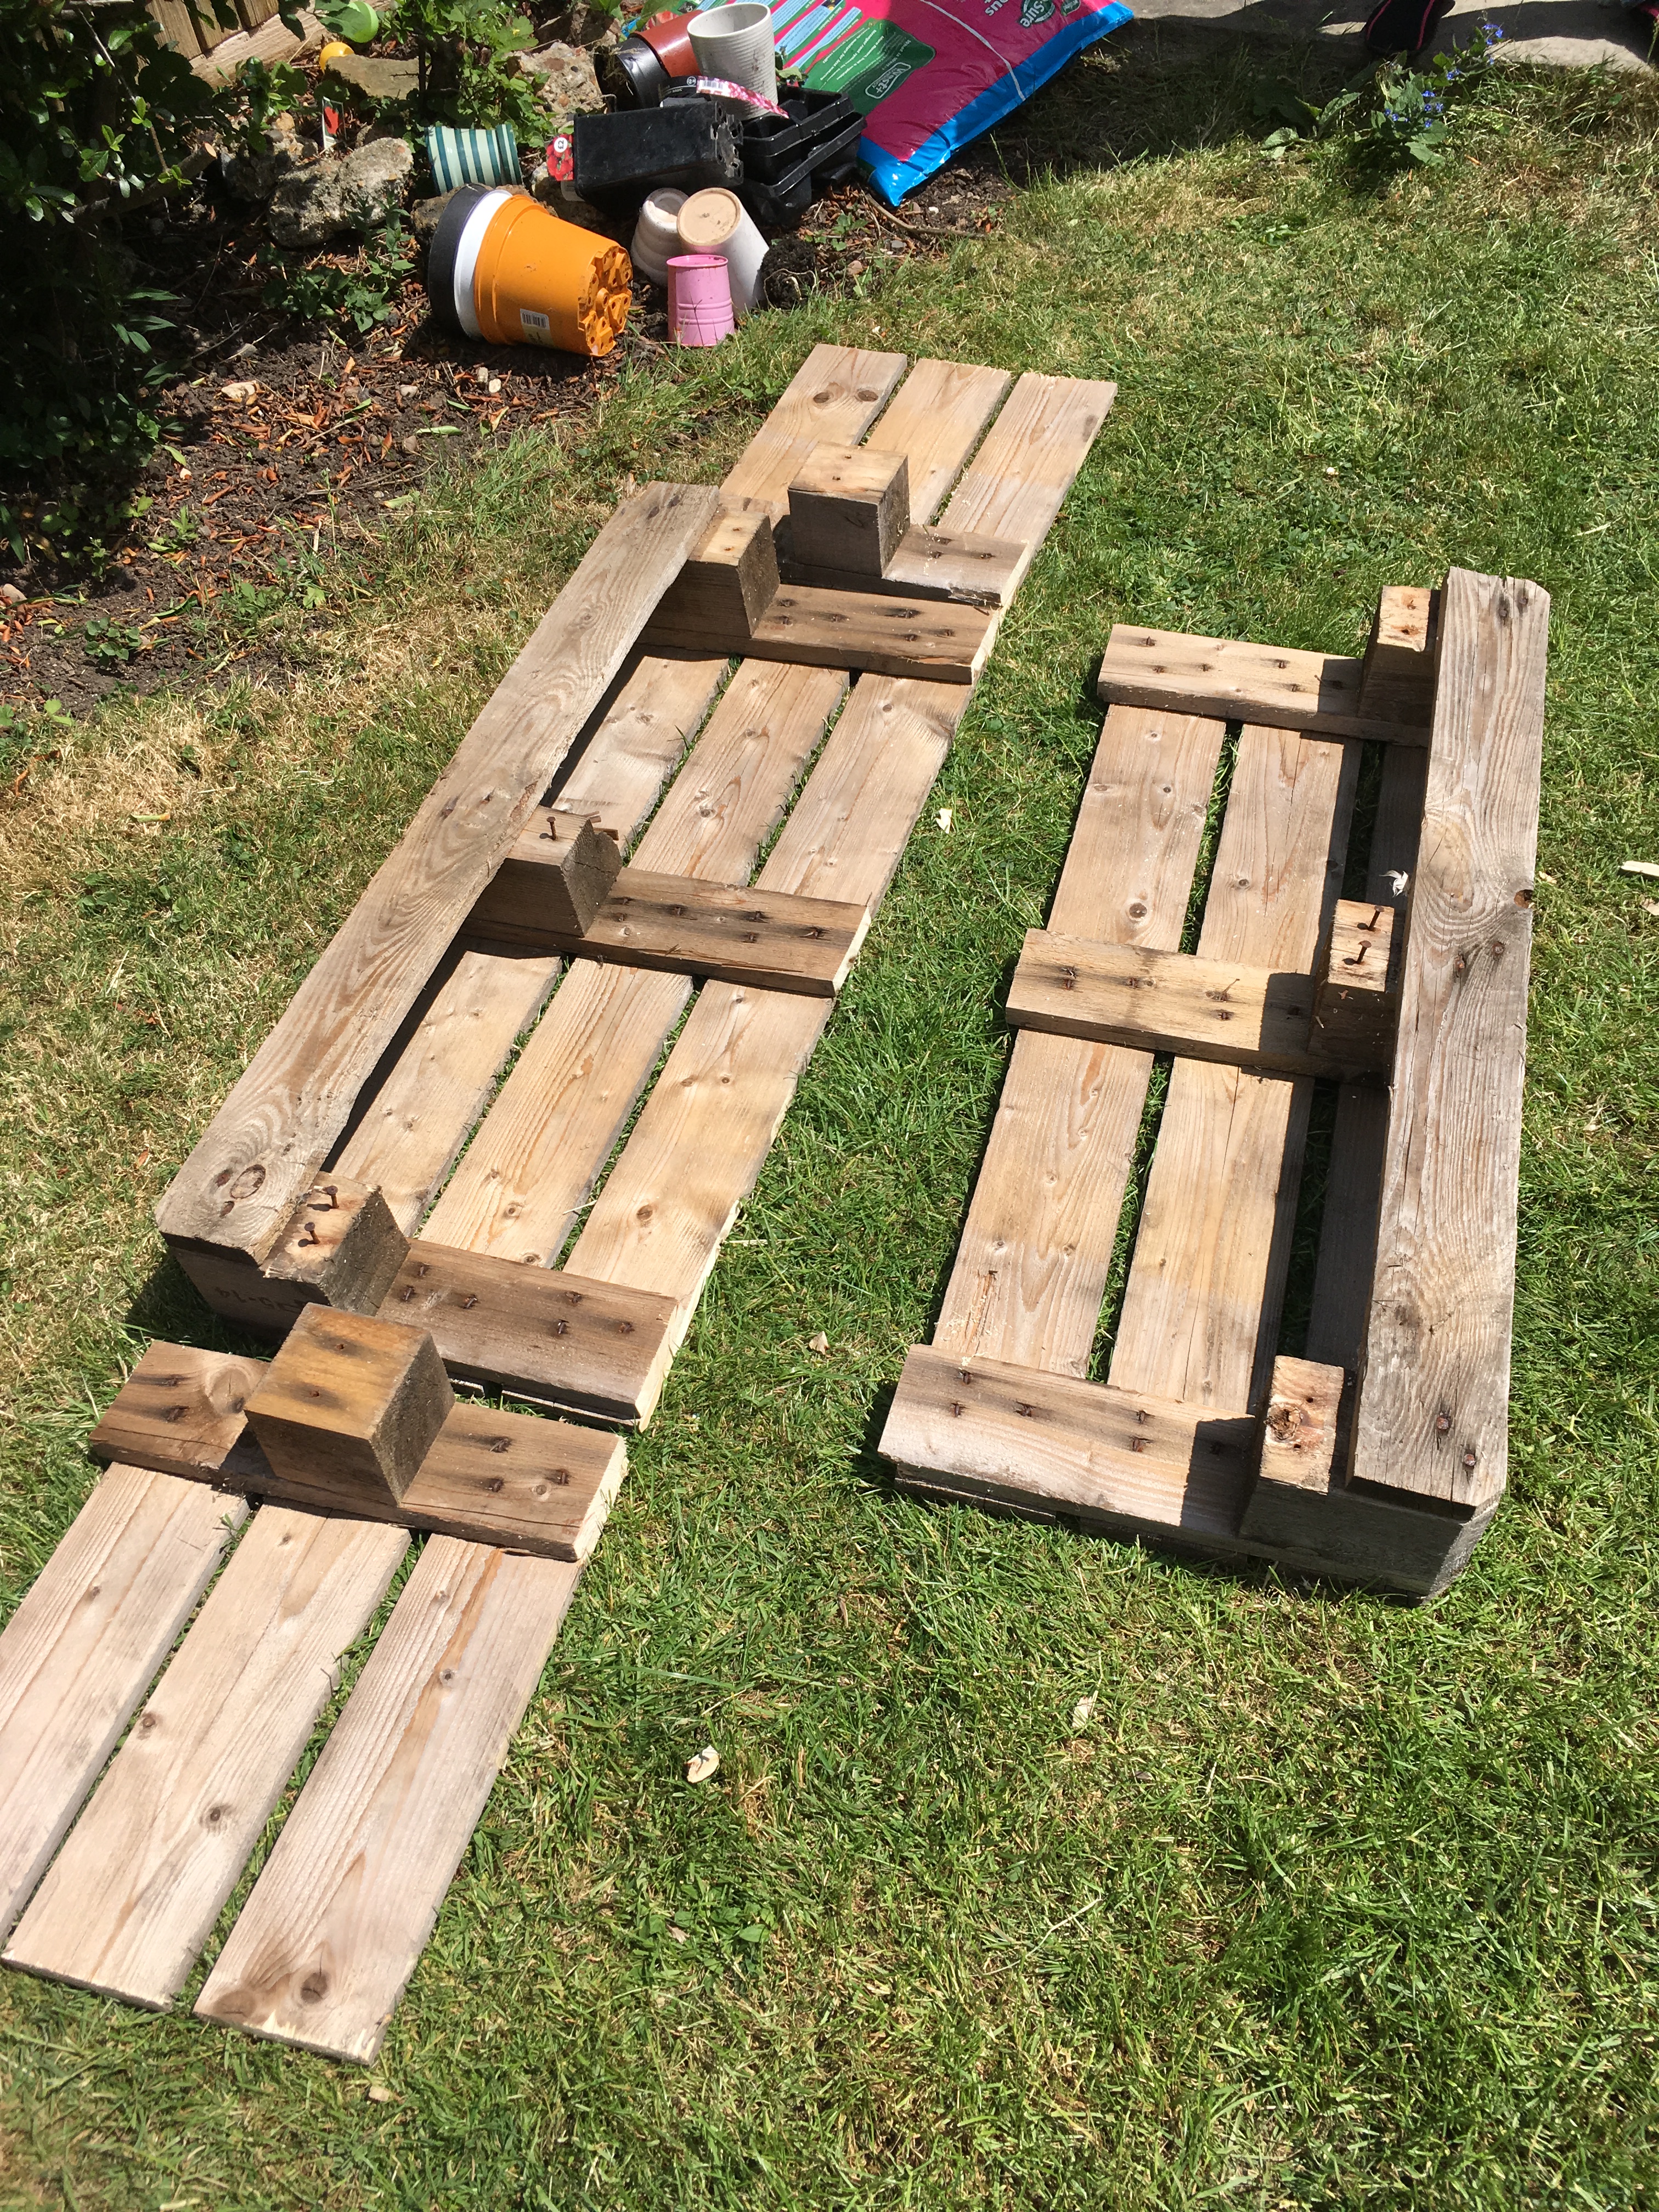
All the parts, tidied up, lined up and ready to go.
Here we removed most of the bottom frame of the pallet. We kept 2 edges to support the base, but also mostly because we were too lazy to remove them. We kept all of the blocks for something to screw into during assembling.
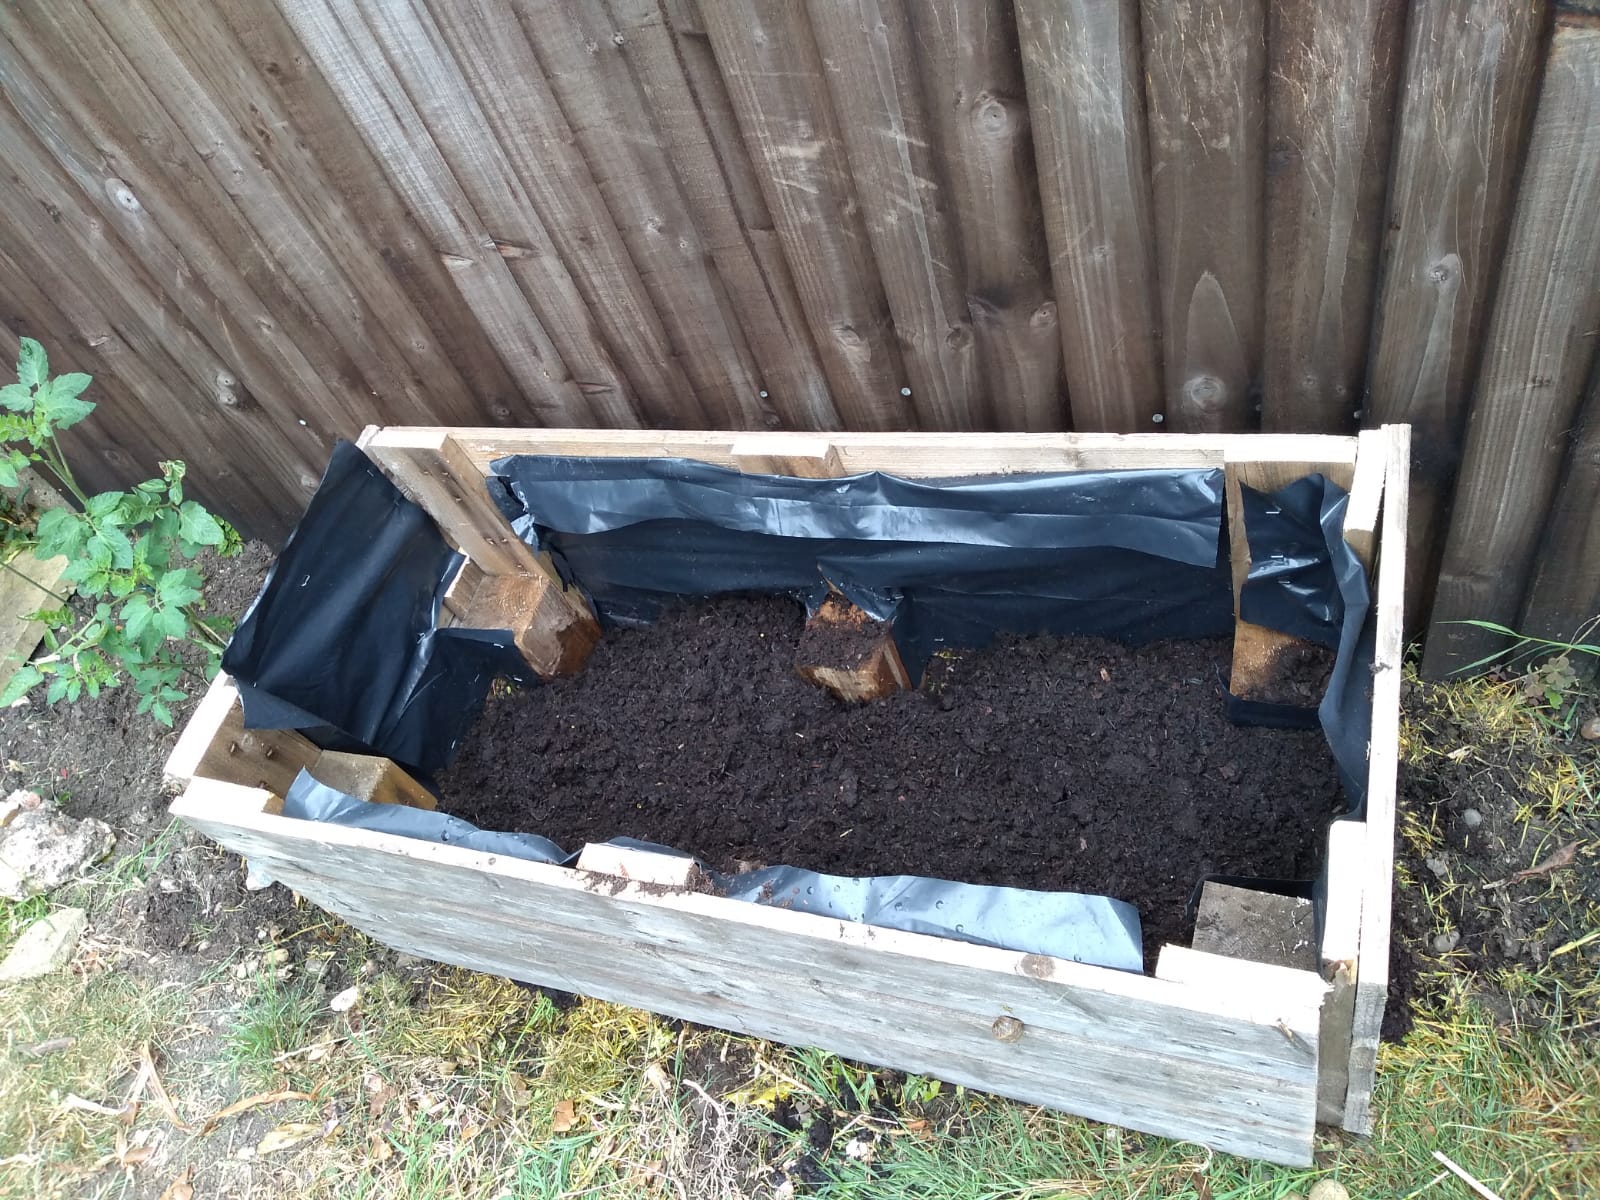
Step 4 – Line the planter
You can line with plastic to keep the moisture in, protect your wood, if the slats are too far apart or if you feel uneasy about the source of the pallet. You can line with landscape fabric if you want a more organic feel whilst keeping the soil in. It won’t be a moisture barrier though.

Here we used 2 rubble bags cut with scissors , 
lined up the plastic 
and stapled it round the edges with a staple gun
As we weren’t worried about the pallet and the slats were very close together, we just did it to protect the wood a little, so we didn’t ensure full coverage of the insides. Lining the pallet can be done at the end too, but it can be difficult to get a good angle with the staple gun.
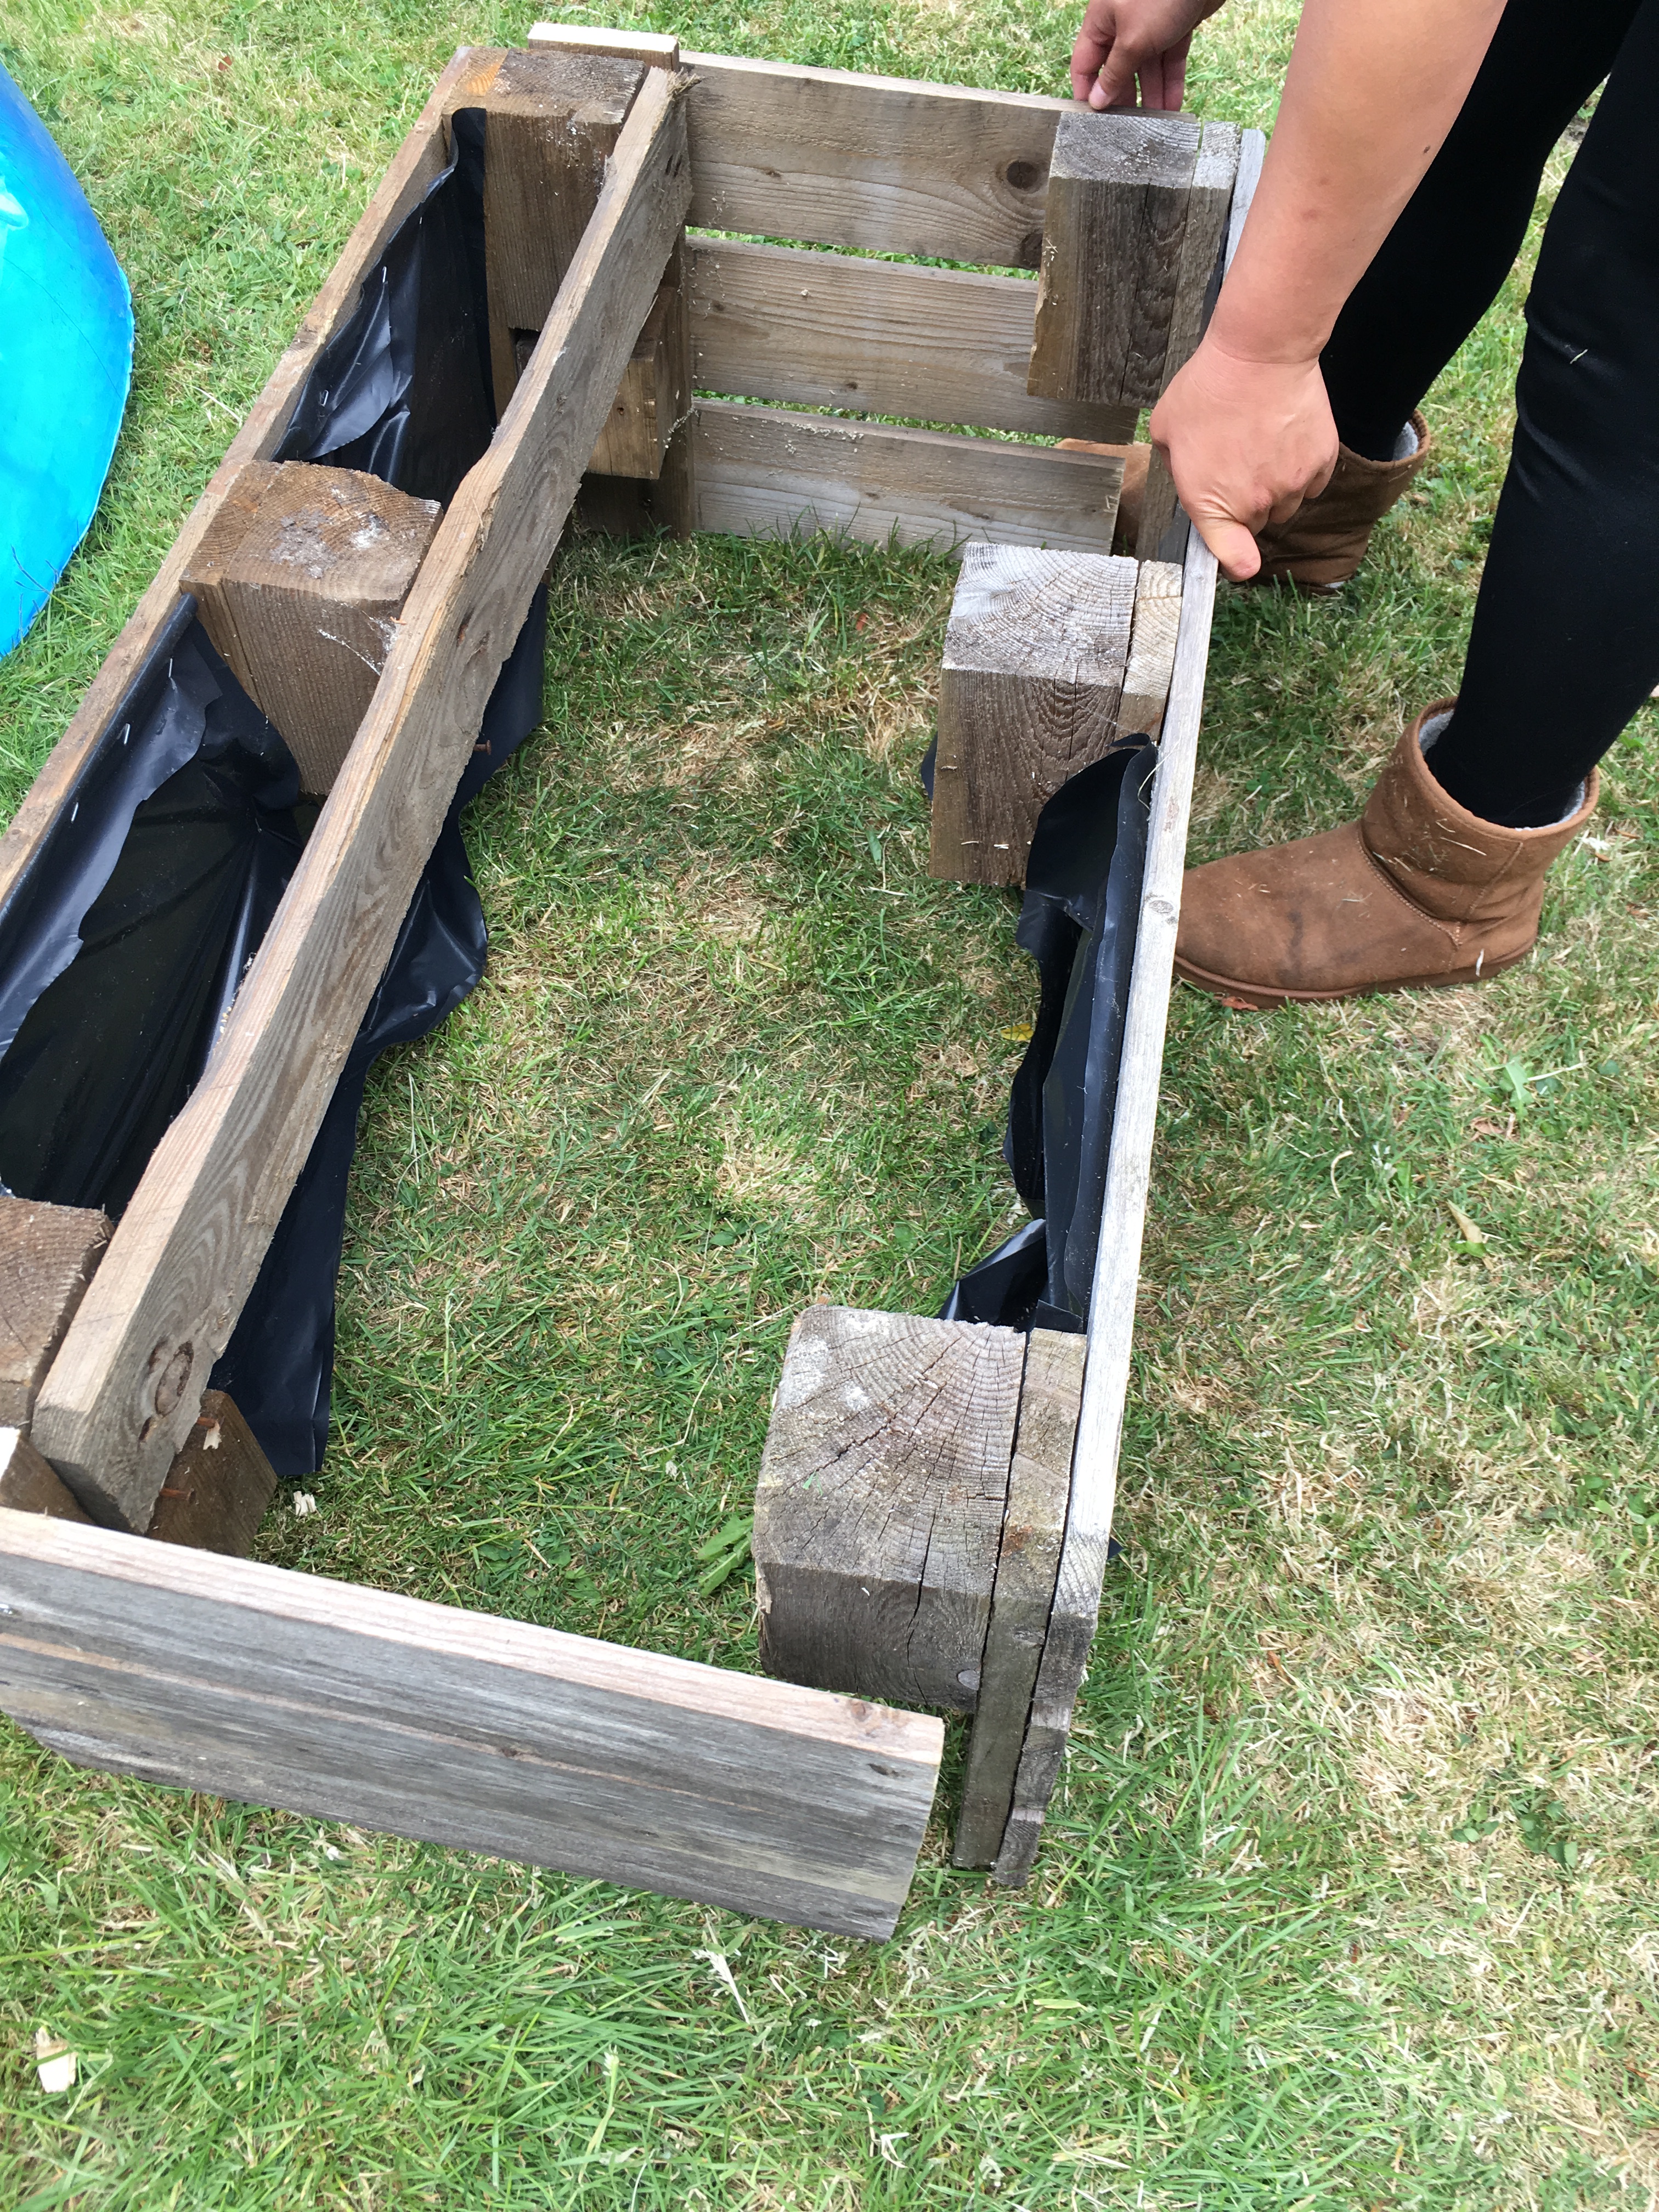
Step 5 – Assemble your planter
Decide which is going to be the bottom and try and keep that bottom edge level. Start with a corner and attach them together. Assistance with holding things in place helps to speed things along. Try to screw into some nice thick wood. We kept the blocks in the middle of the pallet for this purpose. I’ve used a random assortment in previous pallet planters.
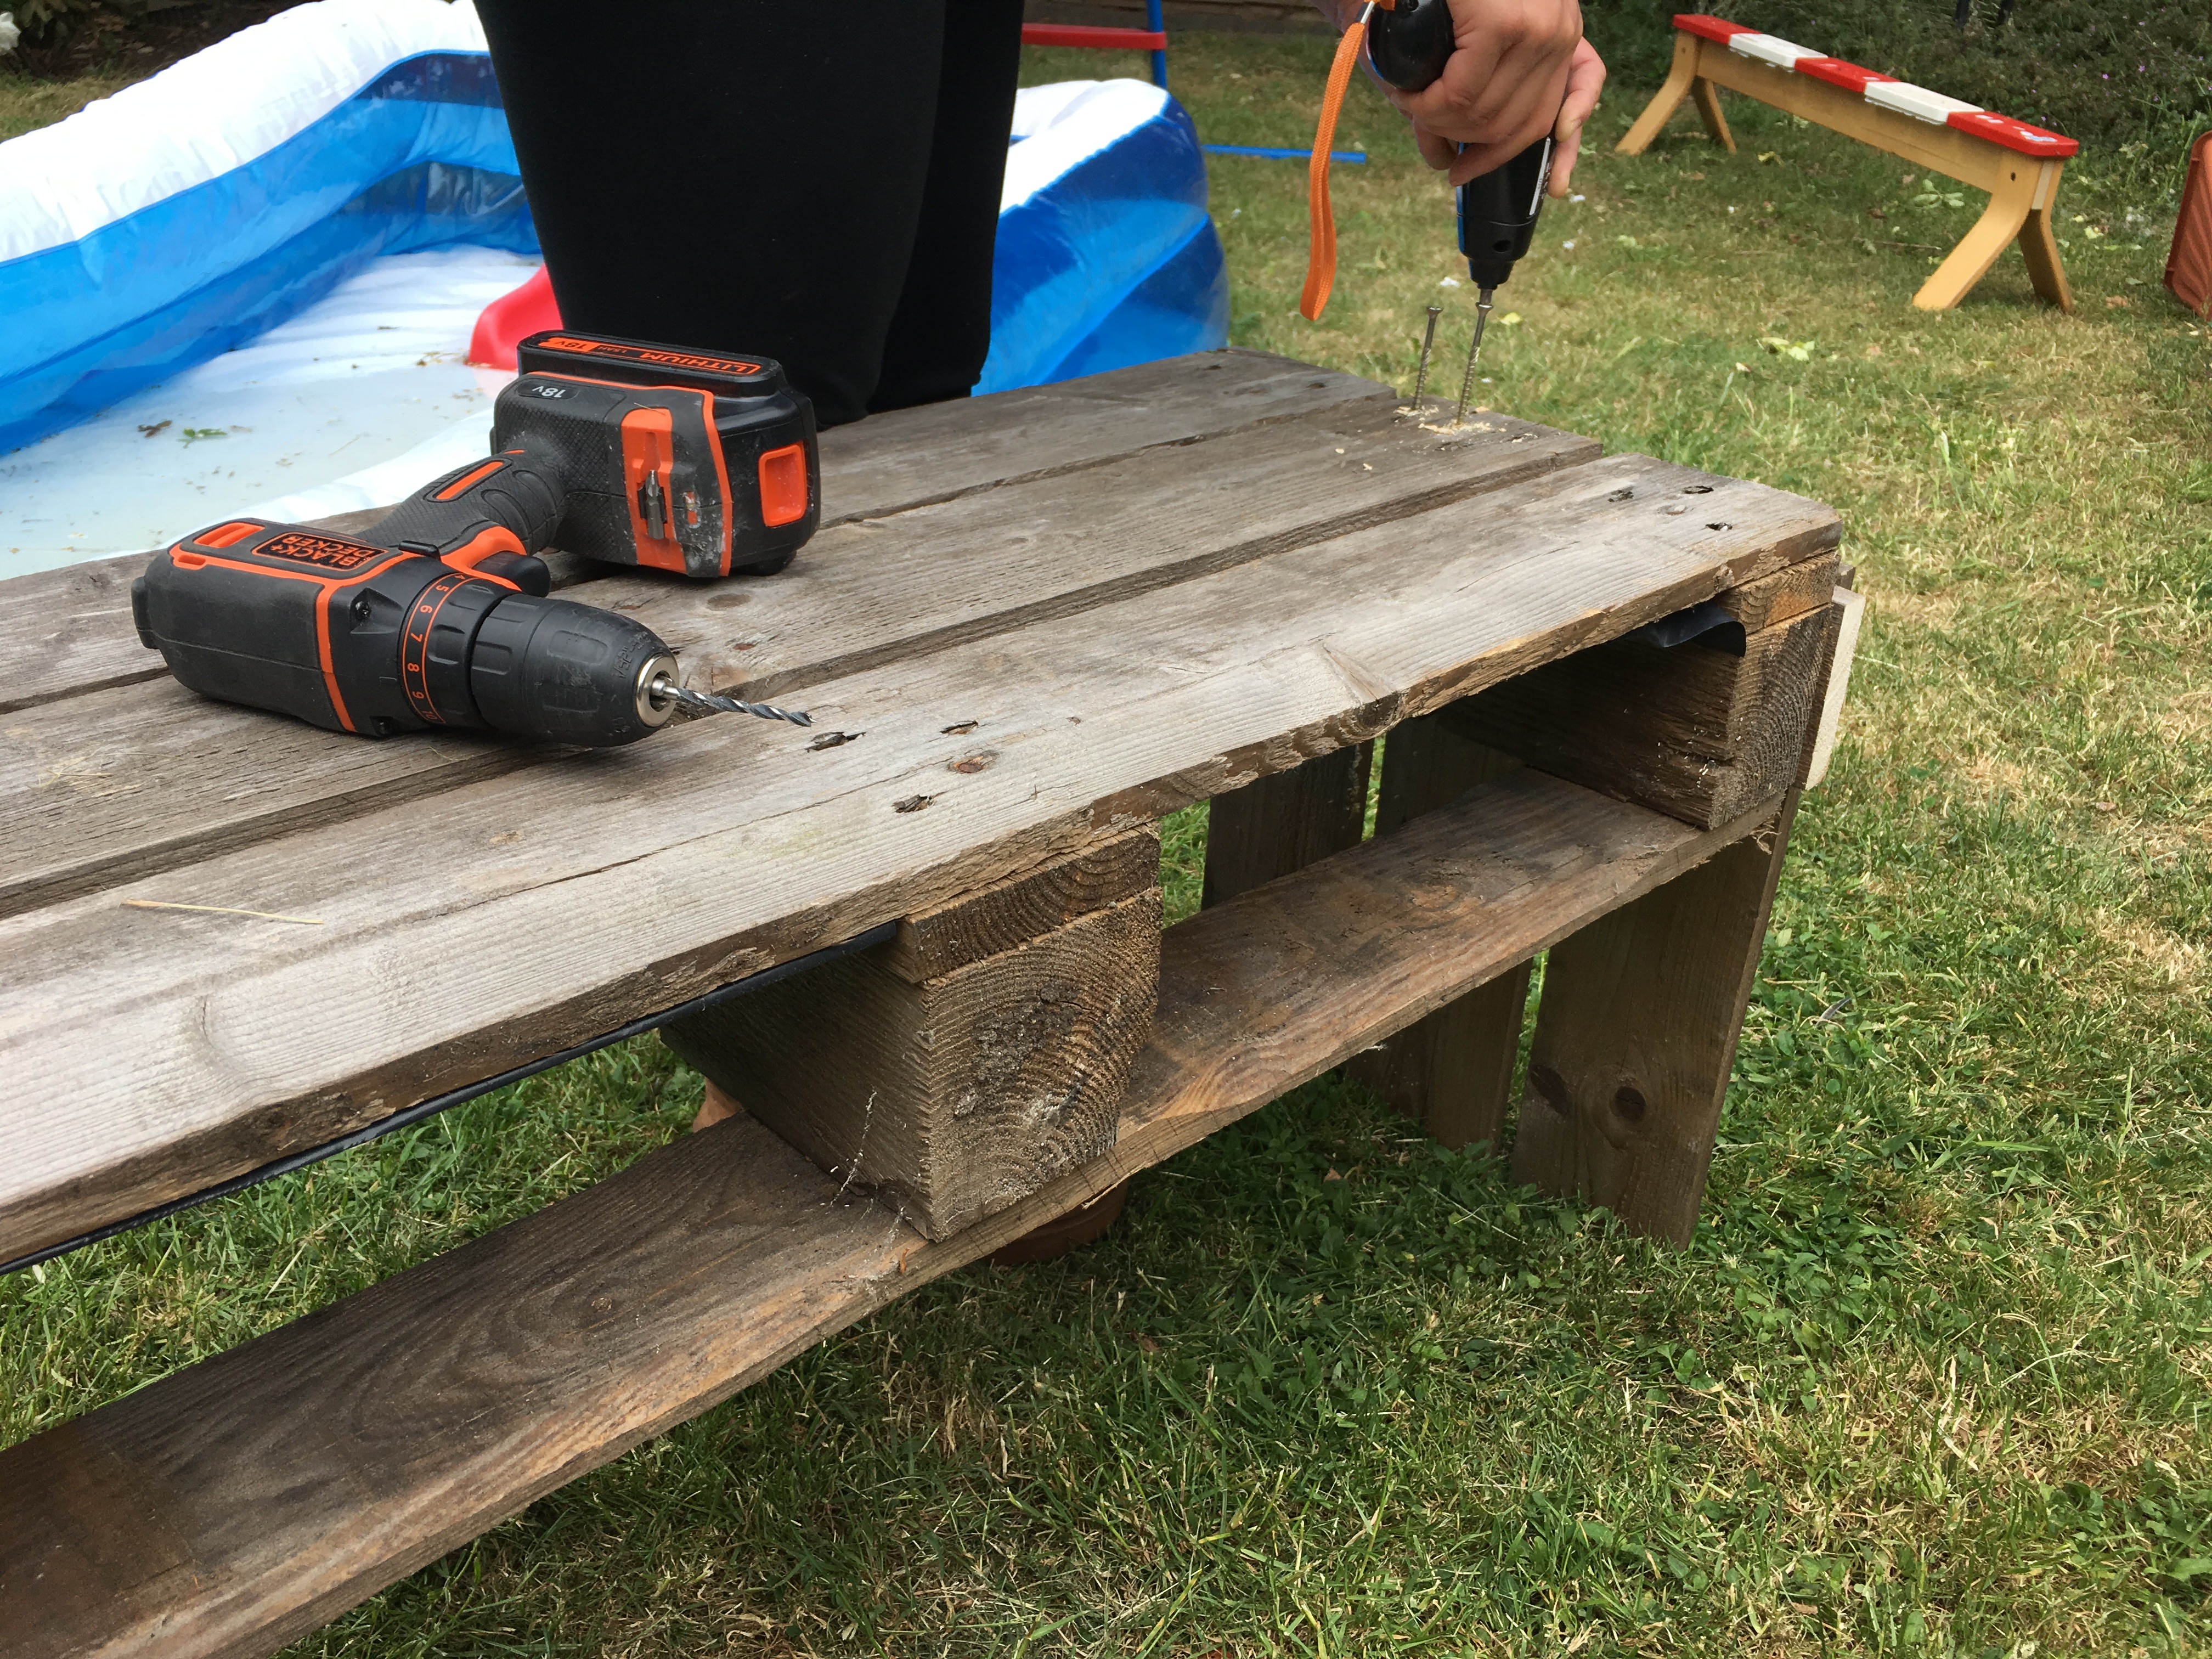
Blocks in this current project 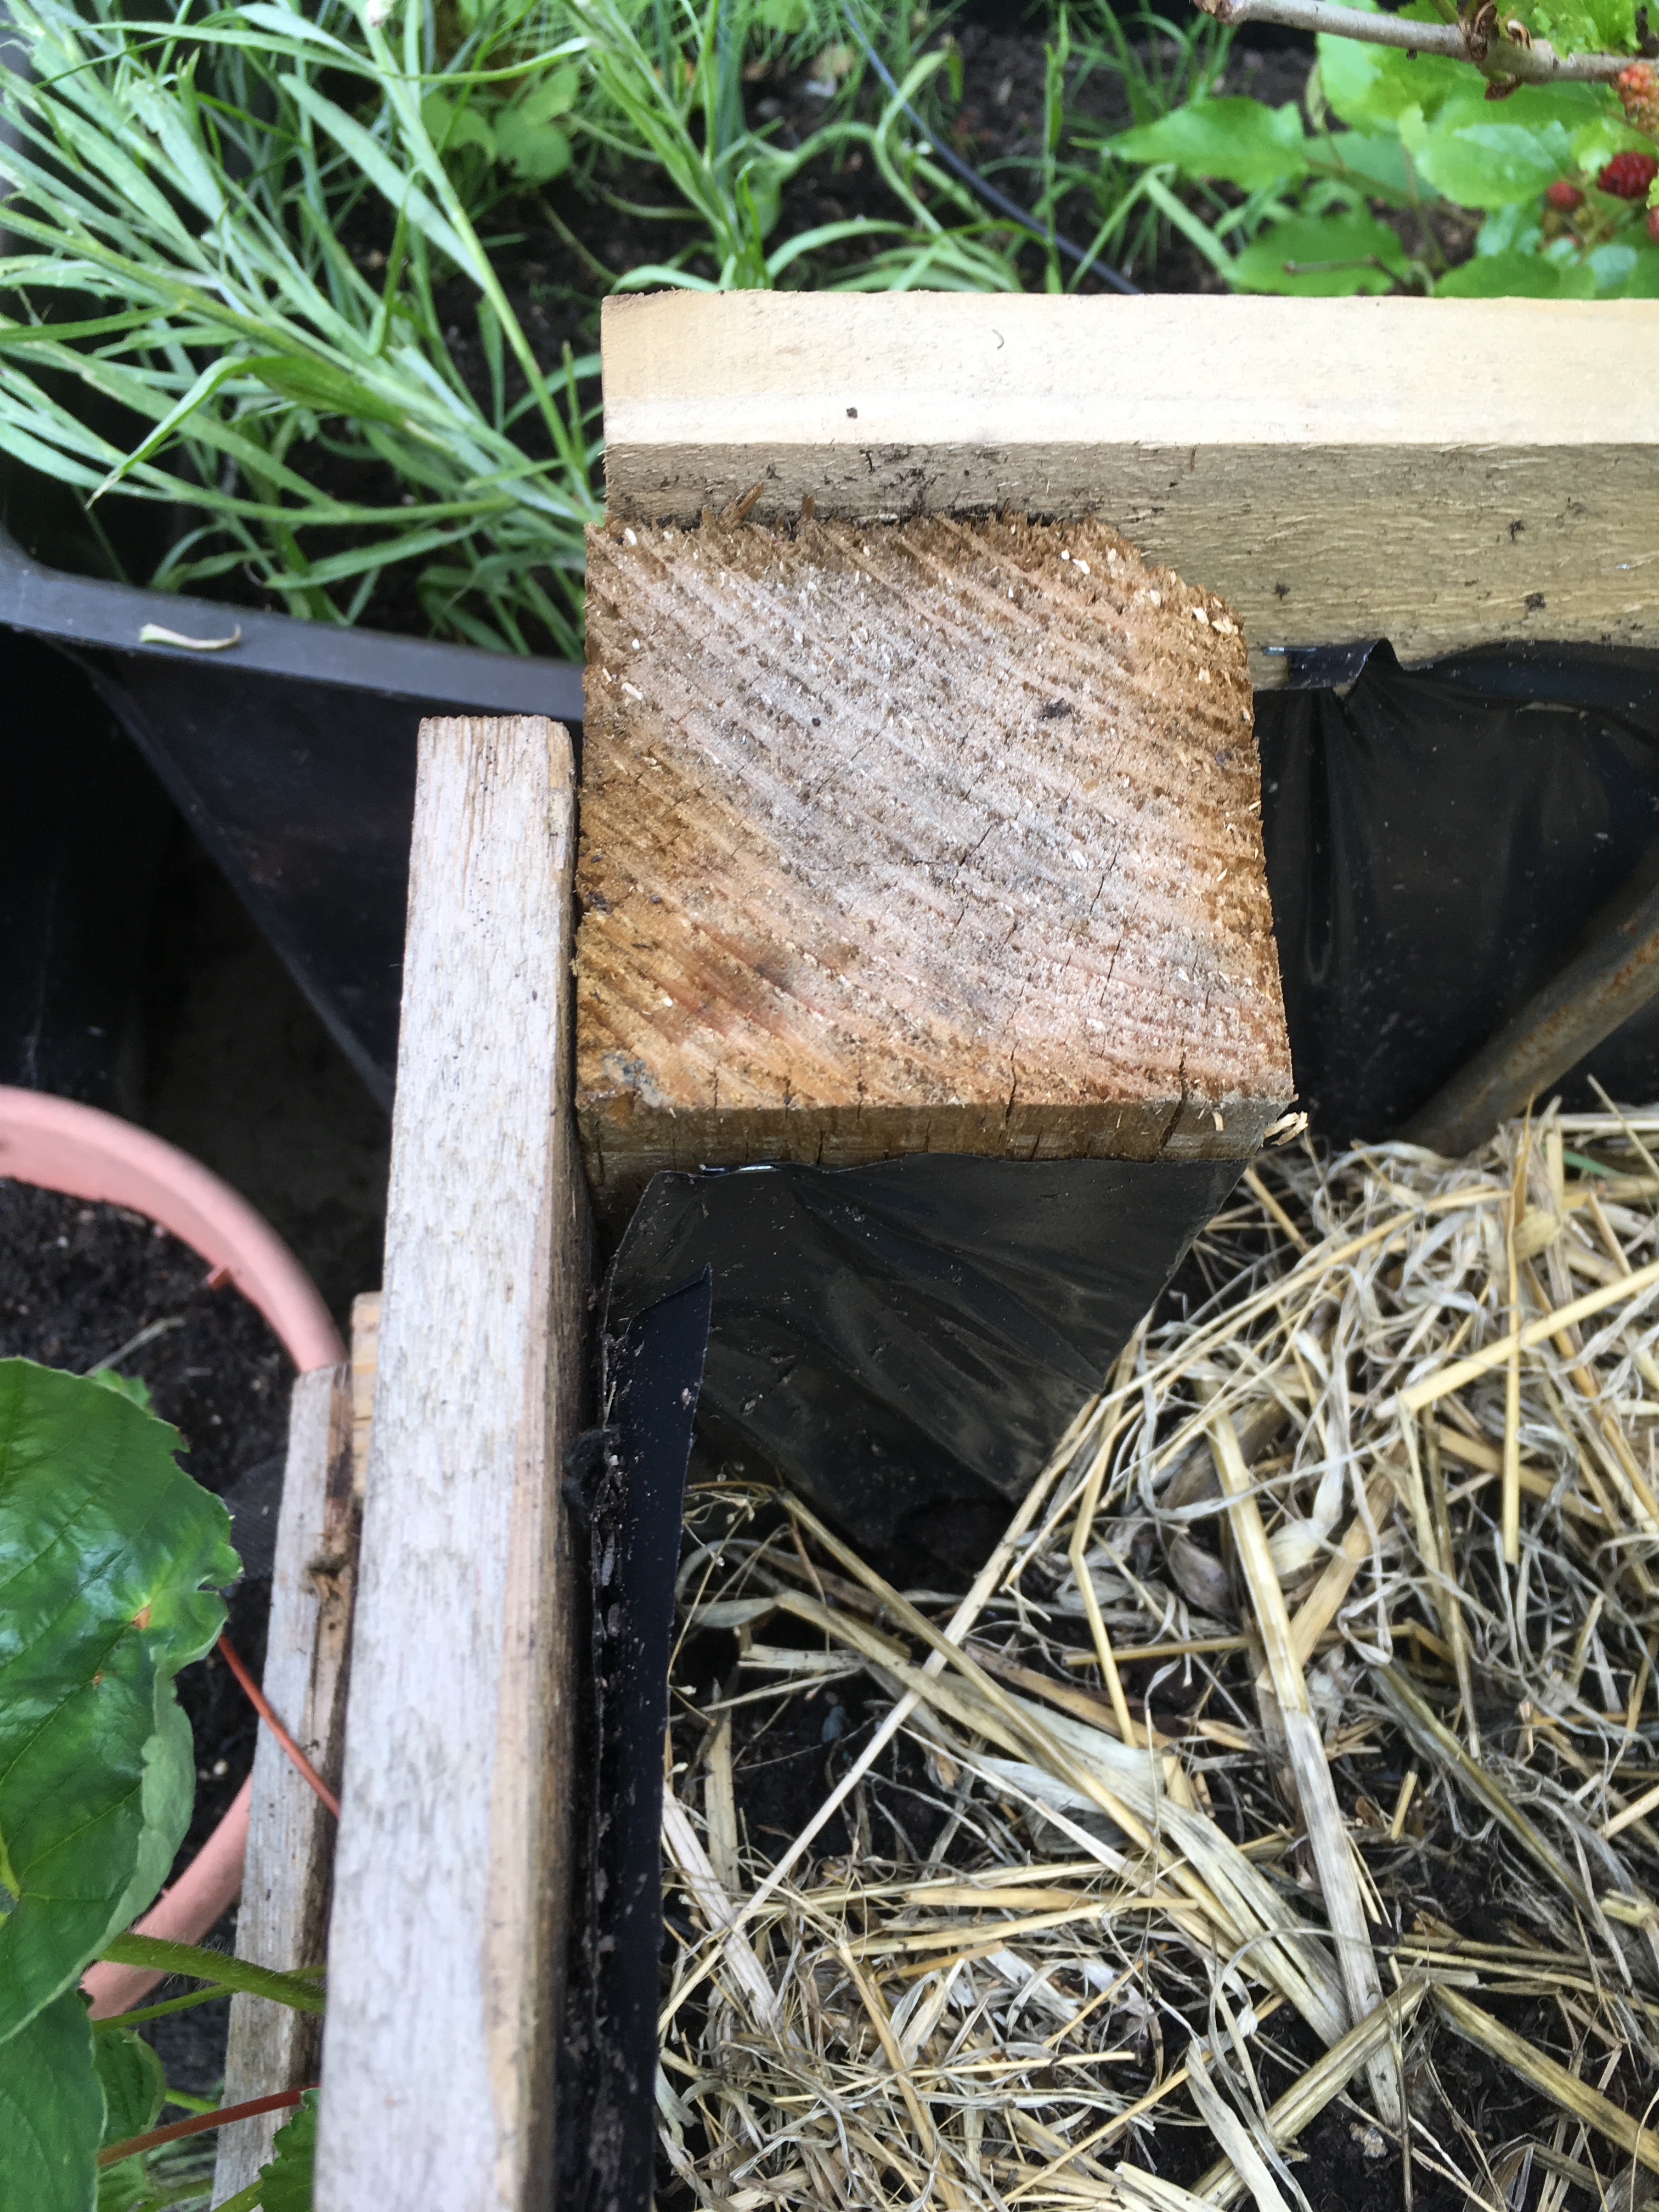
I’ve used old fence posts before 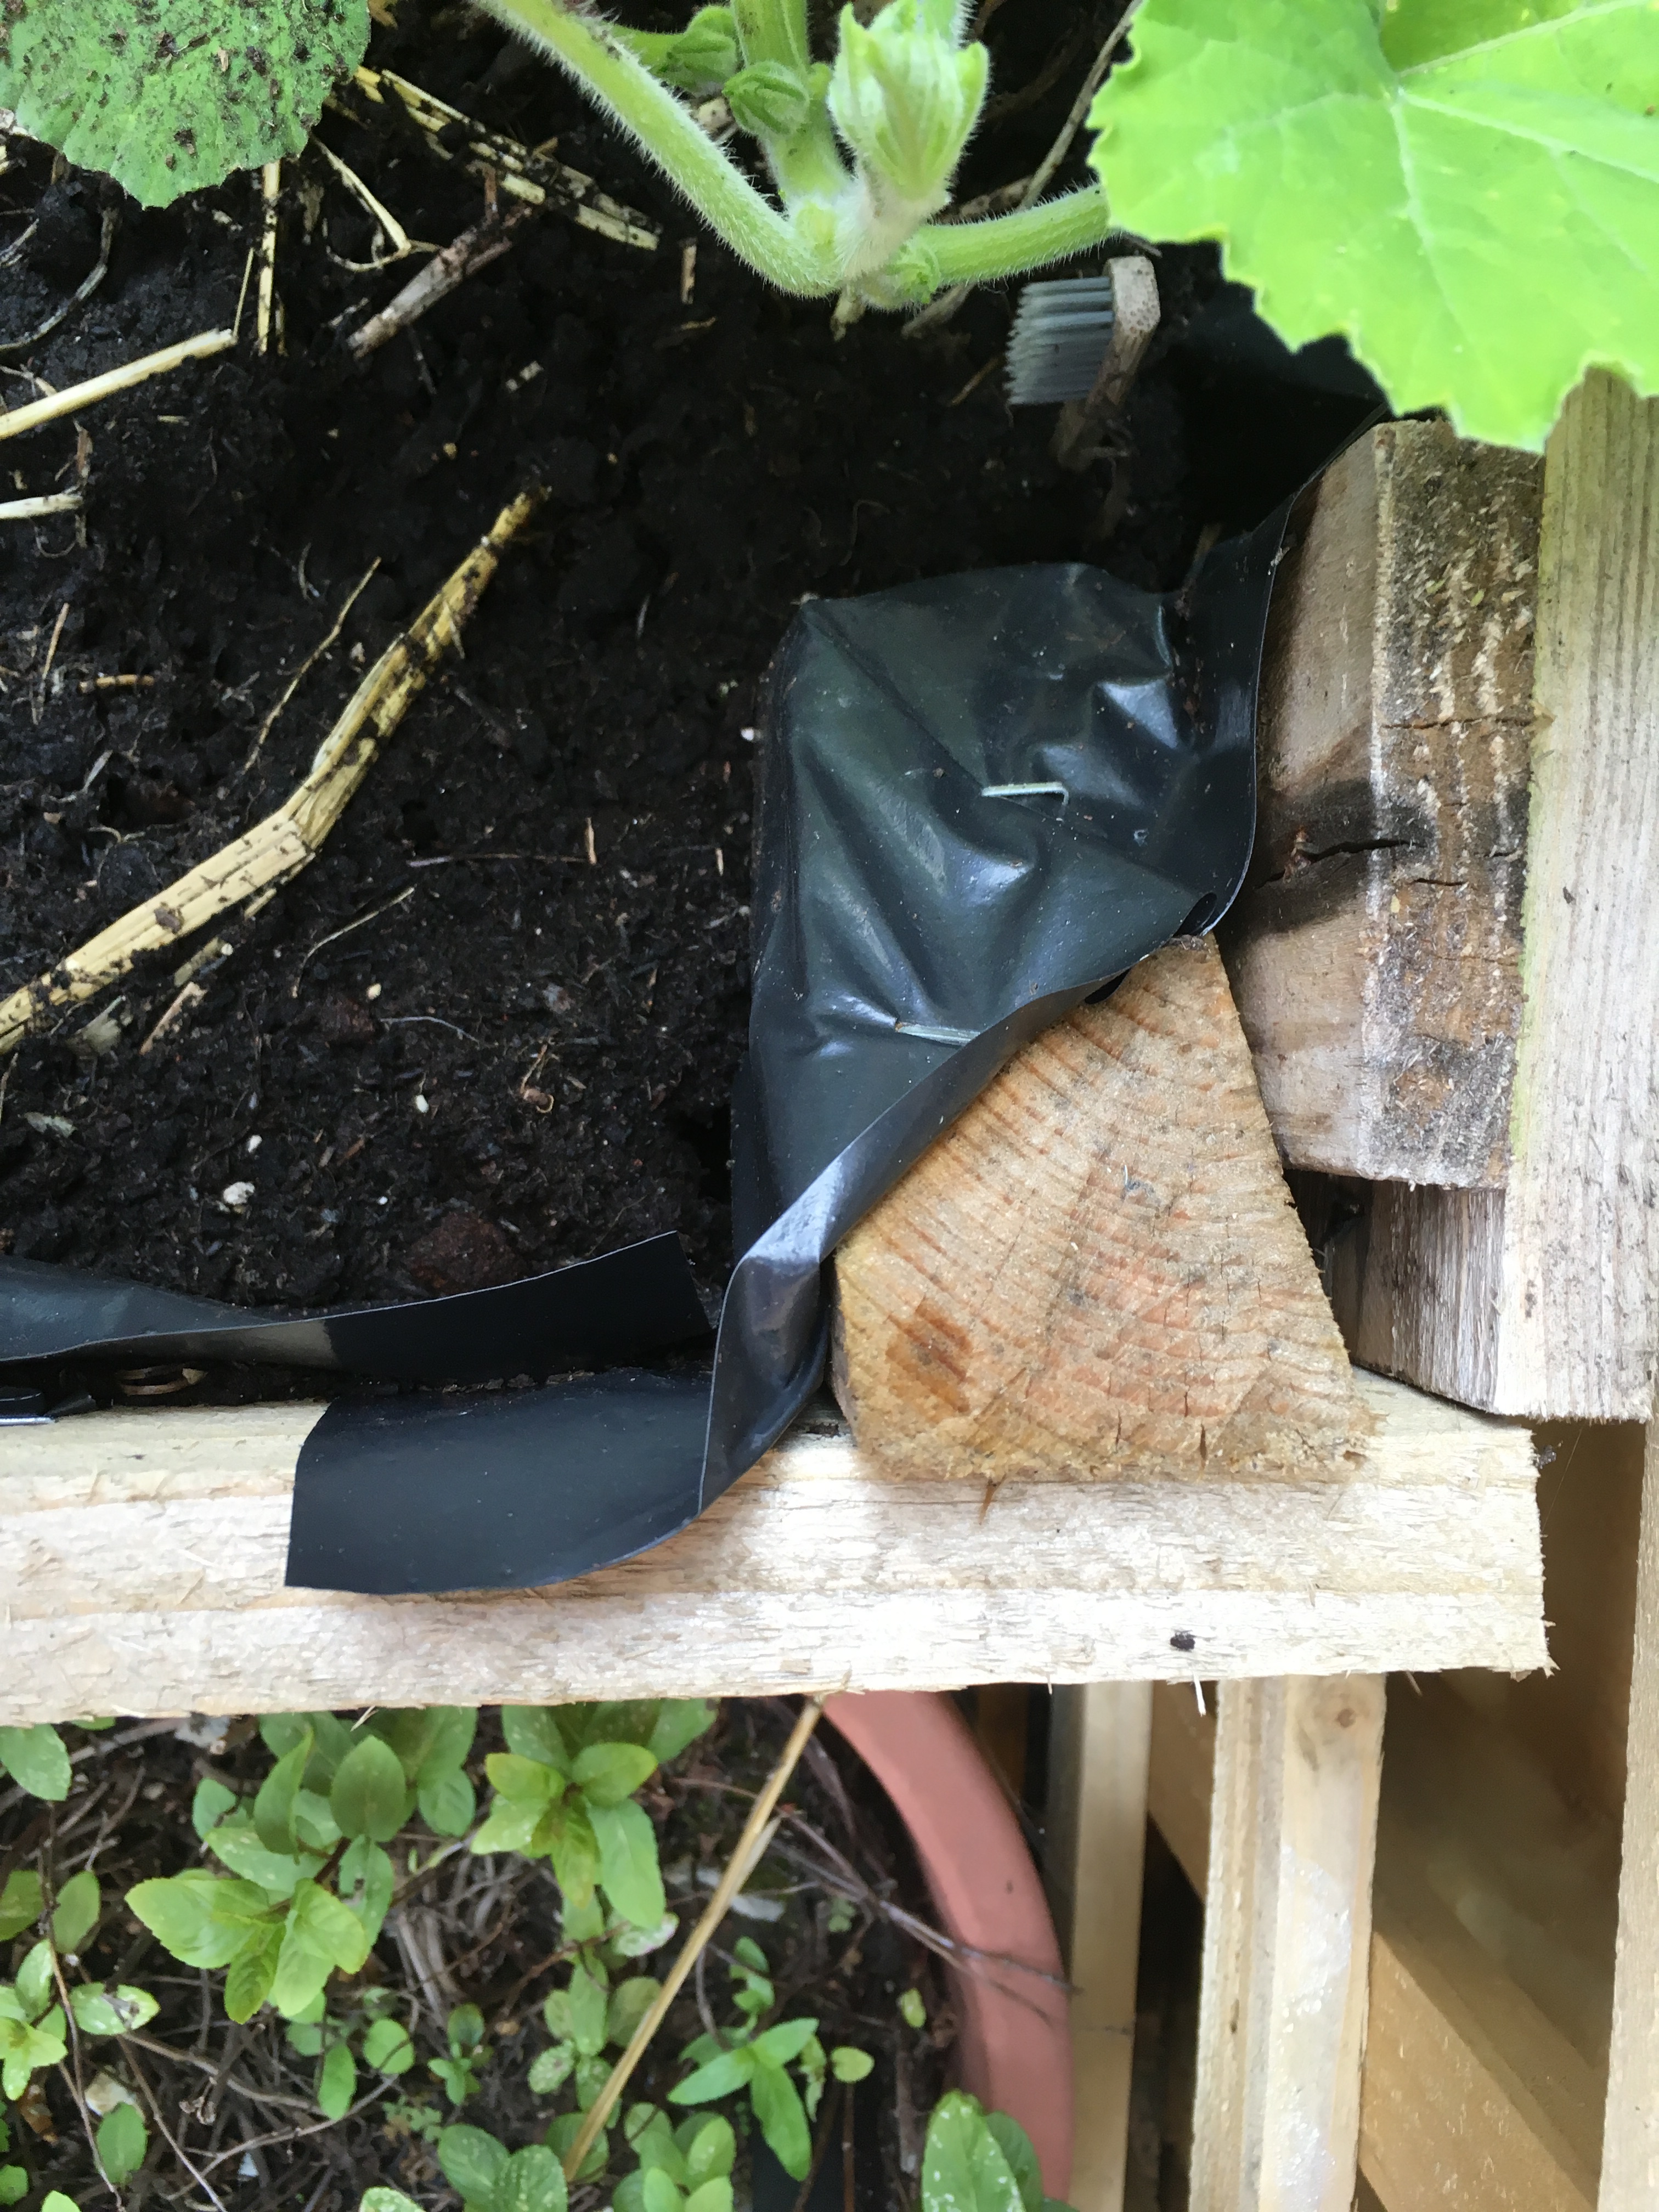
This was a left over bit of 2 by 4 
Where was this bit even from?!?!
If you have good self tapping screws you can screw straight into the wood. If you’re worried about splitting the wood or getting stuck part way then feel free to drill a pilot hole with a wood drill bit that is thinner than your screws.
This helps to keep your screw going in the direction you want and avoids this:

Basically here the screw would no longer go in and the cross in the head began to shear so the screwdriver was turning but no longer gripping the screw. I gave up when the screw would not go in and wouldn’t come out either. When this happens there really isn’t much you can do. To avoid it sticking out I used bolt cutters which then shortened it to a dangerously sharp, ankle height stump. I used a glue gun to cover it and then let the rosemary grow to hide it. One of my many garden failures that basically teaches me what not to do next time.
Put 6-8 screws in each corner. We put in 2 at the top and bottom of each side.
Repeat for all 4 corners. 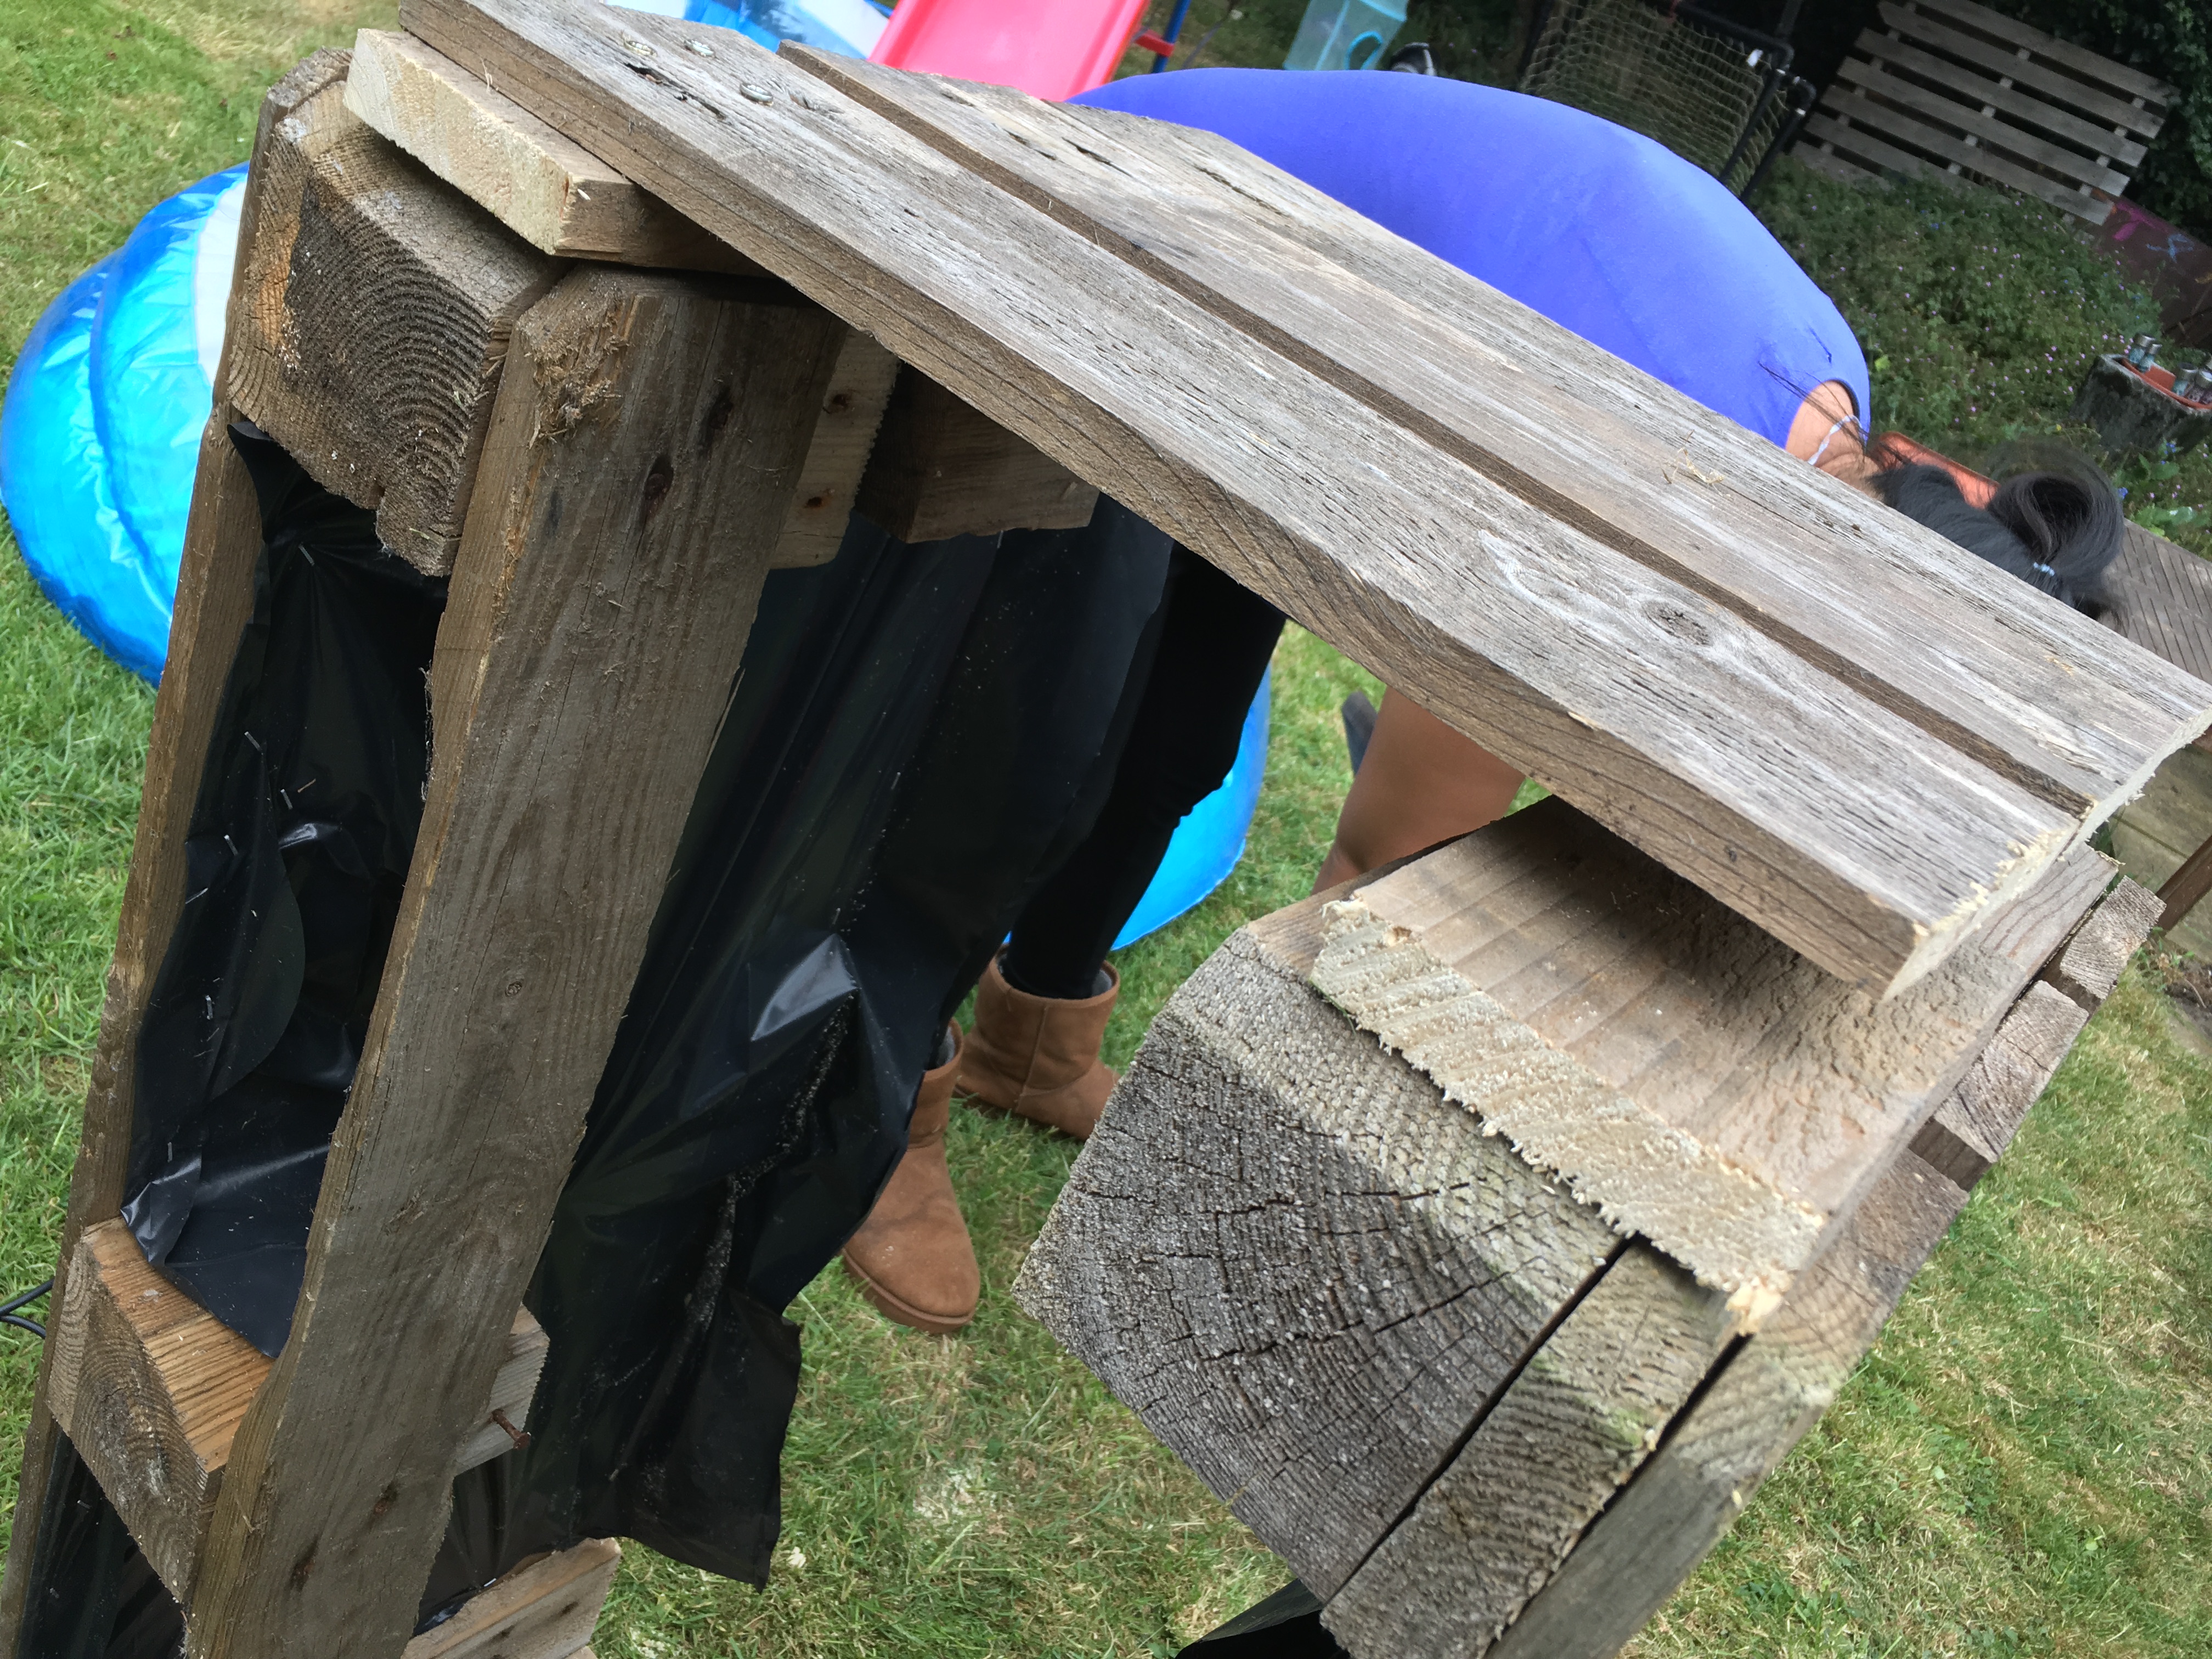
Sometimes the ends don’t quite meet. A plank from left over wood has been slipped in here. We added 2 in the end.
When filled with soil and covered in plants you’ll realise that it never needed to be perfect.
Step 6 – Place in situ

I recommend on top of soil. Doesn’t have to be bare and weeded. If you put it on top of turf, as long as the planter is deep enough, the turf will die from lack of light and provide you with some organic material at the bottom. On top of soil, though, means that the roots of the planter are not restricted to just the planter. It can grow down and then have access to the water table so your plants may not need as much watering. If you’re placing it on the patio or on a hard surface you may want to add a bottom to your planter but ensure, if you line it with plastic, that you pierce the plastic in several places to allow for water to drain. Personally I see very little point to adding a bottom as the wood at the bottom will be moist most of the time and rot fairly quickly. Even if you wanted to move the planter at a later date it’ll be very heavy, especially if it’s full of plants.
Step 7 – Mix in composting waste
Vegetable waste from the kitchen and grass clippings or old un-diseased plants are good. Just chuck it all in and mix it up a bit with the soil at the bottom to introduce some microorganisms. Feel free to skip this step but I like to do this because:
- It’s a good use of uncomposted kitchen waste
- It provides more organic material for the plants later
- It’s the laziest form of composting, even better than hole composting (there’ll be an article or video on this soon)
- You use less actual compost to fill the planter
Don’t do this if you planting something quite deep (or if the planter is very shallow) as your plants may compete with the microorganisms for nutrients while the breakdown process is happening. Typically though, when microorganisms and worms have access, it will break down fairly quickly. By the time the roots reach it, it should be ready to fertilise.
Step 8 – Fill with compost
If you’re going through the effort of building a planter then you may as well provide the best start, especially if you’re using a planter as a raised bed because your soil (like mine) is pretty pants. We made this one as a raspberry bed and it was filled with shop-bought ericaceous (acidic) compost. I don’t have the right chemicals/products and am far too lazy to make pre-existing soil acidic enough to make raspberries happy.
Other planters
Single pallet planter

Holes were poked in the landscaping fabric and from the top right the new plants from the runners were being coaxed into the gaps. The first photo on this page shows it after a year. 
Another pallet after a year. The lettuce at the top had died and the plants in the first 2 rows couldn’t handle the hot summer.
Potential:
- Very simple.
- It’s good for pallets with wide spaces between the slats.
- For more growing space in small foot print.
Construction:
Staple landscaping fabric to the inside of the front first. Then wrap either a double or triple layer around the back and staple it at the front (you can see the fabric folded over and stapled at the left and right edges in the right photo above). If you have spare planks of wood (we used two old floor boards) it’s a good idea to screw these in place over the back AFTER stapling the fabric to support the weight of the compost on the fabric. Fill with compost. Put plants at the top. Poke holes into the landscaping fabric. Squish plants in. Here strawberries worked well, as did perennial rocket, Egyptian onions, sorrel, chives and especially watercress, which went crazy at the bottom. Salad Burnett did really well here but I discovered that none one in the family (including me) liked eating it.
Problems:
- Fiddly to put plants in the gaps. So annuals (plants that die within a year) are hard to grow. If you start with it lying down it’s easier to put the plants in and they settle their roots better, but it’s very heavy to put into place once it’s full of compost and plants. Also when it goes from horizontal to vertical the compost shifts down and can pull some of the plants down inside through the gap.
- You can water the top easily and it will find its way to the bottom (our watercress loved this), but the flat surface dries up very quickly and the vertical wall is hard to water without washing the compost out.
- Watering eventually had to be done in summer with a spritzer – which, as you may have guessed, was very tedious.
- The second year, when the plants are re-growing, sometimes shoots grow behind the fabric rather than out the front. You just have to check every now and then and tease them out.
- As you can see from the gaps, as things died in the summer it was really hard to replace them as the dry compost couldn’t be made damp enough to support new young seedlings.
- Must be fixed in place as it’s pretty heavy and could do serious damage if it fell on someone.
Wonky Planter

Potential
- Makes a large planter which retains water better
- Don’t be afraid to play with shapes. This one is tapered to one end to fit into the space better.
- The plants in front don’t dry quickly like the single pallet planter
- This won’t apply to many people but this planter and the one next to it are also helping to stabilise the fence panels behind by breaking up the flat surface that the wind pushes against and because the planters are also screwed to the fence, they provide a large weight to hold the panels too.
Construction
Much the same as the main planter in the article but used additional wood left over from building a raised bed.
Problems
- Needs more than one pallet or some extra wood.
- Need to be choose plants that don’t grow too tall or bushy in the gaps otherwise they overcrowd what is in the main body.
Slanted Slat Planter
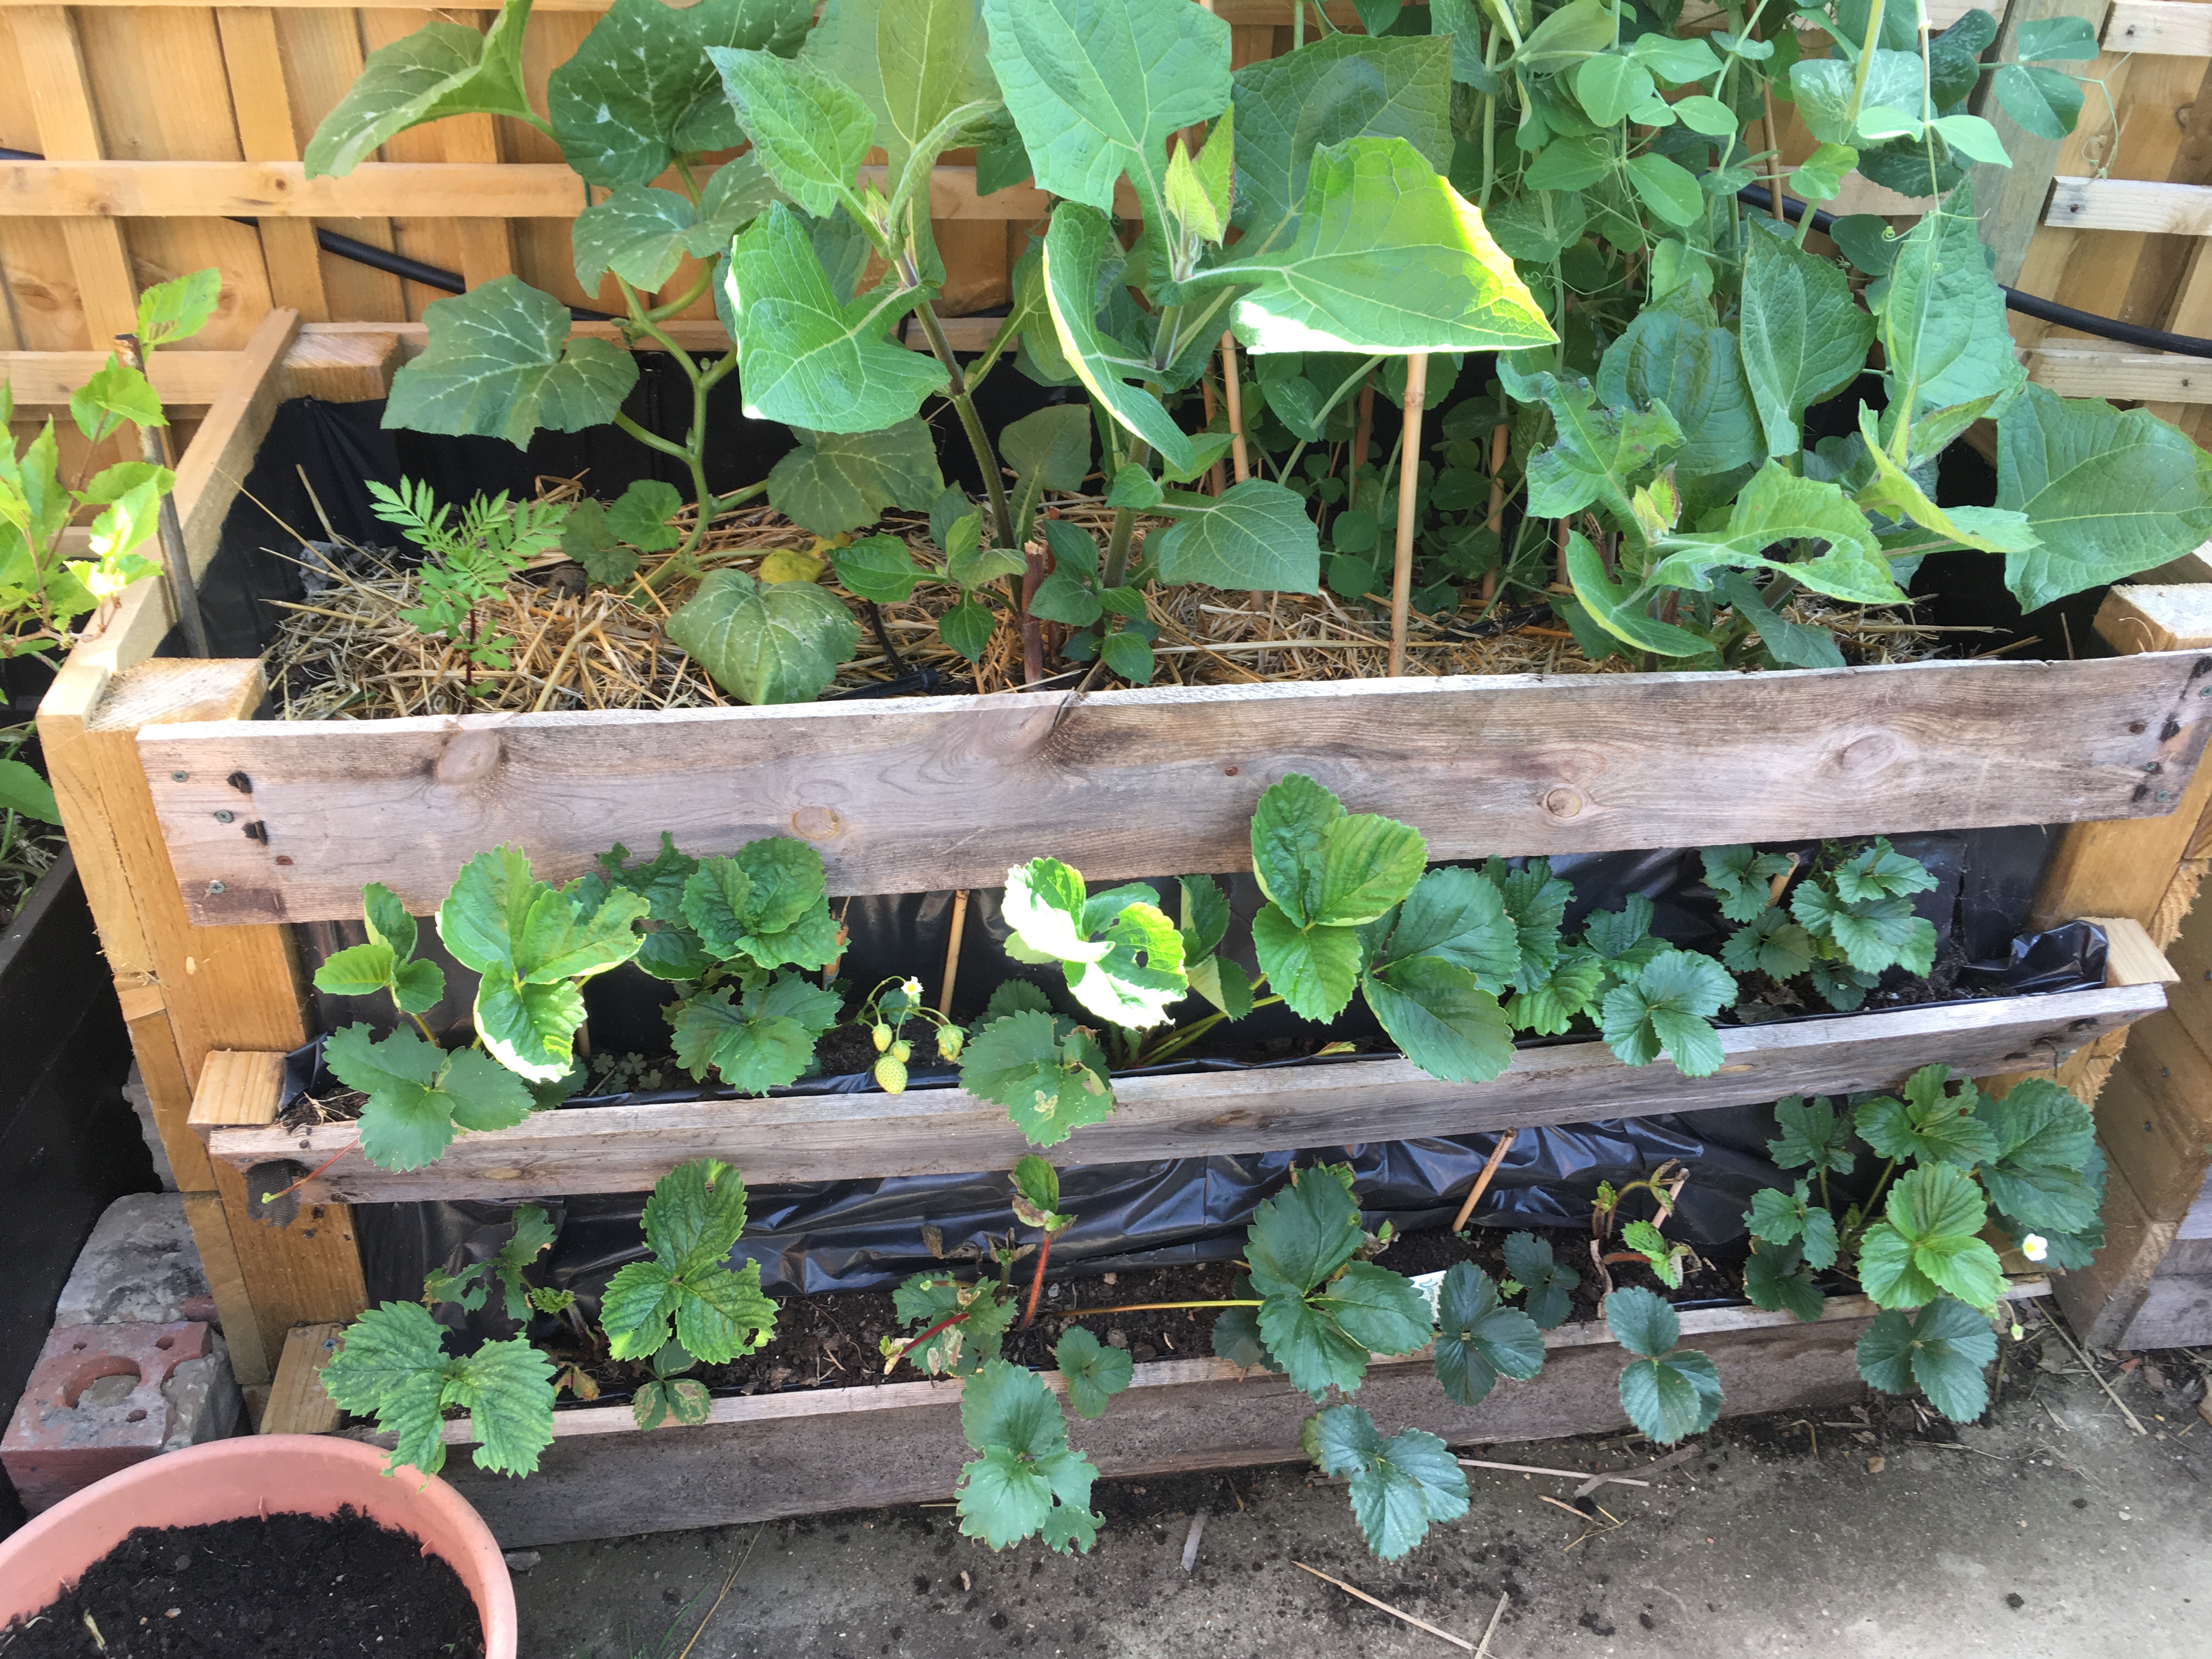
Potential
- Makes a large planter which retains water better
- With the slanted slats providing ‘pockets’ for the plants they get a better purchase and it is easier to water.
- When using both the front and the top you can grow loads of different plants in a small foot print
- The strawberries hang so they don’t lie on damp soil and go rotten
Construction
Much the same as the main planter in the article but the front side has slats pulled off a pallet. Screws go through the slat, through triangular bits of wood and into a support in the corner. The plastic sheet is slit to allow roots to grow into the main body.
Problems
- Needs more than one pallet or lots of extra wood
- Those triangles are a major pain in the backside for someone like me who isn’t a carpenter and doesn’t have the fancy tools.
- I stupidly cut the plastic sheet all along the whole length of the slat so compost kept pouring out onto the strawberry plants in the front. I’ve had to prop it up with bits of bamboo canes.
Big Block Planter
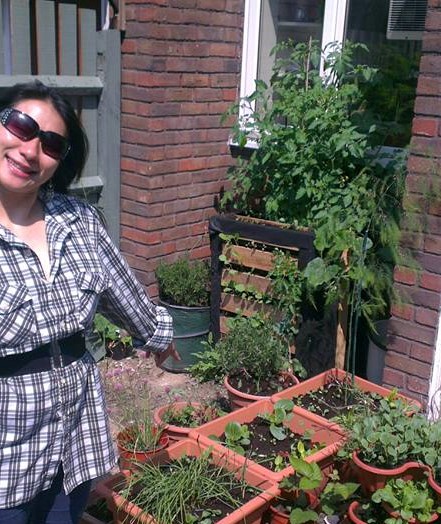
Please ignore me smiling like an idiot but when the photo was cropped you couldn’t see how deep the planter was. 
This is how big everything grew. You can see the tomato plant on the left has been shoved over by the window opening.
This is the first pallet planter I made about 7 years ago. It was in our previous house which just had a paved ‘yard’ and not much growing space. Everything was in pots. I’m afraid these are the only photos of it and the quality is pretty poor.
Potential
- Grow a blimmin’ tree! Our climbing squashes and tomatoes went crazy in this.
- Retains lots of water and had plenty of nutrients
Construction
A pallet at the front and another the back. The sides were 2 planks of wood on each side holding the pallets together. 3 layers of landscaping fabric were wrapped around the sides and stapled to the back and front to hold the compost in.
Problems
- You need 2 pallets and, realistically, more than 2 planks of wood on each side. After I realised how flawed this design was I had to keep shoring it up with more spare bits of wood as they became available (I try not to buy wood if I can avoid it and use old shelves and random planks left over from DIY projects).
- Took about a 5 huge bags of compost to fill it.
- You feel like the compost at the bottom is just wasted, unless you really do plant a tree.
- The plants in the front grew so well that they choked each other out.
- The plants in the top grew so well and choked each other out. Maybe that’s a win…?
- It was so tall I had to hang out of the window to harvest some of the stuff, and of course opening the window damaged the plants.
- A cat decided to use it as a scratching post until it started leaking compost.
So that’s it. Hopefully you’ve learnt what not to do from reading about my mistakes and I’ve given you a few ideas about what you can do. I also hope that this articles illustrates that you don’t need a big garden, or even any bare earth to grow things. You don’t have to buy a raised bed, though I guess you do need to pay for screws and compost. All the plants in the photos, except for the strawberries and the yacon, were raised from seed – which isn’t expensive and you get hundreds in a packet. Do a seed swap and save money there too. It does seem like quite some hard work but the planter in the main article took less than two hours and once you’ve made it you’ll have it for years.
Let me know in the comments if you have any questions or feedback and thanks for joining me!

Love it….. muah
LikeLike
Thanks!
LikeLike