Short version:
You can decorate repurposed recycling containers for both aesthetics and functionality. Here are some details on how to make both a pot with drainage and a base to collect the drips from a single plastic bottle There are some decorating ideas that involve reusing old wrapping paper, paint and craft bits. It is a great activity for little ones and it ticks a few home schooling boxes whilst being free and involving no screen time.

Our week of decorating
The majority of my indoor sowing tends to start in March, but there are a few things that I do like to start in late February like tomatoes, peppers, cucumbers some brassicas, some herbs and a few edible flowers. By the time these plants get too large for their indoor pots the weather should have warmed up enough for them to be planted out.
So, early February is the time to start preparing containers for my first batch of early indoor sowing. I have been collecting plenty of food containers over the winter so that I have lots of pots ready to go. I tend to collect old milk cartons, juice cartons, plastic bottles, grape boxes and mushroom trays. The tetra pack cartons I always cut little holes in the bottom or occasionally cut the whole base into a flap and then stick the whole carton into the soil to provide a bit of extra protection from slugs and snails. I have written lots about this in a previous blog ‘Sowing seeds’. I don’t usually care how my pots look but it’s a nice little project to do with the little one. It’s a great opportunity to show her a few new ways to reuse things. We try and keep old wrapping paper, cartons, cardboard and pretty bits of packaging for her to use to make things with – so repurposing is often at the back of her mind.
My usual way to use recycling as pots it’s just to have a container that has drainage holes in the bottom squashed inside a mushroom box. However, our windowsills are a bit thin and sometimes there’s a bit of space that would be perfect to squeeze a single pot into as opposed to ta tray of pots. This is the perfect space to put a repurposed plastic bottle pot.
How to make a repurposed plastic bottle pot
remove label if you like 
the left one has been cut with a larger base 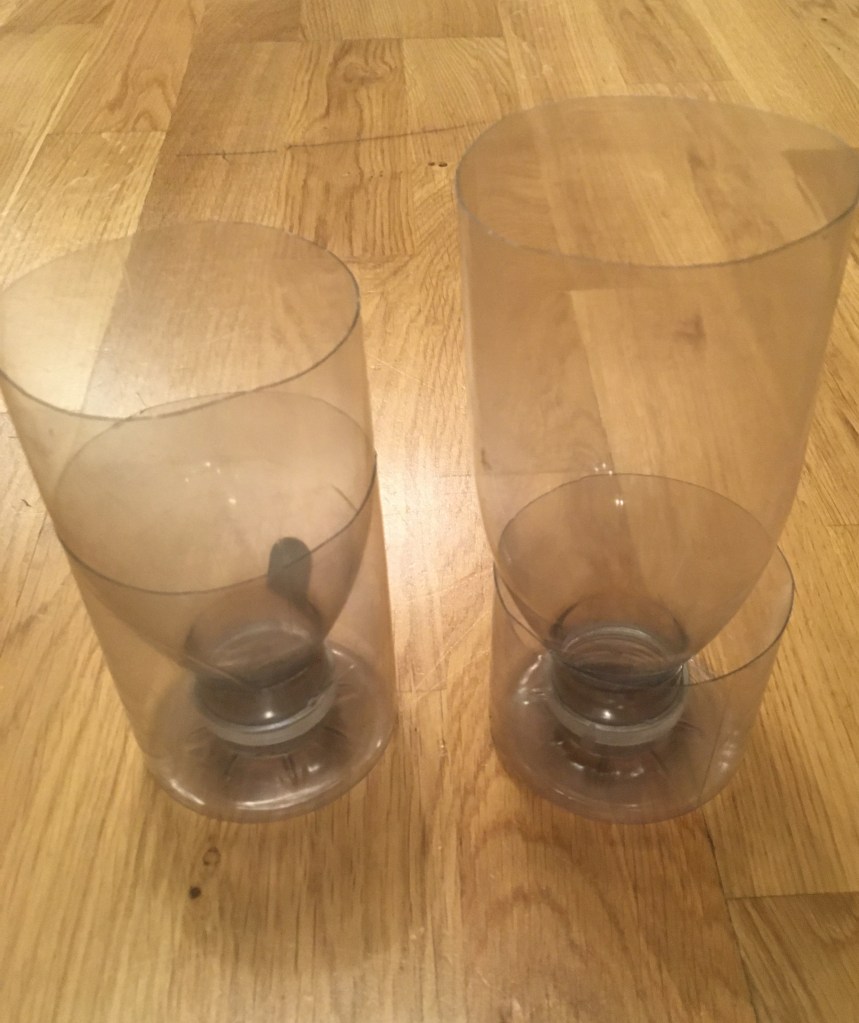
The base on the right is now a bit short 
If you swap them the short base supports a less large top
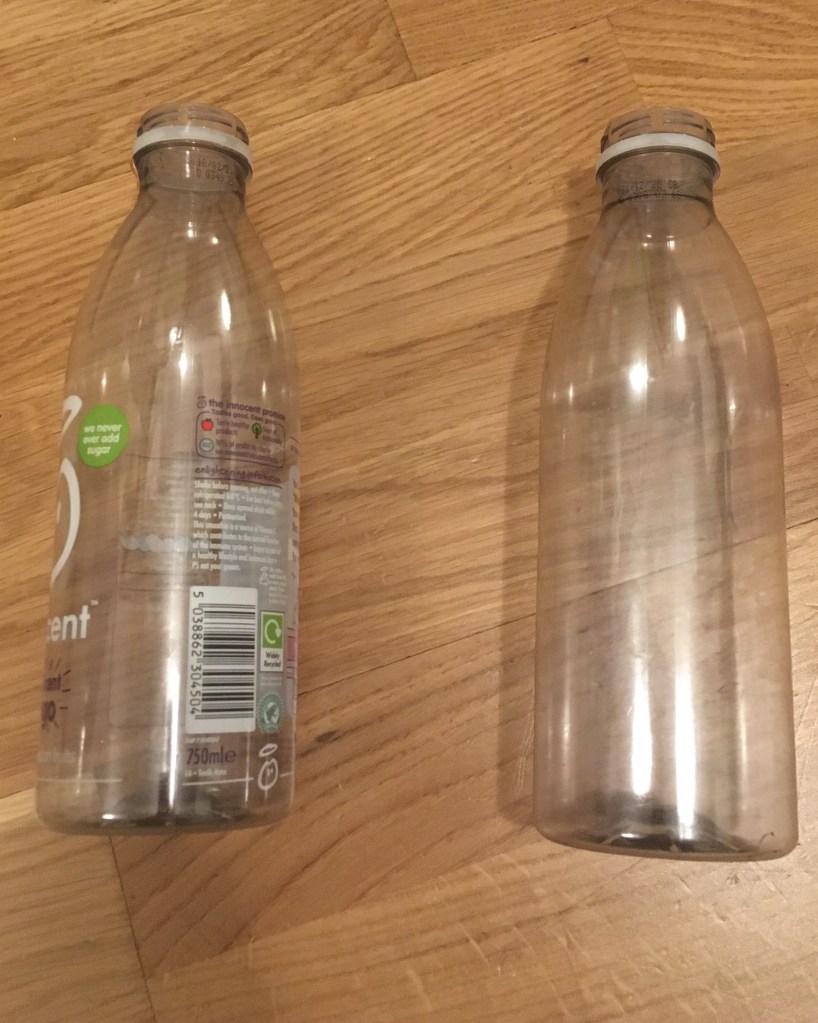
- Plastic bottles smaller than 1.5litres may be a bit small for the effort. If the label is easy to remove then do so. It turns out that the innocent smoothie bottles are best left with the label on. The glue doesn’t come of very easily. Just FYI – rubbing with oil can sometimes work on glue that is not water soluble.
- Cut the bottle in half with a stanley knife. The ratio of top to bottom is down to your own judgement. The further away from the mouth of the bottle you go the bigger a pot you create for your seeds and seedlings, but if you go too far then what is left at the bottom doesn’t provide much support for your top-heavy bottle.
- Invert the top of your bottle to fit inside. You now have a pot with a drainage hole and a receptacle at the bottom to collect any water.
These are fine as they are but there is opportunity to decorate here. Also, by decorating, you can provide a bit more darkness for the roots.
Reused wrapping paper
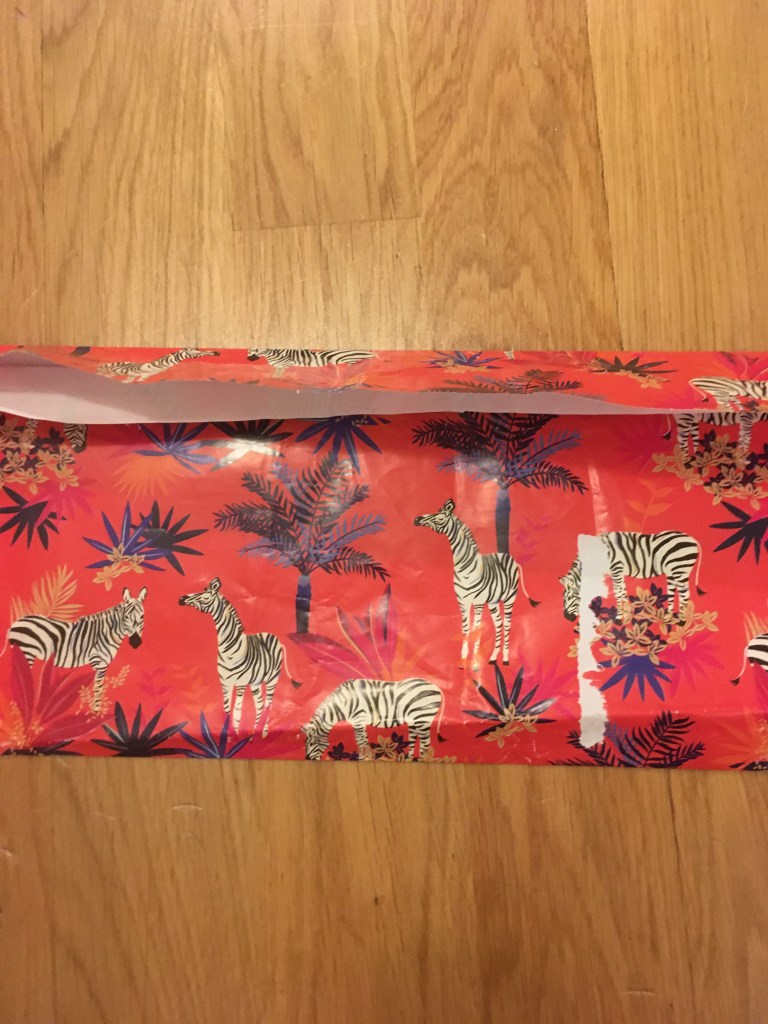
fold rather than cut 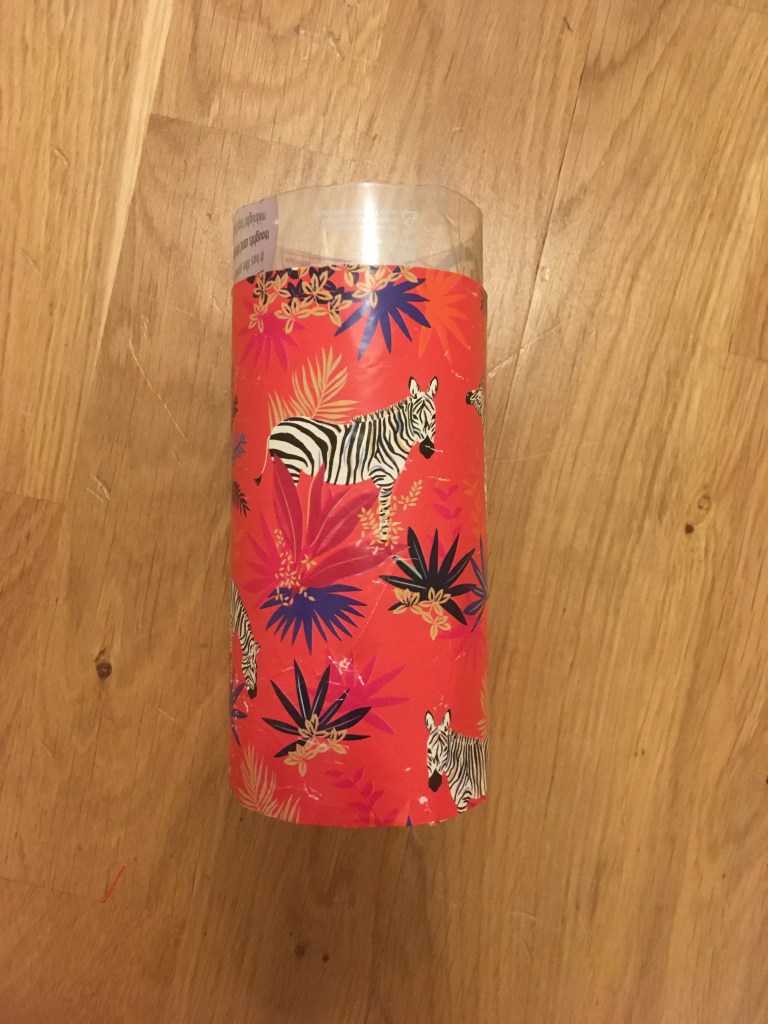
it helps to keep the top in when sticking the paper on 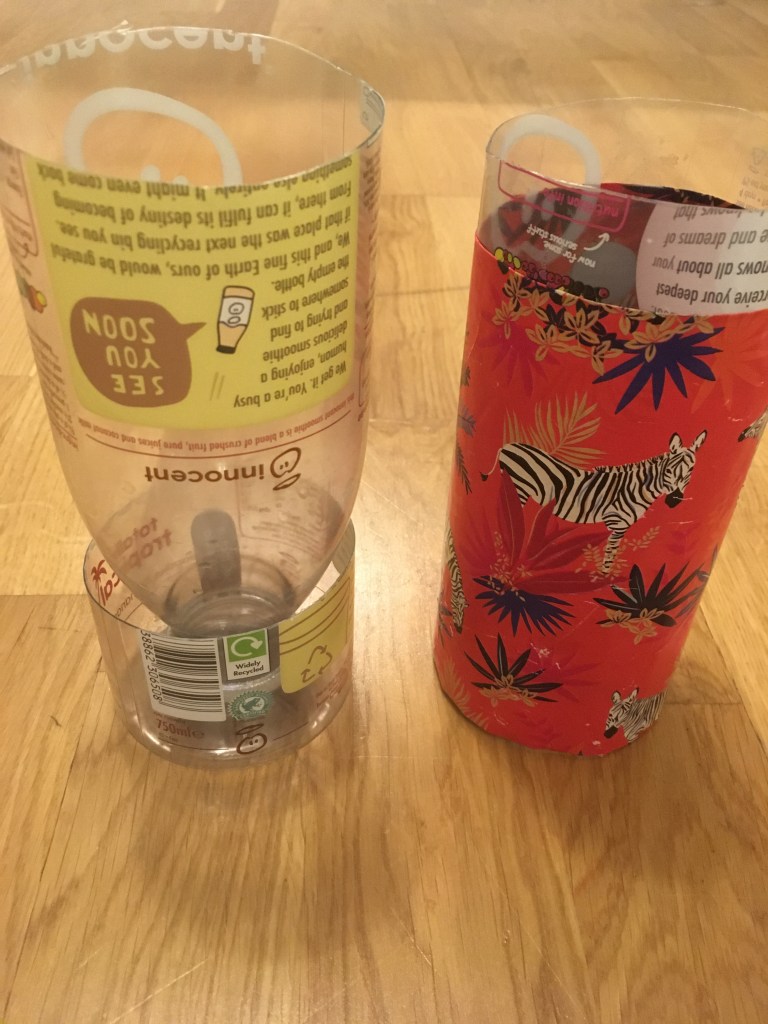
this gives the base extra height 
you can see the plastic is much shorter 
I painted the top of the inserts 
Christmas and cats!
This is the quickest method and also fantastic for using up old wrapping paper. It’s worth getting a bigger piece and folding the ends over. It’s quicker because it means less cutting and it also gives you a thicker sheath to go around the pot. This is particularly good for when you’ve got a pot that has too short a base. You can extend the height of the wrapping paper past the bottom section so that it forms a taller base for your top pot. Hopefully with careful watering and not over watering your paper shouldn’t get wet. I have tried to use the Christmas paper that is less obviously Christmas themed. Little one is a big fan of cats and this pink monstrosity is what her last birthday pressie came wrapped in.
Painted pots
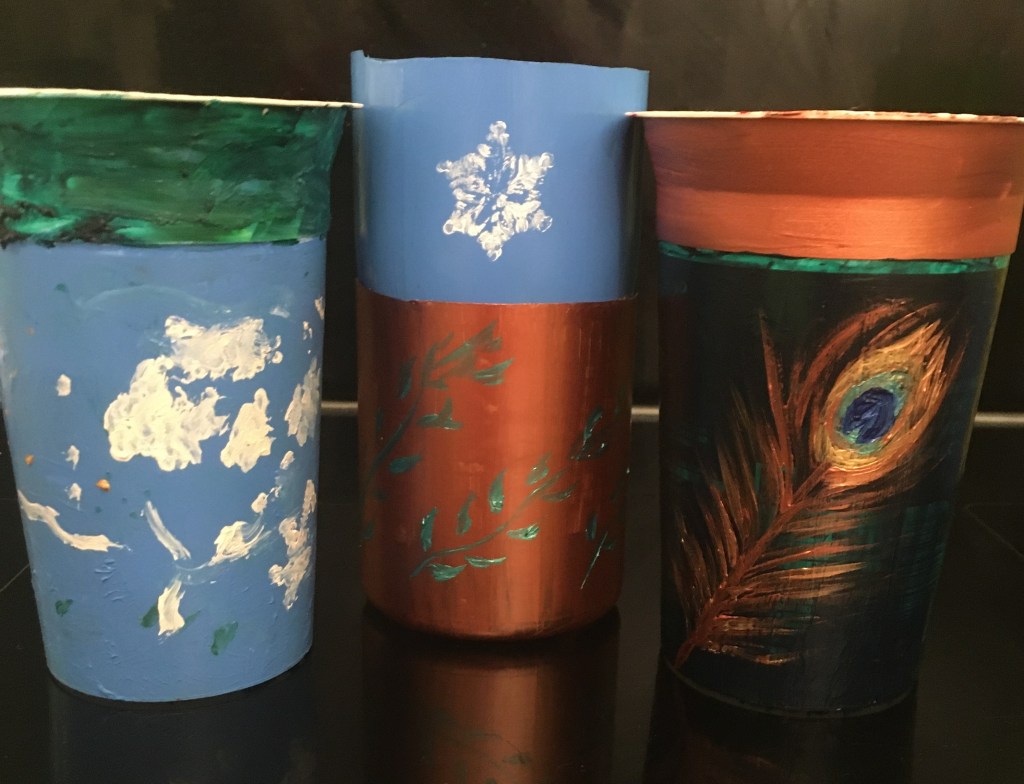
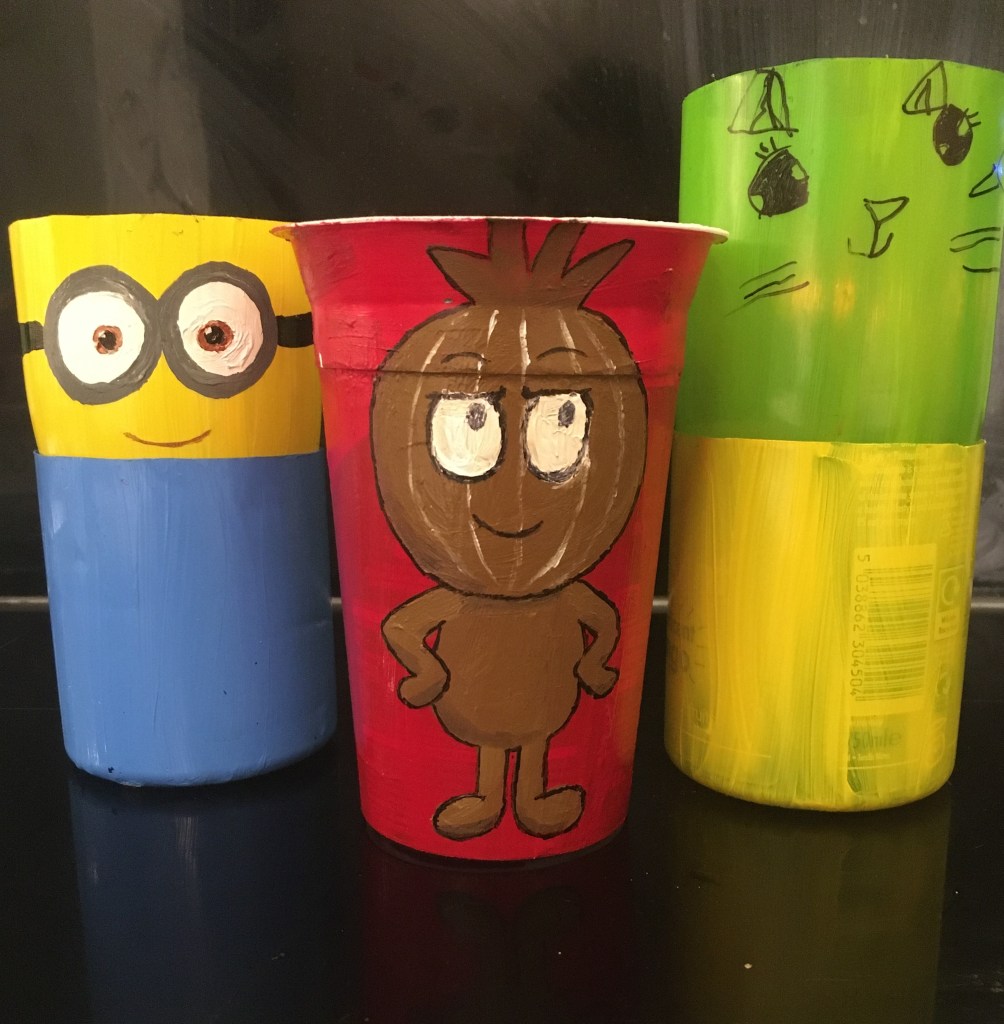
You can paint pretty designs on any kind of repurposed recycling pot as well as the repurposed plastic bottle pots. I’d advise using acrylic paint as it can be used on plastic and is waterproof afterwards. My little one had lots of fun making this pot with clouds. Quite a fun design is to draw a face on the pot and then whatever grows in the top of your pot looks like it is the pot’s hair. Again, you can see the little one loves cats, with this cat face she drew. I may be one of those awful coo-ing mothers, because I really think this is adorable and pretty good for a 5 year old. Hopefully, you can tell that one of these below is a minion. The other is a, slightly more obscure, vittra from ‘Hilda’ – who do actually have greenery out the top of their heads.


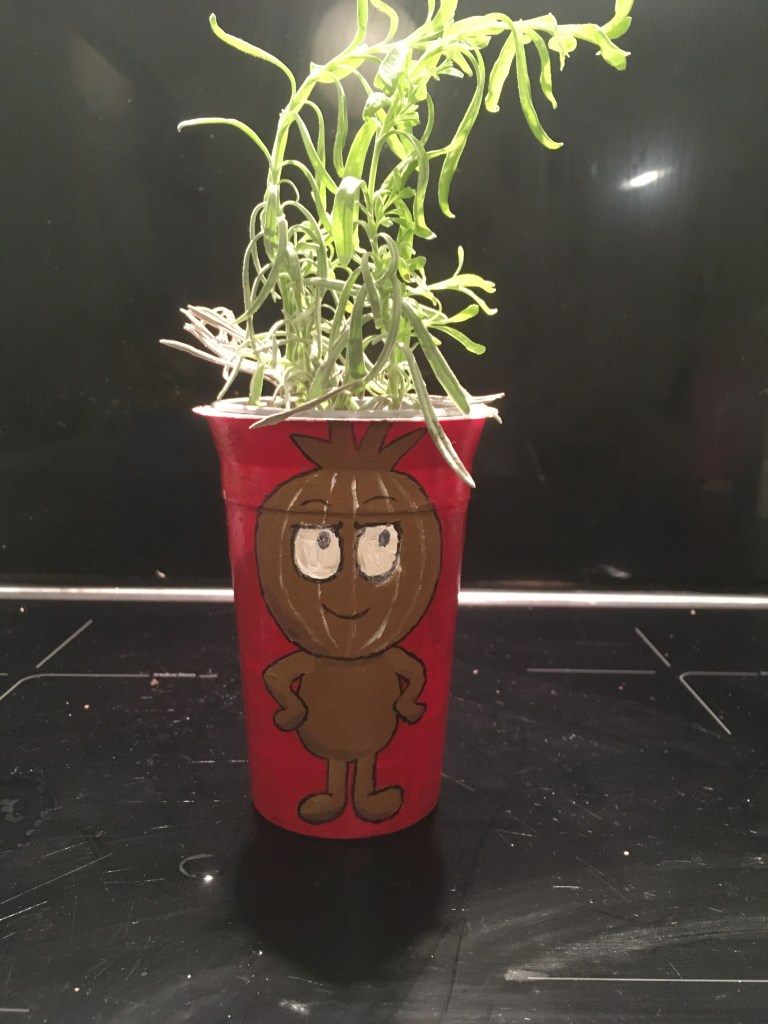
The vittra from Hilda has a lavender cutting 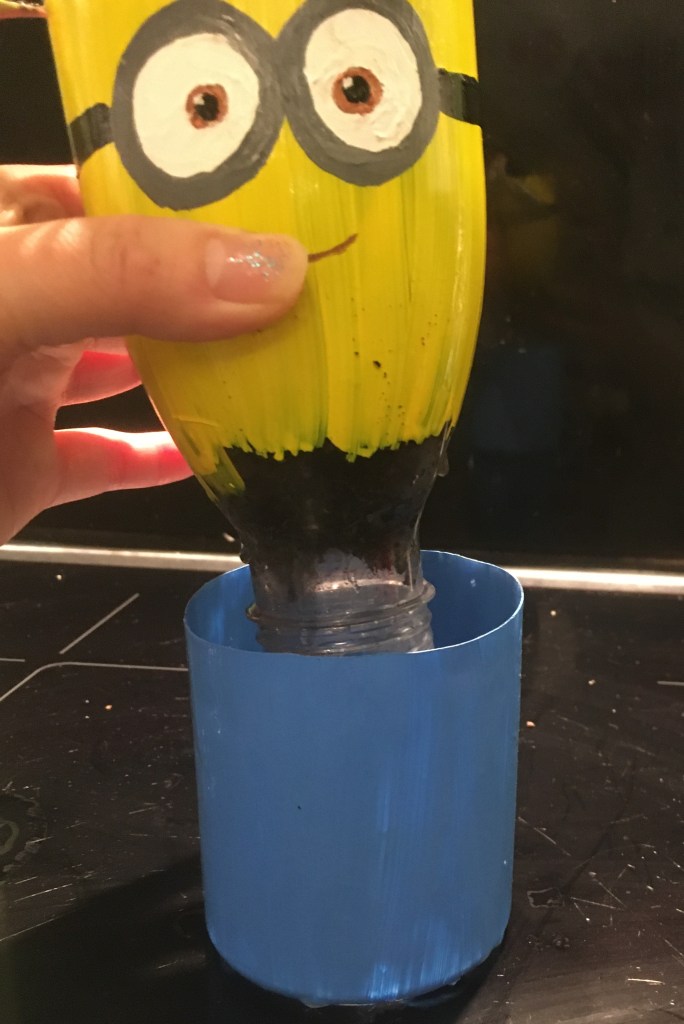
inside the base 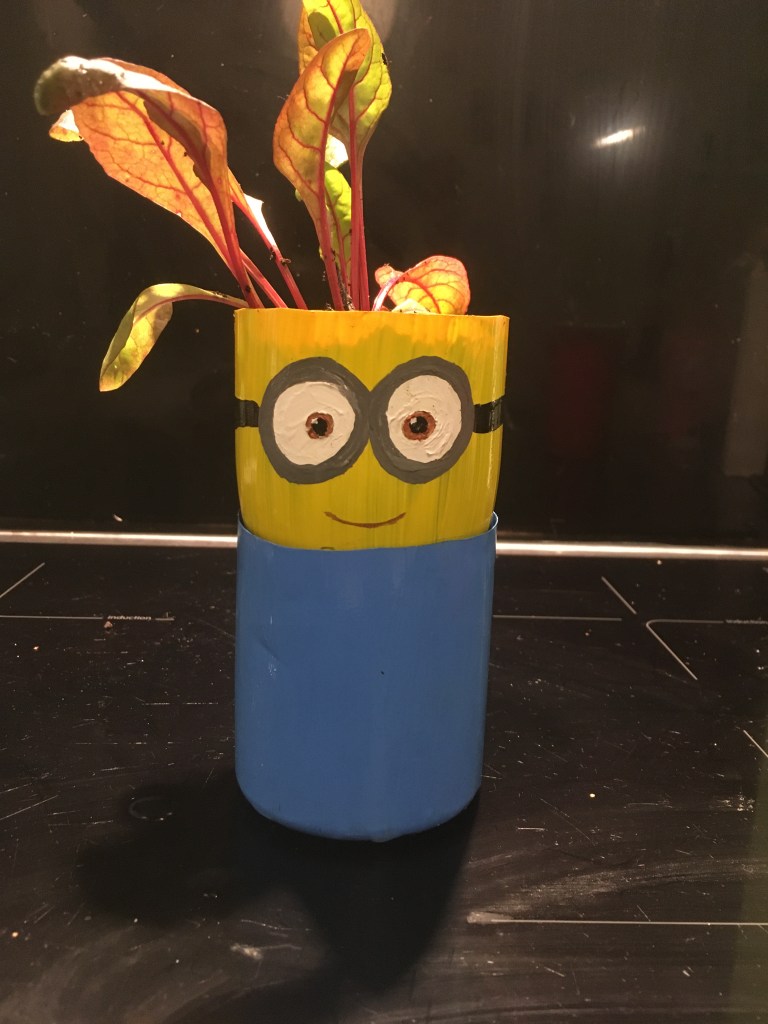
The minion has a repotted chard seedling
Craft pots
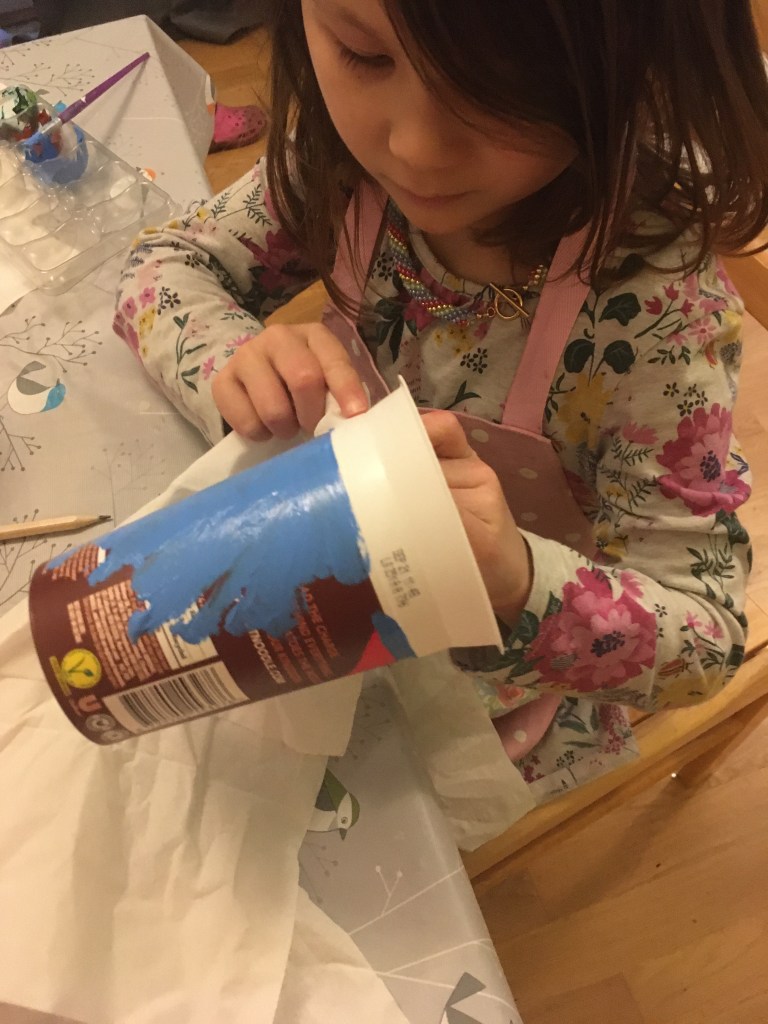
You can make a combination of painting and crafty pots too. This is so very easy for little ones. Glue dots and double sided sticky tape are great for letting little ones stick things on pots. We ransacked her craft box for the little things that she likes. We also had a few paper punches (like a hole punch but cuts shapes) that make really easy shapes. She used both the owl and the dragonflies. One pot has foam autumn leaf stickers. Acrylic paint provides green grass, blue sky and white clouds. Felt flowers and paper dragon flies are stuck on top. The last has 2 sizes of paper punched flowers layered and stuck on a blue acrylic paint base.
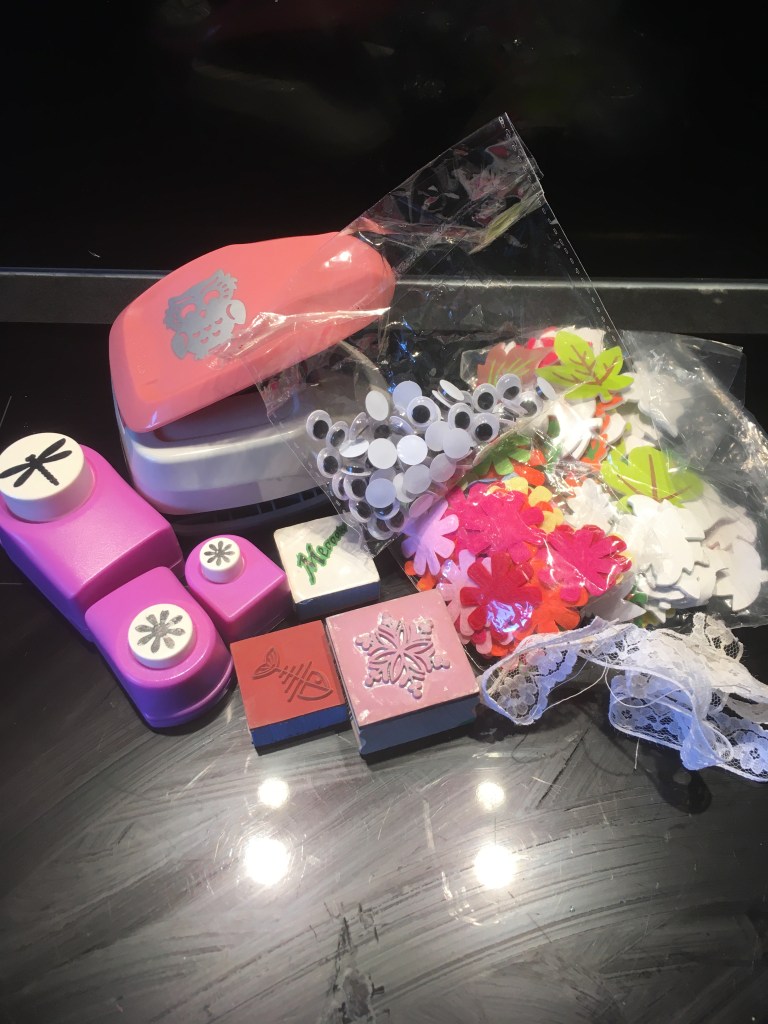
shame we never used the googly eyes 
sticking on glue dots 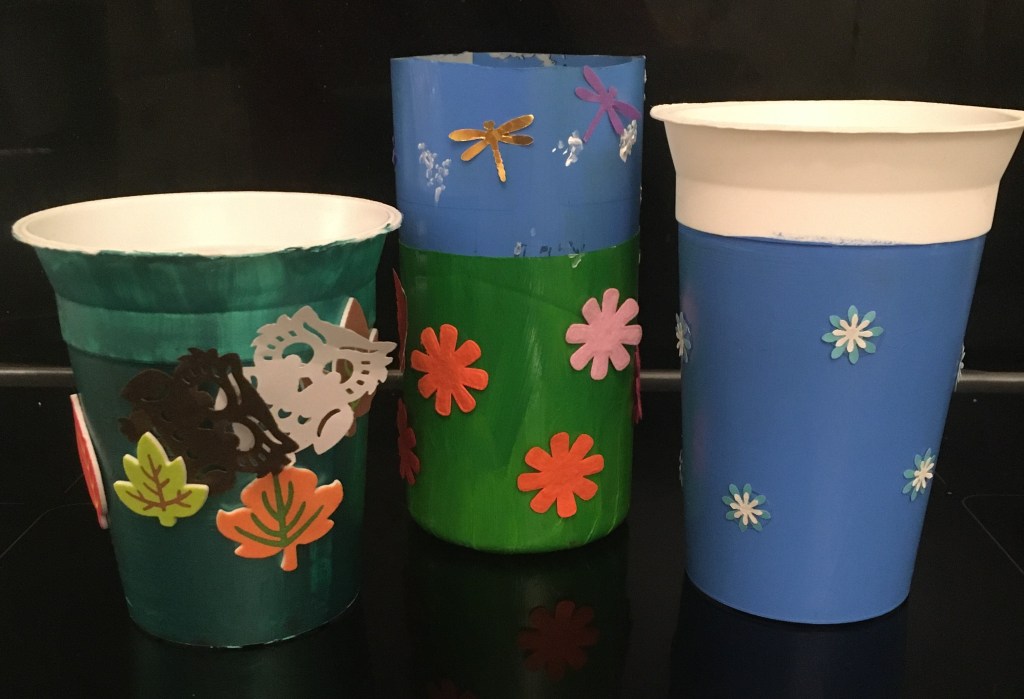
mixed results
As we are currently in the joyous throes of COVID home-schooling it’s worth nothing that getting her involved in things like this ticks lots of boxes. She gets to exercise her imagination, she practises fine motor control as she draws, paints and sticks and of course she’s learning a little about sustainability. It’s also an almost zero cost activity (depending on what kind of things you have around the house) and involves no screen time.
