Short version: Compost certain types of kitchen and garden waste to get free fertiliser in a way that’s great for the environment. The cheapest and easiest way to compost is to take green kitchen scraps and bury them in a hole in the garden. Seriously. That’s it.
I’ve split this into 3 parts on the website pages as it’s a loooong read but kept it intact for the blog so it’s in order. If you don’t want to scroll through the whole thing here are the separate links:
Why compost?
You can look at the nitrogen cycle and see how this single nutrient moves from the soil, to plants, to animals (sometimes) and back to the soil again in an endless cycle.

It’s not all about nitrogen though. Plants need 13 minerals in order to thrive. Of these nitrogen, phosphorus and potassium are needed in large quantities and sulphur, magnesium and calcium are needed in lesser quantities. The other 7 are needed in very small amounts. Basically, once a plant depletes the nutrients out of the soil those nutrients need to be replaced. In nature the plant will in due course die (or parts will die, like the leaves in autumn), or get eaten and poo-ed out (yes – we’re all thinking Lion King… ) and then these nutrients are replaced back in the soil. For a healthy garden it’s important to put these nutrients back in as we grow and take things out. Otherwise they’re not there for the next thing you grow. Of course, you can buy a packet of fertiliser in the shops but then you may want to consider what goes into fertilisers. I don’t have a fear of chemicals. It’s the energy and cost to the earth that I’m worried about. You can see the arguments in ‘Fertilisers’ and ‘Eutrophication.’
Also, why pay for something, when you can use stuff you were going to throw away anyway. Compost, made from a variety of kitchen and garden waste, will contain these minerals. The amounts will depend on how much of these minerals the dead matter had to begin with. Also, with compost you get a good growth medium. It holds water well but drains well too. That is something fertilisers won’t give you.

Lambeth council collects food waste 
You get a small tub to keep in the kitchen and they supply compostable bags. In a week we have 1/2 to 1 whole tub. 
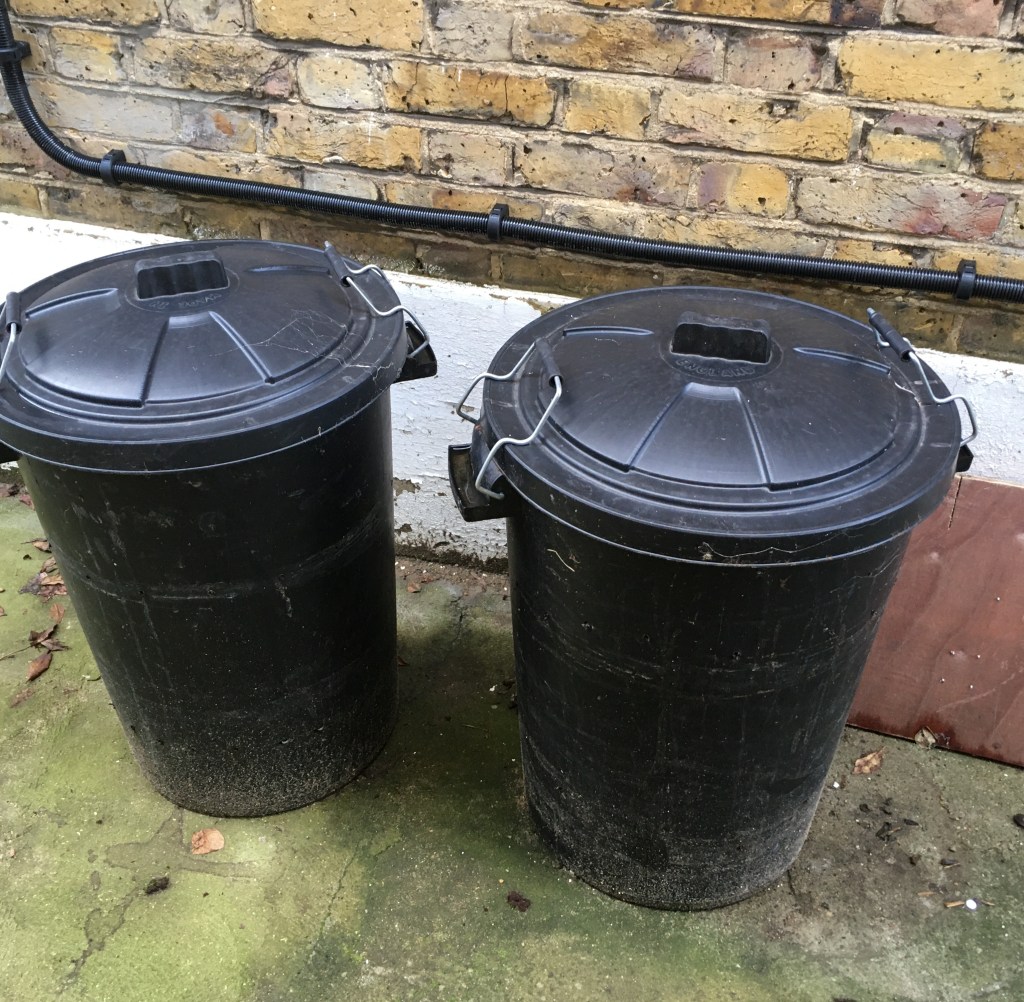
Weekly we compost the equivalent of 1 to 2 grey tubs full.
Another thing to consider is – what happens to this waste otherwise? If you have a council that collects everything in one go, then you can expect the waste to go to landfill. If you have a council that collects garden waste or food waste that’s better – but if you process it yourself then that’s less energy being spent on transporting (yes they’re making the journey round the houses anyway – but extra weight requires extra fuel) and then processing it. Even your cardboard boxes are great for composting.
What to compost?
From the house:
- Vegetable and fruit peelings and bits (apple cores, banana peels, that orange that went mouldy at the bottom of the fruit bowl)
- coffee grounds and tea leaves (we compost tea bags – but be aware that the bag itself will often contain plastics see previous post ‘Composting tea bags’)
- NO dairy, oils or meat.
- Shredded cardboard and paper without inks or dyes. A bit of common sense may be needed e.g. A paper towel used to mop up spilled juice or something is fine but not if you’ve cleaned up sauce or oil. Remove plastic and labels from cardboard.

Amazon package – prepped whilst watching Octonauts with my monkey. She ‘helped’ (ripped up a bit and then threw it around). 
Remove any labels, then shred as small as you can be bothered. It’s a nice little task you can do on the phone or in front of the TV.
From the garden:
- Any plant matter that is not diseased or heavily infested with pests.
- NO roots and seeds of perennial weeds. Be aware that any seeds may not compost and could sprout when you use your compost.
- Any wood bits should be chopped up or you are literally looking at years for that bad boy to decompose.

I rarely chop stuff up, but should. Composting is much quicker for 3 mins chopping.
Chopping things up helps to speed up the process but if you’re quite lazy like me you don’t need to. You just have to leave it to compost for longer.
For those who want a bit of jargon:
Green waste is leafy stuff, green stems, grass cuttings, the kitchen peelings and cut offs, coffee and tea. It is rich in nitrogen.
Brown waste is things like cardboard, paper and woody garden waste. It tends to take longer to break down and it is rich in carbon.
Hole Composting
What to compost?
For hole composting you’re best sticking to green waste from the kitchen: Vegetable and fruit peelings, cut offs and cores, tea leaves (bags are fine – but be aware that the bag itself will often contain plastics – see ‘Composting teabags’) and coffee grounds. You can add a small amount of brown waste like shredded cardboard.
How to hole compost?
I have an old plastic sweet tub that I keep next to the sink that I just sling stuff in. Something with a lid keeps smells in and flies out (mostly fruit flies as house flies are attracted to meat). Every few weeks I’ll give it a good wash (in the dishwasher usually – cause I’m lazy) just to keep the smells and mould at bay. I don’t use composting bags (bags that go into compost that break down) as they require energy to process the materials, to make and to deliver… and they’re not free. Also the smell in my tub isn’t bad as it’s all vegetable and fruit matter and stays on the counter top a maximum of a week. I do use composting bags for the council collected food waste. That smell just makes me want to go shower. If composting bags help you to compost, then better to compost and use a bag than not composting at all.

It may not be that pretty, but reusing plastic containers is better for your pocket and the environment. 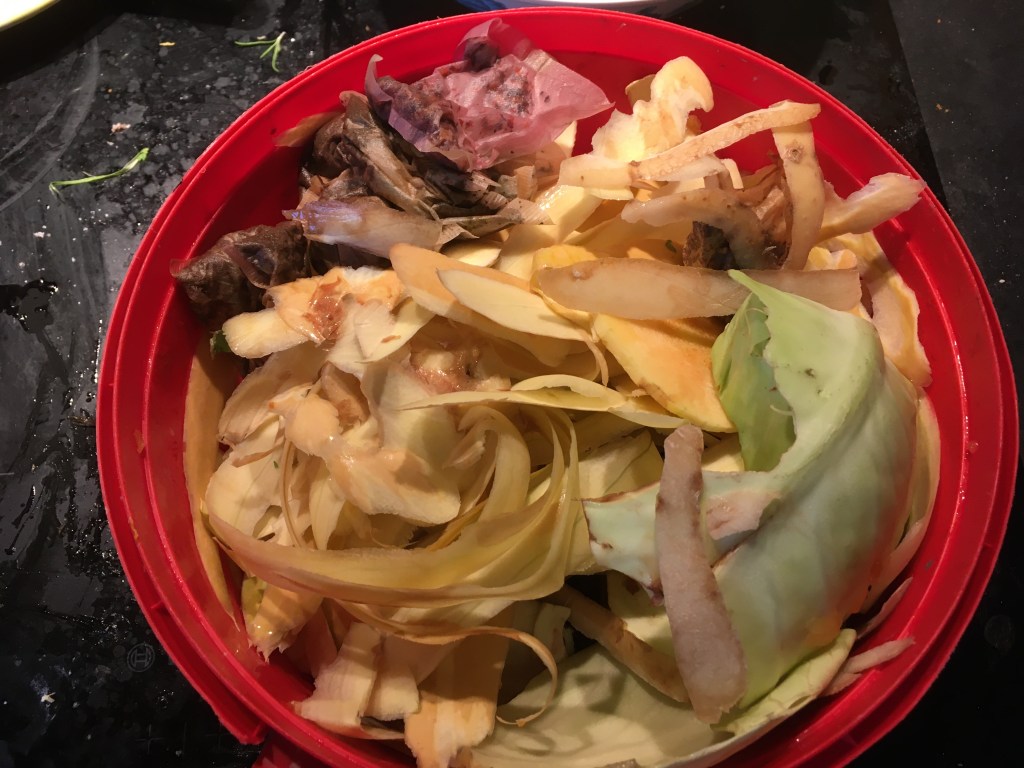
Tea, cabbage, apple, banana, squash peel, melon rinds, fine bean ends, onion bits, citrus peel, potato and carrot peel from one week.
When it’s full I’ll either bury it in the garden or put it in the compost bin. Despite saying that hole composting is the best, I mention a compost bin because I’m afraid it isn’t always appropriate to use hole composting.
Dig a hole. I just use a trowel. For a large sweet tub, I dig a hole that’s about 40cm wide and about 20cm deep. The deeper you bury, the less likely something will be attracted to it and dig it up. We have cats and foxes around us, and they don’t care for the type of stuff I bury.
Chuck the contents of the tub in. Give it a mix with the soil underneath it (and maybe an extra chop with the trowel) to introduce lots of microorganisms to it.
Cover it with the remaining soil.

The perfect spot 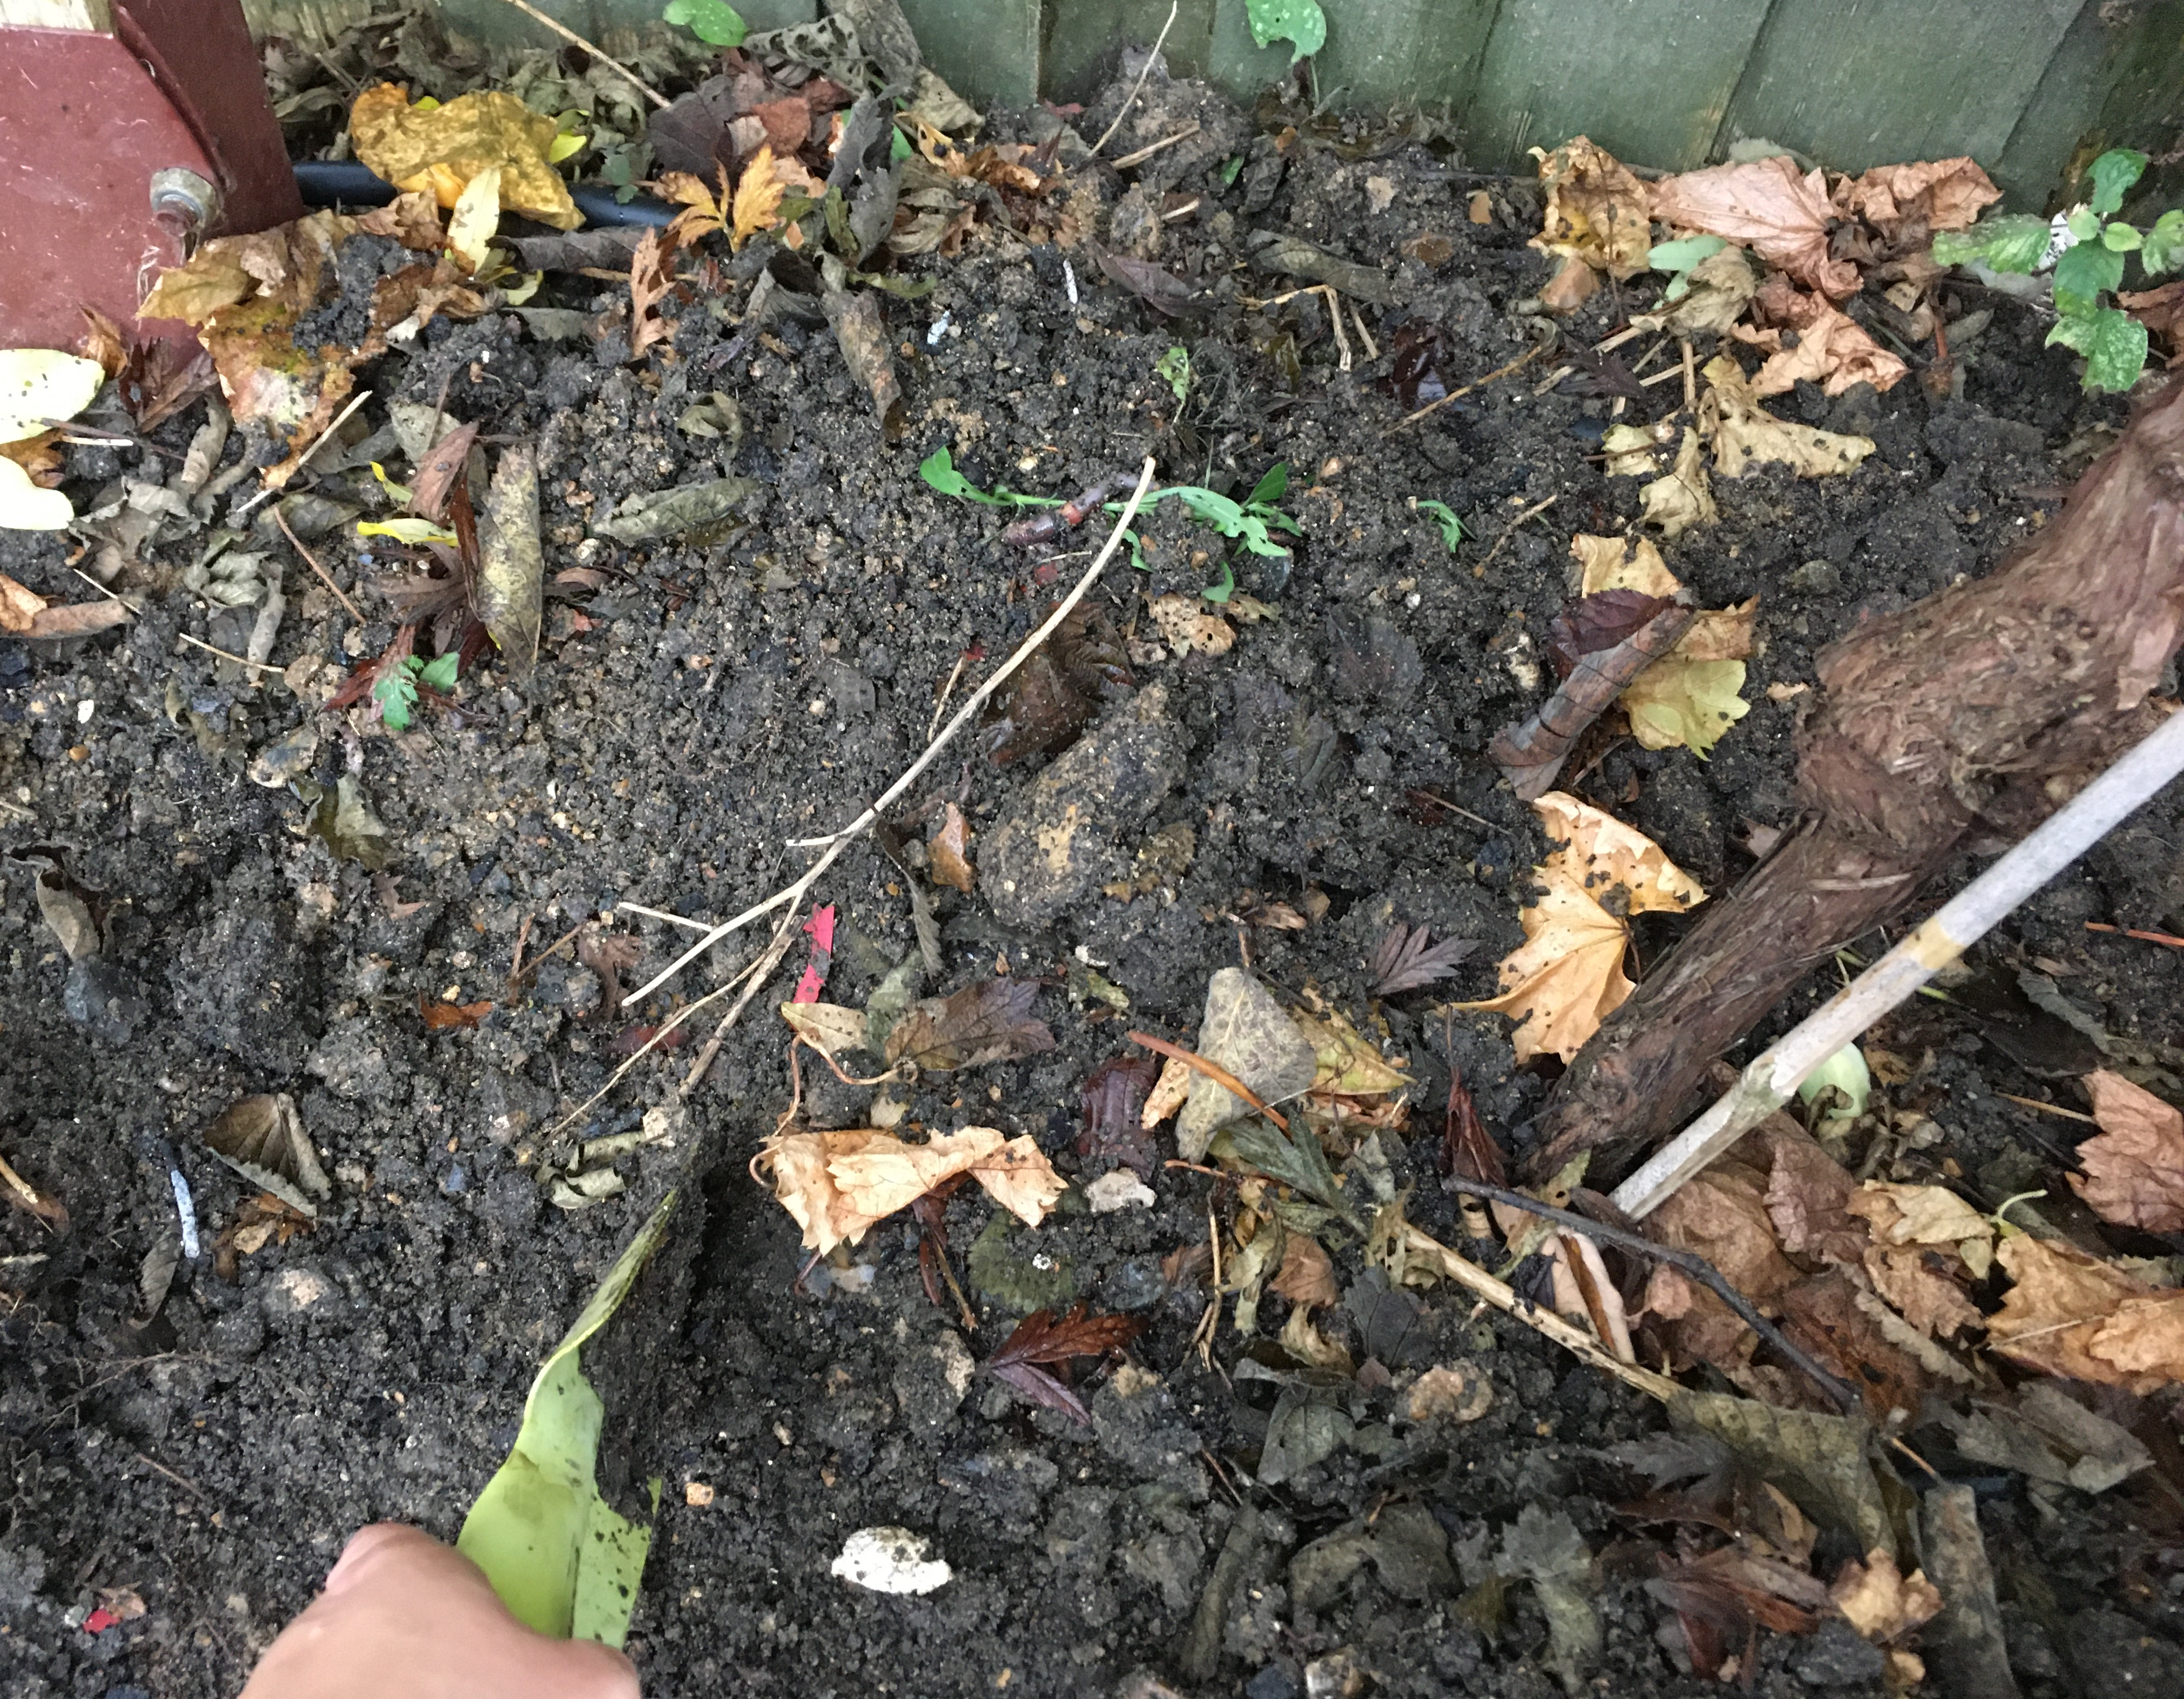
Not too close to the grapevine on the right. 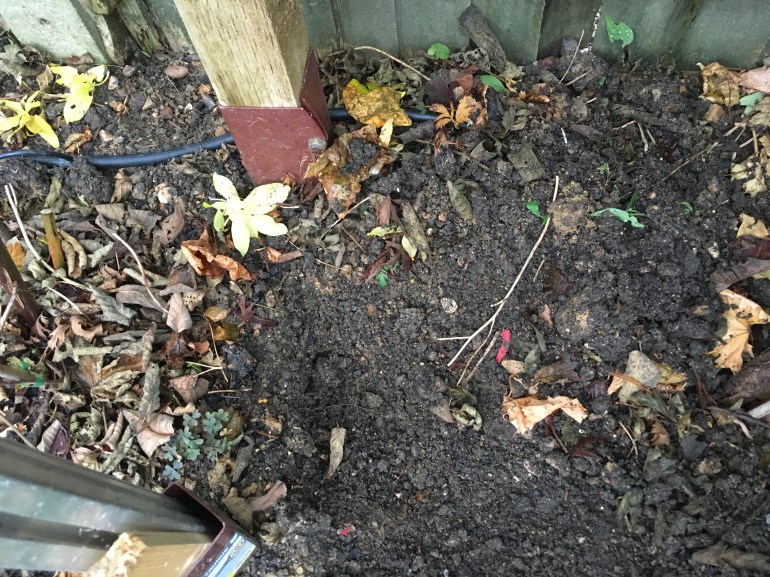
Doesn’t look like it, but I swear I dug a hole 
A week’s worth in… 
…mixed with the soil to introduce microorganisms… 
… cover back up.
Where to hole compost?
My memory isn’t as good as it used to be so when I hole compost, I start at one end of the garden, bury my kitchen waste and then mark the next spot to dig with a trowel.
I move hole by hole round the garden and when I get to the end in about 2 months or so, I’ll go back to where I first started. Things will have had time to turn into lovely compost, especially as the worms and microorganisms in the soil will have helped out. The worms will burrow through the soil and compost and aerate it The microorganisms need air to do their thing and, albeit slowly, the worms tunnelling through will help spread out the compost with its nutrients through the soil around it.
If you have any perennial plants, then you want to bury away from the roots. By digging you can damage the roots. You also don’t want to put a large amount of uncomposted material too close to a young plant. During the breakdown process the plant that is growing and the microorganisms doing the breaking down compete for resources. Therefore, it can be worse for the plant in the short term.

10 days later much of it is unrecognisable and there are plenty of worms. 
Some things like the banana skins, teabags and apple aren’t visible, but the squash peels (which of course protect the fruit) are still intact.
When to hole compost?
This is something that I prefer to do in the winter months. This is when I have the most access to the soil as many of the plants have died back.
If you grow annuals, then you should wait till all the plants have been harvested and then fill your growing space with lots of buried pockets of potential goodness. Start doing it as soon as you have harvested and carry on till around early February. Then the material has time to break down before planting begins in spring.
This is why as well as hole composting, I do have a compost bin (see ‘Bin composting‘ for details). I can’t always access the soil to dig a hole, so during this time it goes into a compost bin.

This can also be done in really large pots. This old water tank recently had tomatoes and French beans. Dig as deep as possible. 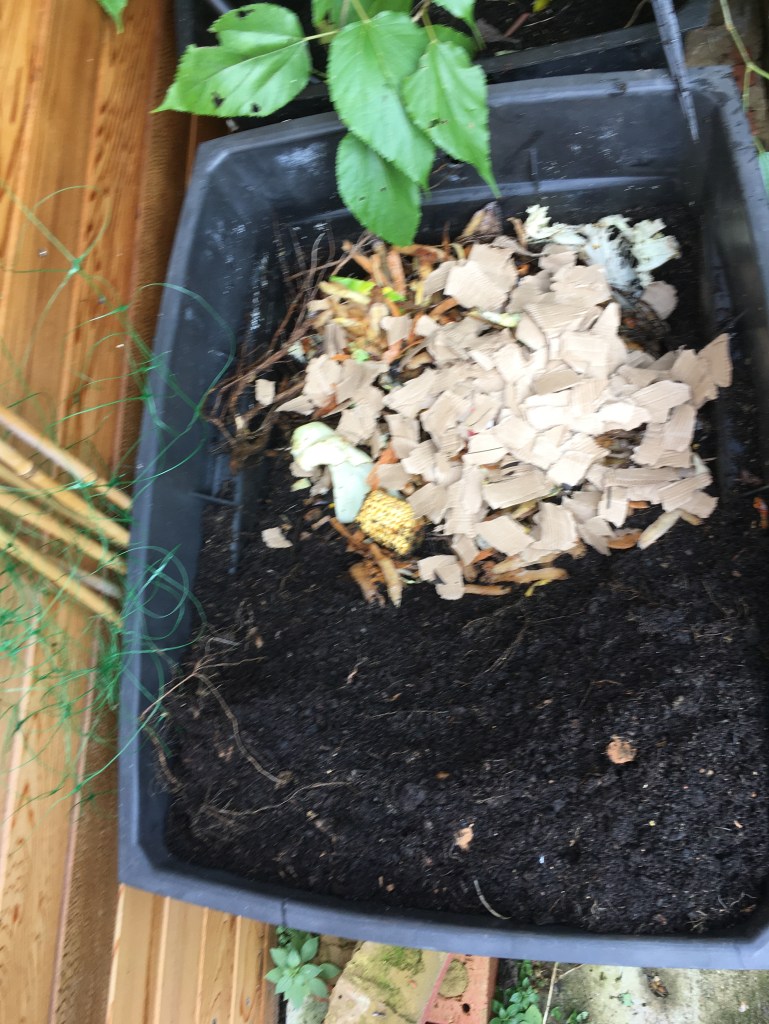
To avoid removing the soil I do one side at a time, pilling the soil on the other side. Here I’ve also added shredded cardboard 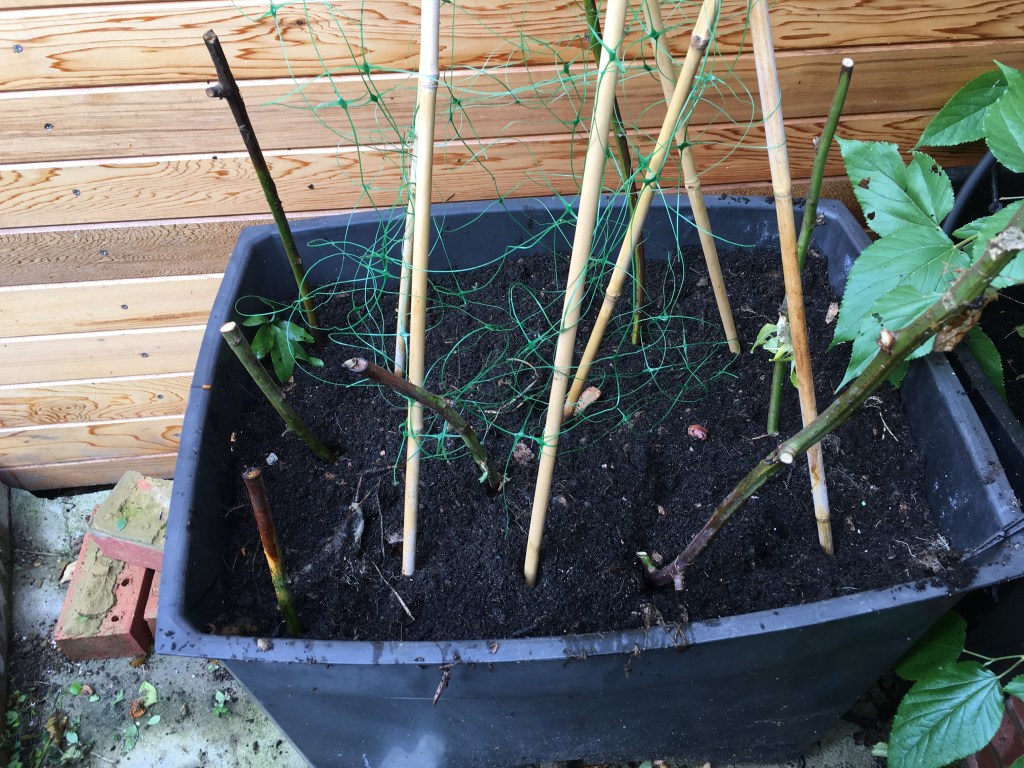
After mixing it all up and doing the same to the other side it has all been covered over and bamboo canes and twigs have been added to deter cats from using it as a litter tray. I know from last year that there are some worms in here, but every time I come across worms I add them into this pot.
A variation on hole composting
Every now and then I reclaim a bit of the lawn and make another vegetable bed or find myself a pallet that I recycle into a raised bed (see ‘Pallet planter’). I have 2 ways to fill the beds that don’t involve buying compost:
- Cover the bed with a couple of sheets of cardboard. Then every time I have a sweet tub full of waste or have garden waste, I lift the edge of the cardboard, chuck the waste in and then let the cardboard fall back down. The cardboard keeps animals from digging in there. Occasionally I shred a cardboard box and add that in and sometimes when I have a spare moment, I’ll give it a mix with a garden fork. Because you’re not digging a hole once a week it’s even lazier and quicker.
- When I haven’t had access to the soil in the summer months, I collect the kitchen and garden waste in a compost bin and then just pour all that in, in one go.

After a year, because I didn’t chop these up, there were still bits of twig.
When the bed is as full of compostables as I’d like, I give it all a good mix and cover it with a 5cm layer of old compost. This will usually be the ‘spent’ compost from pots that have had annual fruit and vegetables growing in it and it would be low on nutrients. I then leave it for around 2 months for the worms and other organisms to move up into it out of the soil and for the microorganisms to break it down. The smaller everything is chopped up before it goes in the more it would have decomposed. Bits of wood don’t decompose quickly.
Anyway, hole composting is great when you don’t have the space for a compost bin, or just want an easy way to add nutrients back into the soil.
You can really see the results of the composting. January 2019 I made this pallet planter. The bottom of it had sheets of turf that I had removed from the lawn. This also introduced microorganisms and worms. The middle was all garden and kitchen waste then it was topped with soil from spent pots:

In spring the sugar snap peas did really well and the yacon below started to fill out. 
By summer, the peas fell prey to powdery mildew, but there was a giant tromboncino that looped over the fence and back. The yacon began taking over. 
Now it’s winter the tromboncino is gone and the yacon is staring to die back, but you can see how tall it got. All that growth from just using what would otherwise be thrown away.
So for times when hole composting doesn’t work – or it is just isn’t for you:
Bin Composting
What to compost?
You need a good balance of green and brown waste. Too much green and you get a slimy rather wet mush. Too much brown and it can be dry and slow to compost.
If your compost bin gets slimy and wet, you need to add more brown. If it is too dry you can add water and/or more green.

Filled with garden waste 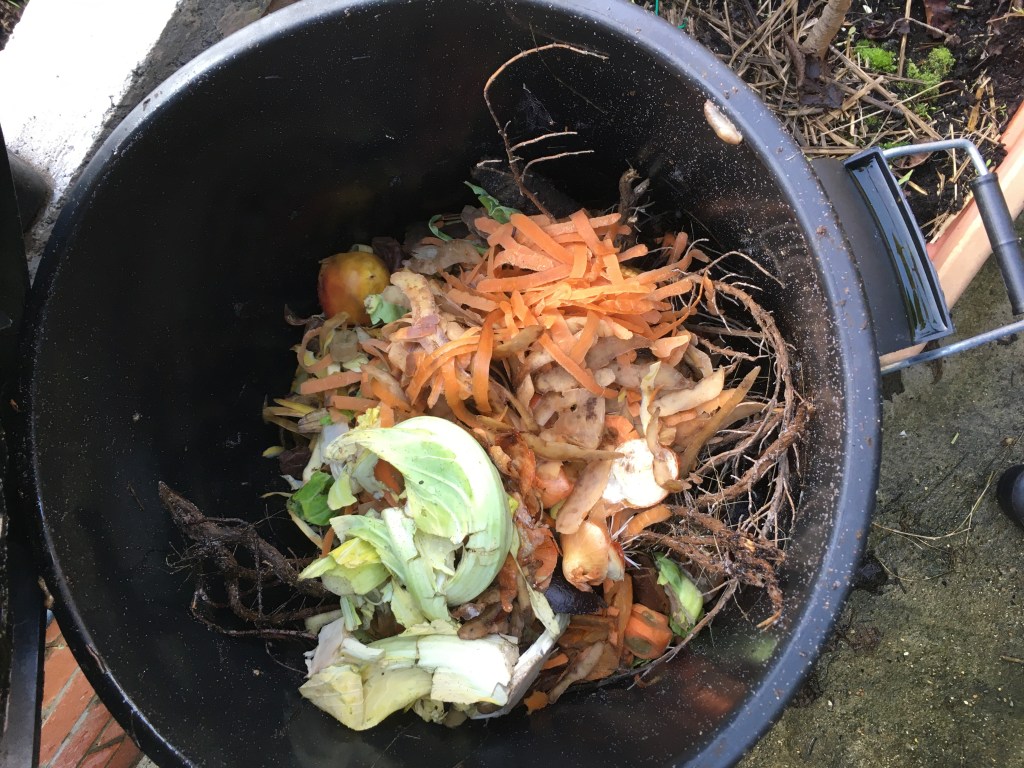
This is mostly kitchen waste with a dead rosemary bush I should have chopped up. When it is half full I’ll mix in some cardboard and let that decompose (turning it occasionally).
How to bin compost?
Put everything into a compost bin. Turn it regularly with a garden fork to aerate, as the microorganisms that break down the organic matter need oxygen. Be patient. It takes time for your waste to be turned into compost. Chopping things up small will speed up the process but then it takes time and effort. Turning regularly speeds things up but again requires time and effort. You may have also spotted a problem here. If you are going to be constantly adding waste, then no matter how much you aerate it there will always be some bits that have only been hanging around for a few days. Therefore, ideally, you need more than one. You fill one up and then aerate that one and allow it lots of time to decompose as you fill up your second one.
There is often a brown liquid (leachate) that is rich in nutrients that drains off composters. This is can be used neat or diluted as a liquid fertiliser.

This is 1 month old garden waste 
This is another month later 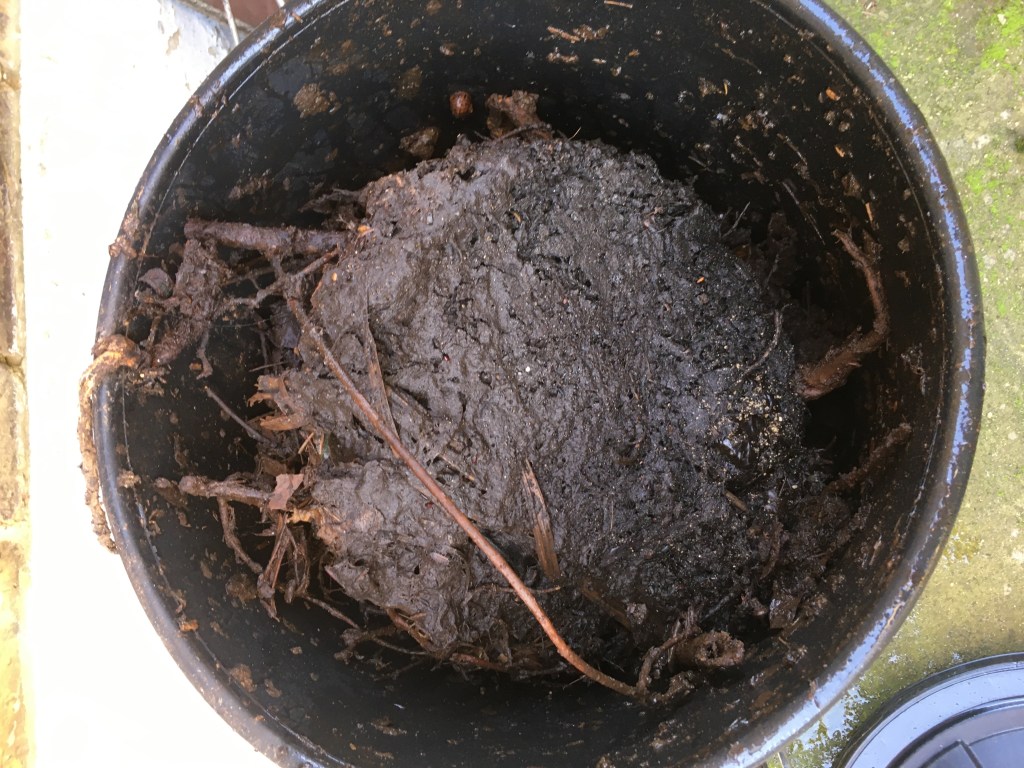
Another month after that
How to choose a bin?
A bin that is NOT airtight or waterproof allows little organisms like worms and millipedes to get in and help to break the matter down. They must then have an escape route. A bin with the correct balance of greens, browns and water should heat up, which makes break down faster. You don’t want to trap any helpful creatures in there. There are a variety of compost bins on the market and some that you can make yourself. These are the ones that I’ve come across.

I only had one pallet. I made a planter instead.
Pallet composter
This is the bee’s knees of composters. You build a cube with an open top and bottom out of 4 pallets. Alternatively, you use 3 pallets and leave the front open too to make turning easier. My dad made one.
If you have the space and lots of pallets this is a cheap and environmentally friendly option. It allows access for worms and easy aeration. I have never had a garden with enough space. I don’t think anyone in London would. Don’t forget – you ideally need 2 compost bins.
The open bottomed upside cone composter

This was one I hated that came with the house that we were living in about 10 years ago. It was basically a green plastic cylinder which tapered towards the top and had a removable lid. The open base was supposed to allow organisms to enter and so you could remove the whole structure, leaving compost where it used to be, but what happened instead was whenever I tried to remove the tight lid, I’d lift the whole structure and half decomposed matter would pour onto my shoes. The tapered top meant that it was hard to get a garden fork in to aerate it. Due to the open bottom it had to be kept on soil. I hated how much space it took up and how it couldn’t be moved. This is just a picture off the internet. It wasn’t quite this one, but it looked a lot like it.
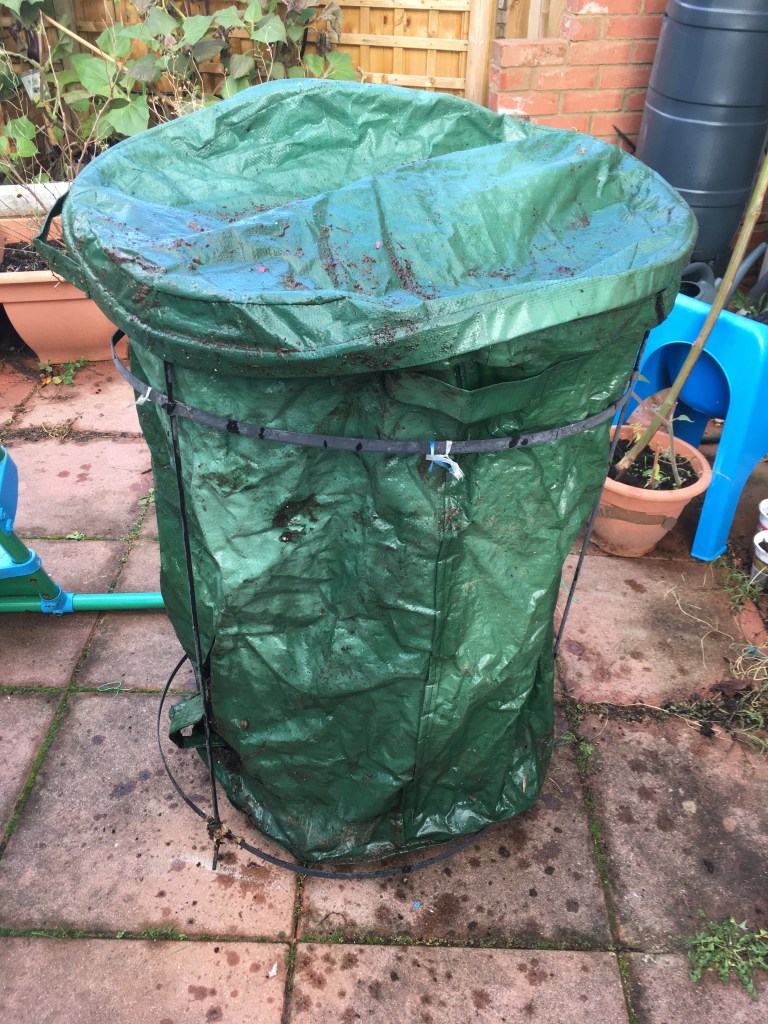
Cheap compost bin with a wire frame and tarpaulin sides
This was about the size of a household wheelie bin. It had a flap in the side stuck on with Velcro so you could open it for access to compost at the bottom. We chose something as large as possible for the price as we had finally gotten a place with a decent garden.
This wasn’t bad and we used it for almost 2 years. It was cheap and with a closed bottom it could go anywhere. Unfortunately we found that things didn’t decompose particularly quickly (no access to organisms and a pain to turn). The sides were a bit flimsy and it was impossible to move when even a quarter full. Also the velcro on the flap became clogged and then it wouldn’t close so it leaked goo constantly.

2 rings of little holes to provide air
Rotating compost barrel
This is a barrel mounted on a stand that you can rotate to easily aerate it. They’re expensive. So for half the price of the smallest, cheapest one I made 3 from black bins. There are plenty of good youtube videos on how to make a proper one on a stand, but I didn’t have the patience or the space. Mine are literally black bins with lids that can be tightly sealed that I’ve drilled 2 rings of holes in. I also made a board with wheels so that I could put the bin on top of it and rotate it, but then decided that it was easier just to push it around with a wellied foot. I’ve had these for about 6 months so far and I absolutely love them. They’re easy to make. Turning the compost is very easy. If you roll it on the grass the leachate (brown nutrient filled water that leaks out of the hole) fertilises the grass. Each one is light enough to be taken around the garden to collect waste and small enough to be tucked into a corner when not in use.
I keep these 2 with a board that has 4 wheels screwed in. 
I can lay the bin on the wheels to rotate it 
I have found that just pushing it around is easier
Sounds perfect. The only problem is – I bought something plastic and new. I am bad.
Anyway…the compost bins hold the waste in the summer when I can’t hole compost. Once I have bare earth I start hole composting again. With perennial plants I haven’t dug close to their roots in hole composting, so in the spring I use the compost that is made in bin composting to mulch around them to provide nutrients.
Please please please do give composting in some form a go – even if you dig just one hole! It’s better in the garden than landfill or being collected for processing. It’s a free, natural way to fertilise your garden. It’s good for the environment and it’s good for your plants.

A detailed guide on composting with photos – a good post!
LikeLike
Thank you for your comment. I feel rather passionate about composting (and of course growing food) as a part of a sustainable future and as something to pass onto the next generation.
LikeLiked by 1 person
Yuo are welcome! Be passionate about them and you are a winner in the fight for our survival.
LikeLike
That’s a lovely way to look at it.
LikeLiked by 1 person