Short version:
A lovely perennial allium that is a forager’s dream. It’s safer to grow it as there is a particular dangerous lookalike and the freshly picked leaves do wilt rather quickly. It will happily populate a shady corner of the garden and provide you with fresh garlicky (oniony when cooked) greens through the hungry gap and beautiful white flowers that pack a punch in a salad.
I have childhood memories of woods that smelt strongly of garlic. I found it strange that something wild could smell so strongly of food, having clearly not understood that all our cultivated plants come from wild species that we have ‘domesticated’.
Then in Easter 2017 on a family get-together in Wales we came across a wood stuffed full of wild garlic. Despite the protests of my fellow holiday goers, including my then 1 year-old child, I felt the need to forage, cook and serve a bag full of wild garlic for dinner. It was met with general approval. Just as an aside, it was very carefully sorted, and every leaf sniffed to ensure it was definitely wild garlic. Foraging for wild garlic does often come with a warning. The leaves of the wild garlic look very similar to lily of the valley, which also grows similarly well in woodlands. When not in flower I don’t think I’d be able to tell them apart. The garlic smell is the giveaway, but if you are collecting large amounts (it wilts down quite a bit upon cooking) the smell of garlic on your hands may stop you from being able to tell if you pick up an errant lily of the valley leaf. This is very important as ingesting the leaves, flowers or roots of lily of the valley is dangerous and may even be fatal. Anyone else thinking of Breaking Bad?
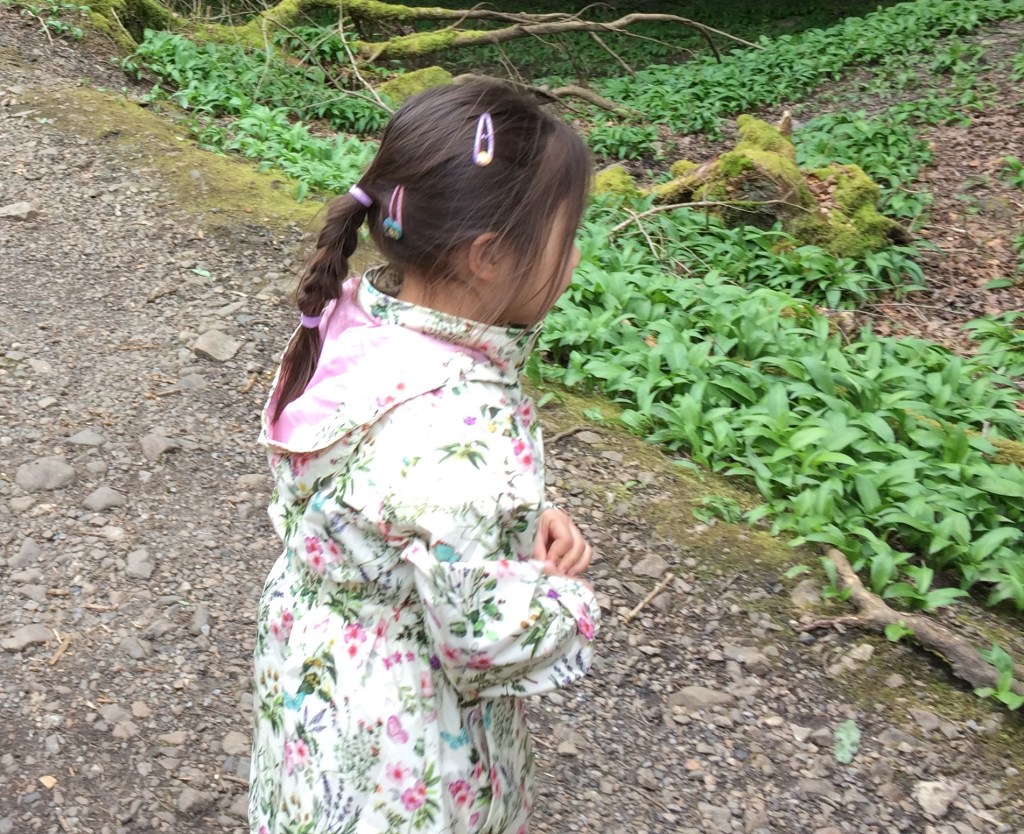
My little niece looking at swathes of it in Wales
Later that year, when we moved house to a place with a real garden, I knew I would want to find a spot for my own patch – where I could be sure that there was nothing dangerous growing.
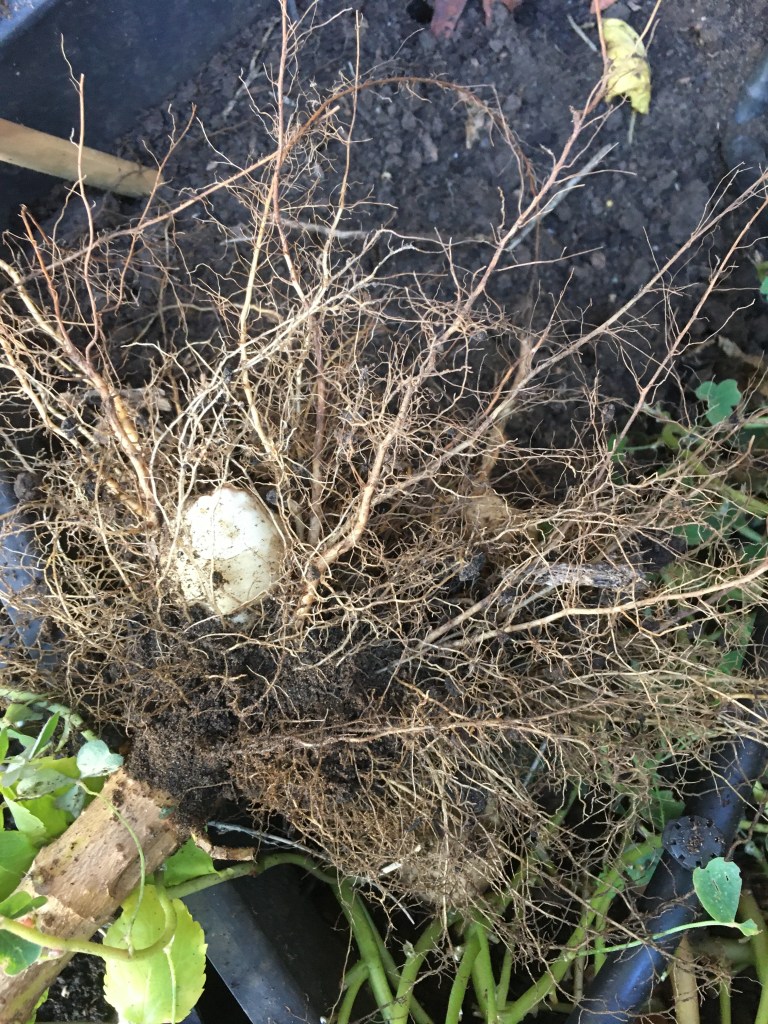
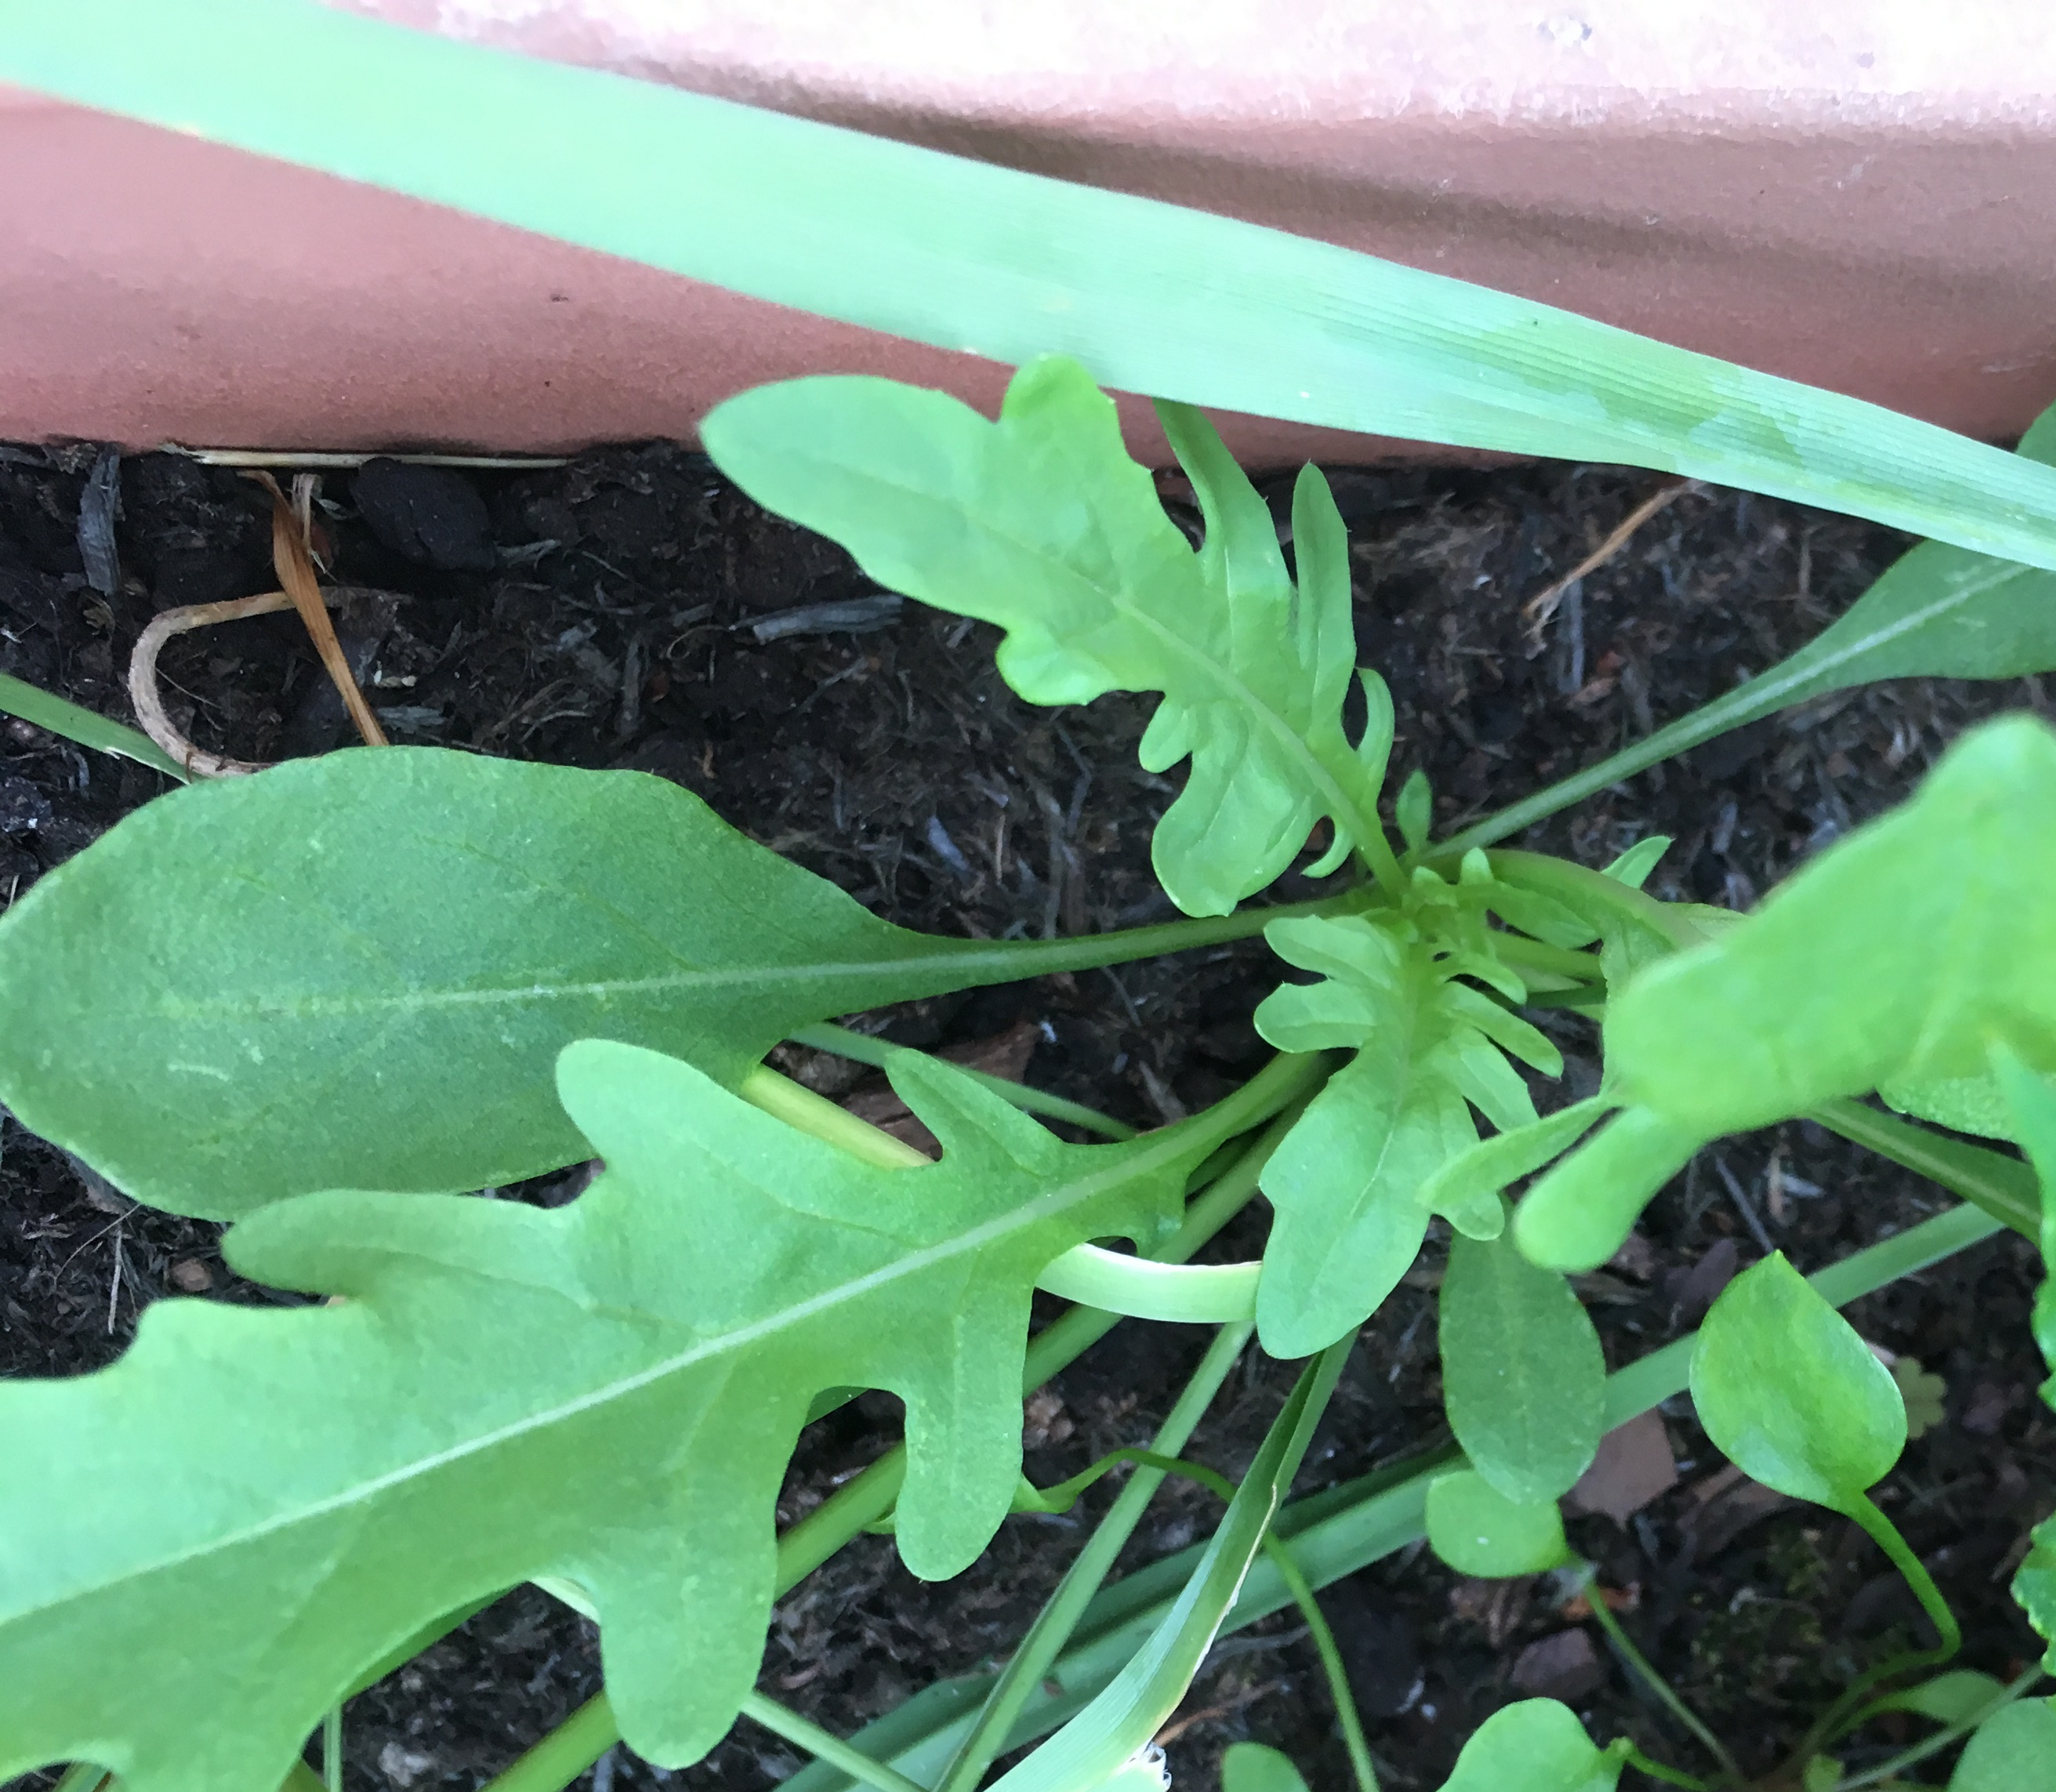
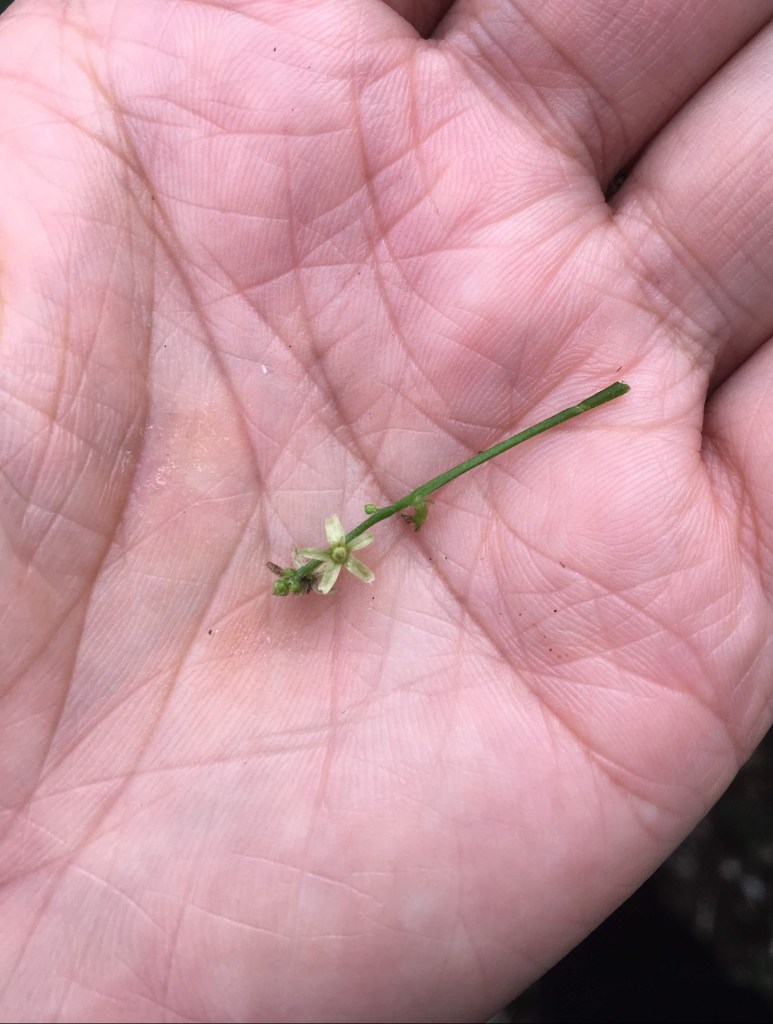
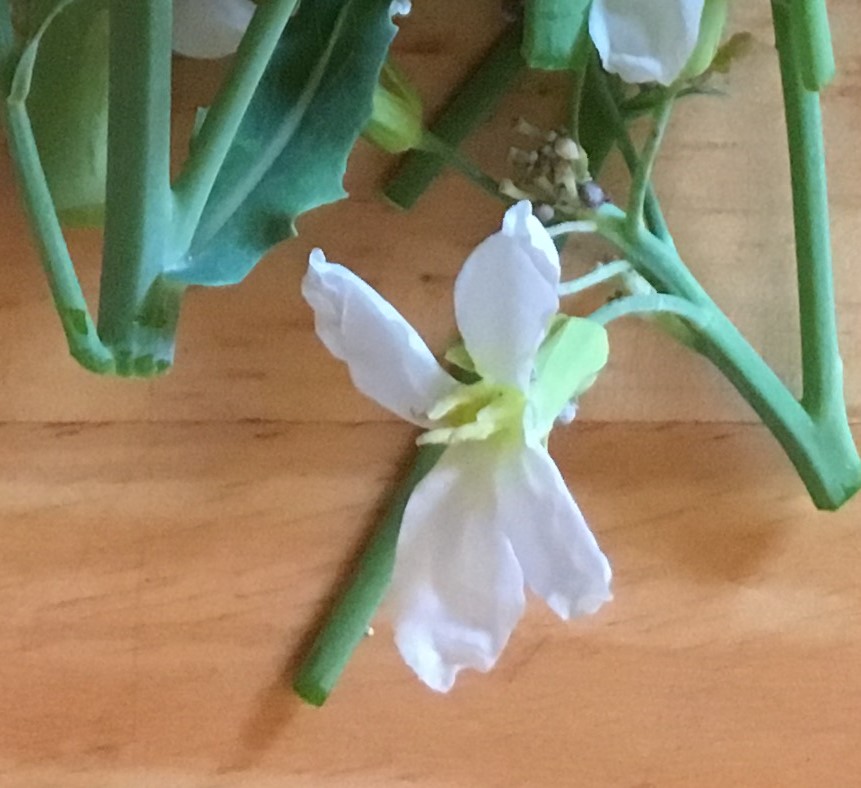
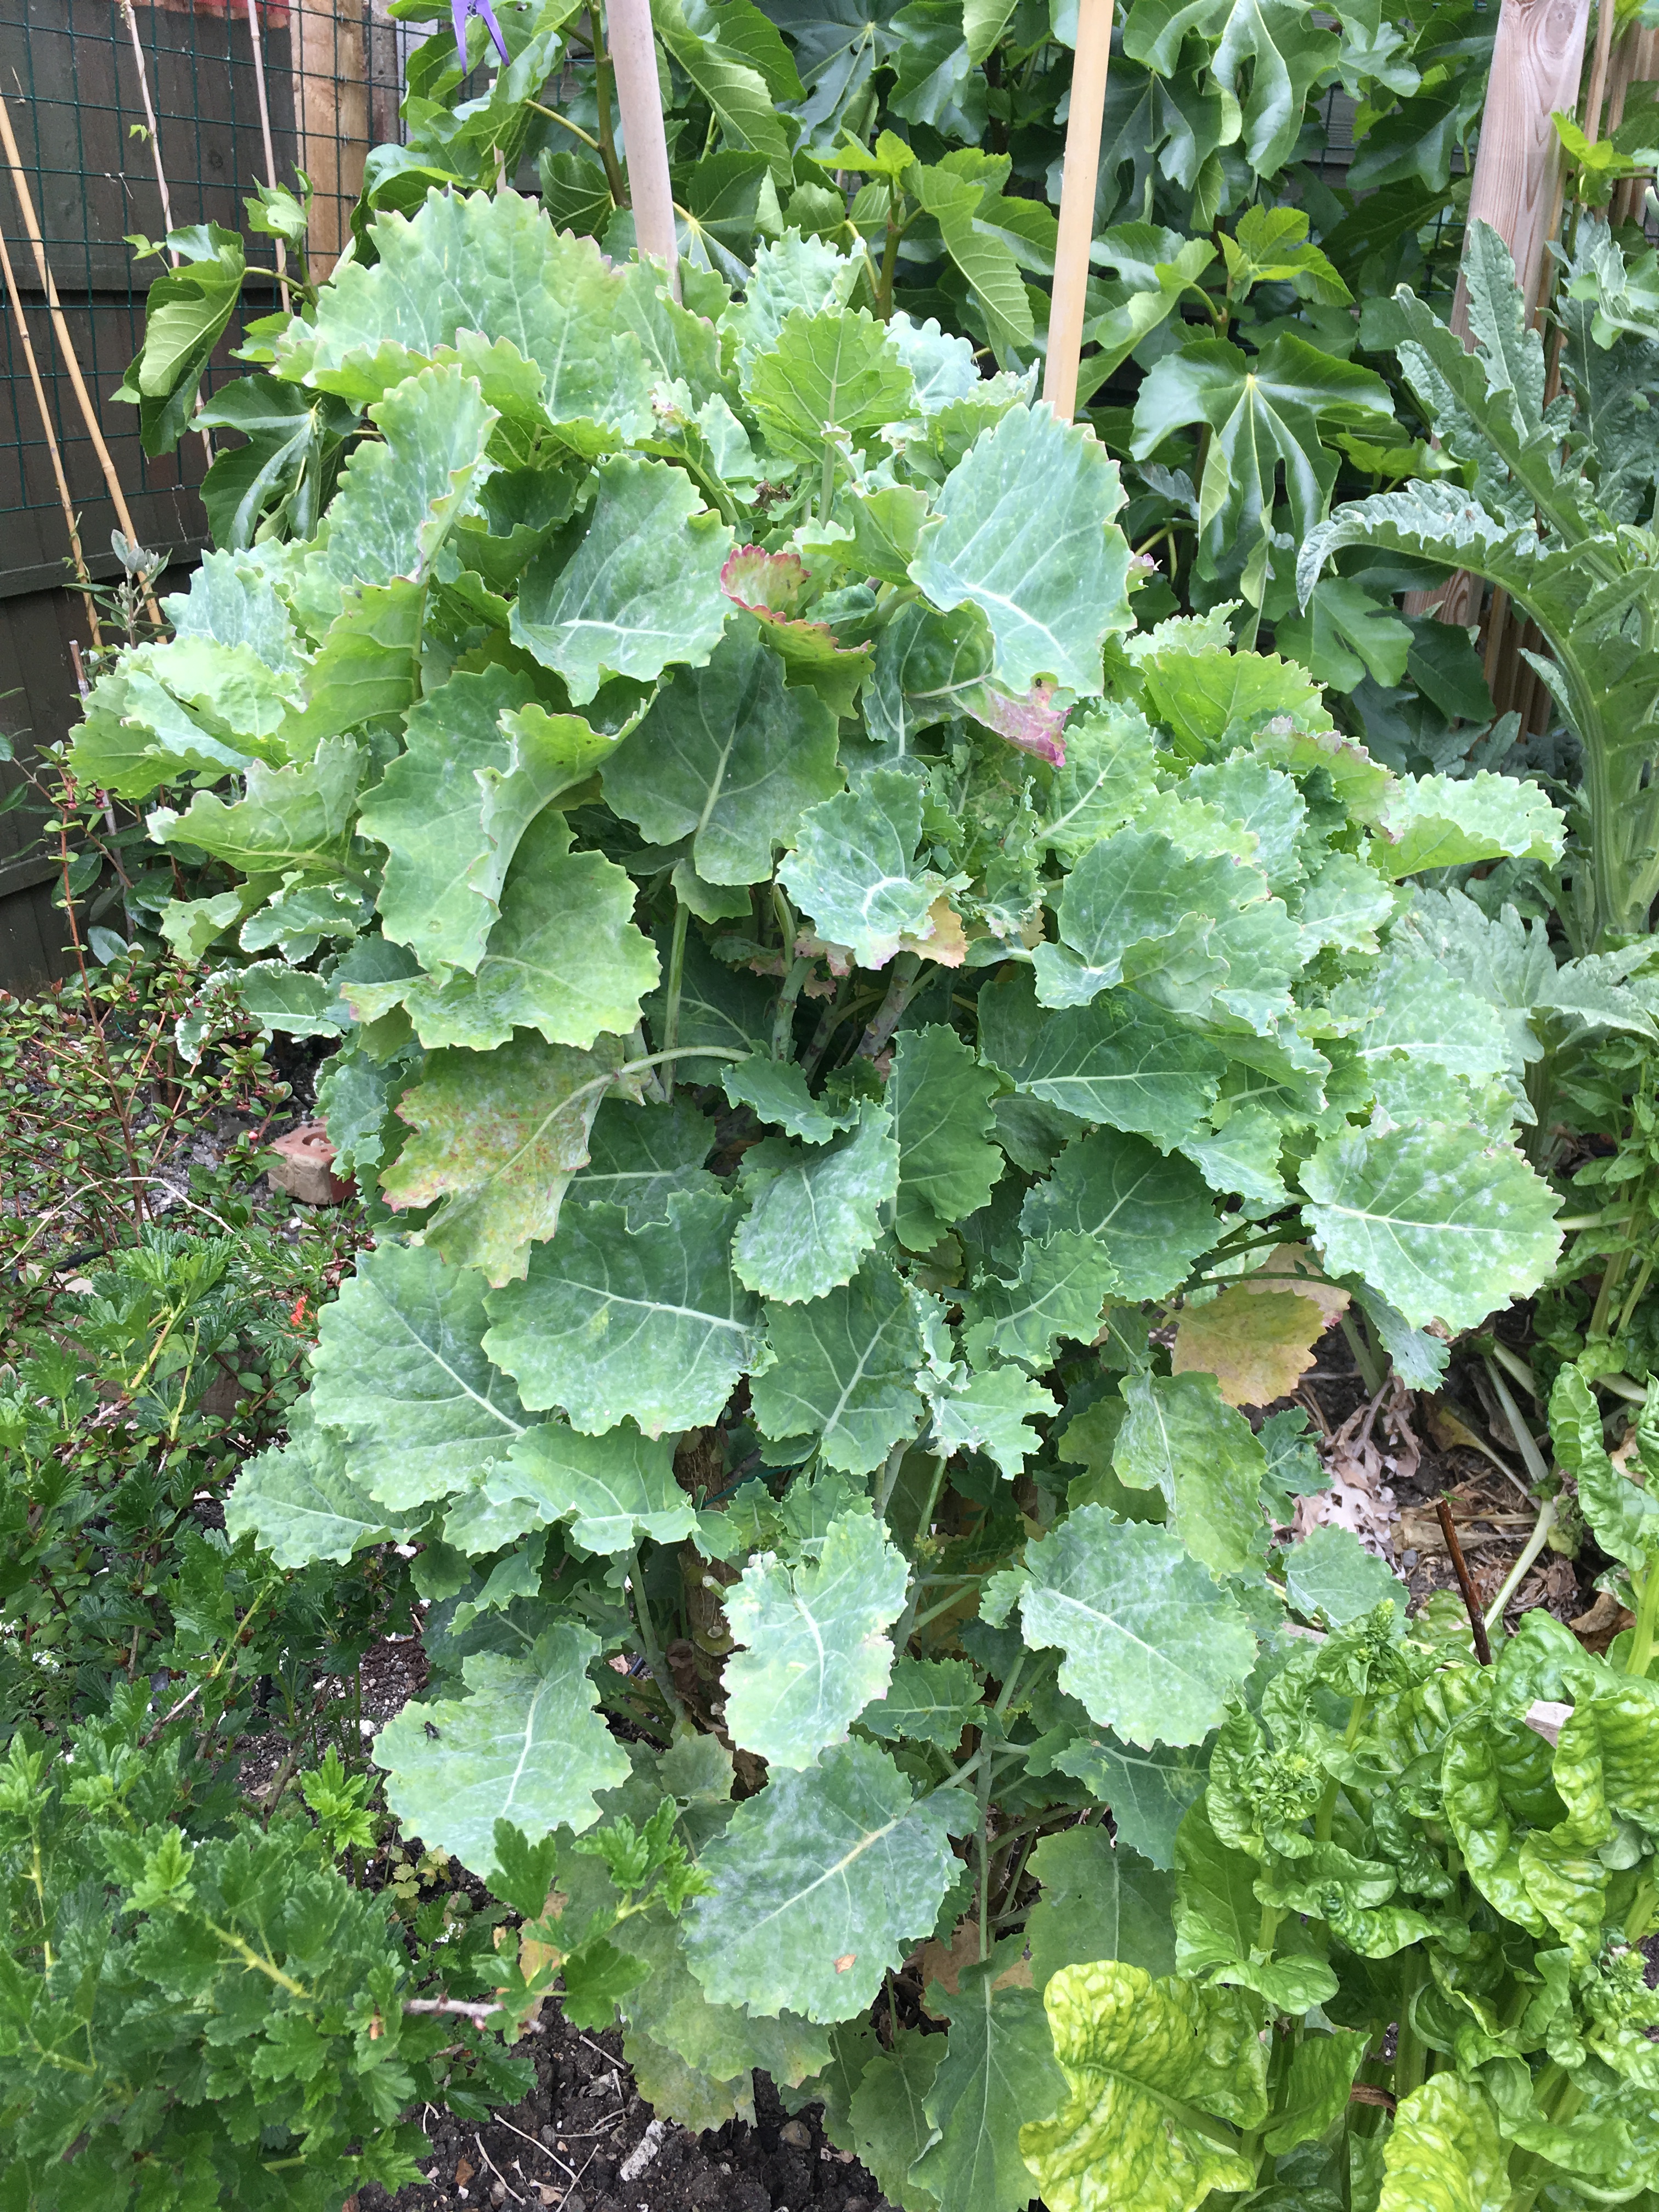
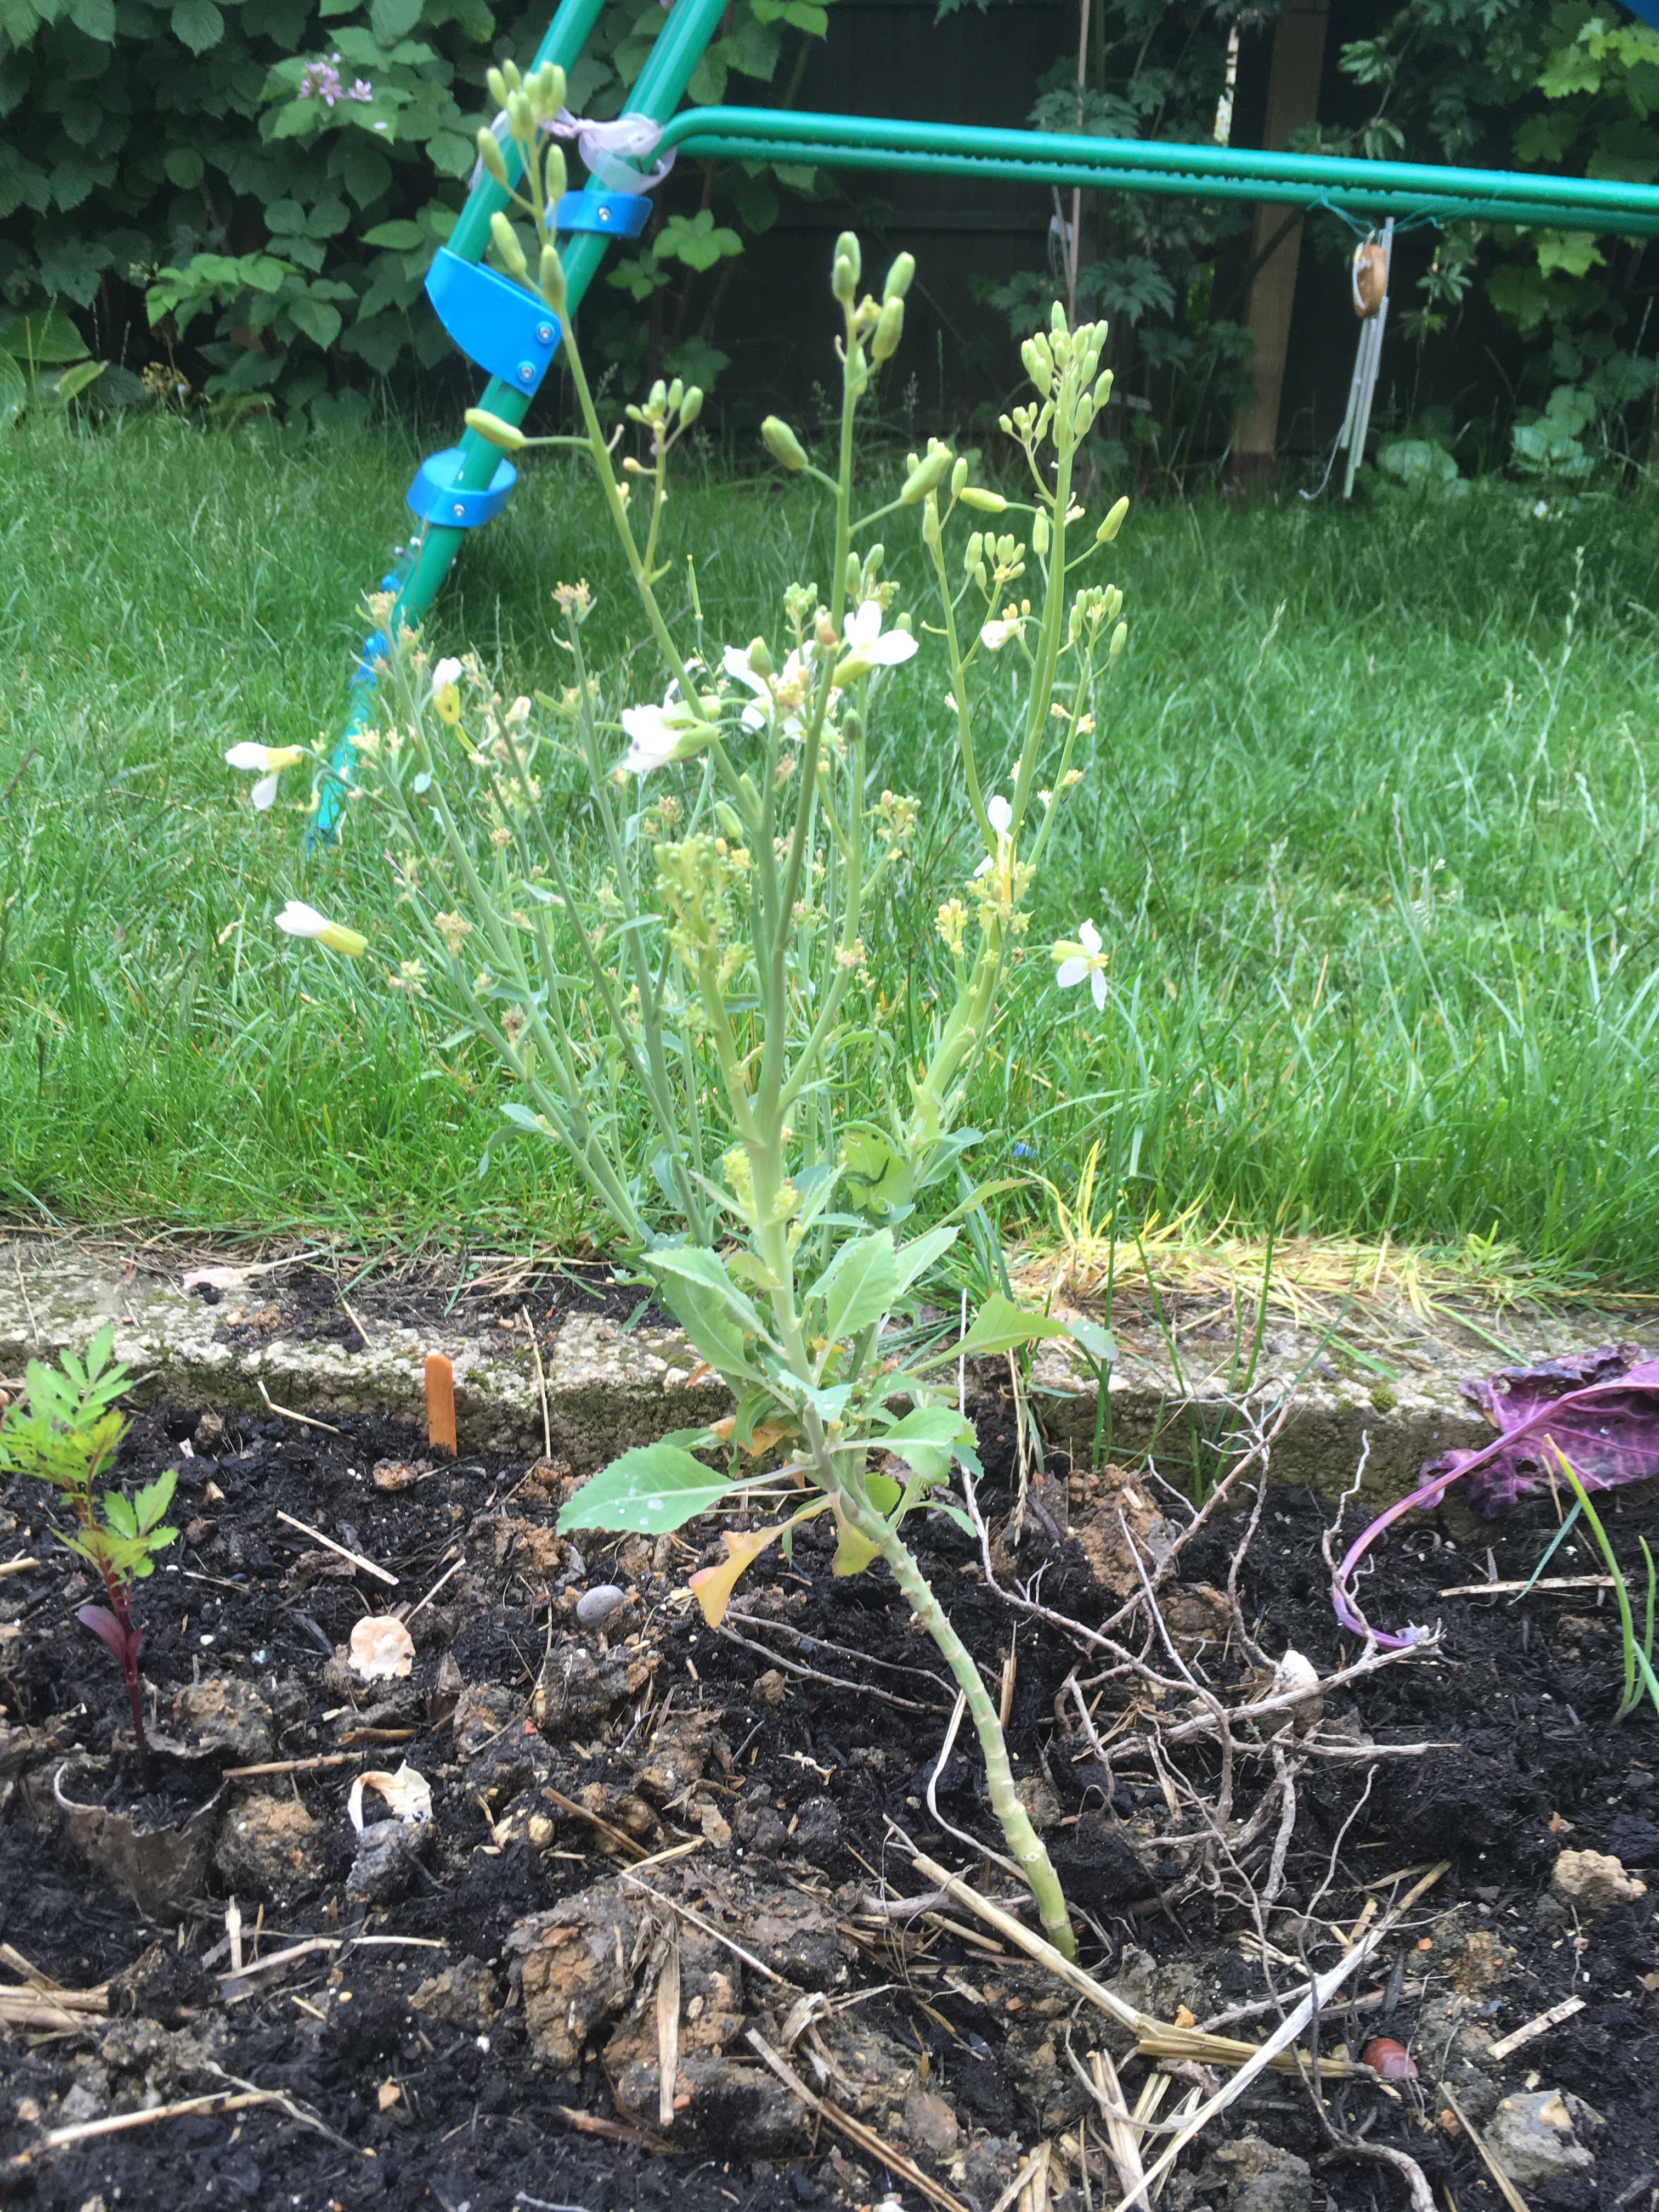
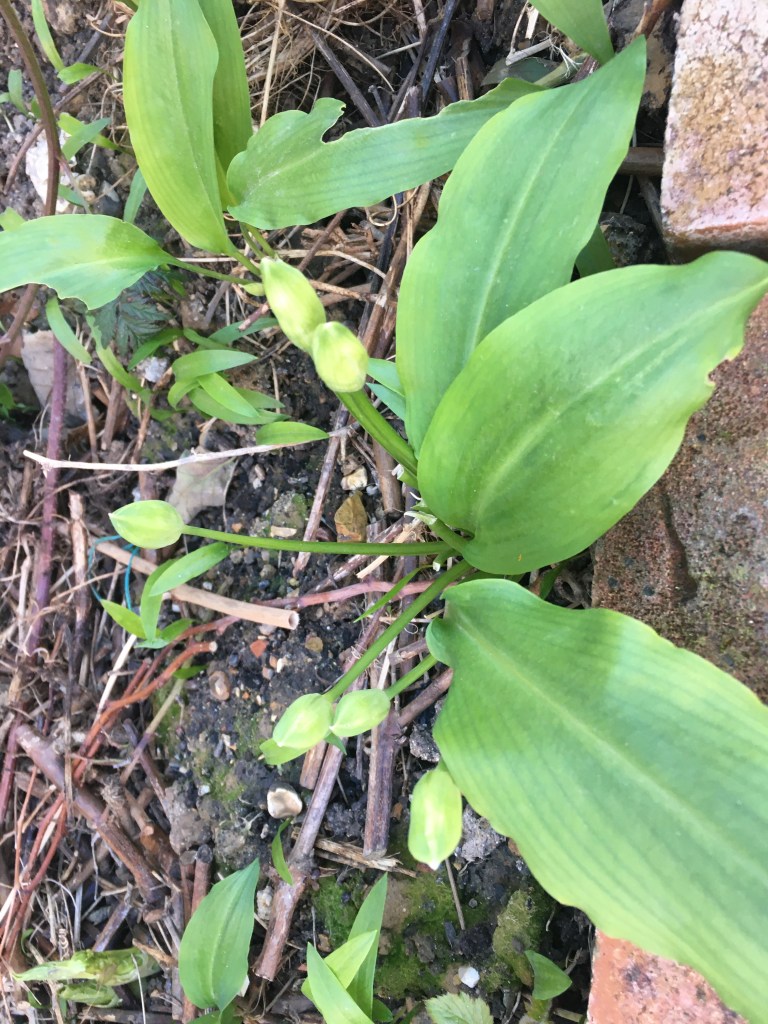
The scientific name is Allium ursinum, also called ramsons and bear garlic and unlike most alliums it has very broad lanceolate leaves that curl outwards as they grow. Their white flowers are fairly typical for alliums, but they don’t form balls the way most allium flowers do. They look very similar to the flowers of Chinese (also called garlic) chives.
How to grow
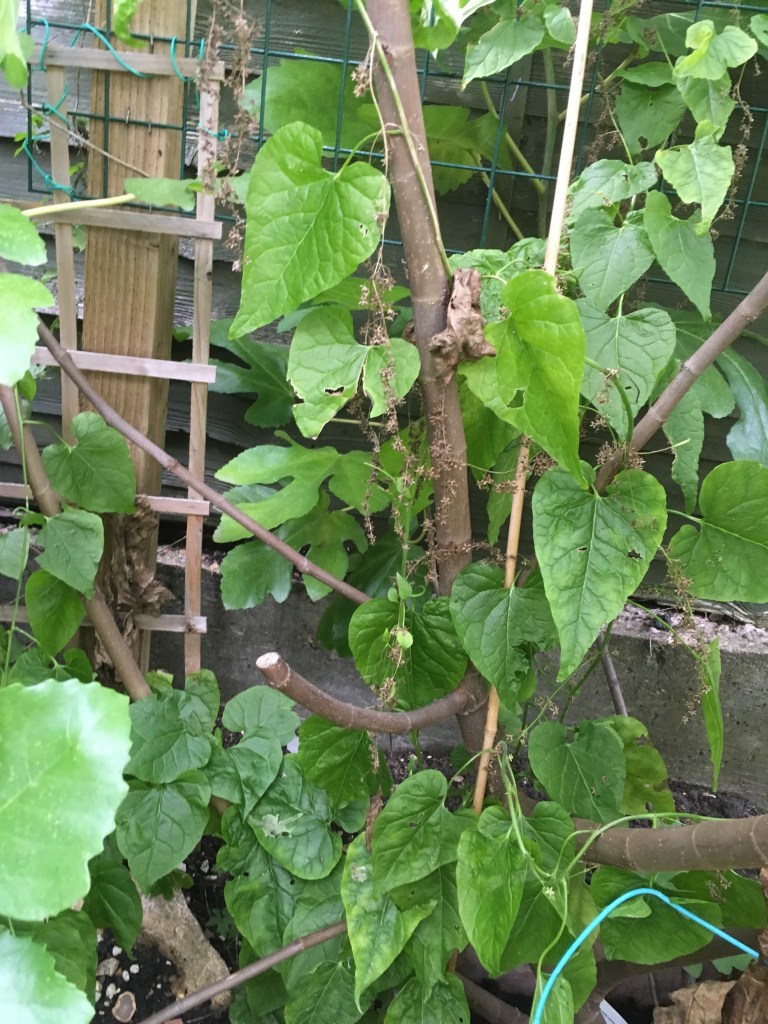
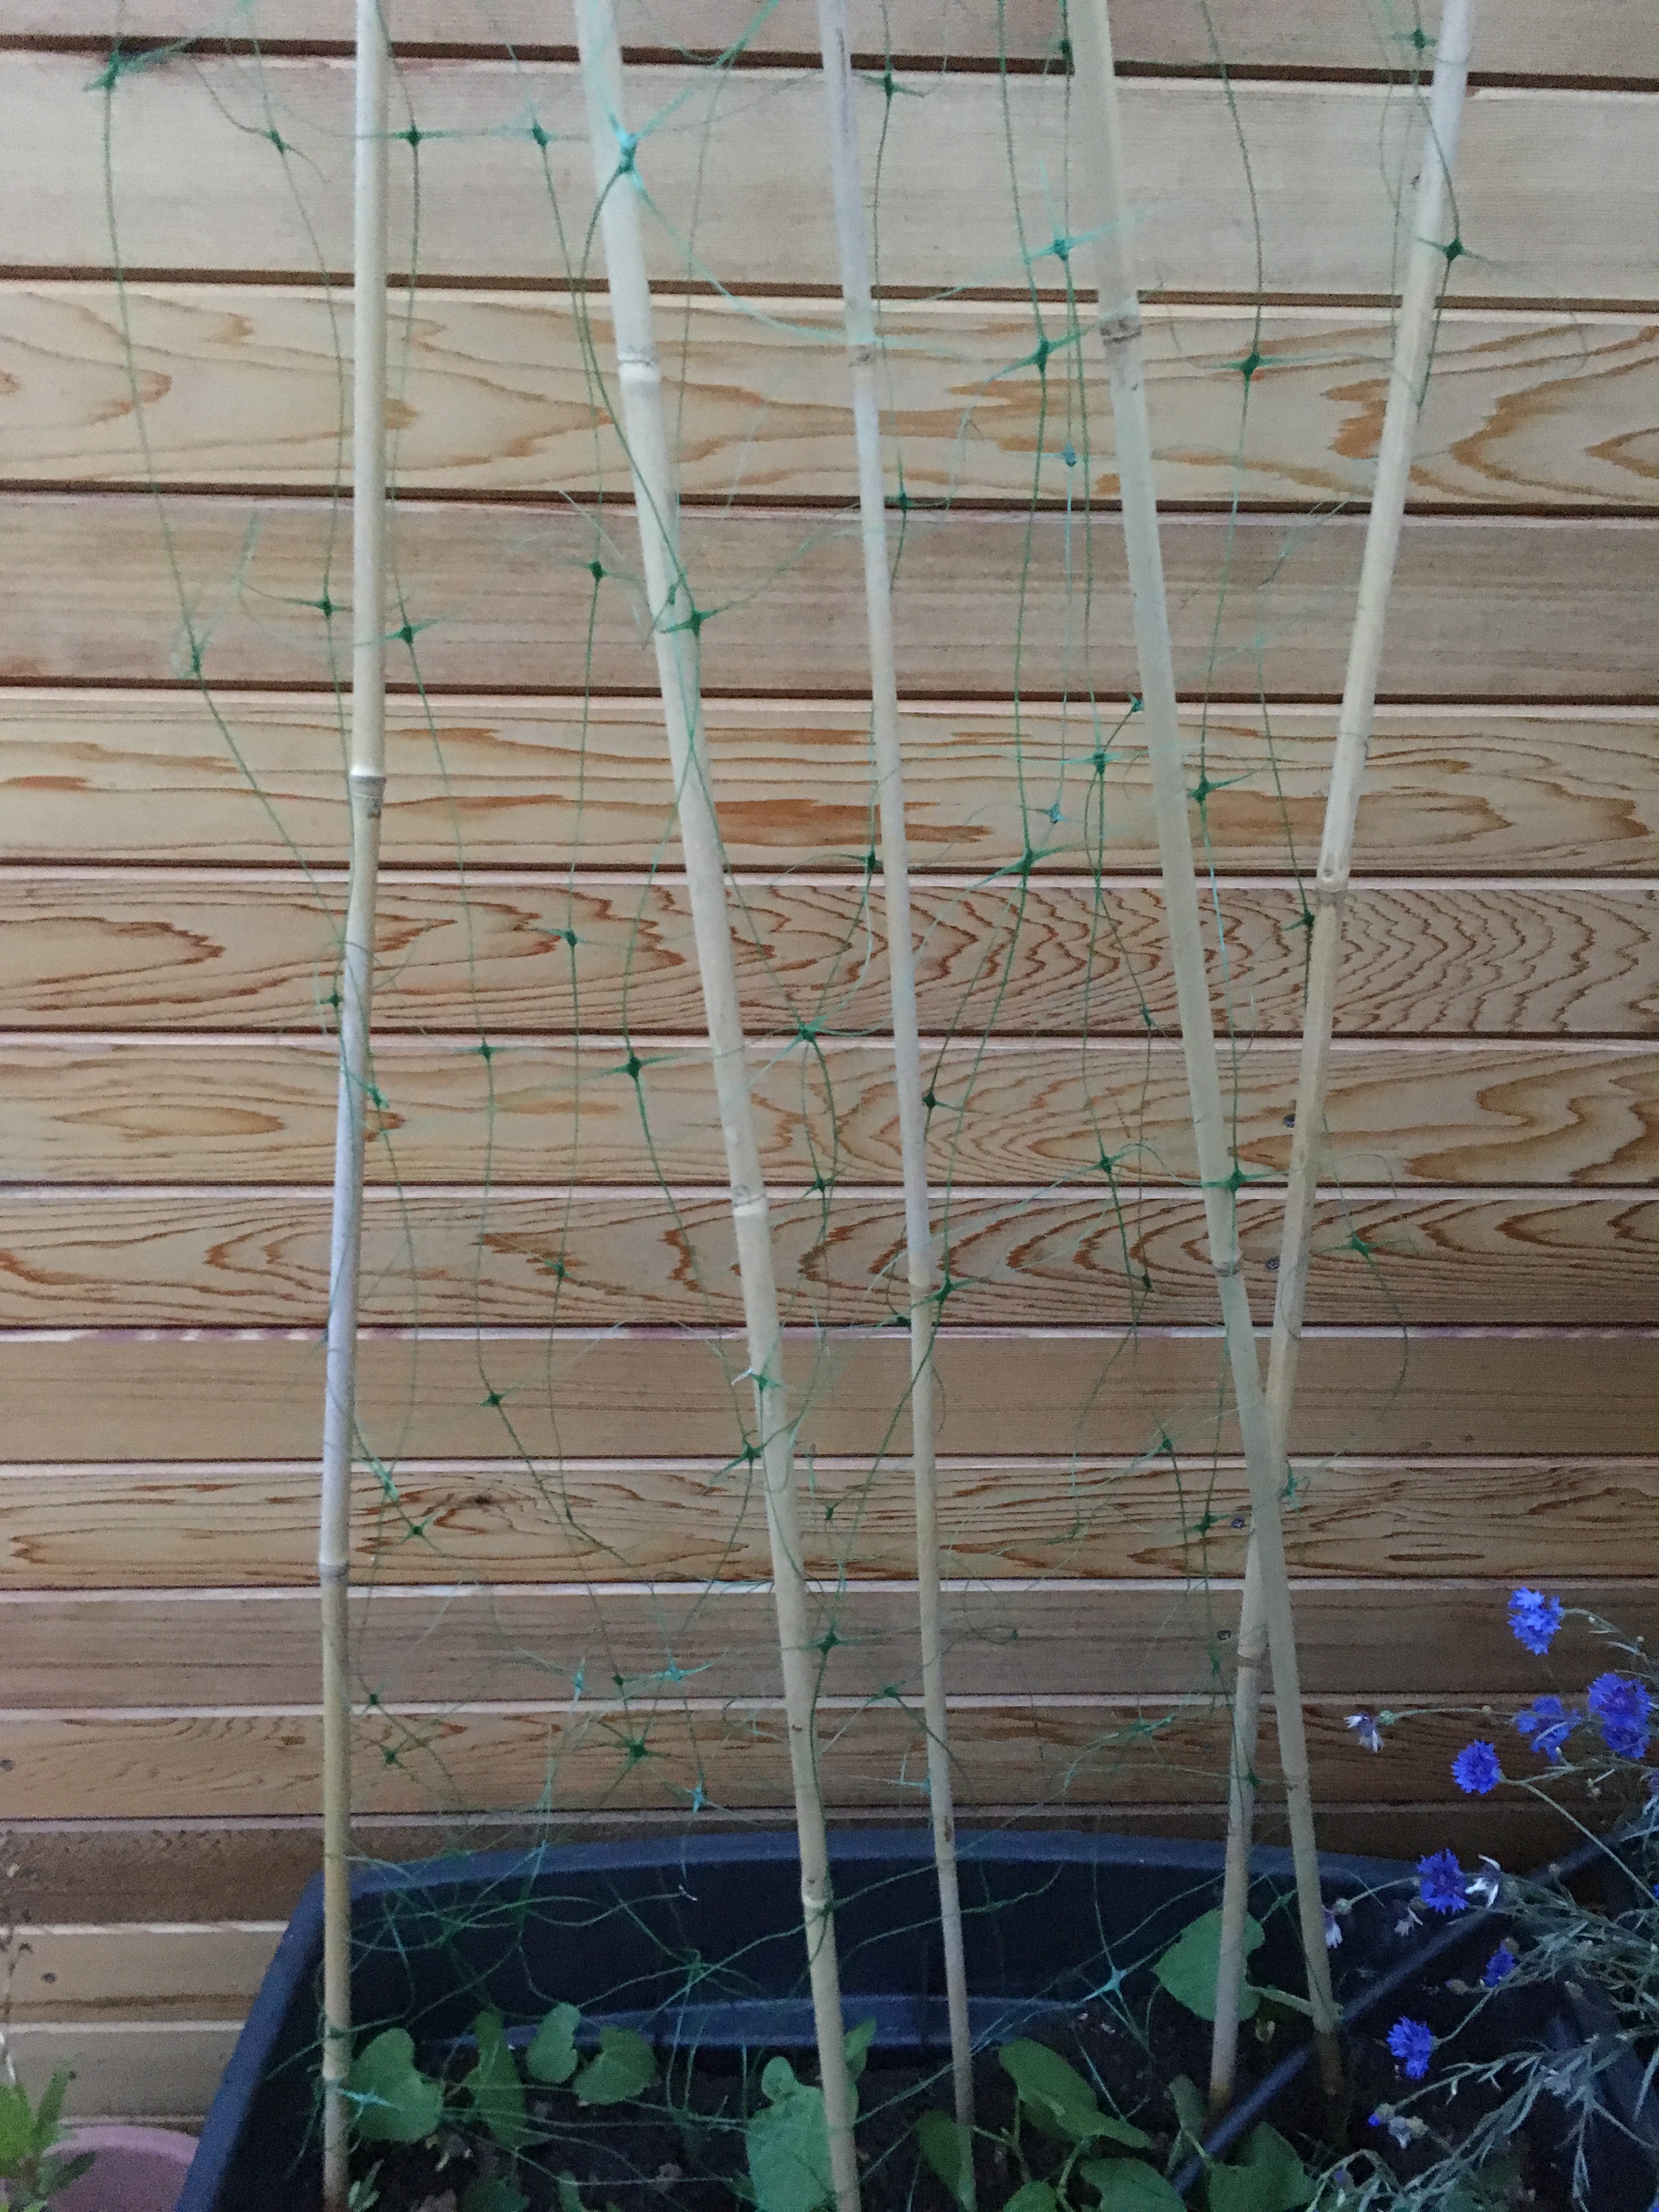
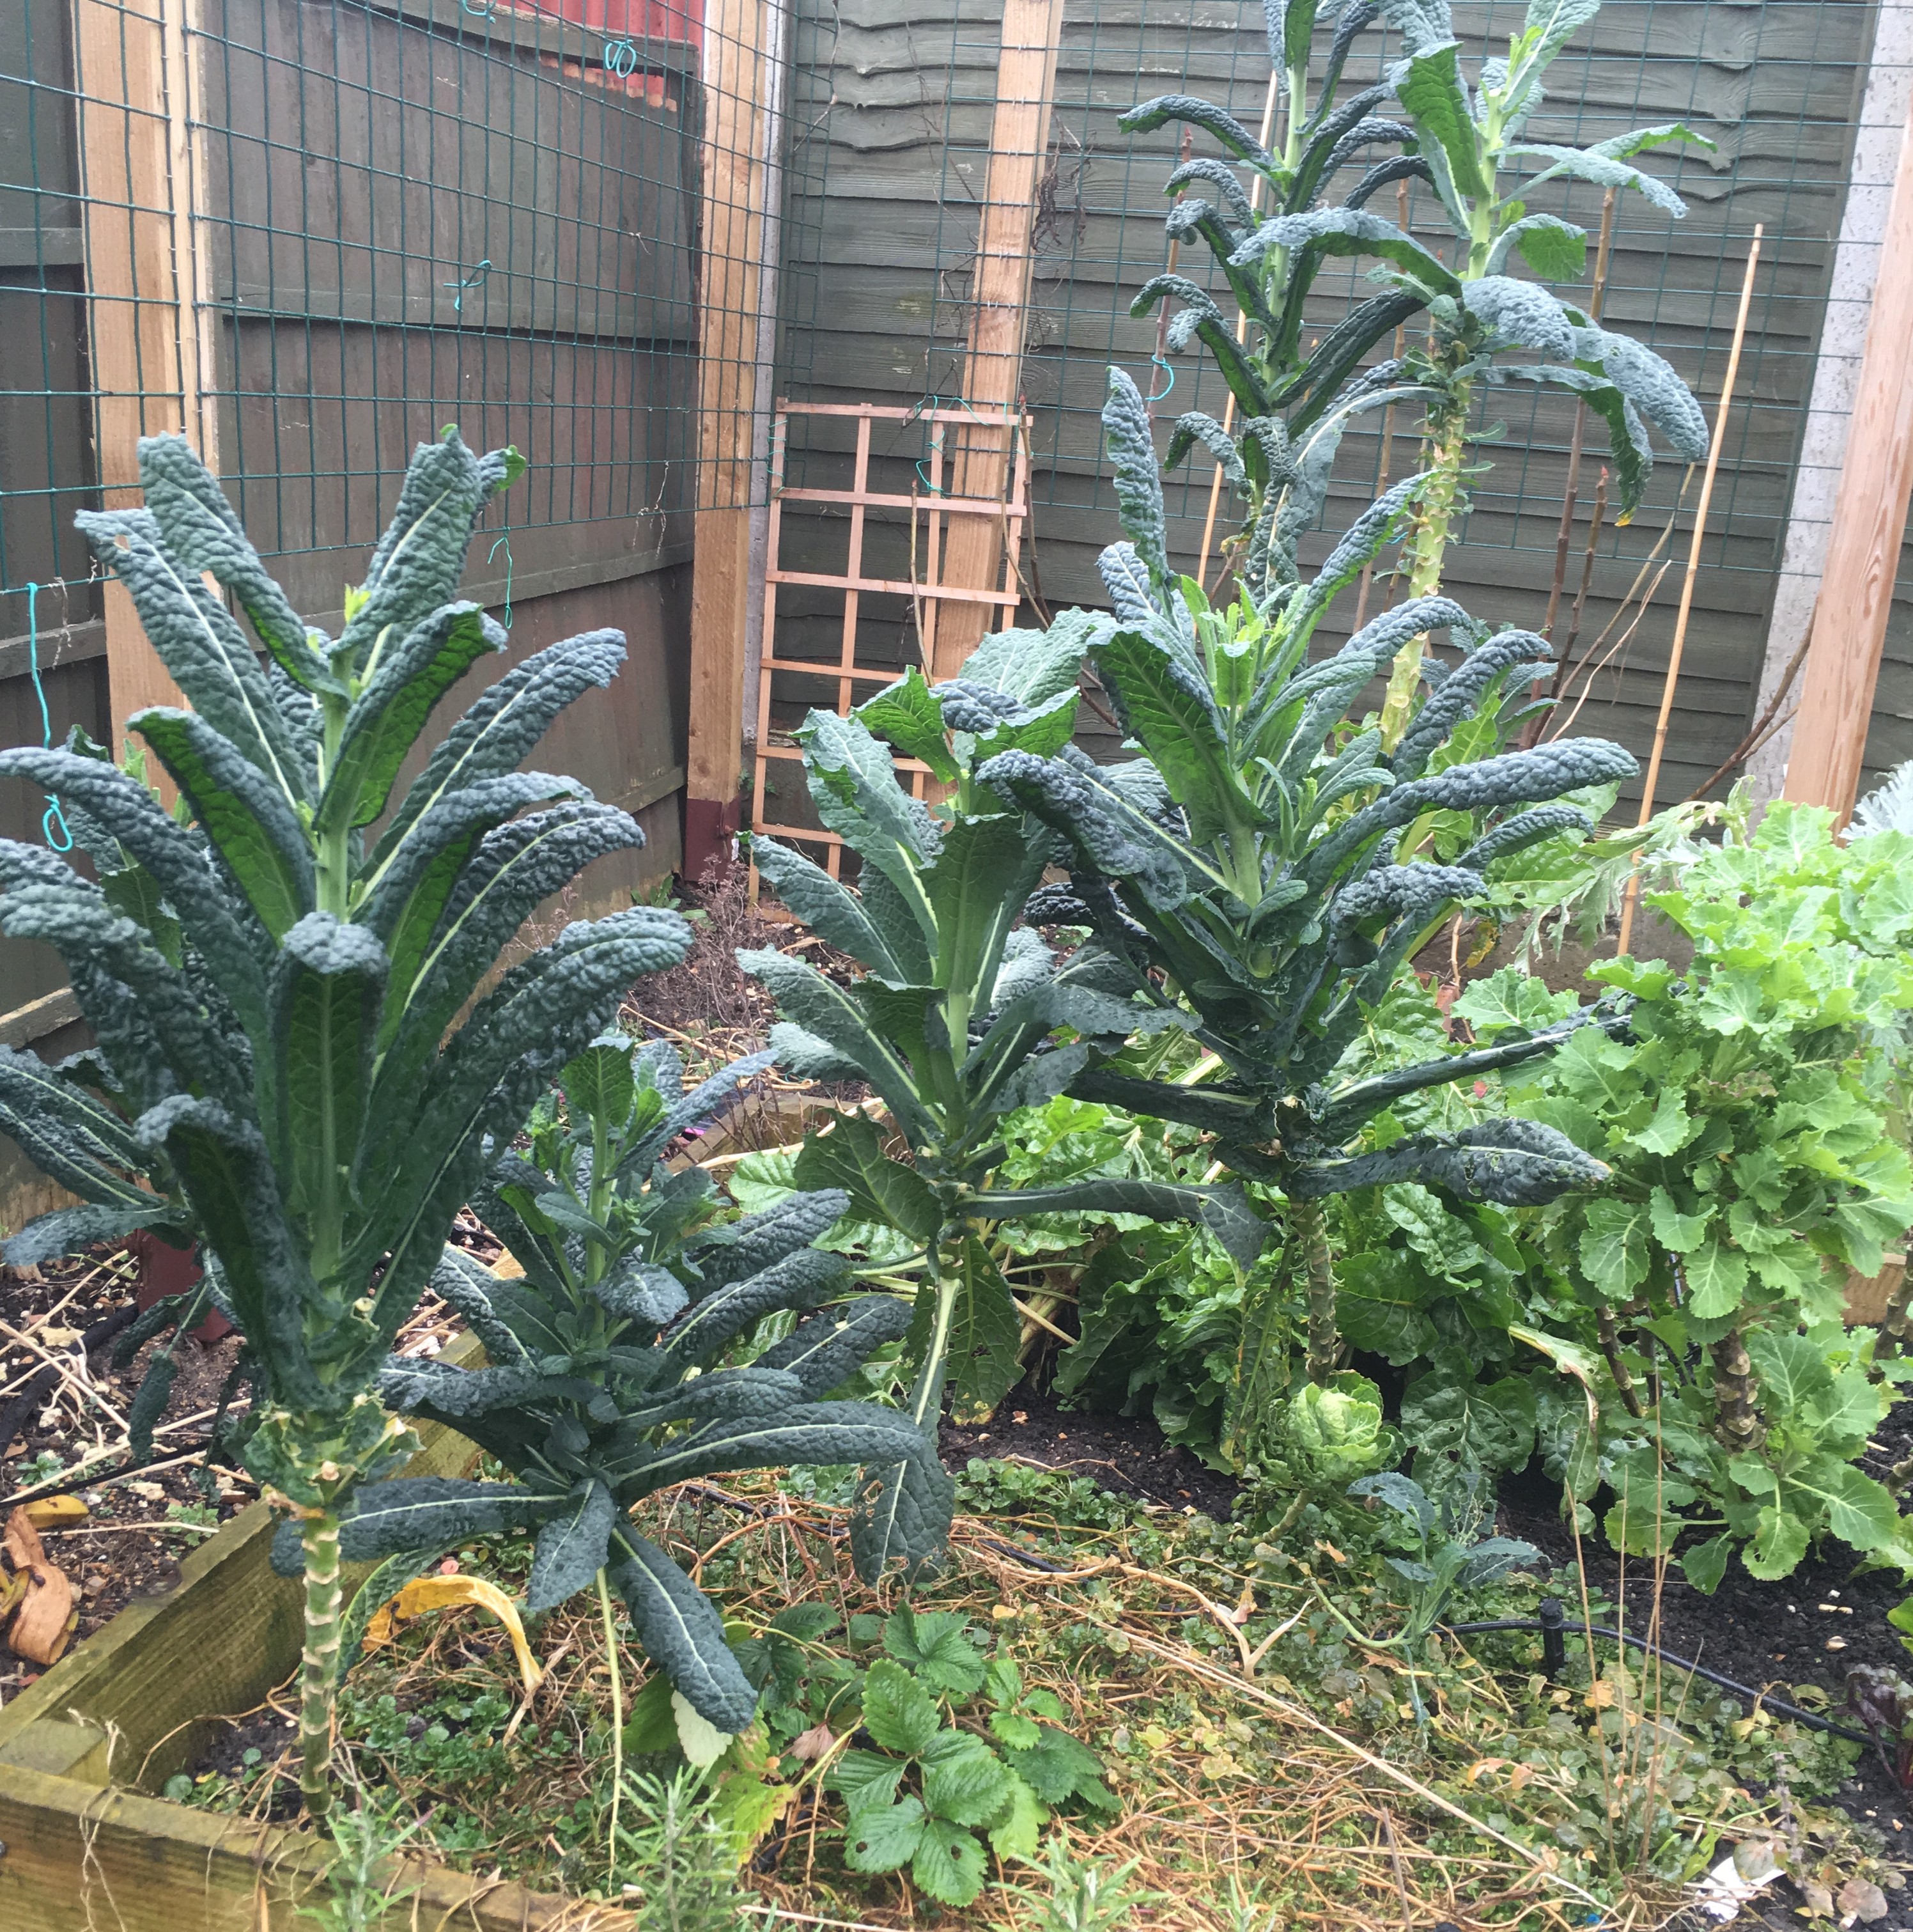
Wild garlic is fabulous because it grows really well in a deep shade. It doesn’t grow much more than a foot tall and it’s great planted under other perennials that prosper later in the year. The places I’ve seen them thrive the most is in rather shady woodland. You’ll see shoots coming up as early as the beginning of February. They send up the lovely clusters of star shaped white flowers in late May. They tend to die back in the summer when it gets too warm for them. At which point there is absolutely no evidence of there having been any wild garlic until February when it starts to appear again. If you can keep it in decent shade you may find that the leaves can persist till July. They are perennial so reappear again from the bulb the next year or happily spring up from seed.

Small hosta shoots in April will take over come June when the wild garlic dies back.

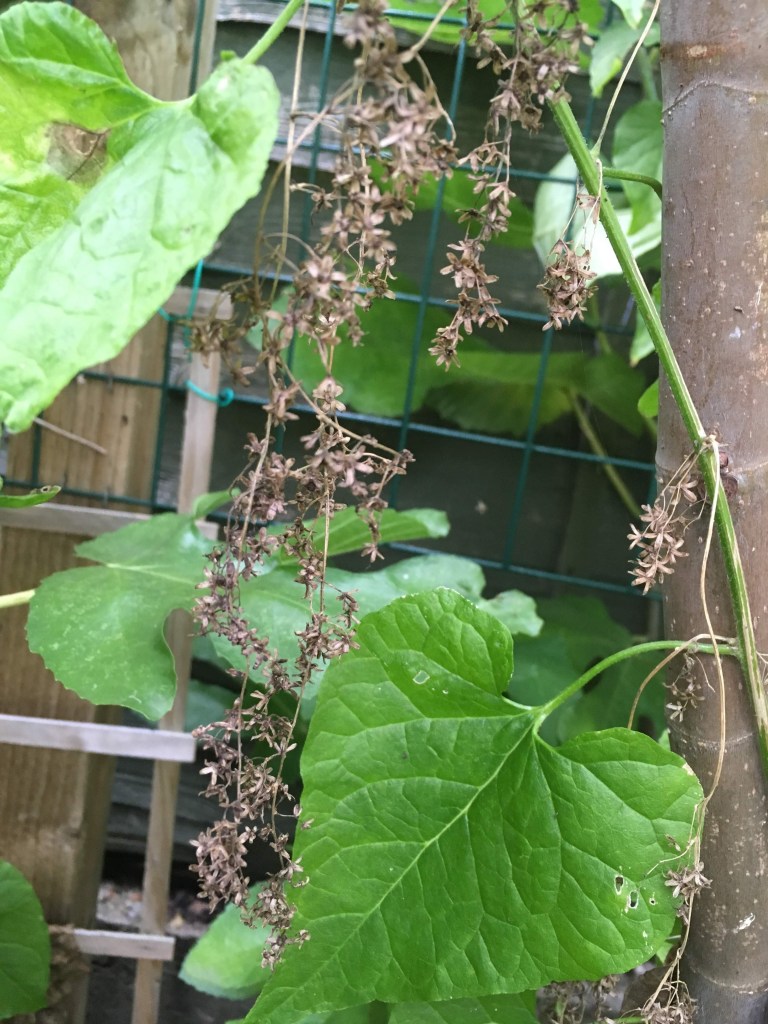
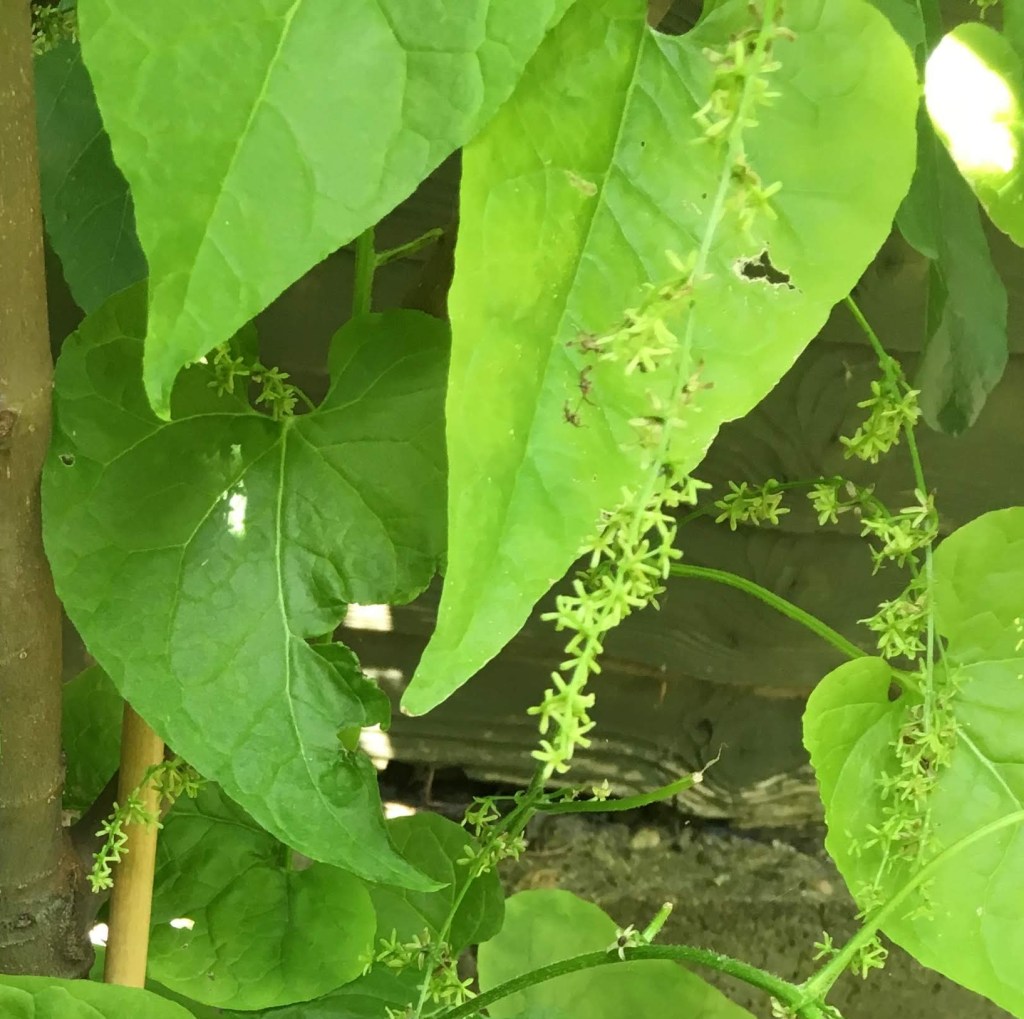
Seeds produced in a local wood in June
Growing from Bulbs
I started my bed, which is still establishing, just over 3 years ago (winter 2017) using 25 bulbs bought from https://www.naturescape.co.uk/. There are other suppliers on ebay. Just so you know it is legal in the UK to forage foliage, flowers and fruit – but it is illegal to dig up roots without the landowner’s permission. You can however take seeds. If you get bulbs it is a good idea to put them into the ground as soon as possible, or at least into a pot of compost until you’re ready to put them into their permanent home.
The bulbs I purchased were a little expensive (which is why I only got 25 of them) but they were reliable. I planted them, as instructed, in the winter, in a hole that was twice as deep as the bulb was long. All 25 bulbs came up. We managed to at least taste a few of the leaves that spring. The year after we still ate sparingly but last year, we were able to make a few meals without feeling like we would annihilate the plants.
You can also order the bulbs ‘in the green’ in March (bulbs that have sprouted). They follow the same principle, but you need to be a little more careful with the roots and shoots. It does mean that you can see where they were planted immediately.
Growing from seed
Seed is much cheaper, but you will be waiting a long time before you’ll have anything to eat. General advice is that they are best sown in summer. To me this makes sense as the seeds are produced naturally in the summer. I have read a few things like wild garlic seed only works if very fresh though and will only grow after stratification (exposure to a cold season). These ideas may be considered contradictory. If the seeds are produced in the summer, by winter when they can be subjected to cold will they still be considered fresh?
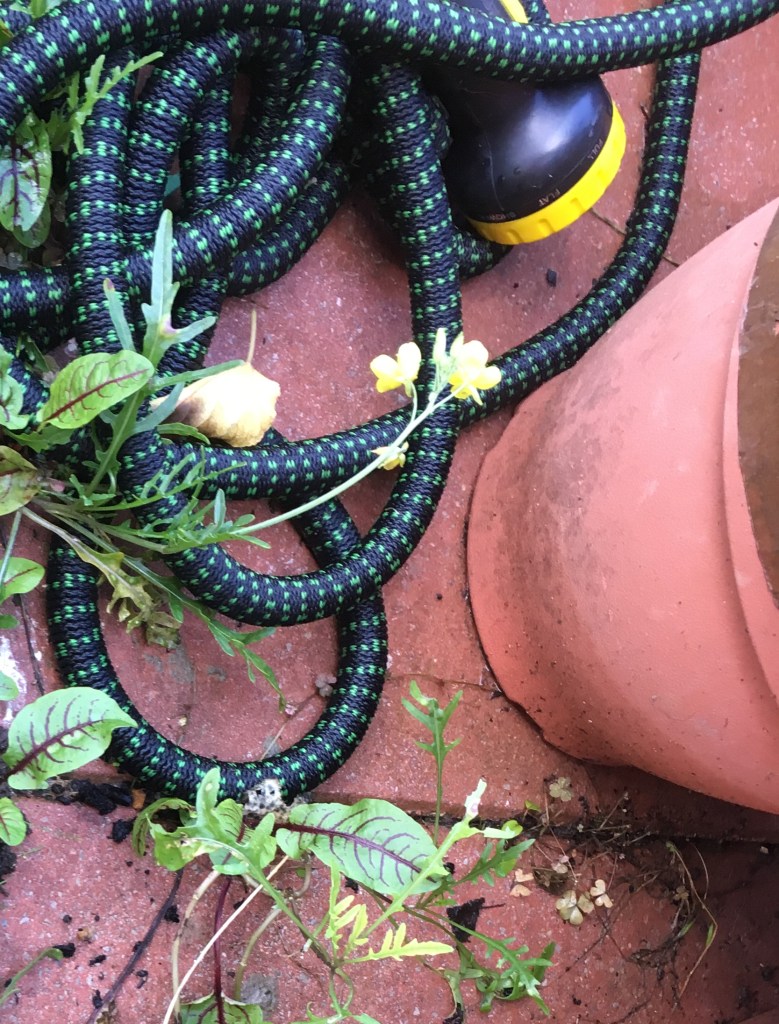
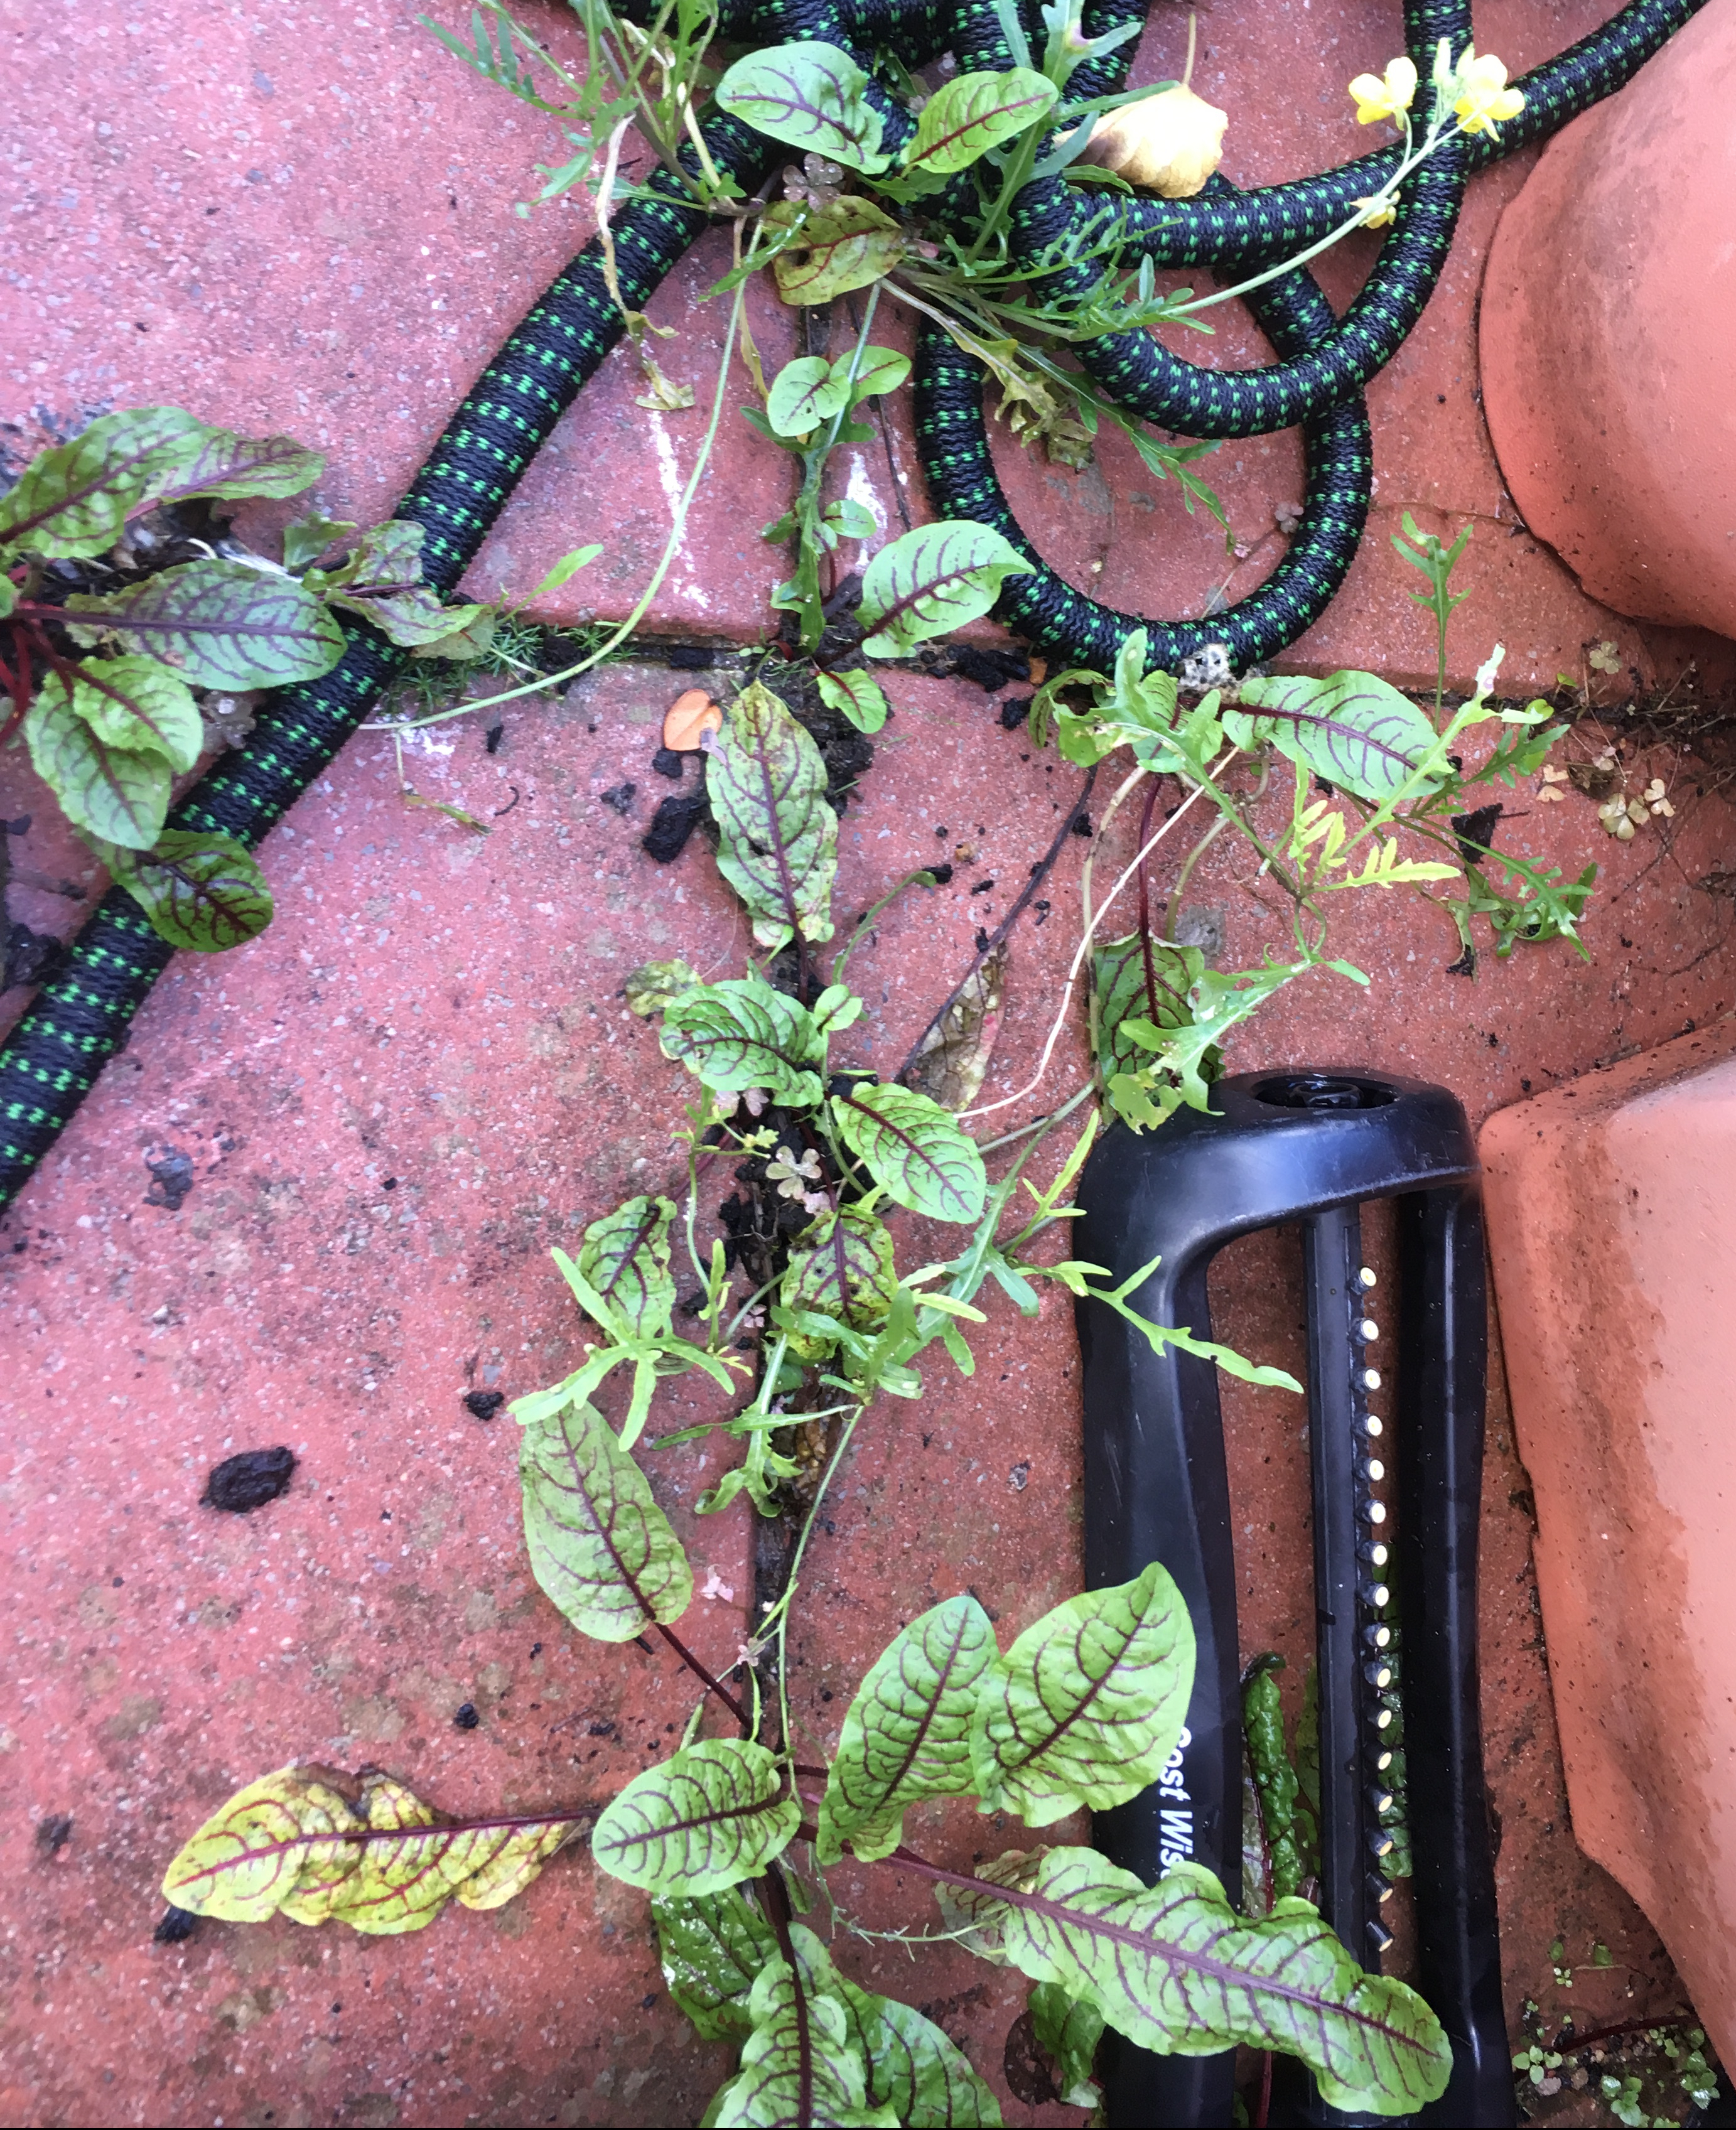
I have seen evidence in my own garden of seed setting and germinating. There have been a few seedlings appearing in between paving cracks. This means that it does self-seed rather well, much to my delight. (Edibles that grow in paving cracks just feel like bonus food.)
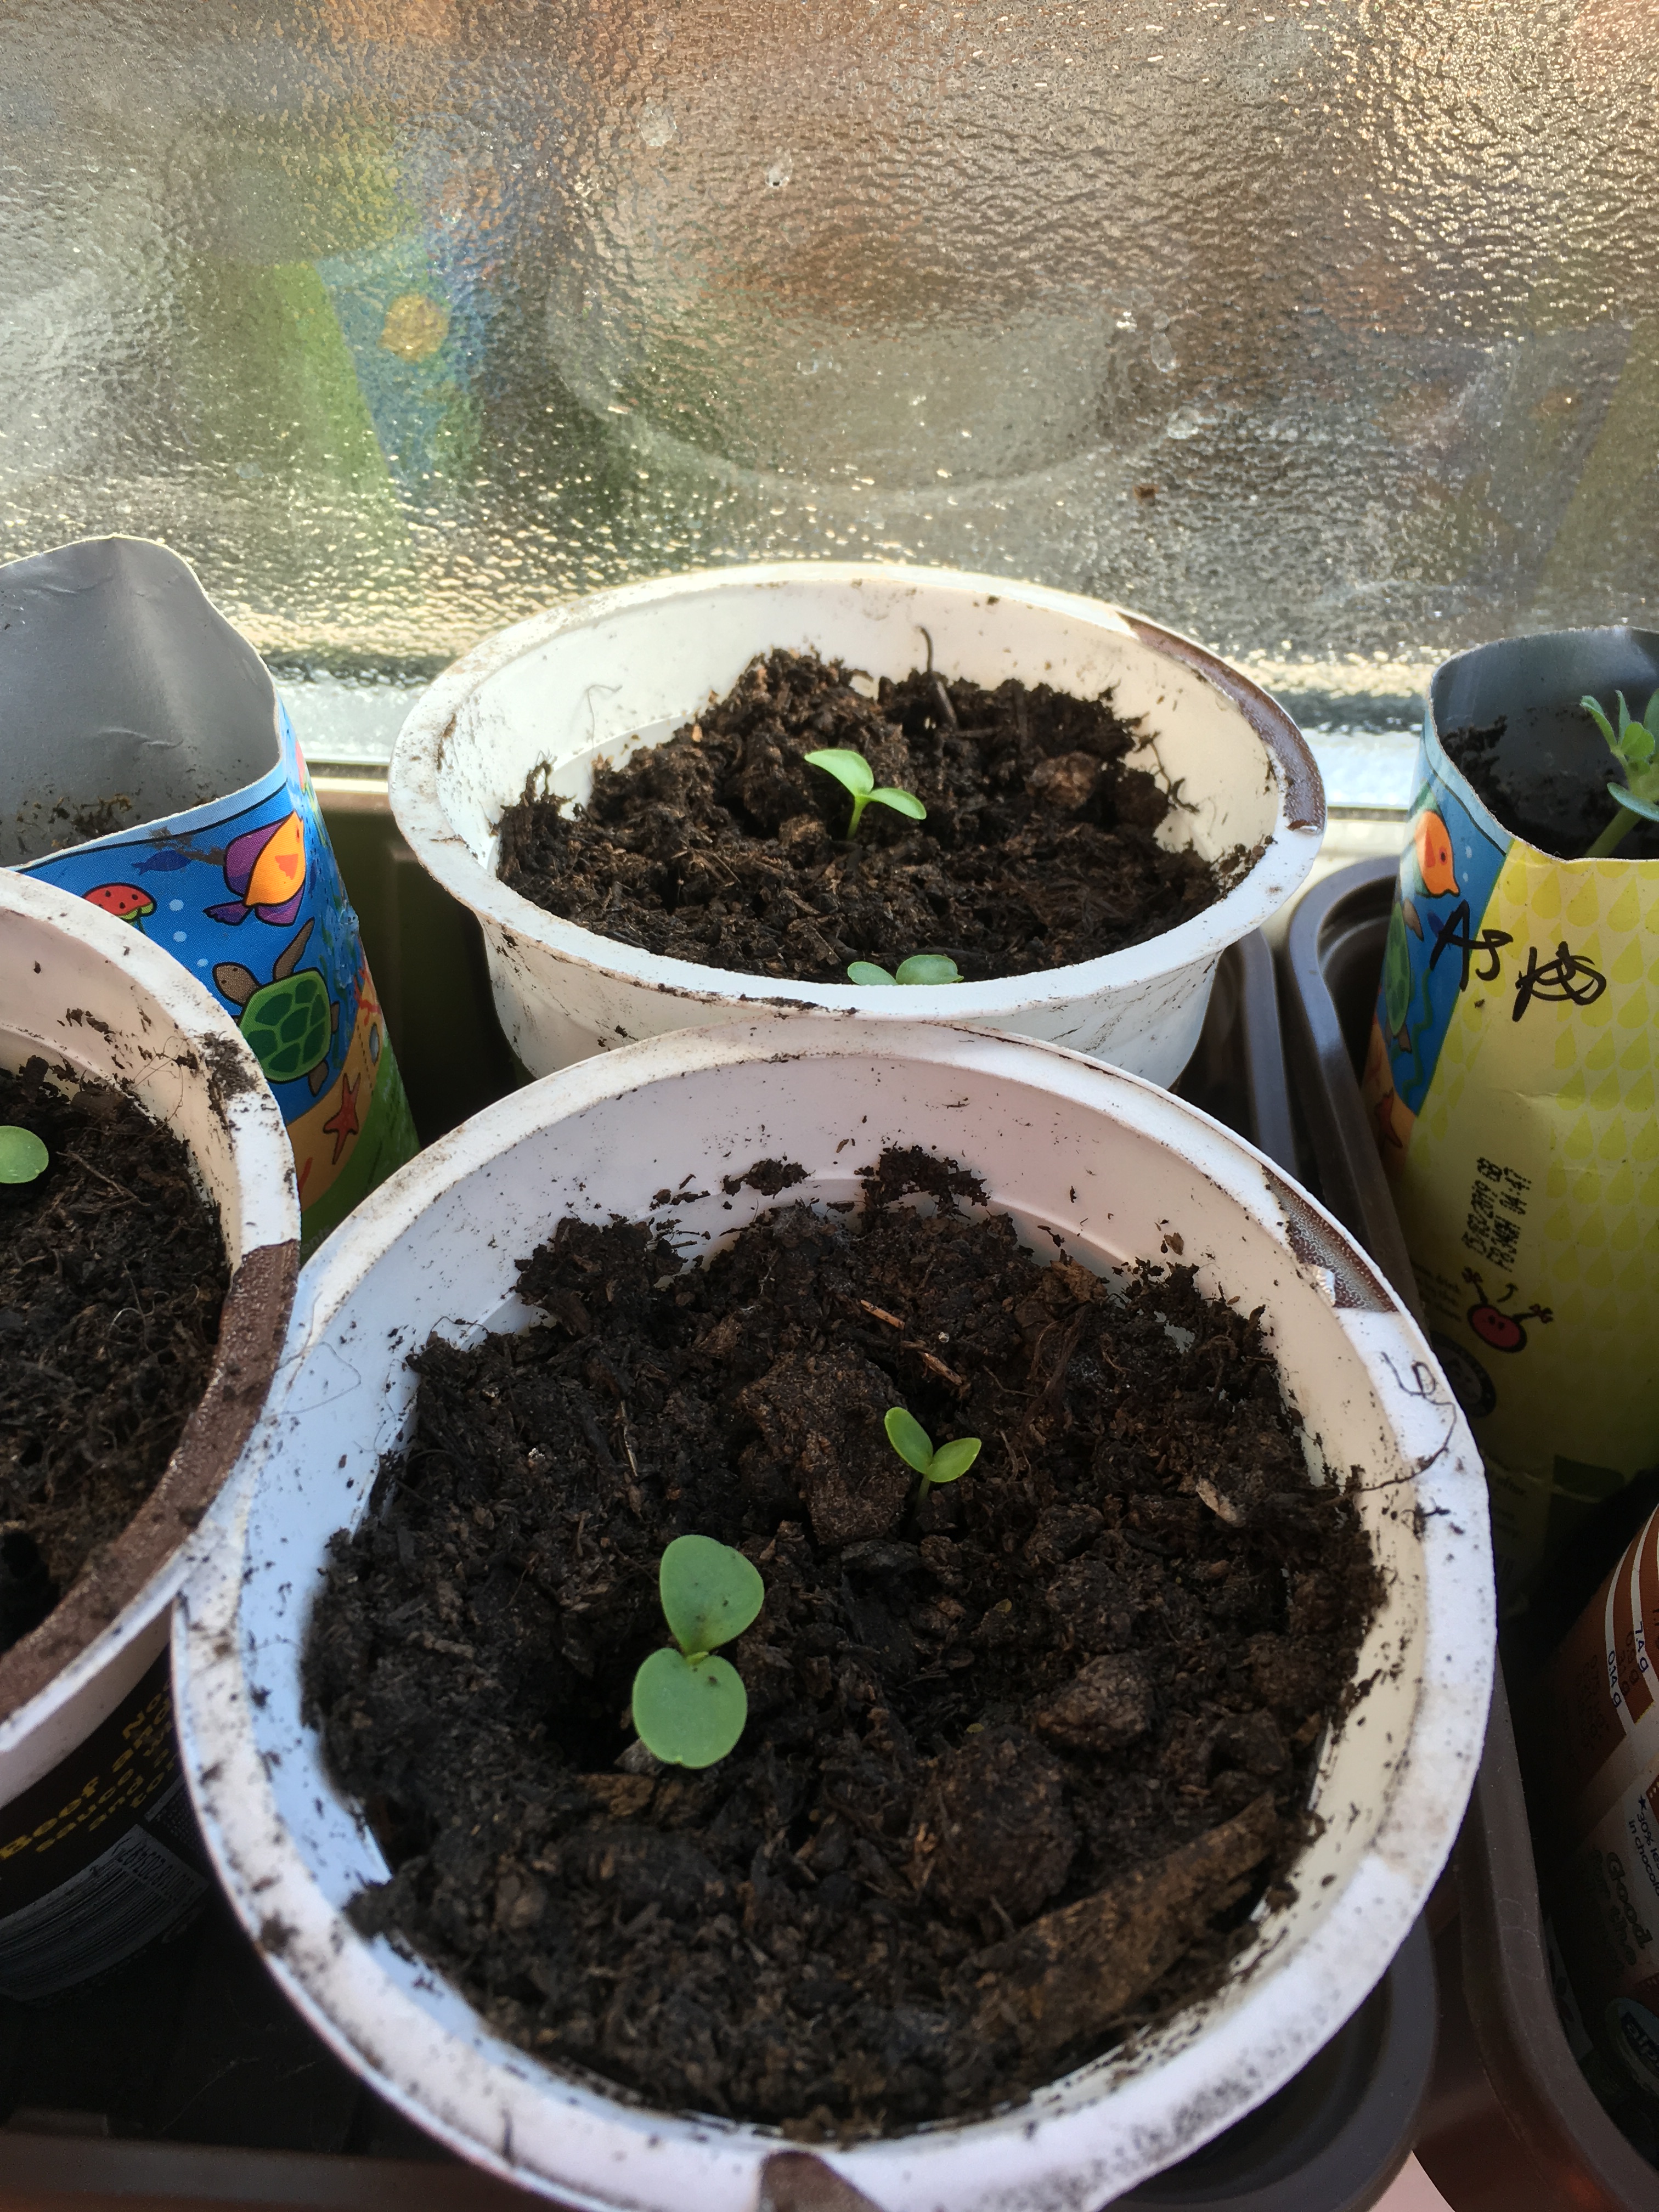
The seedlings from seed are rather tiny so they are best left alone in their first year of growth to allow the roots to strengthen. Even in the second year you may not be getting much to eat.
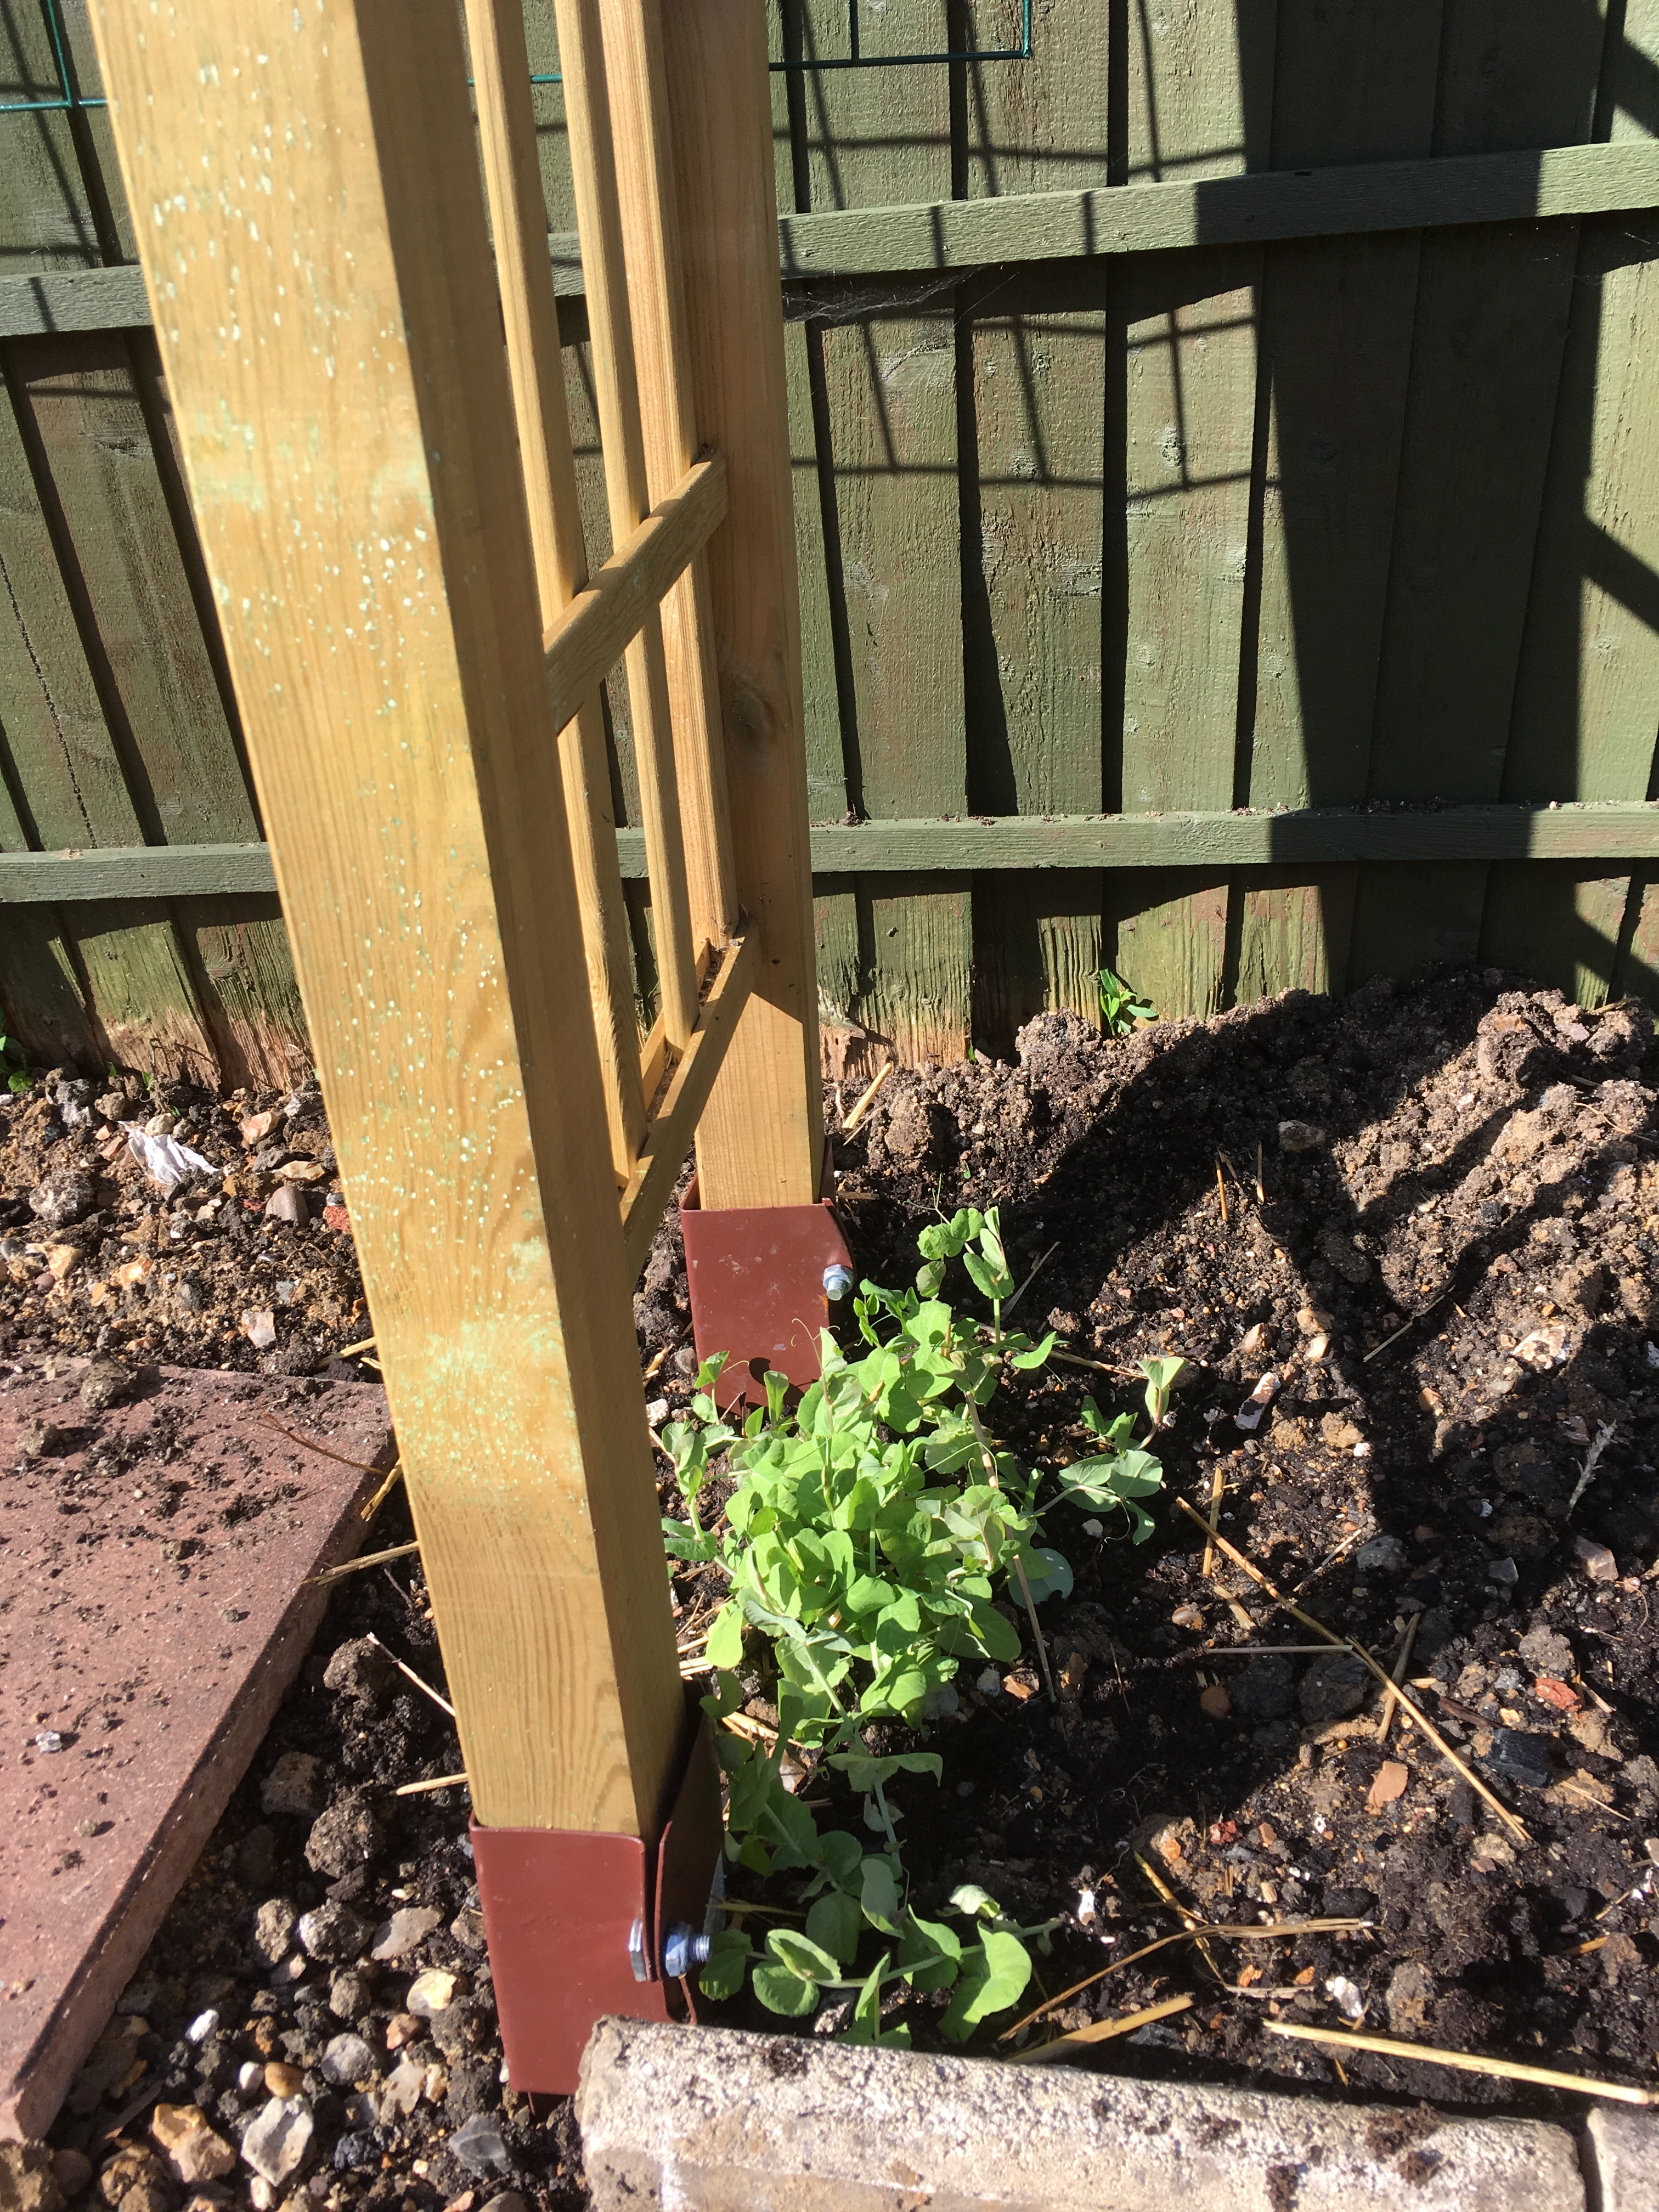
Tiny seedlings in their first year 
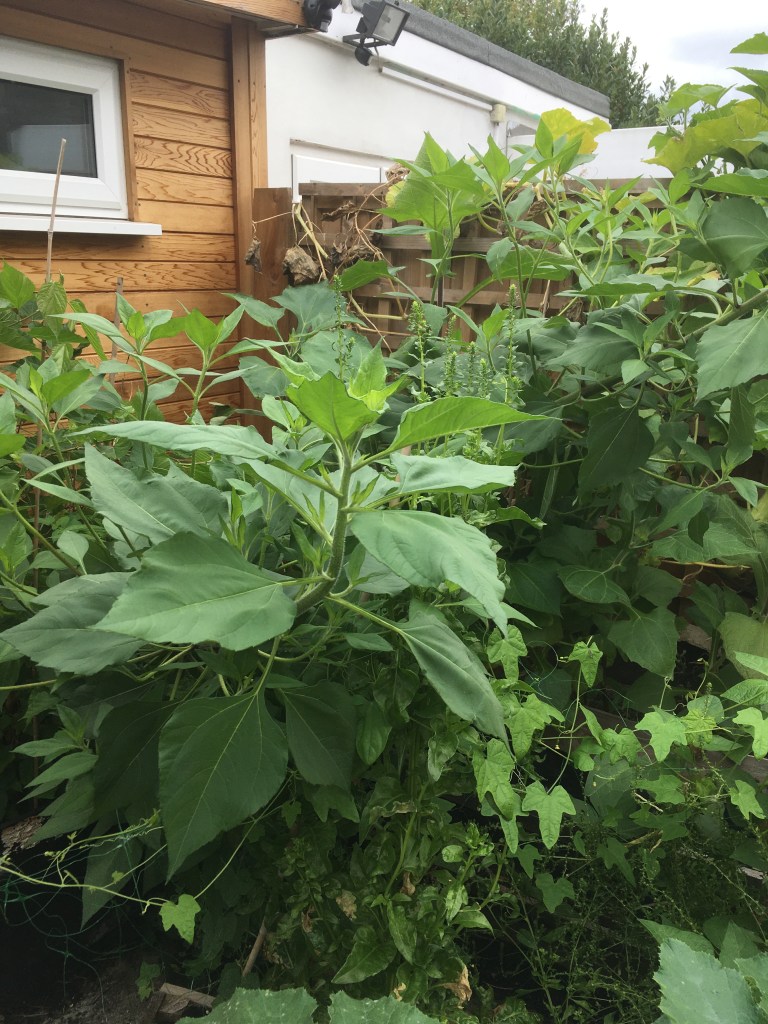
Larger seedlings in their second year 
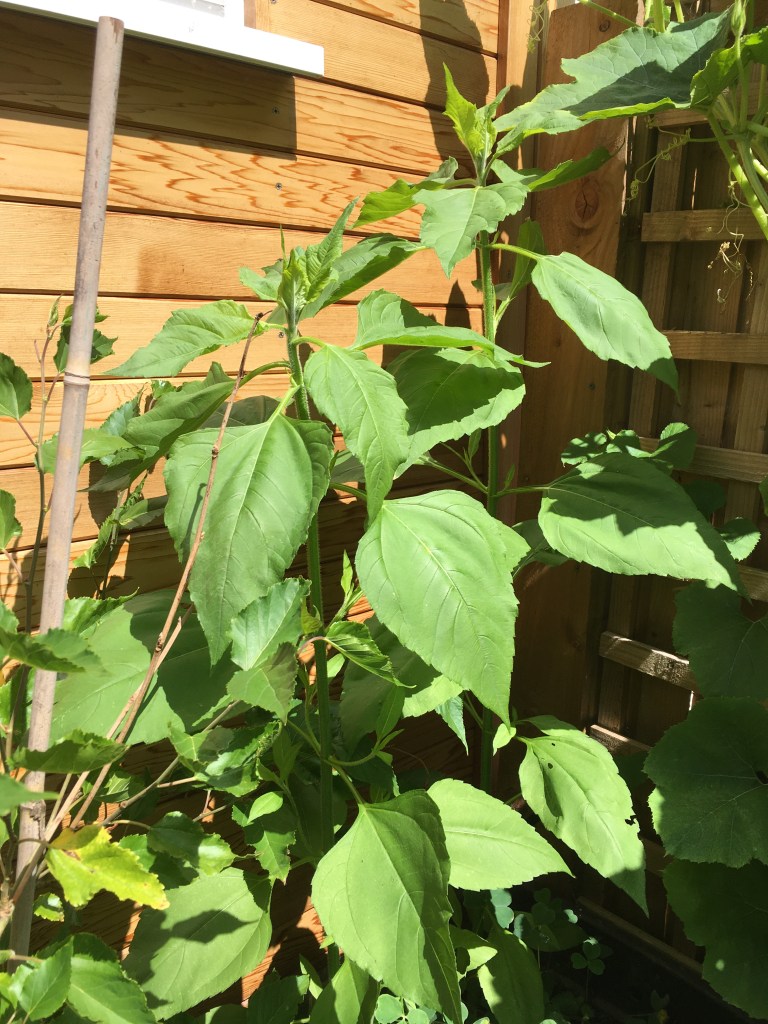
looking strong year 3 in Feb
Here patience is a virtue, unless you can afford to spend lots of money on hundreds of bulbs that you plant straight into the ground to create a lovely dense patch. Whether you start from seed or bulb, if the wild garlic likes the conditions it will slowly expand its patch itself over time. They can self-propagate themselves into a nuisance, but if you’re eating it then that should be a happy result or a fun challenge at the very least. If you’re concerned that they may get out of control you could consider planting them in a well-defined, enclosed border. Don’t forget the bulbs will be twice as deep as the bulb length and may take some extraction should you decided you don’t like it after all (not that I can think of any reasons why).
How to harvest
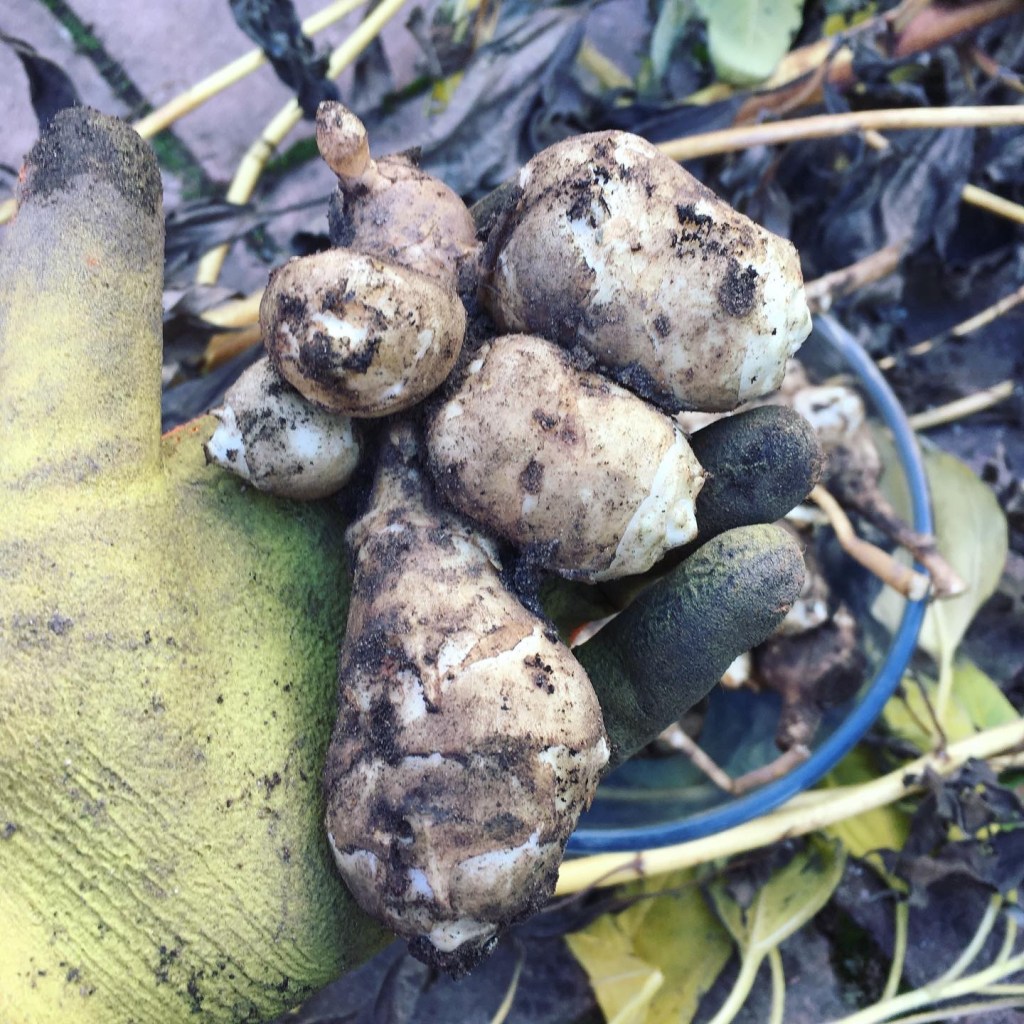
It does appear in February, but you generally need to wait till mid to late March when you can start harvesting the outer leaves. If you leave the inside leaves to keep growing, you can treat the plant as a cut and come again. All of the plant is edible, and you will be able to harvest the flowers which look amazing in salads in May. The bulbs are edible but small and fiddly. And of course, if you harvest the bulbs you won’t have the plant next year. You could use bulb harvesting to control the population if it gets a bit rowdy. Alternatively, you could also dig up the bulbs and spread them around to avoid overcrowding and increase the size of your patch instead as they tend to grow in clusters. The bulbs do not dry well like cultivated garlic.
Take the lovely big broad leaves. You could even take the tender buds if they’ve self seeded too much. You can see the small seedlings of the seed dropped the year before.
I would suggest that you harvest all of what is left around June before it all dies back naturally.
It may sound like they have a very short season compared to things like three cornered leek or Chinese chives, but that season is important. They thrive during the hungry gap when there are not many garden grown edibles available in UK climes.
How they taste
As the name suggests, and as you may be able to guess from the smell, the raw fresh leaves taste very garlicky. They go really nicely, with a few shredded in salads for flavour, but the smell and taste can be overwhelming. We prefer to eat the leaves lightly stir fried or thrown in last minute in various dishes. We love them chucked on top of soups, stews and congee (savoury rice porridge). It loses the garlic flavour very quickly with cooking but happily takes on a lovely sweet onion flavour. As soon as the patch is completely established, I suspect we will cook masses of it just lightly fried in a dash of sunflower oil with a pinch pf salt or chicken stock as a spring side dish.
The flowers are prettiest in salads, but pretty garlicky raw. They’re lovely just wilted by the heat of a dish as you serve.

wild garlic flowers 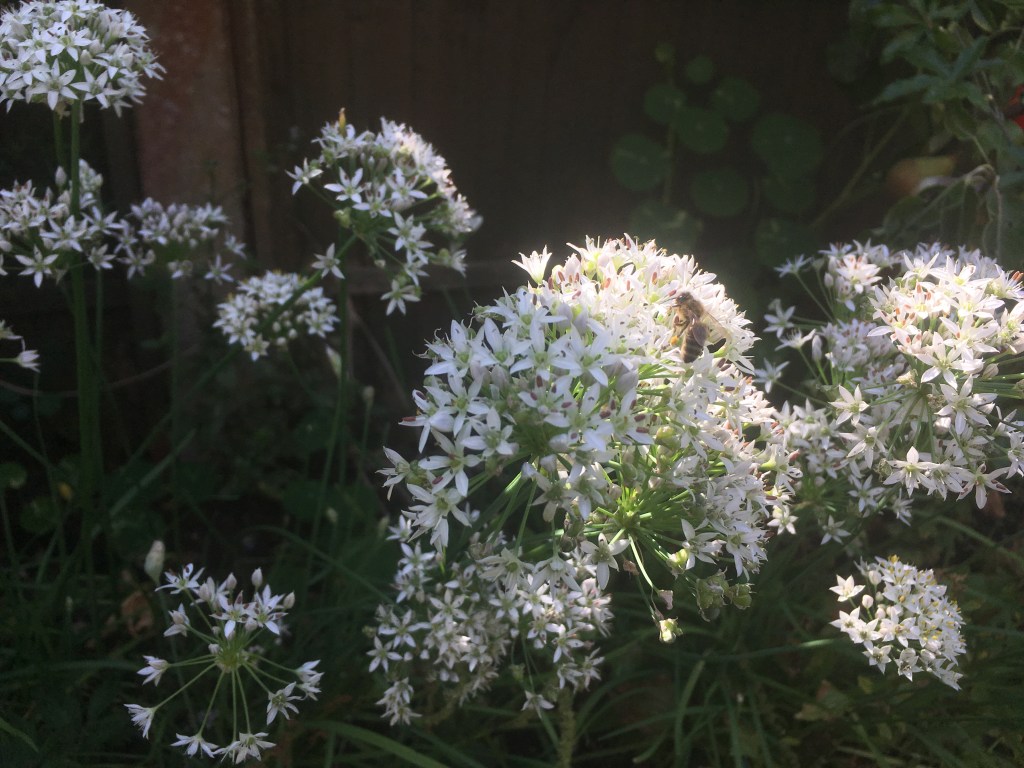
Chinese chive flowers
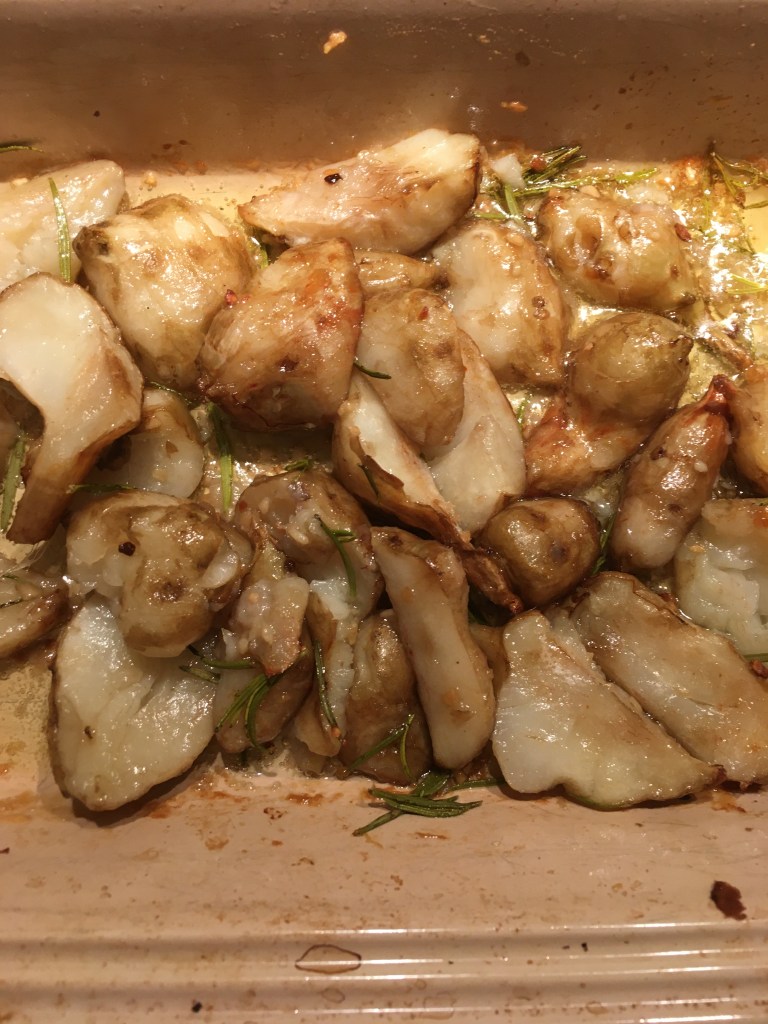
I’m afraid I couldn’t tell you about the taste of the bulbs as I’ve been reluctant so far to remove any. Maybe I can update this blog in a couple of years when my patch becomes yobbish.