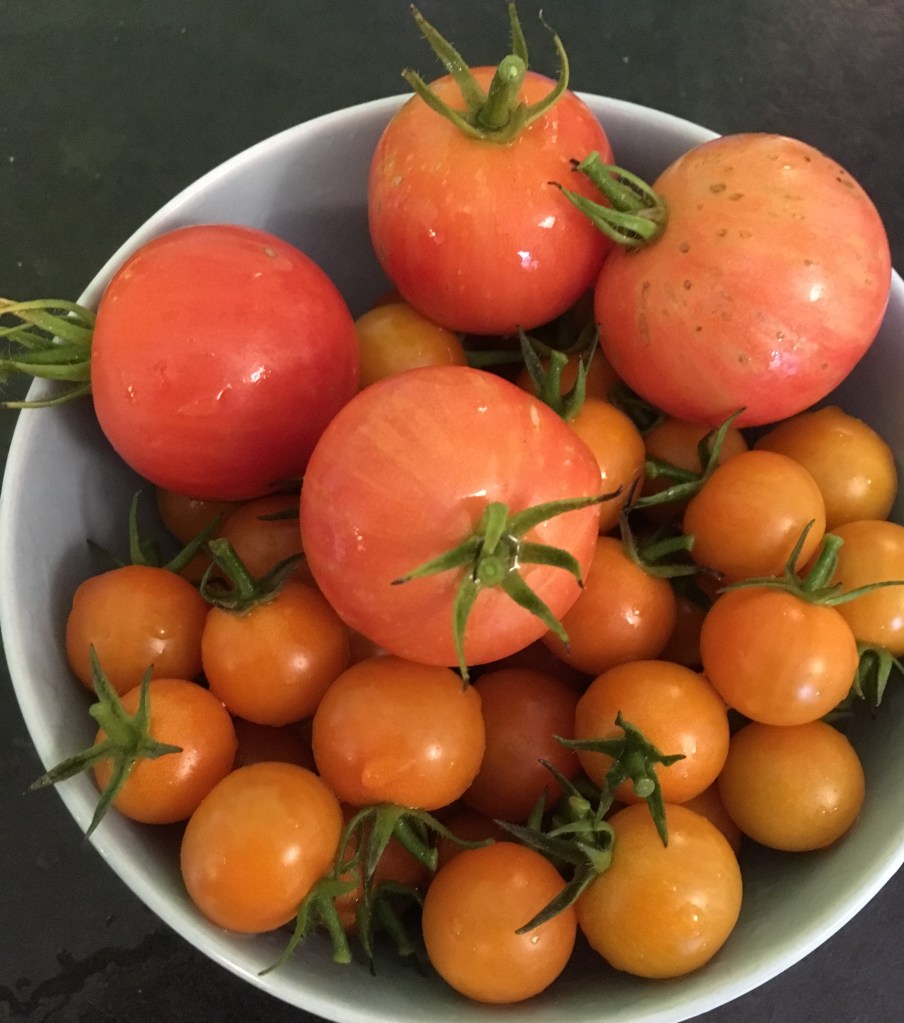
Short version: Grow ‘Sungold’ cherry tomatoes for large harvests of orange, very sweet and tasty round yumminess. They need sun and plenty of water.
Bad Science
My first exposure to growing tomatoes was in Lancashire with my mum and my sister. The tomatoes grew big but went straight from green to rotten, bypassing anything edible. Alternatively, they stayed green. As winter came, we’d wrap the tomatoes left on the withered plant with tissue paper and put them in the airing cupboard or next to bananas to ripen. They still didn’t taste particularly great even when they’d gained some colour.
Tigerilla compared to Sungold.
20 years on, living in London, I tried again. The tomatoes, though they ripened, were inferior to ‘on the vine’ shop bought tomatoes. I tried growing some unusual tomatoes like a stripy variety called ‘Tigerilla’. They were interesting and ripened fine but were riddled with bug holes and again tasted no better than fancier shop bought.
I’ve experimented with a couple of tomatoes, some grown from seed and some from shop bought plants. I have concluded that the best tomatoes to grow for our outdoor conditions in London are cherry tomatoes, of which ‘Sungold’ are the most worthwhile. This has been tested in 3 different London locations in both soil and in pots.
It’s hard to approach this scientifically of course because none of this is a fair test.
You can’t compare tomatoes grown in different years as the weather isn’t consistent year to year. 2018 had amazing sun in June and July and with sufficient irrigation – plants went wild. 2019 has only had about 4 days that were as hot in comparison.
You can also not compare the success of growing food in London to Lancashire (which is about 200 miles north). In addition to the actual latitude of the gardens, there is also the matter of the difference between the greener, more spaced out cooler suburbs and the concrete jungle that retains heat and is generally a degree warmer. The city also benefits from the better bee populations, which benefit from the larger variety of plants packed into a smaller area.
You also cannot compare tomatoes grown 20 years ago to tomatoes grown now. There is no doubt in my mind the climate change has caused an increase in temperature. This has helped my veggie growing but of course we’ll all have drowned when our island is flooded in a couple of decades, as the temperature continues to increase, the polar ice caps melt, and the sea levels rise….er…
Anyway… not a fair test. It’s all bad science – but I happily recommend Sun gold cherry tomatoes!
Why cherry tomatoes?

This is a red variety. You can see further up the stem that all the other tomatoes have already been picked. The ones at the tips are the ones that ripen the latest.
- I’ve found that larger tomatoes take much longer to ripen. With cherry tomatoes, once they begin to ripen, you’ll find that every day there’ll be a few more that are ready for picking. This means that with a couple of plants you can pick a meal’s worth of tomatoes every couple of days (or almost every day in mid-summer). The quicker ripening of smaller tomatoes means that the pests have a smaller window of opportunity to get there before you.
- With cherry tomatoes, as the fruit are smaller, you will get a much larger number of tomatoes per plant. This means that a bug infested tomato or two is a smaller percentage of your total crop.
- With cherry tomatoes, a few ripening every day, you get a longer season to eat them and less of a glut. So, whilst you won’t get the opportunity to stockpile sauce or chutneys (not that I could be bother to do that anyway) you’ll get value for money with not having to buy tomatoes from the shop all summer.
- I’m lazy. Cherry tomatoes don’t need chopping up to put into a salad. You also don’t get any overly large tomatoes that you might only eat half of.

You can see plenty of different shades of yellow to orange and still plenty of green ones so you can pick a decent crop almost every day.
Why Sungold?
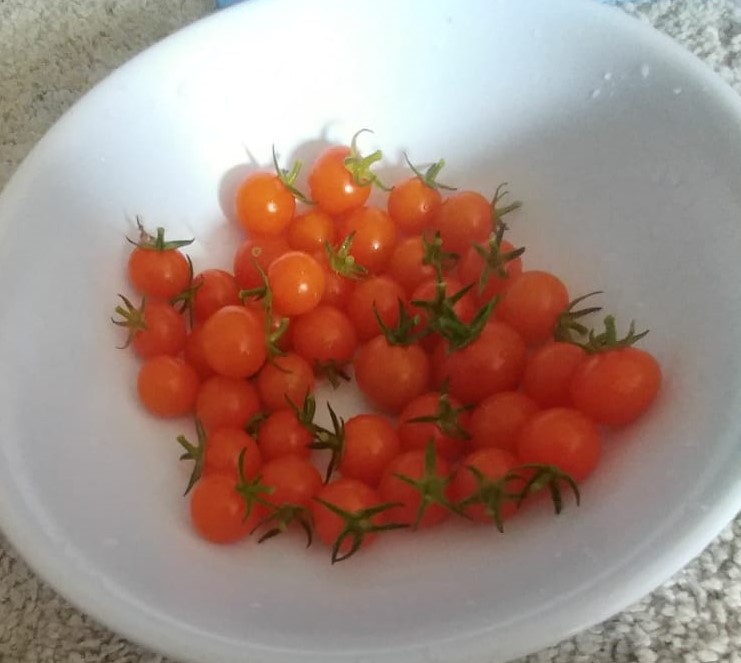
Harvesting can start early July if the weather is good. We were getting this many every other day by early August with 2 very prolific plants. 
Towards mid October there are still a few tomatoes to be harvested, but the plant is dying so the green tomatoes won’t ripen.
Having not tasted all the tomato varieties that have existed… ever… in all the world, I couldn’t say this is the ultimate best, but I certainly can’t fault it. It does very well in our climes, in the soil or in pots (you do need a massive pot that you keep well-watered in hot weather – if you want lots of tomatoes over a long period), it’s prolific and not just sweet, but also very very tasty, it’s an interesting orange variety and it’s very forgiving if you pick it a bit early (it tastes good, just not as sweet) or a bit late (they can stay on the vine for a while without rotting).
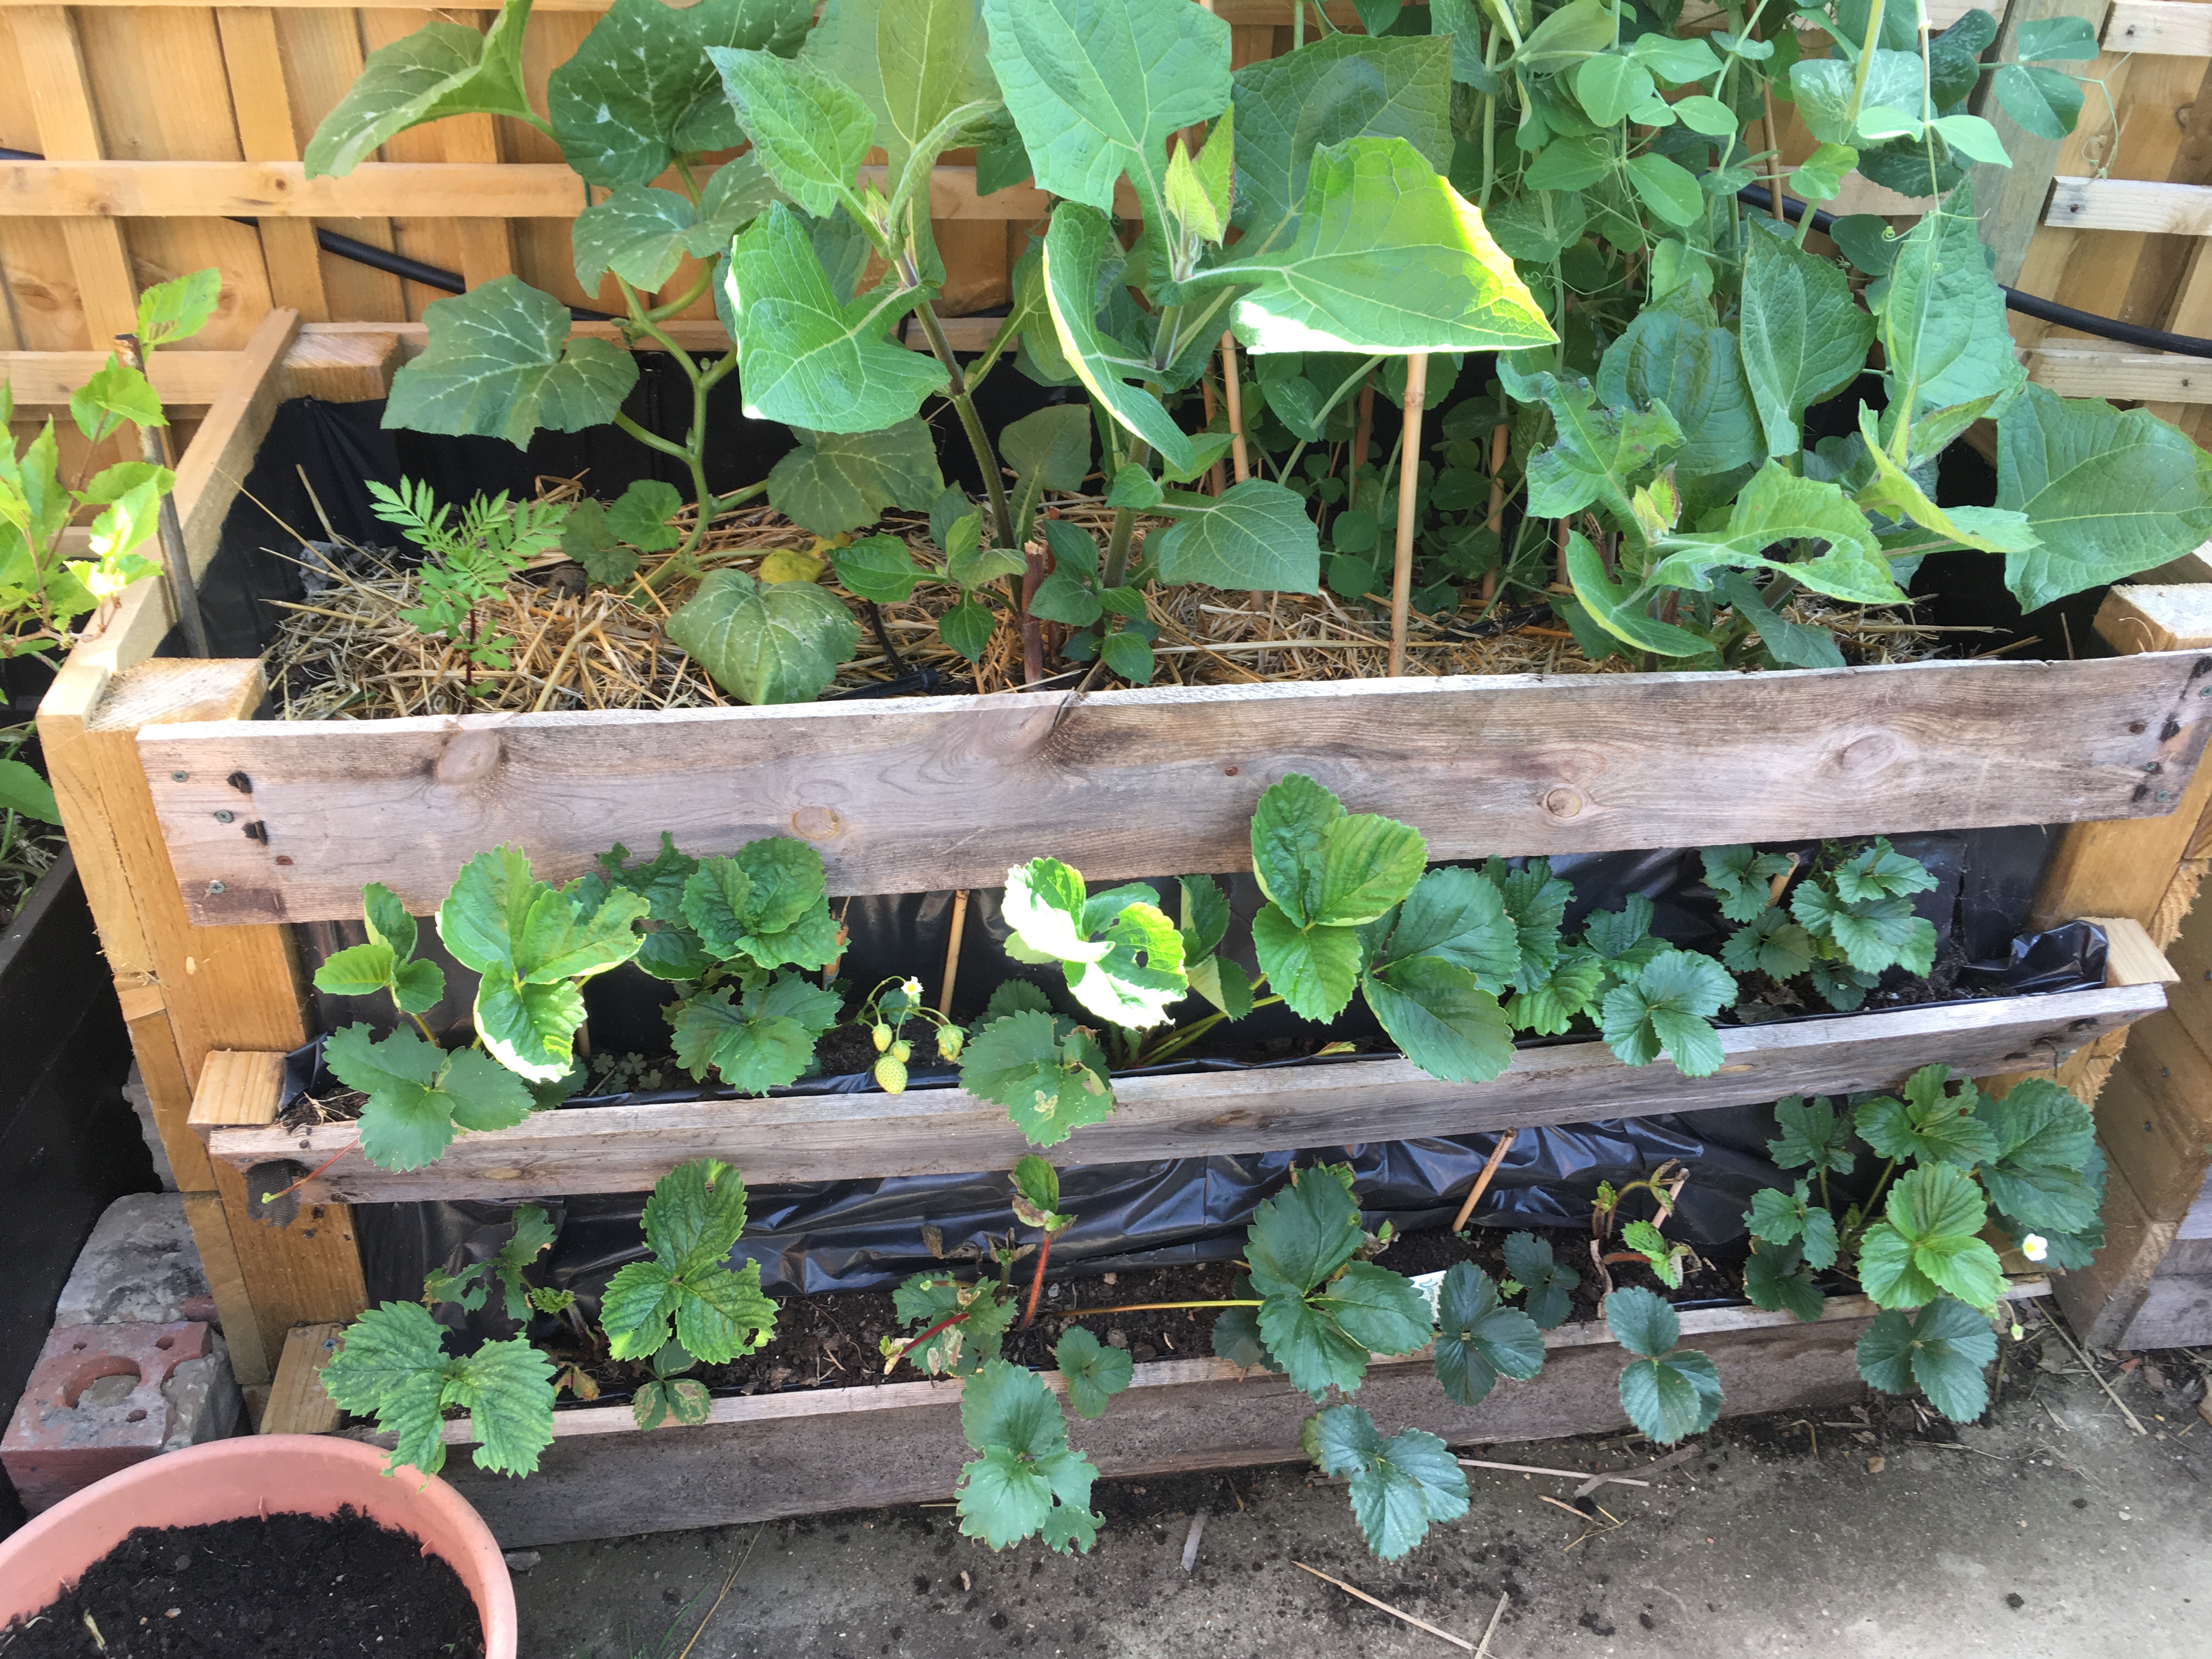
Growing Conditions
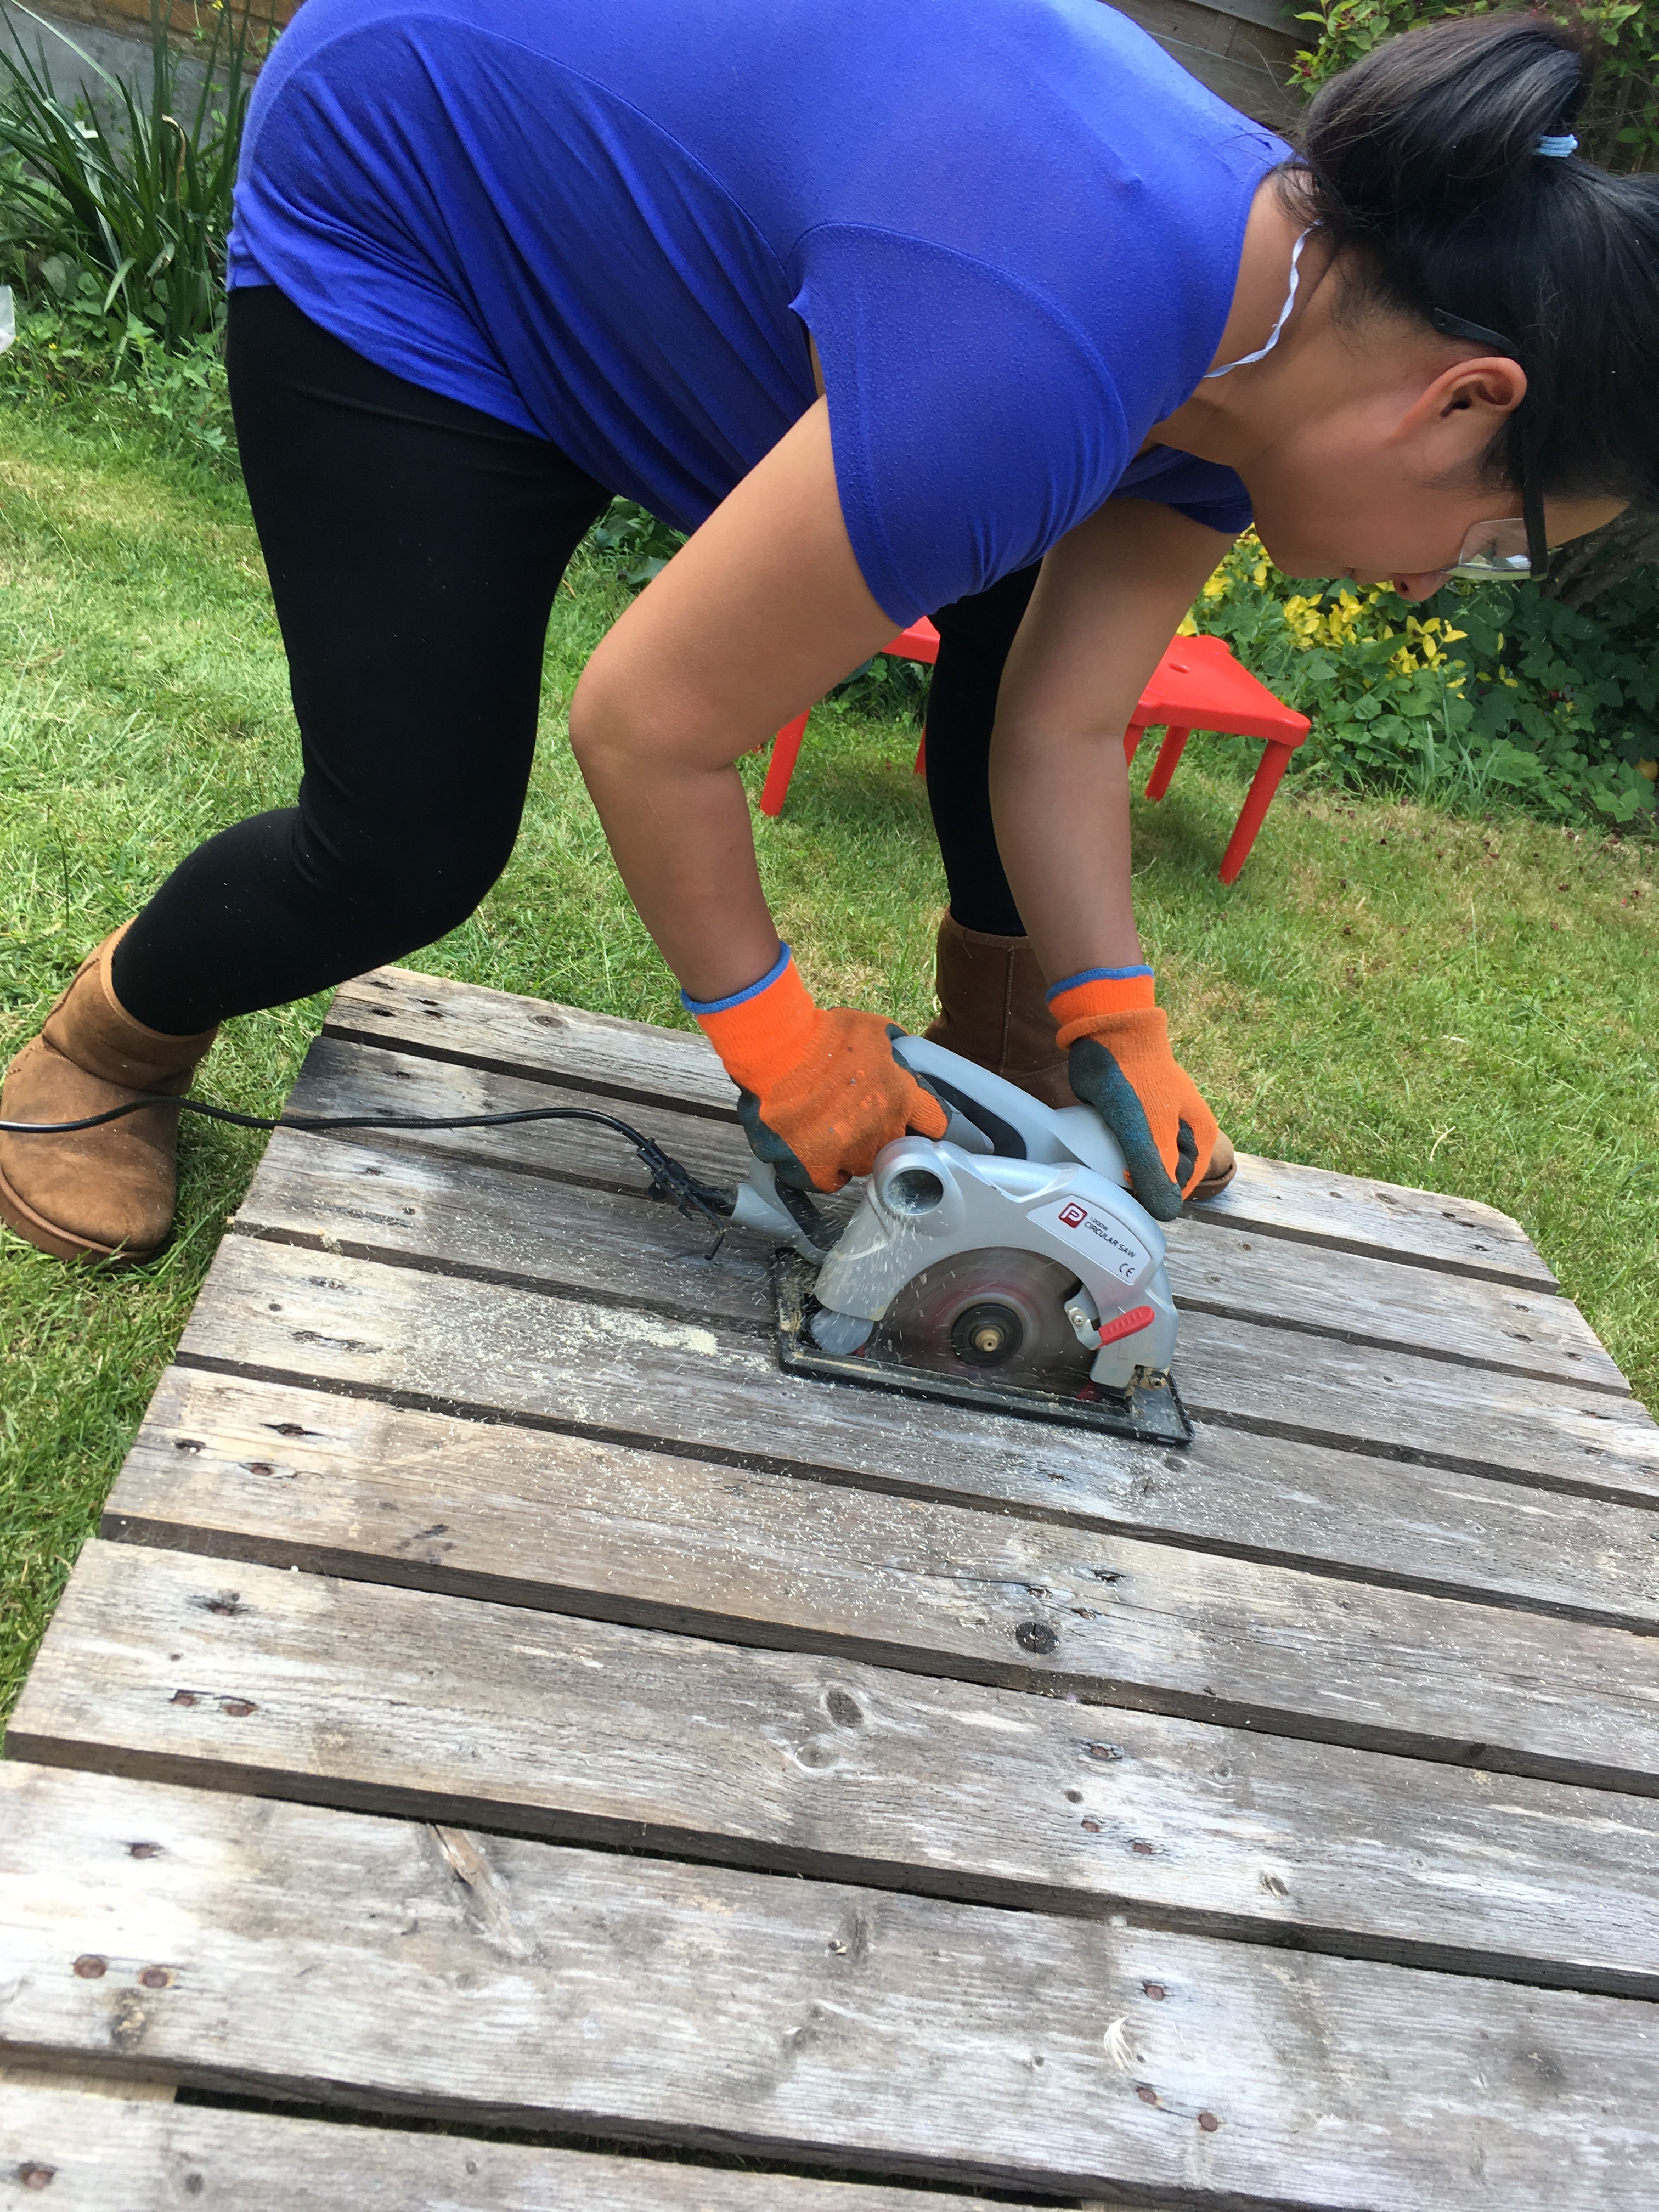
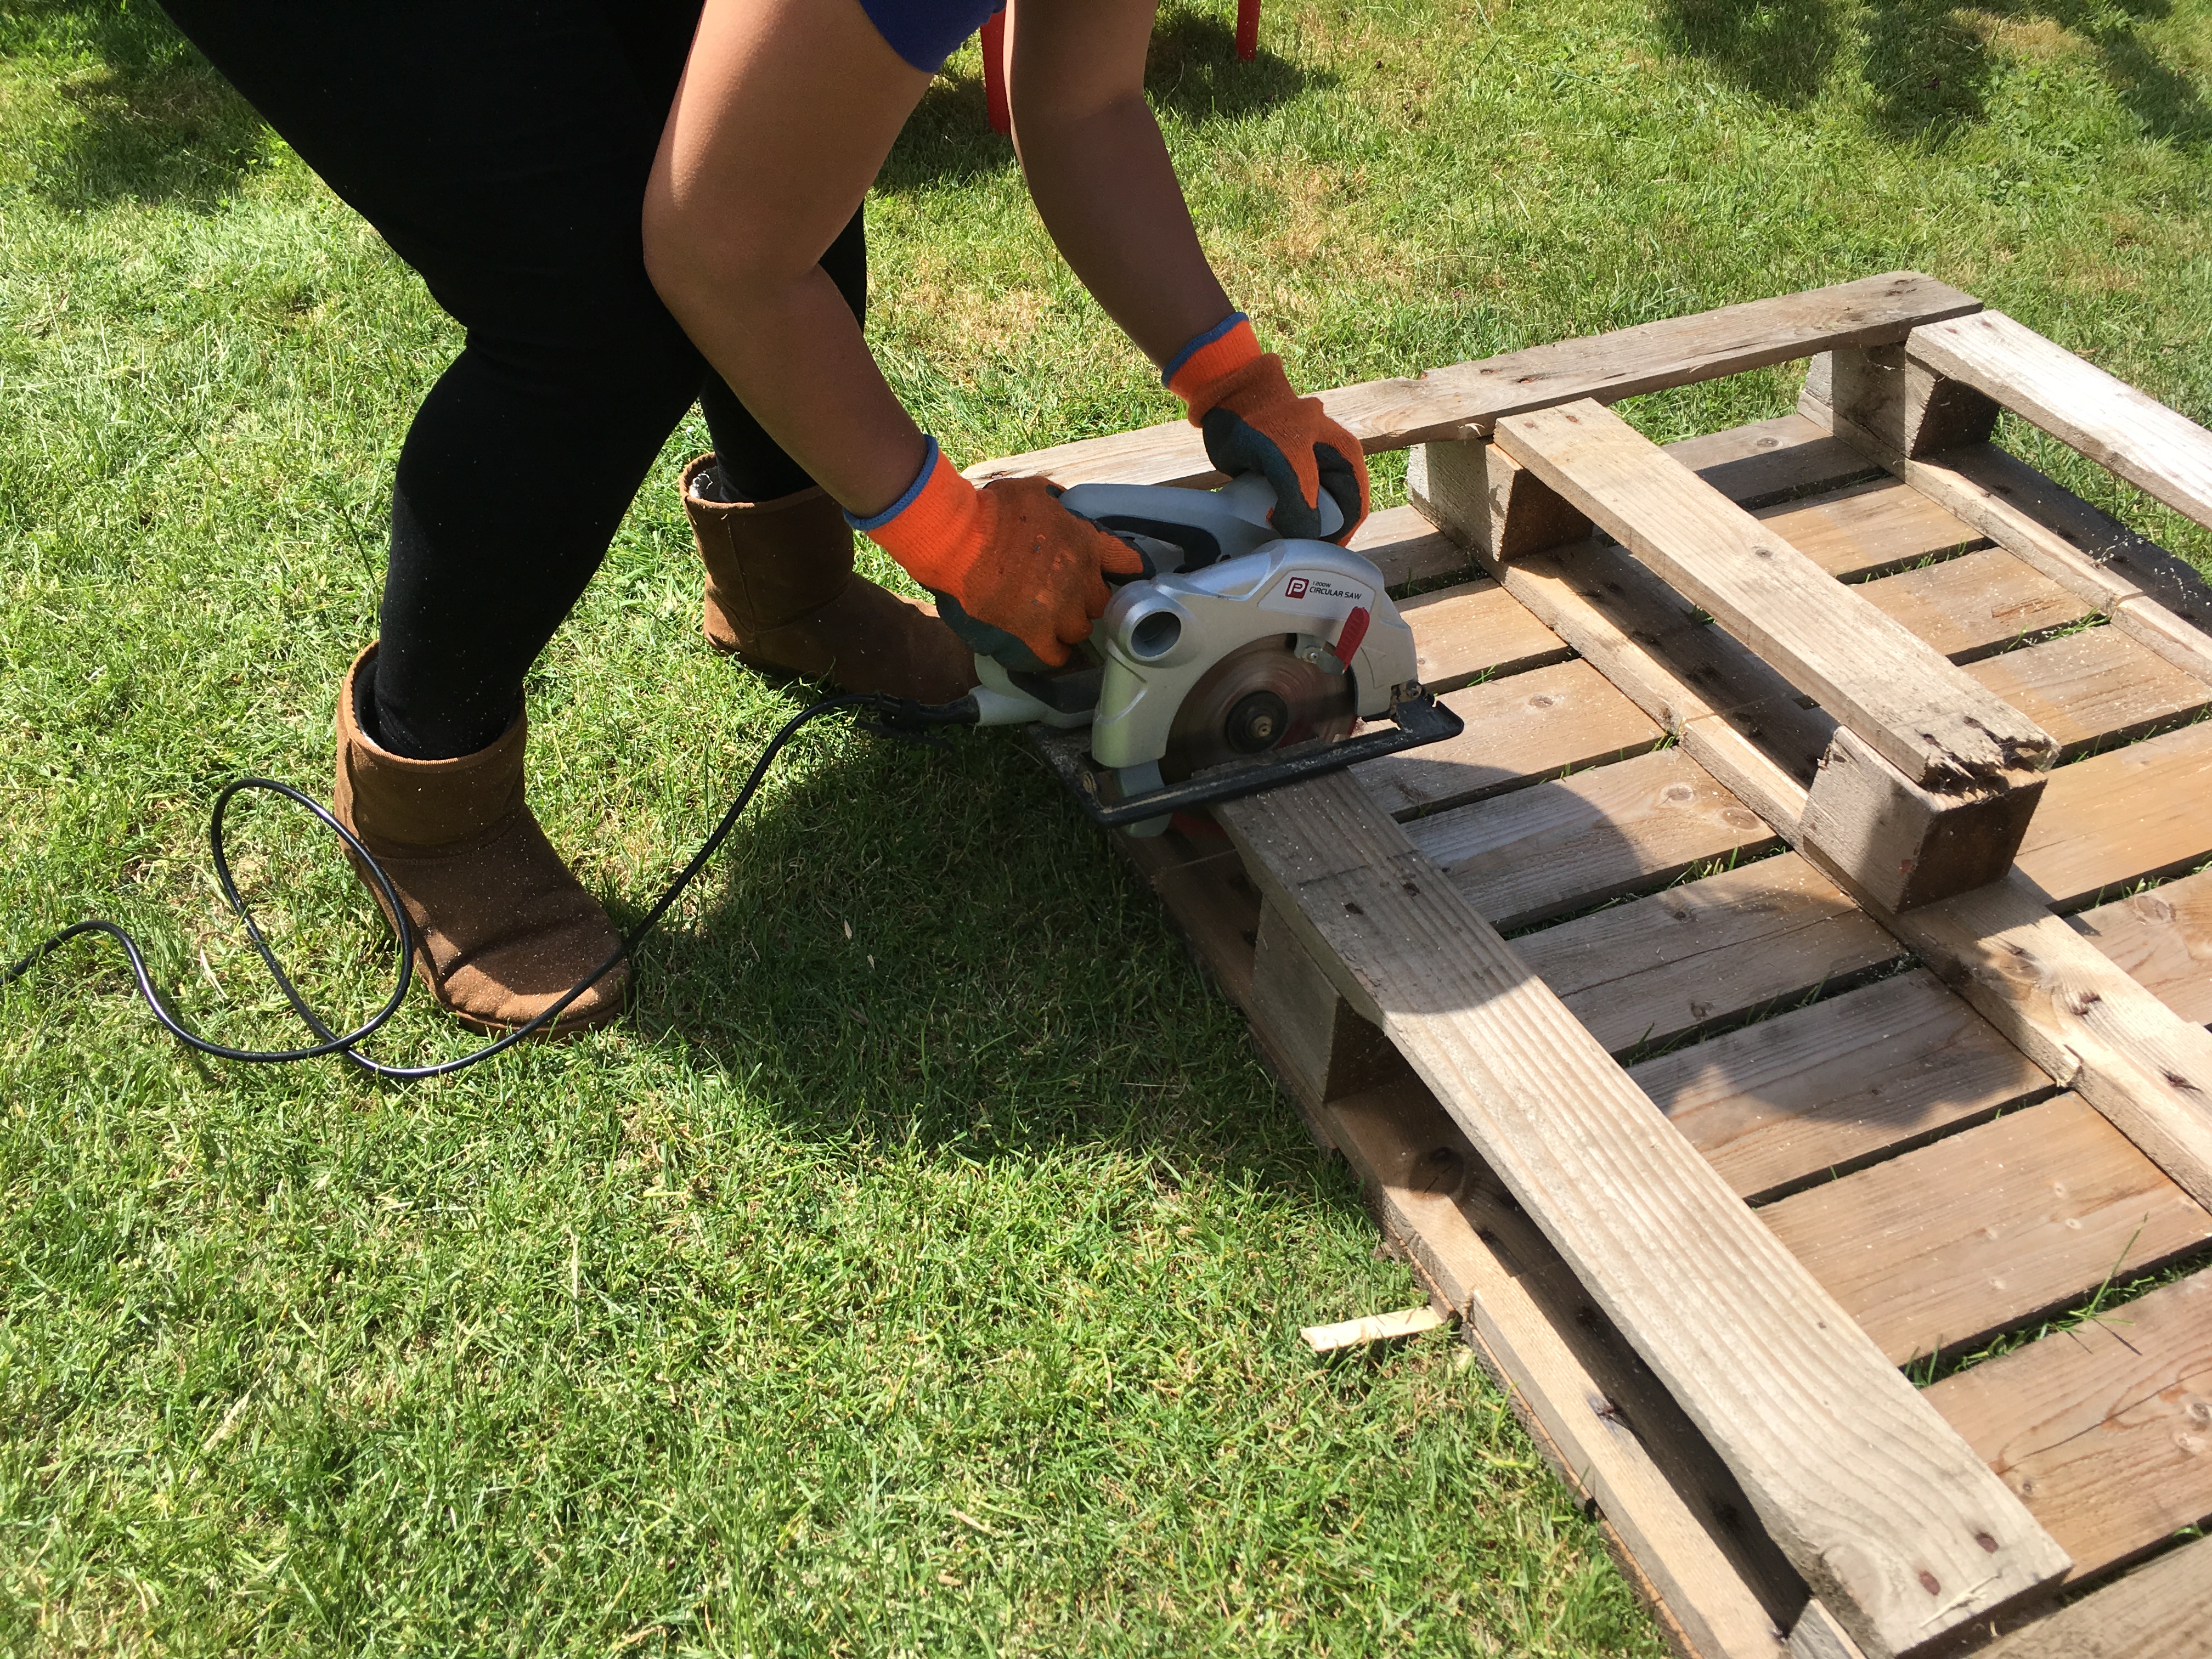
The truly lazy way is to buy a tomato plant. They aren’t too pricey and these days there are even grafted plants available. Grafted plants mean strong roots and hardier plants with tasty fruit grafted on the top half.

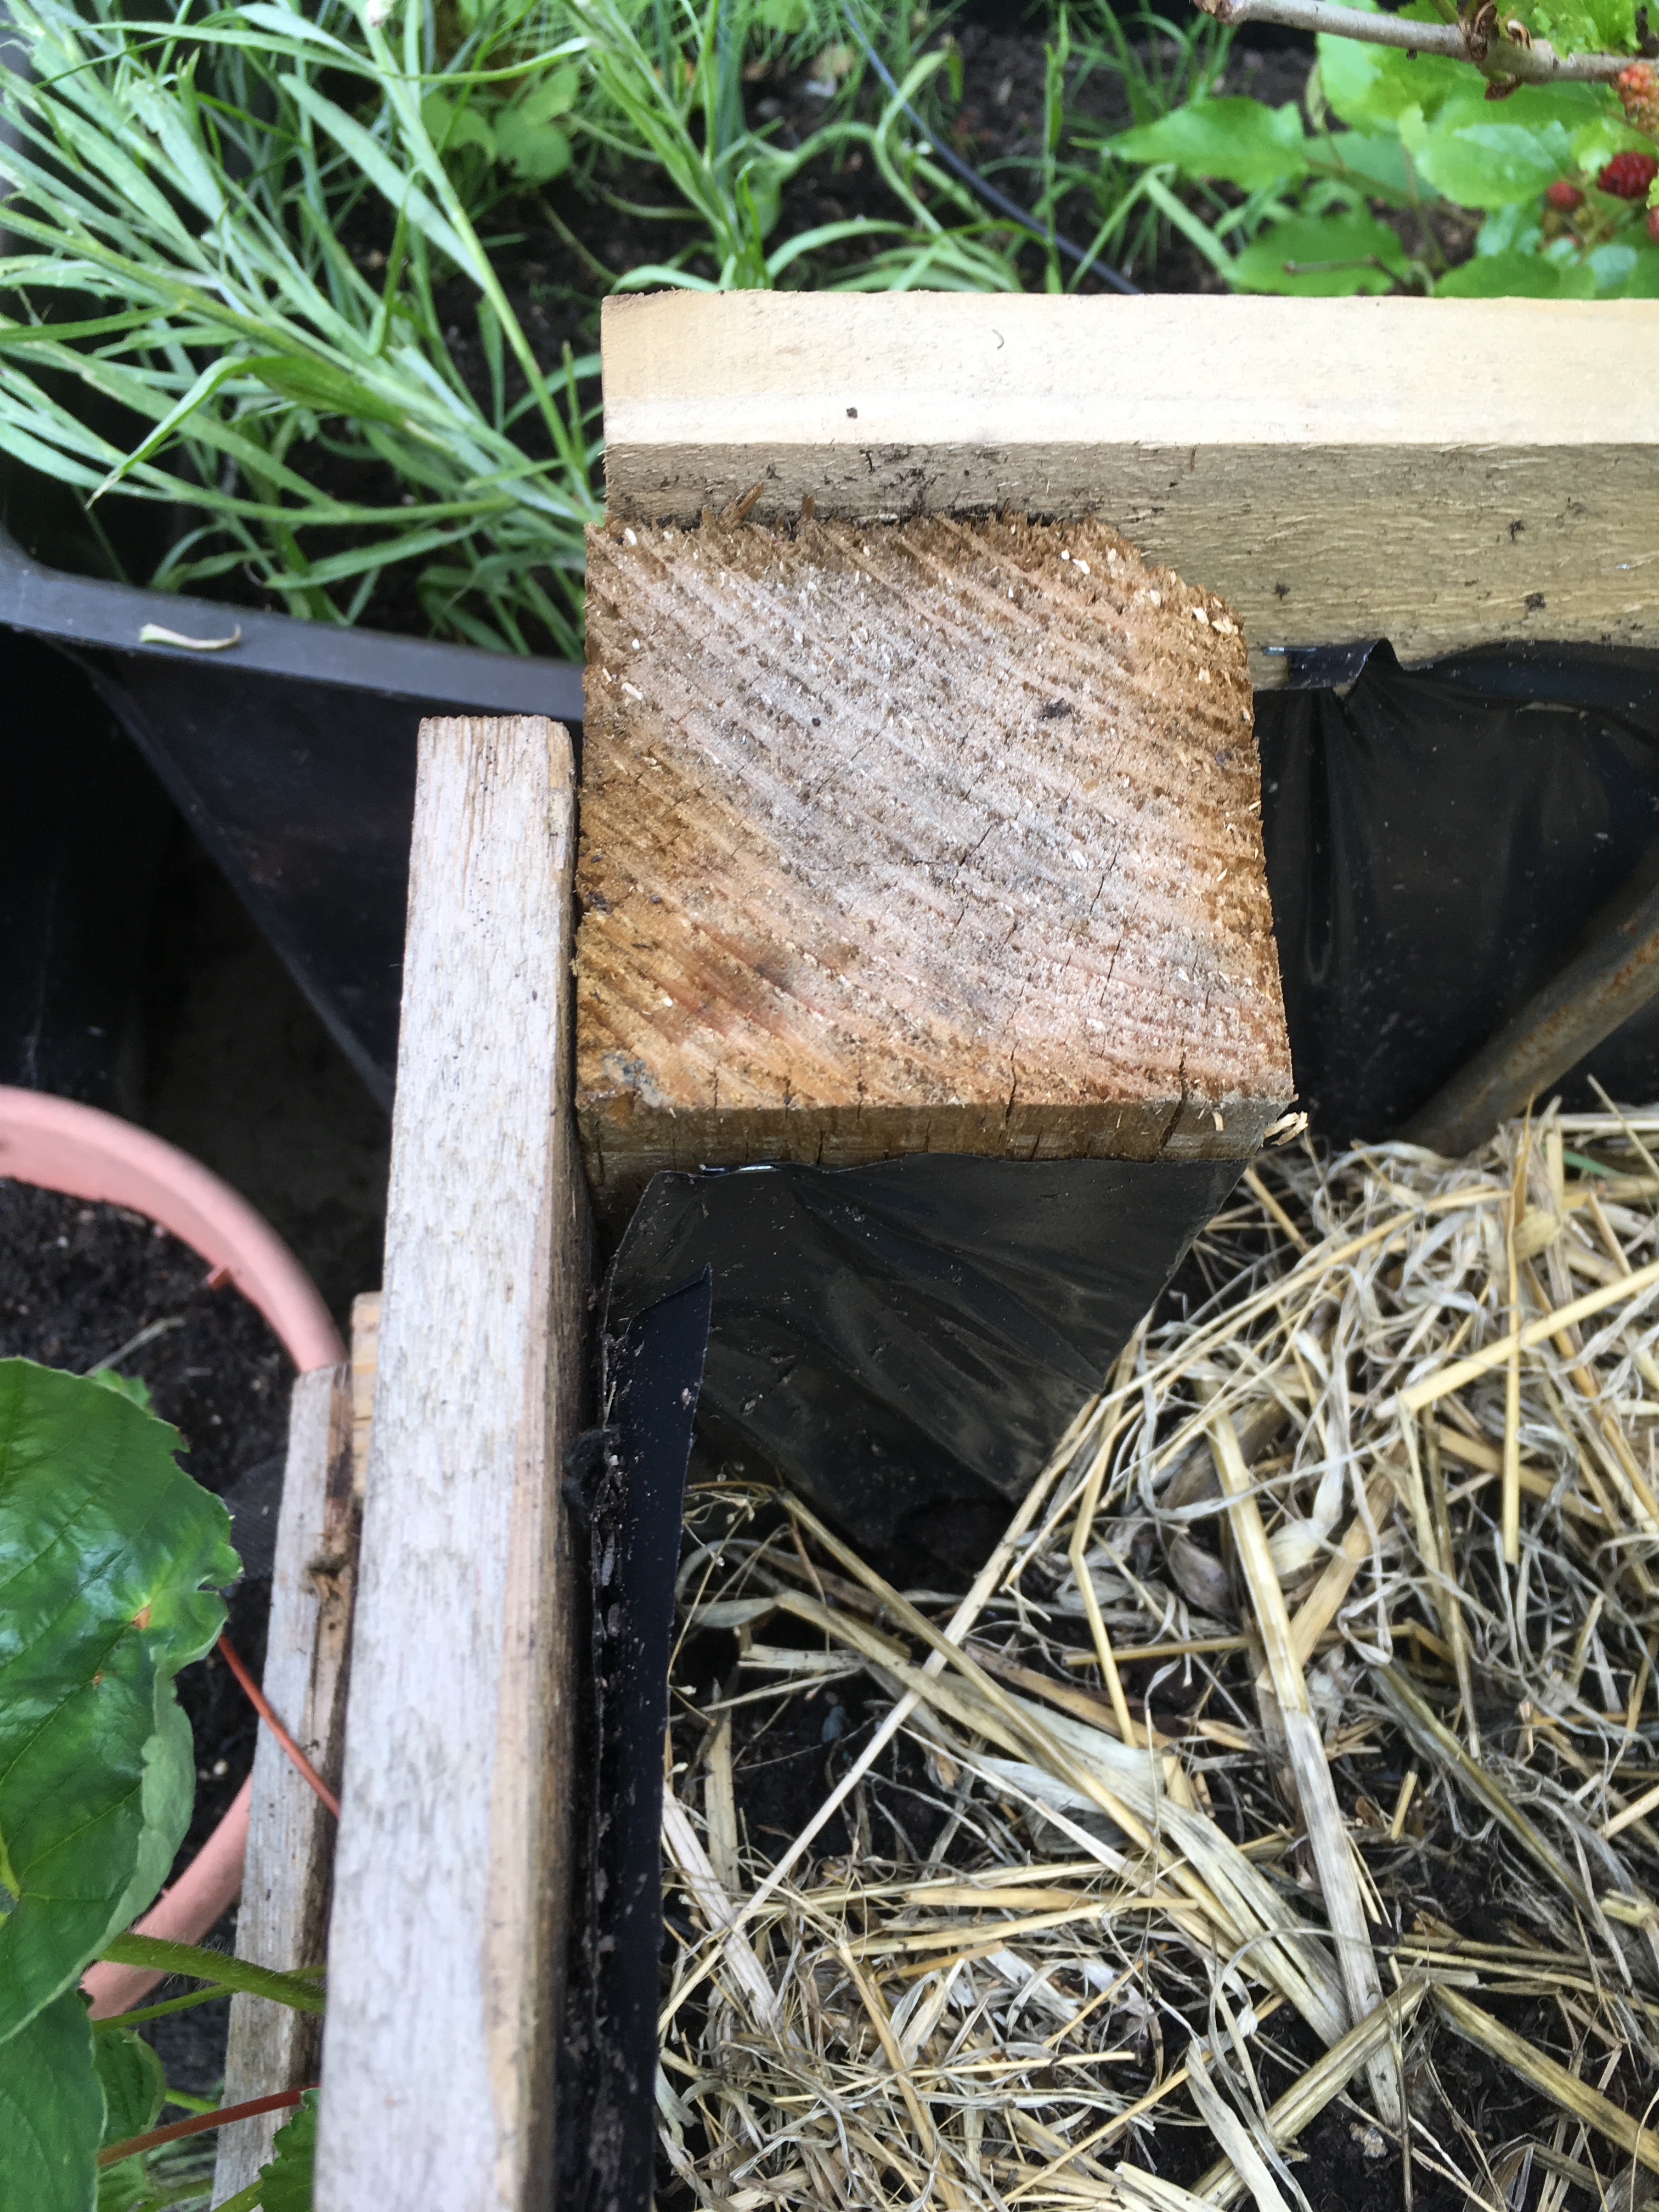
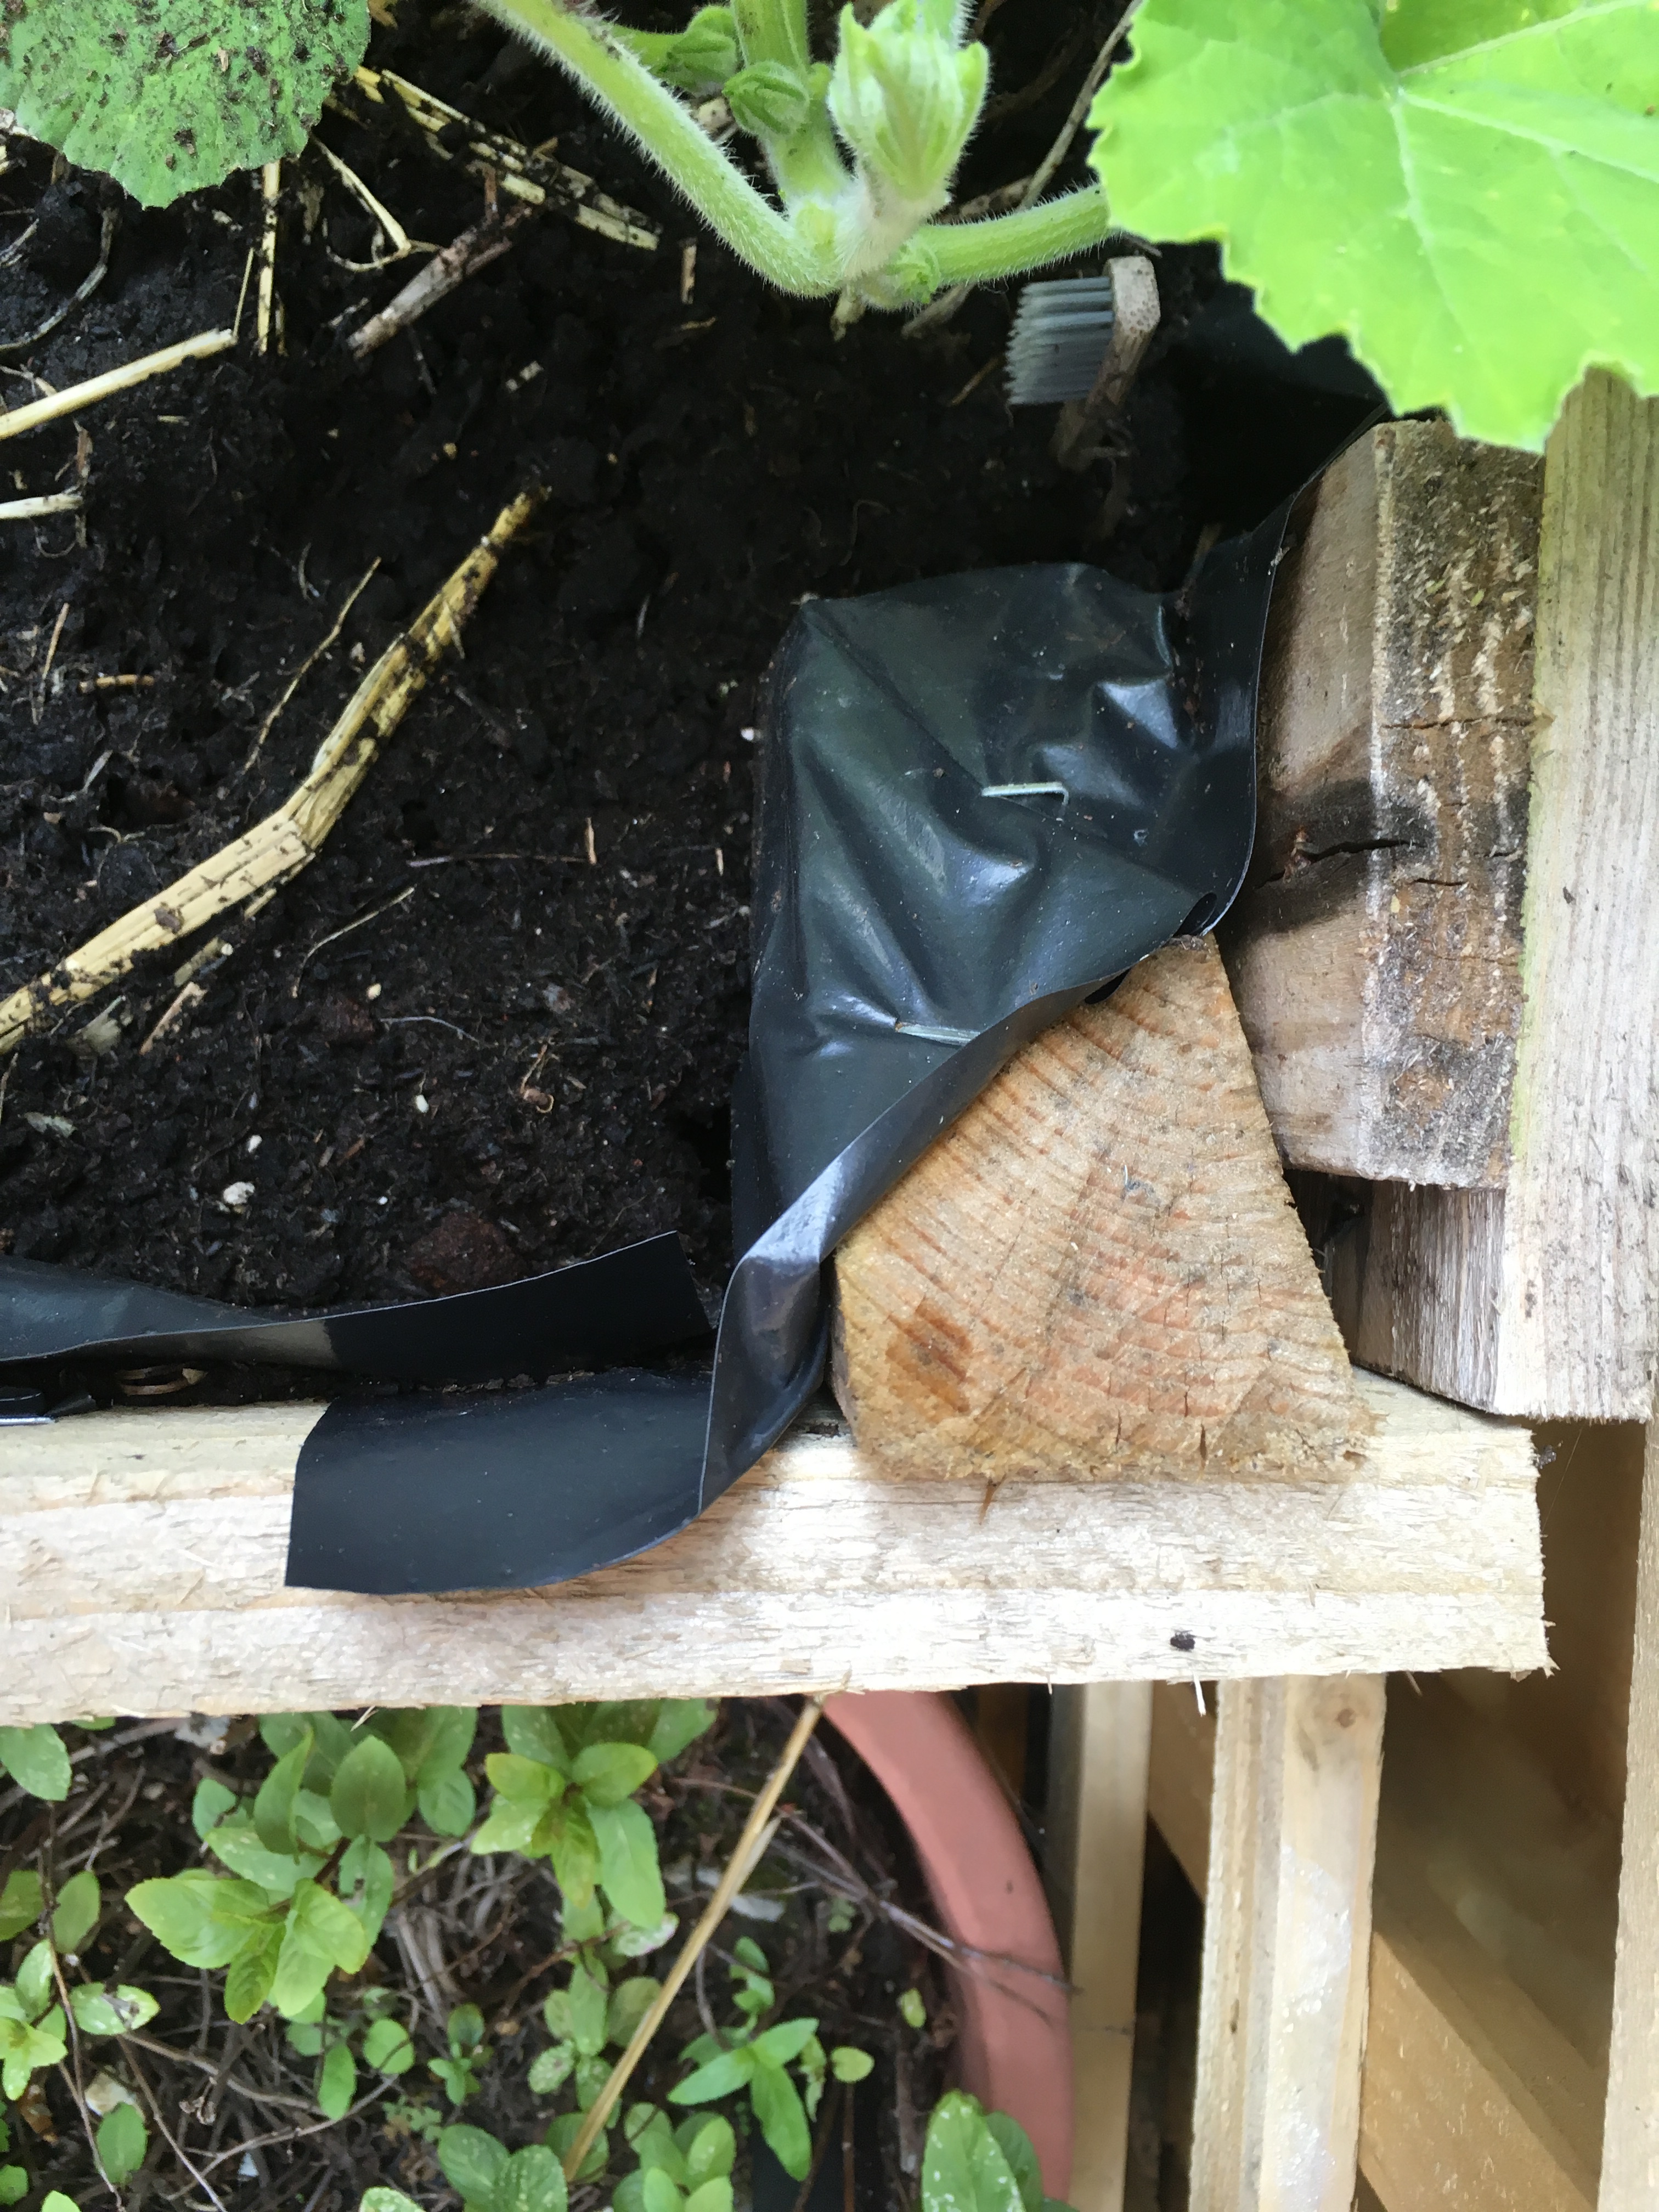
Some of them have split.
However, for the price of a single plant you could buy a whole packet of seeds. Sow seeds in March/April in pots indoors. I always sow individual seeds in large pots (often pot noodle pots or litre juice/milk cartons) as I cannot bear to pinch out the weaker seedlings. If you use large pots, you can keep them indoors for a little longer to give them a better start. They can be hardened off and planted out when you’re completely sure that there will be no more frost.
Tomatoes do best in full sun with soil that never gets dry or waterlogged. If the tomatoes have sporadic watering it can lead to the fruit splitting or end rot.
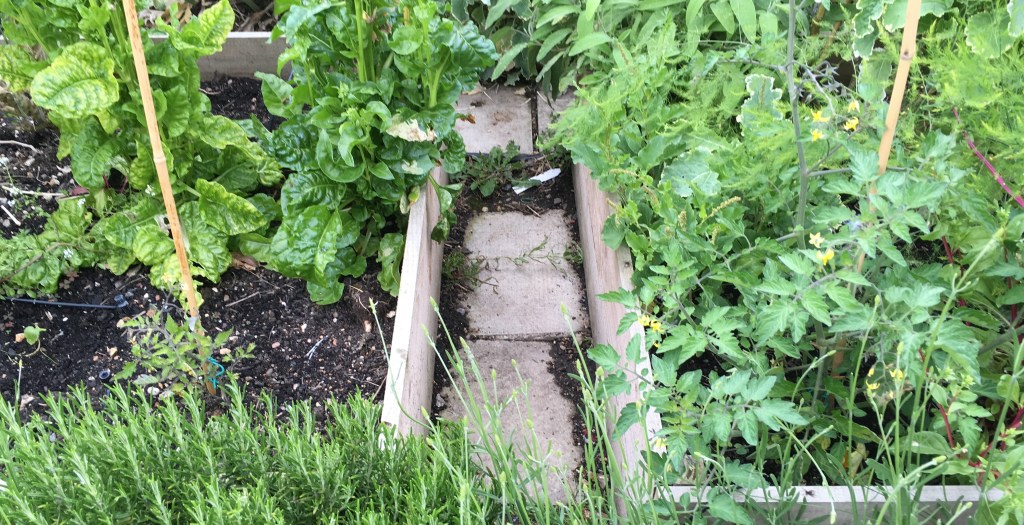
These were planted out at the same time. The left one was crowded with some kale and the right one also gets better sun. The combination of both made a huge difference in growth rate.
Pollination

The first few flowers and buds. 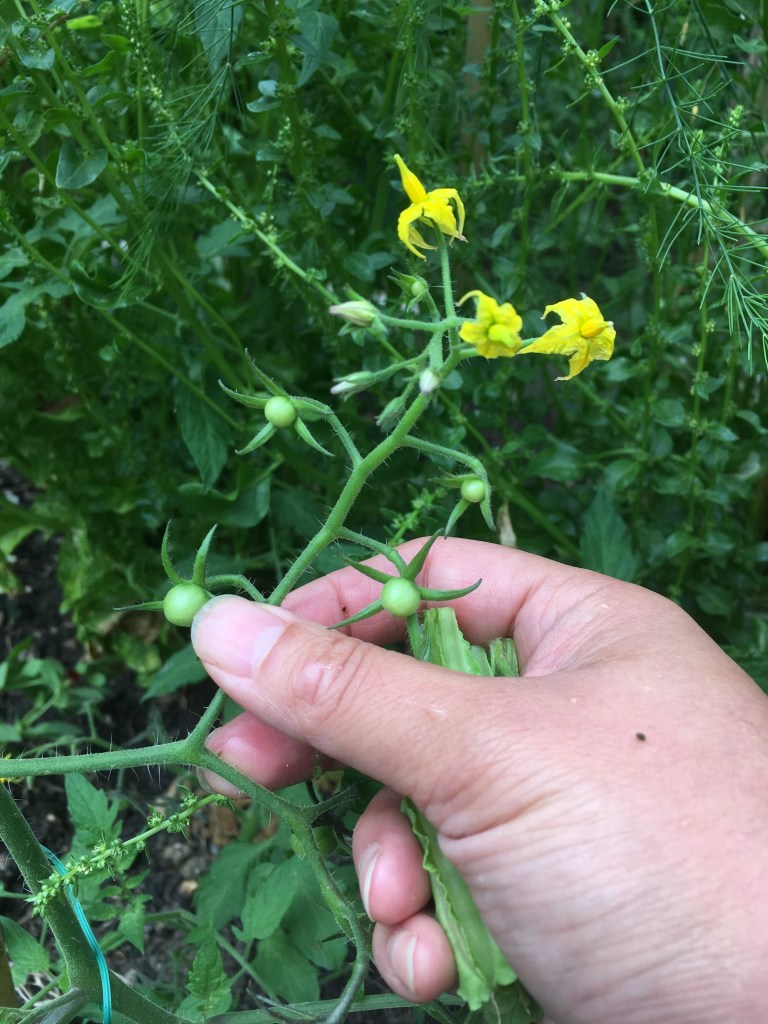
You can see the tiny tomatoes growing. The plant flowers over a long period so it also crops over a long period. The ones at the beginning of the stem will ripen weeks before the ones at the end.
In any of the areas of London that I have tried growing tomatoes I have never had to worry about hand pollinating them. I have read that tomatoes are both wind-pollinated and insect pollinated so I’m not sure how much difference the good London bee populations make. They also don’t need another plant to set fruit. In a greenhouse, however, with neither wind nor insects the flowers may drop off and not set fruit. I’ve also read that bumble bees are the best pollinators of tomatoes as their ‘buzz’ shakes the flowers enough to pollinate them. This can be replicated by vibrating the plant. Apparently, an electric toothbrush is a good tool for this. Anyway, the point is that tomatoes are self-pollinating. This means that the seeds in the fruit will grow into plants that will then grow the same fruit as the parent plant. So, seeds can be collected for the next year. Even better, sometimes you’ll find that, in your tomato bed from the previous year, you’ll have lots of little seedlings that can be transplanted to a new site. It is wise to consider crop rotation to avoid a build of pests and diseases and depleting the soil of certain nutrients.

Rogue tomato seedlings that appeared… 
… and were transplanted here. A pot this size can accommodate 3 plants as long as you ensure it doesn’t dry out.
Harvesting

The best thing about growing your own is that you can pick the tomatoes when they are fully ripe. Shop bought is often picked when not quite ripe, to prolong travel life and shelf life. This means that the flavour often suffers. You can also use your plants a bit like a larder. If you don’t feel like tomatoes for a meal, leave them on the vine to get sweeter. My little one loves just going into the garden for a forage or a graze. She’s picked and eaten enough cherry tomatoes to be able to tell if they’re ripe and it increases her vegetable intake with no effort by me. She’ll either come back into the house satisfied or carrying a bowl of ‘salad’ which comprises of mostly tomatoes, mint leaves and nasturtium flowers. Sometimes there’s handfuls of rosemary and lavender in there. She’s still hoping to con daddy into eating one of her salads one day.
My favourite thing about tomatoes is the weird little ‘elbow’ you get on the stalk, with some varieties, which snaps easily when the fruit is ripe. It does occur in Sungold and it is so satisfying to snap the tomatoes off, not to mention easier to harvest, as secateurs are not required.