Short version: When the cost is a pound, it is cheap and easy to try out new edibles or flowers. The seeds are about the same as seeds bought elsewhere. The plants are small and require patience but there is a huge variety available:
- Raspberry, blueberry, gooseberry, blackcurrant, blackberry bare root plants
- Vegetable, herb and flower multipack seeds (usually with 3-6 varieties per pack)
- Asparagus crowns
- Onion, garlic and shallot sets
- Flower bulbs
- Bare root cuttings of flowers like climbing roses, oleanders and buddleia
I occasionally find myself unable to walk past pound shops without popping in to see what they have. This time of year, it is simply irresistible. They often have fun plants and seeds. Due to the price, I expect the plants to die and the seeds to fail, but I have often been pleasantly surprised. If you have plenty of patience and very little budget, then it’s a great way to populate a garden. The small price tag feels like a small risk. Usually whenever I buy a plant for my edible garden, I spend forever checking the variety for taste, disease resistance and growing conditions. I carefully plan what is going to happen. This goes out of the window in the pound shop. I do at least google the variety on my phone to check that they’re a variety worth growing. As long as you steel yourself for some disappointment and are willing to invest some time in exchange to keep the budget small you’ll be happy. These are the gems that I’ve found in the pound shop:

The Gijnlim 9 years later with the first stalks of the season
Asparagus
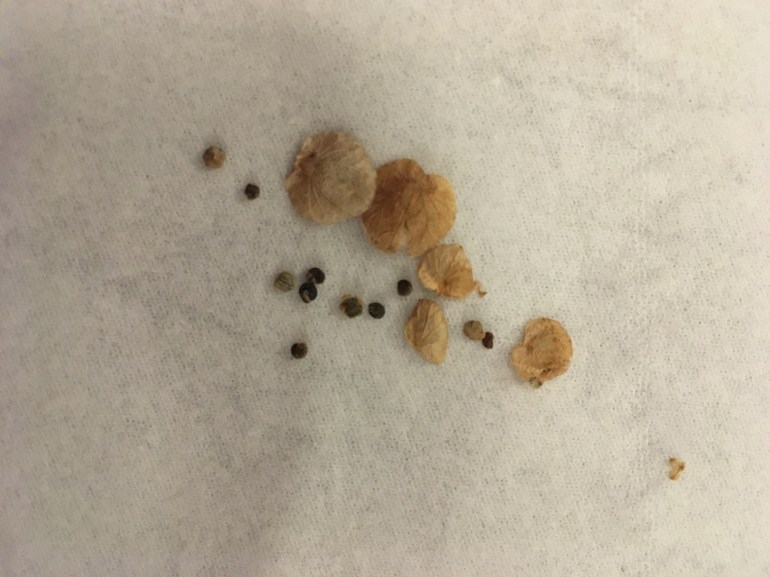
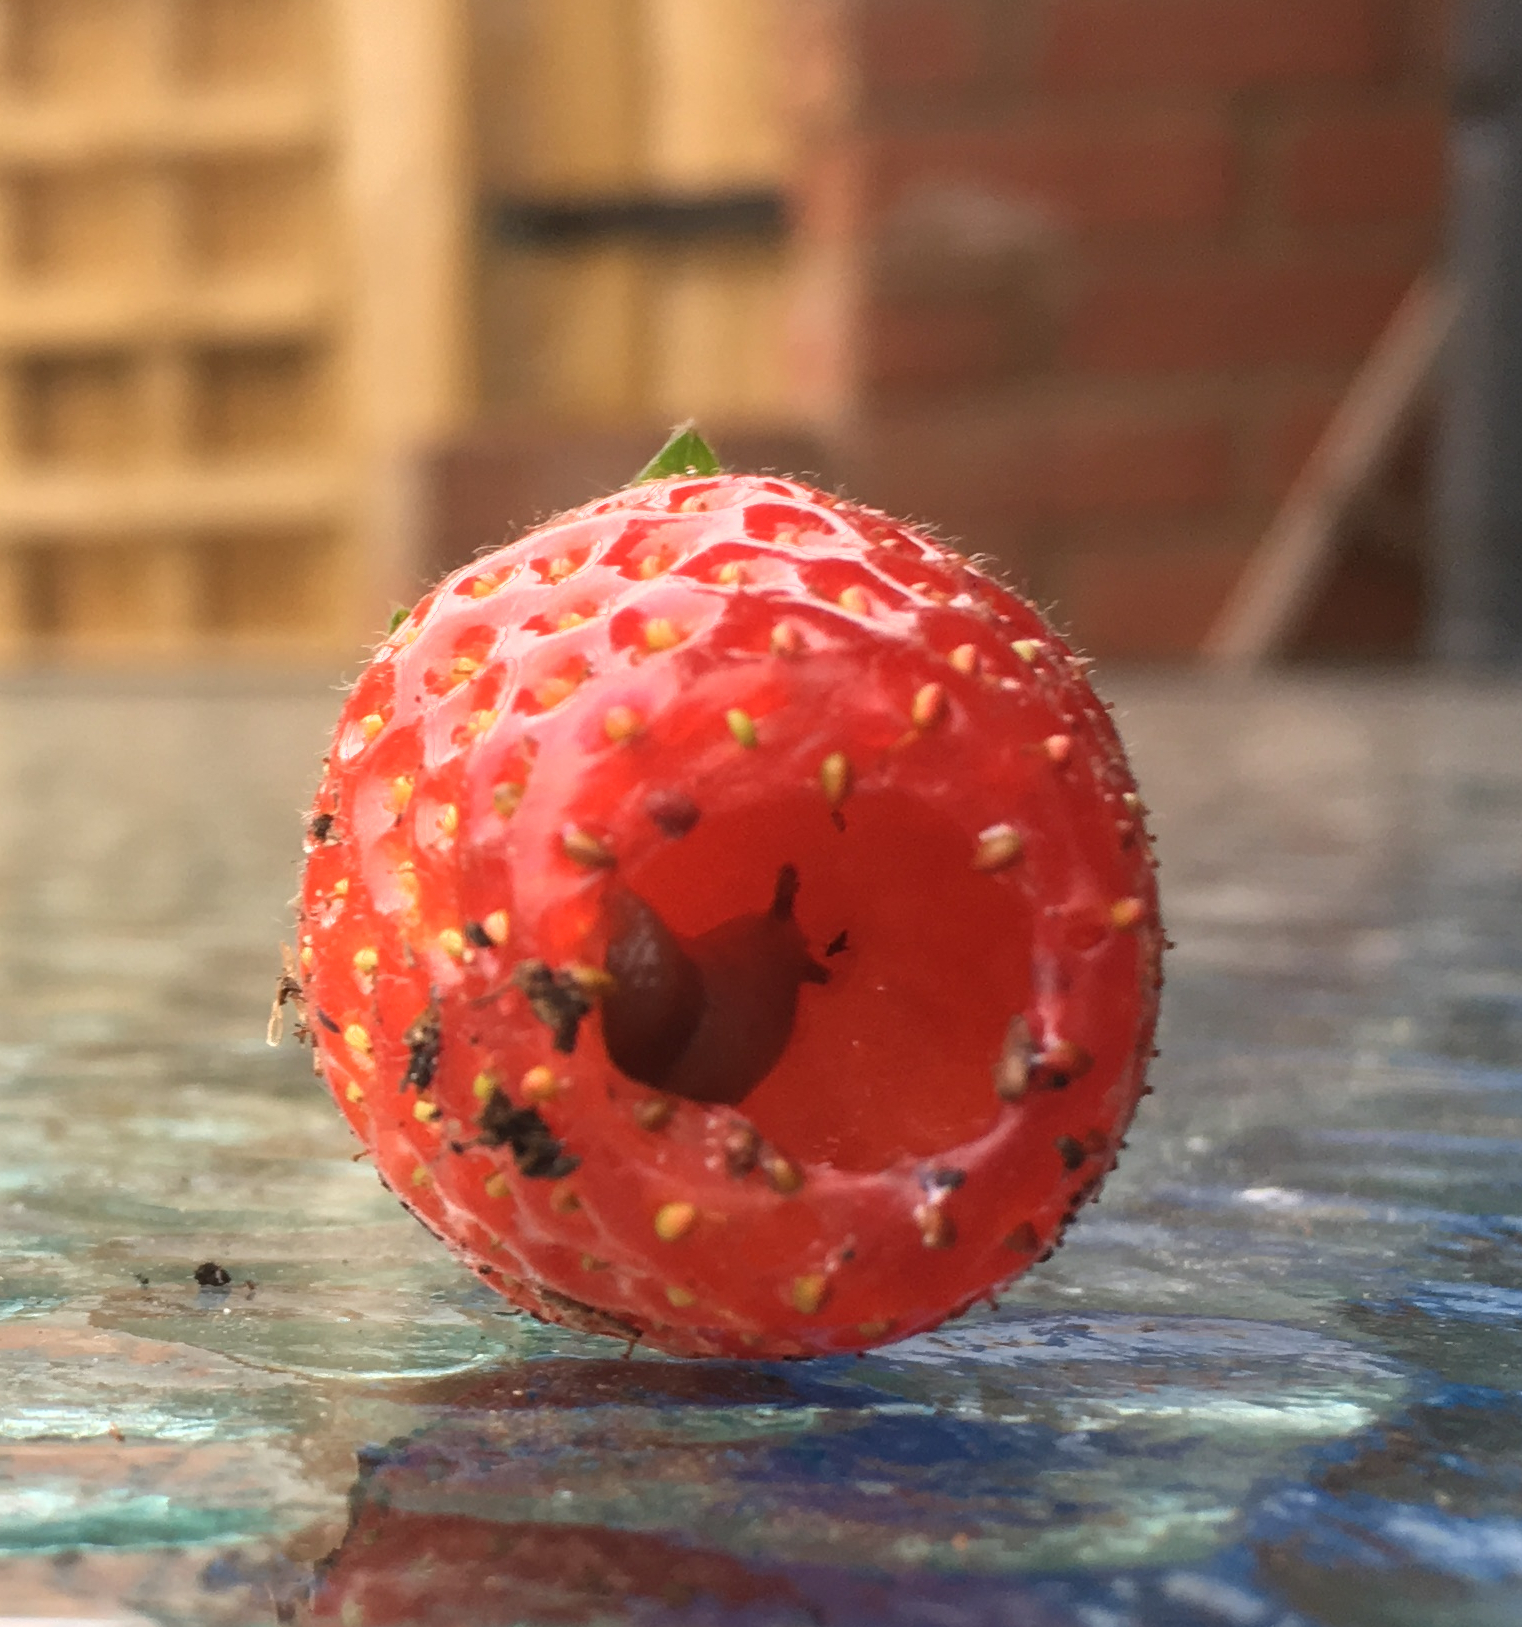
I found asparagus crowns (year old roots) in a pound shop in Balham (which is no longer there) in 2010. I think the variety is/was Gijnlim. Before then I had never grown asparagus. I followed the instructions to plant and leave for a year and in the second year we were rewarded with a couple of stalks of the tastiest asparagus I’d ever eaten. Shop bought asparagus cannot compare to home grown, as the flavour deteriorates quickly after harvesting. I suspect that had I not come across these in the pound shop I still wouldn’t have experienced growing asparagus. You can’t harvest for a couple of years and even then, you won’t get huge harvests for a couple of years more. So, I think I would have been too impatient to consider asparagus if it wasn’t for this impulse buy. I grew them in a very large pot and then it then moved home with us… twice. Now I’ve sworn never to move again those asparagus plants are happily in raised beds. They’ve been joined by a few more carefully chosen plants. The only problem with the crowns from the pound shop is that they turned out to be female plants. I’ve read that female plants are less productive because they waste energy that should go towards growing yummy shoots into reproduction. I guess I could always pick the asparagus berries and try starting new plants.
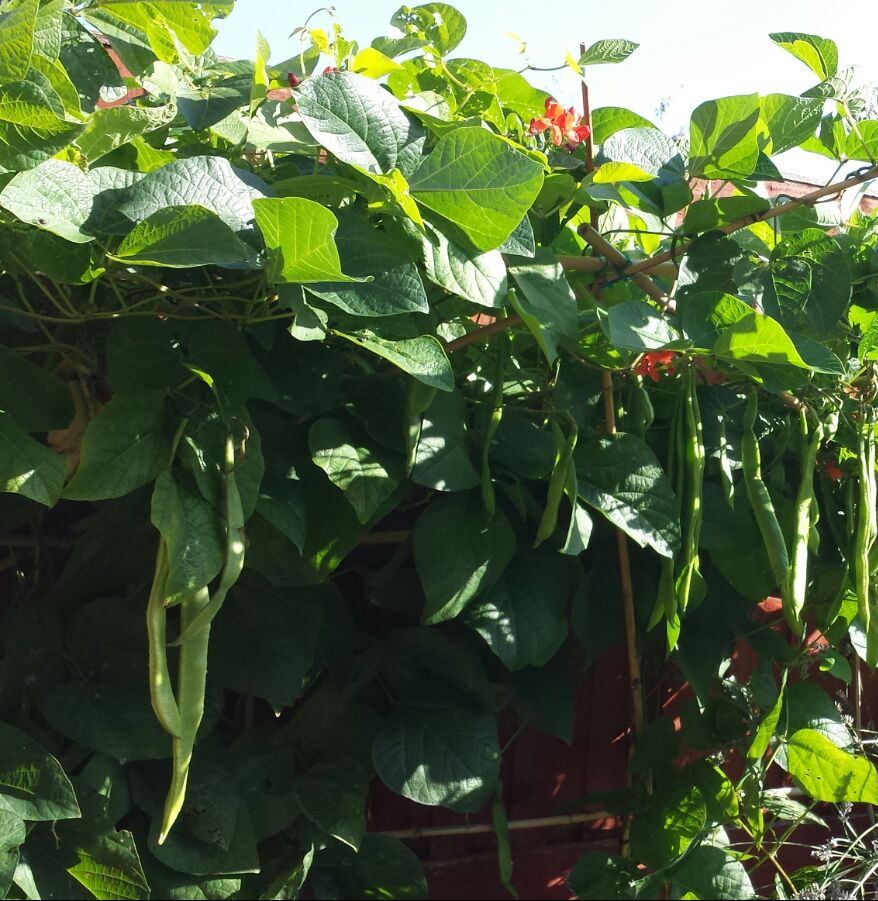
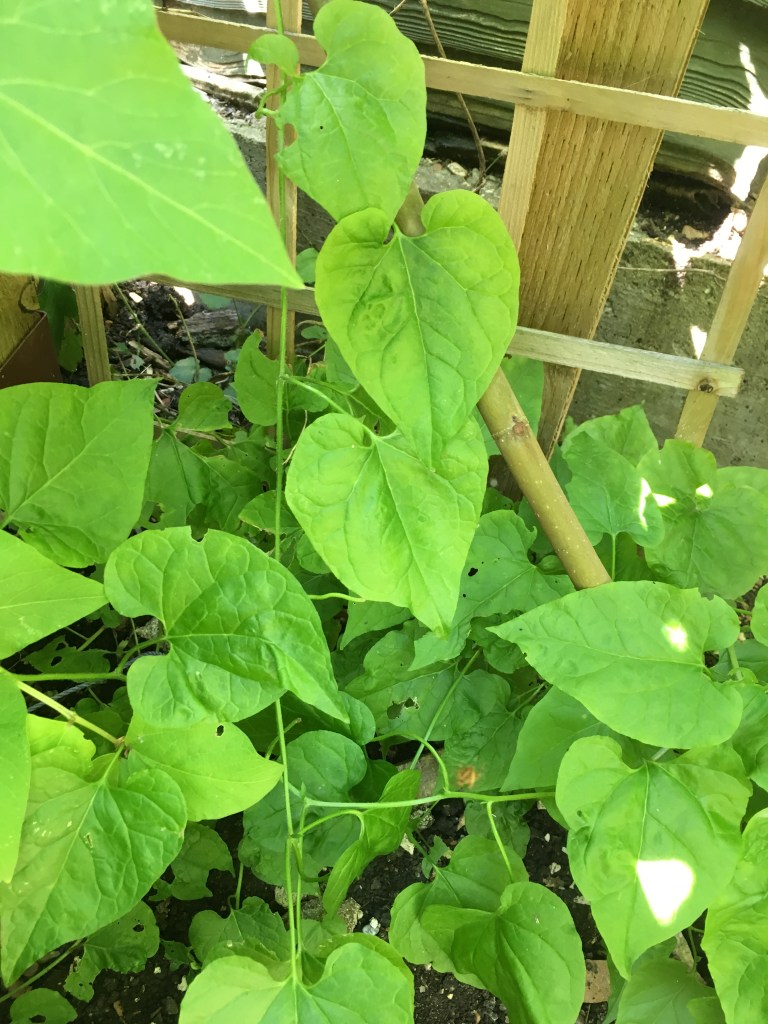
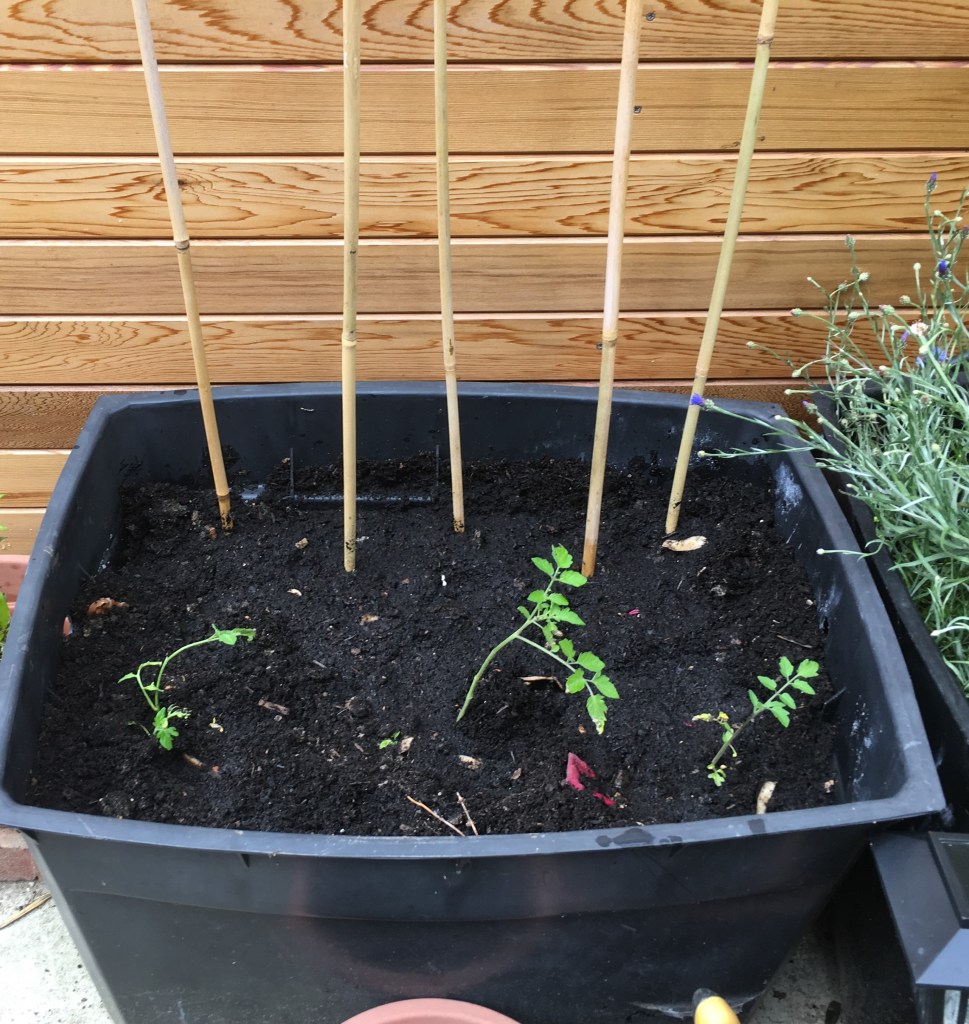
Runner beans!
Peas and Beans
At the same time (in 2010), I also bought a packet of seeds containing 2 varieties of peas and one variety of runner beans. Basically, it cost around 33p per variety. The runner beans turned out to be amazing. I had never come across runner beans in my childhood. No one I knew grew them and I had never eaten them in any situation. I was amazed by the huge purple seeds with black spots. I was surprised how well it did in part shade. This is where my love of vertical growing began. To be able to get such large volume of food over a long period of time in such a small footprint makes this one a winner.
The peas were OK, but we mostly ate them as pea shoots in stir fries. Again, loved the height of these. Now I always plant something climbing behind shorter veggies.
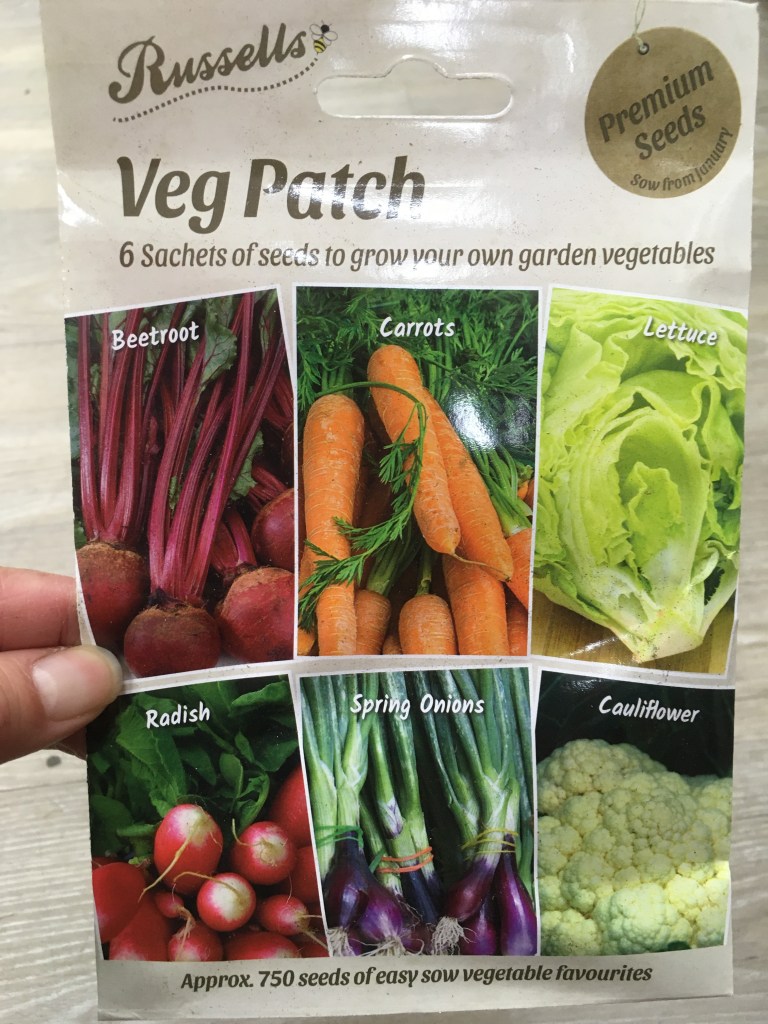
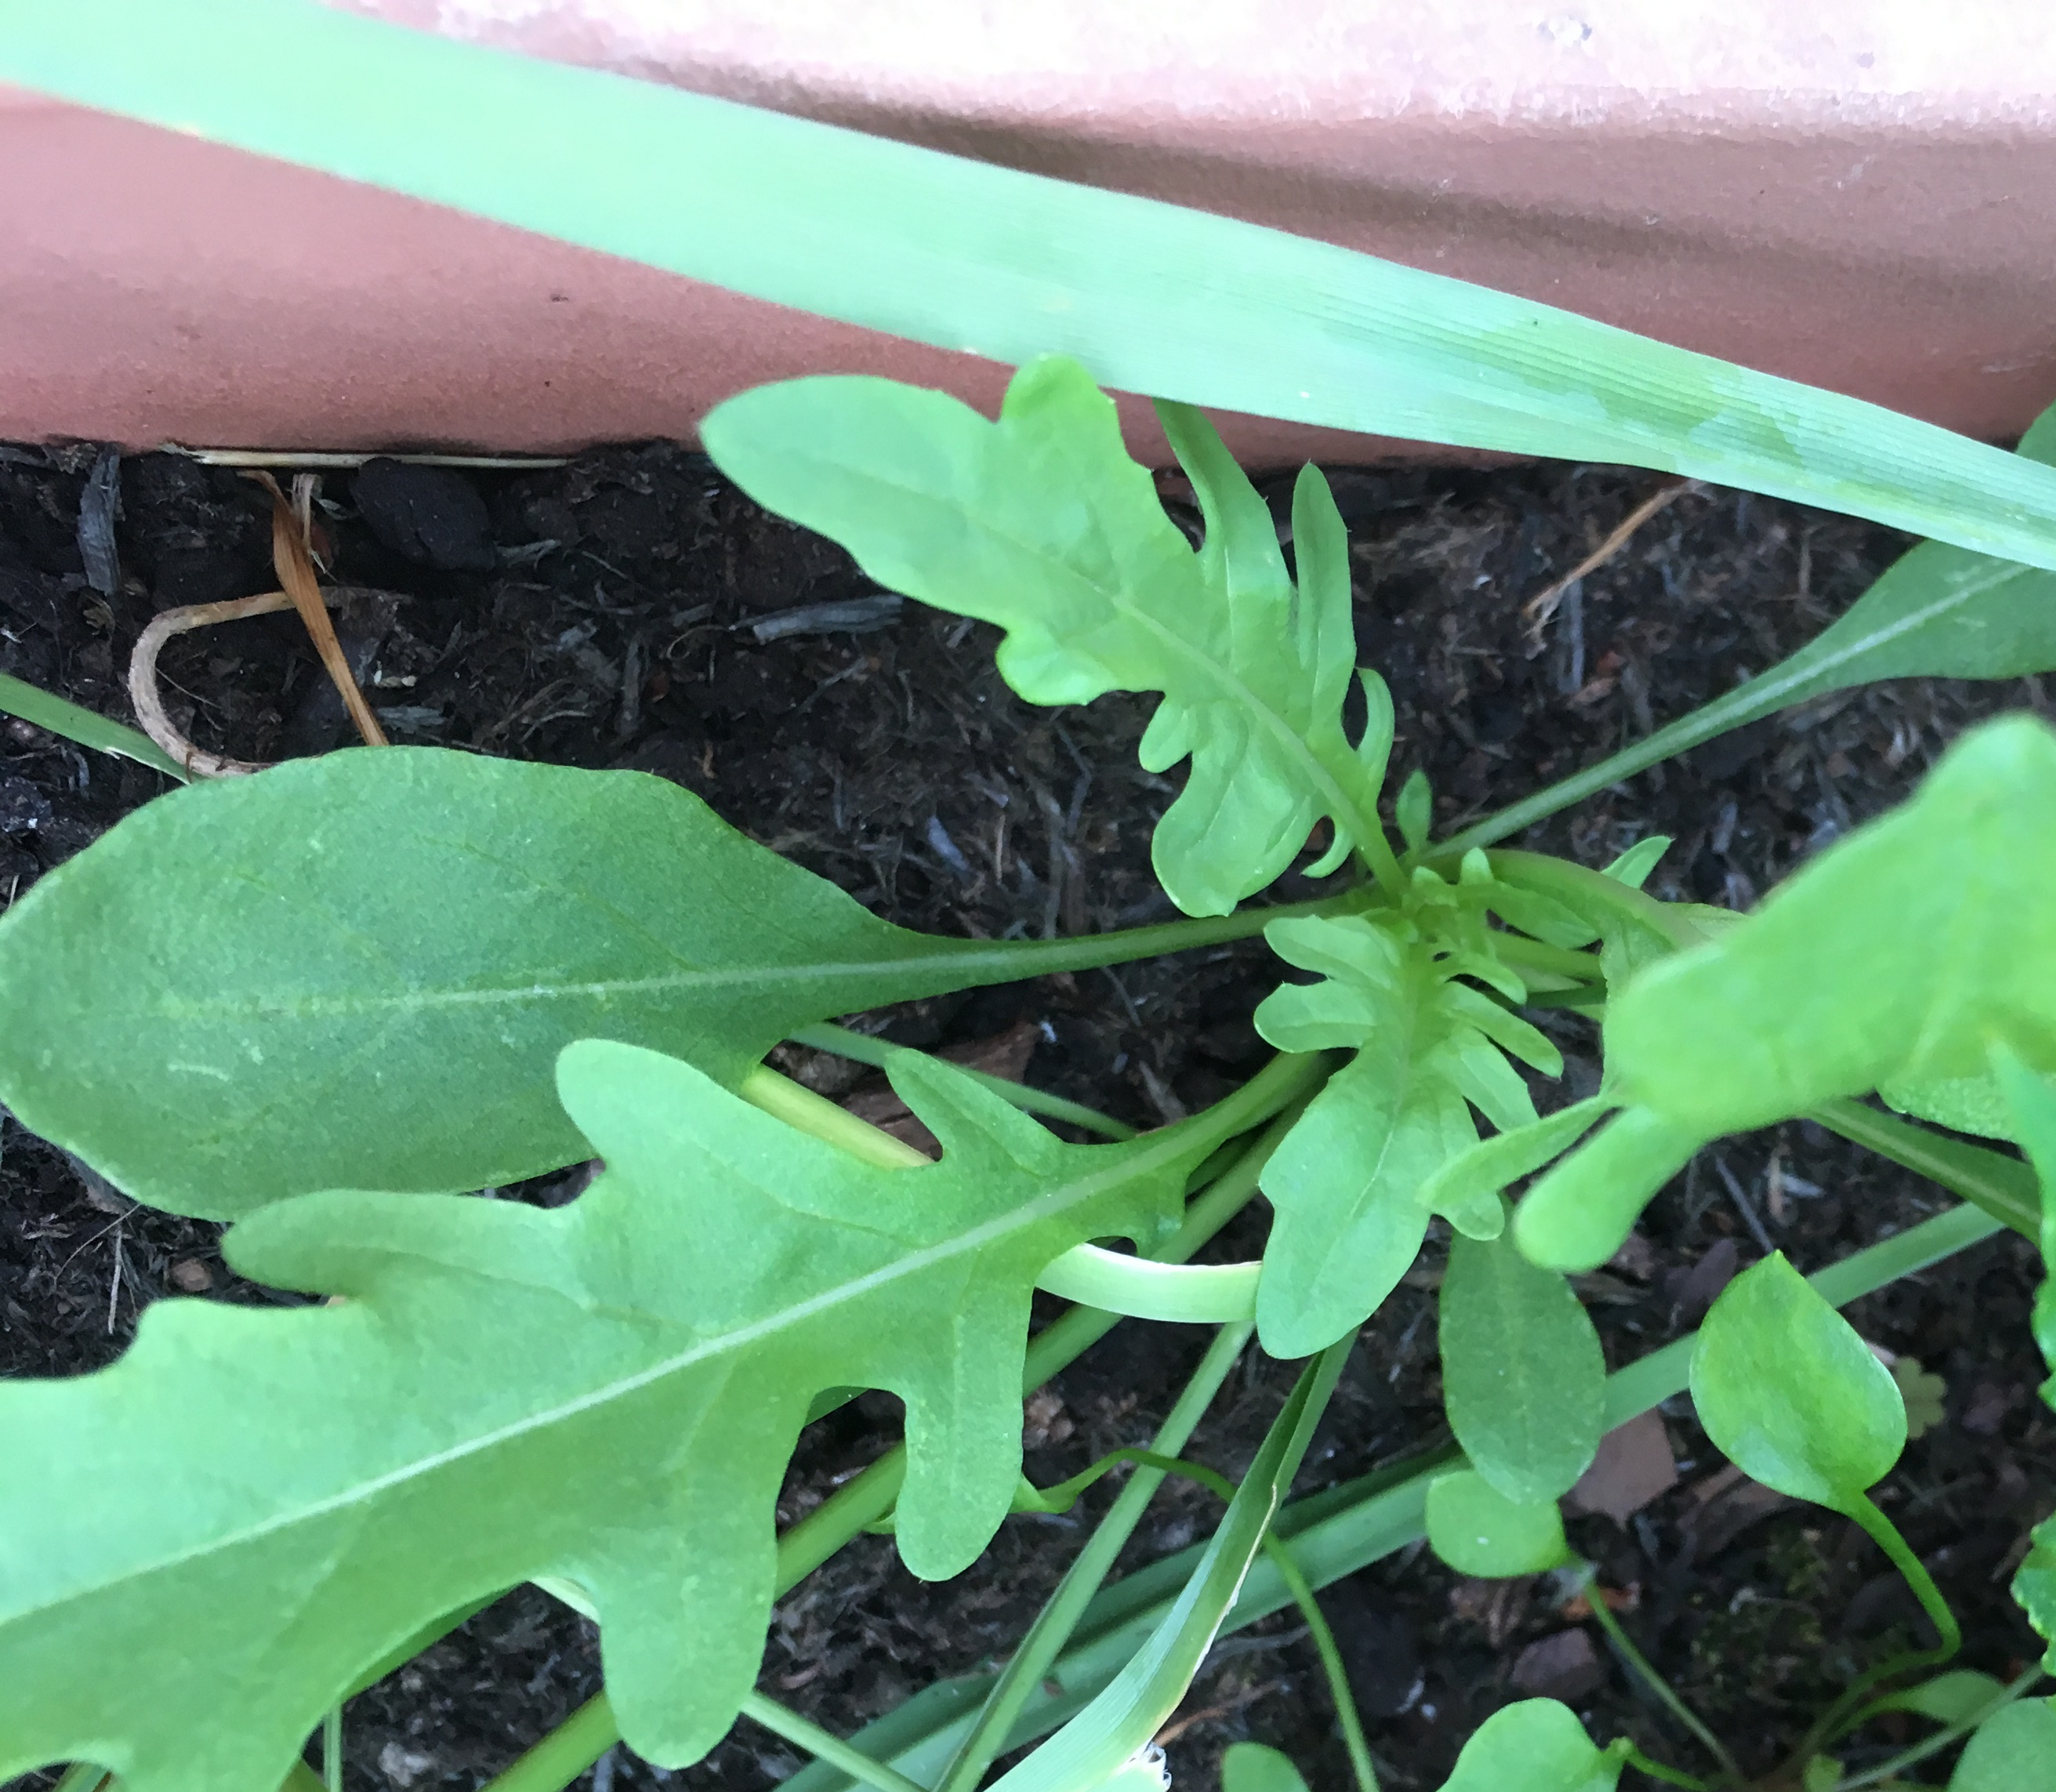
Example of one of the selections. 6 packets of seeds for £1!
Vegetable seed multipacks
For anyone who is new to edible gardening, multipack seeds like these from the pound shop are a nice budget way to try a few things. I used seeds from a pound shop multipack to try beetroot, oregano, basil, aubergines, lettuce and radishes (which I now grow for the yummy greens). There have been other things like herb multipacks. One pack I bought and grew in (I think, as it was a long time ago) 2010 was some sort of Italian selection that included aubergines, tomatoes, oregano and basil. The oregano packet I finished off in 2017 when I was filling our current garden. It has happily self-seeded since. Almost all the seeds have grown successfully.
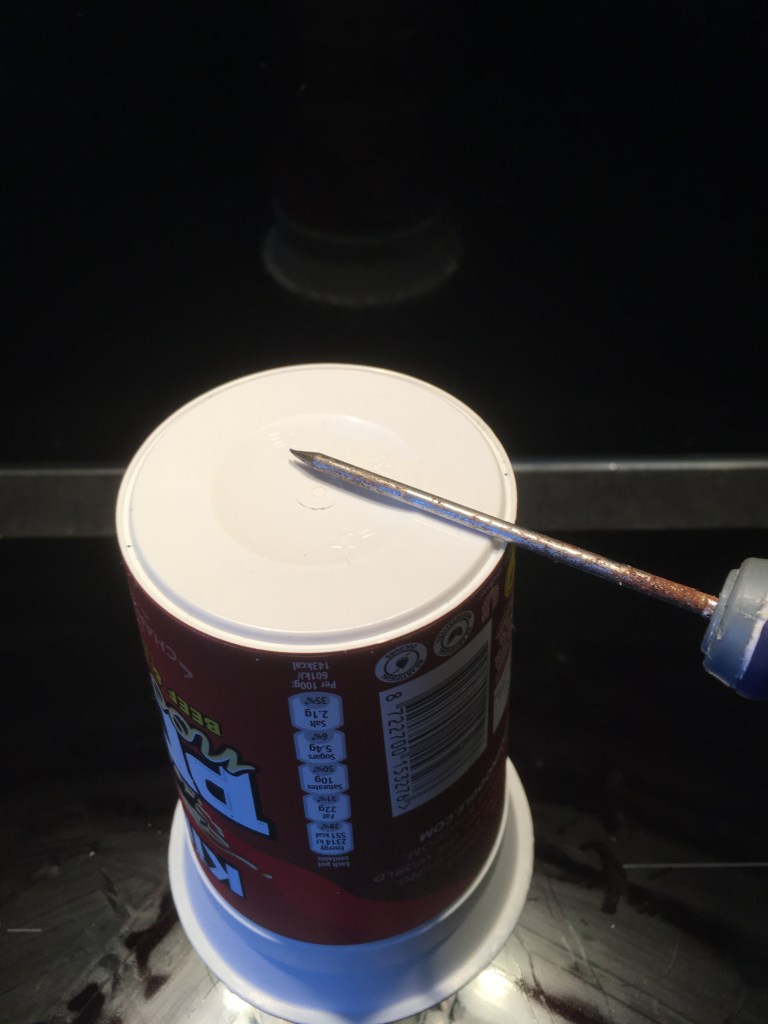
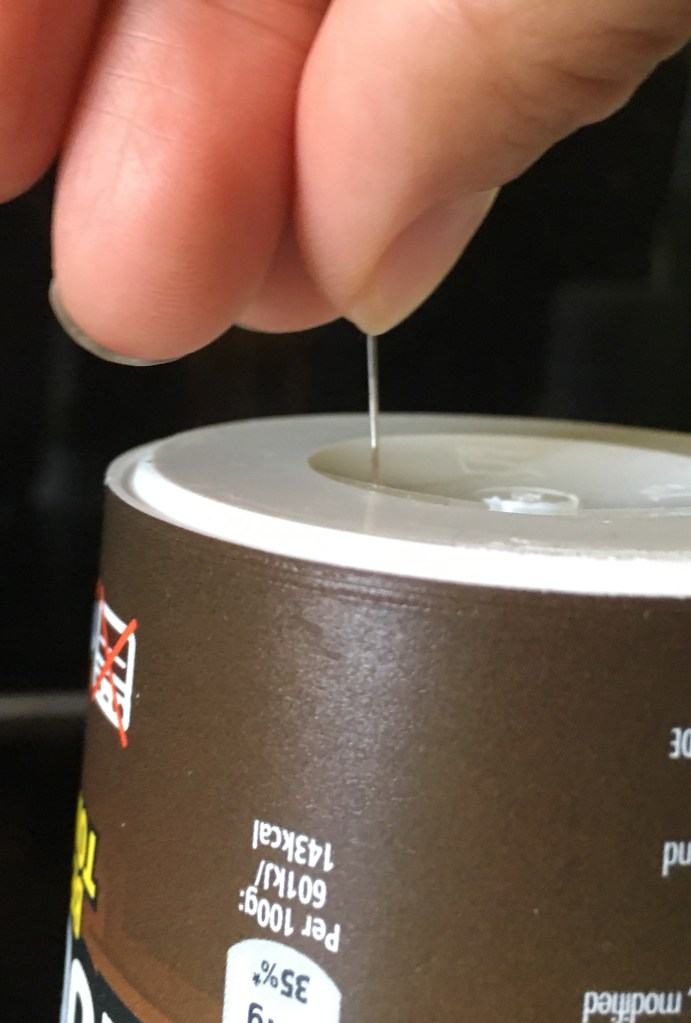
Blackcurrant plant

Ojebyn variety 
The bare roots 
After planting, water in.
This was bought in 2011 as a tiny little thing, about 6 inches of wooden stalk that had some new shoots on it. It took a couple of years to take off, but only made it through one house move. Probably because I tried really hard to neglect it to death. It still took about 2 years to kill it. I realised that I didn’t like blackcurrants. I thought they tasted chicken-y – in a really yucky way. The leaves smelt nice though. I have since learnt that you can’t eat blackcurrants straight off the bush. A year too late I discovered soaking blackcurrants in vodka. A jam jar (yay for repurposing) with a cup of blackcurrants, 3 tablespoons of sugar and topped up with vodka and left for 3 months gives an amazingly, syrupy liqueur with tasty blackcurrants that make great dessert toppers (not for the 4 year old though). I bought a replacement plant this week and I hope to be making merry on them again soon.
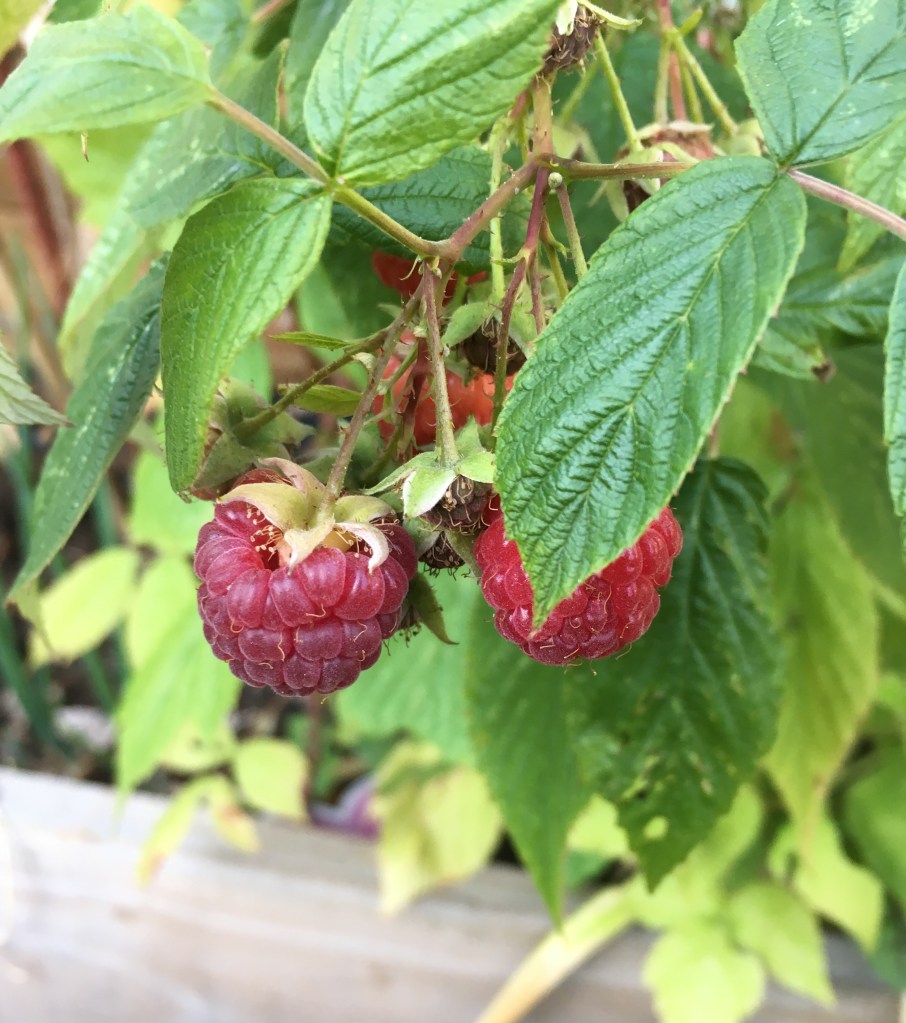
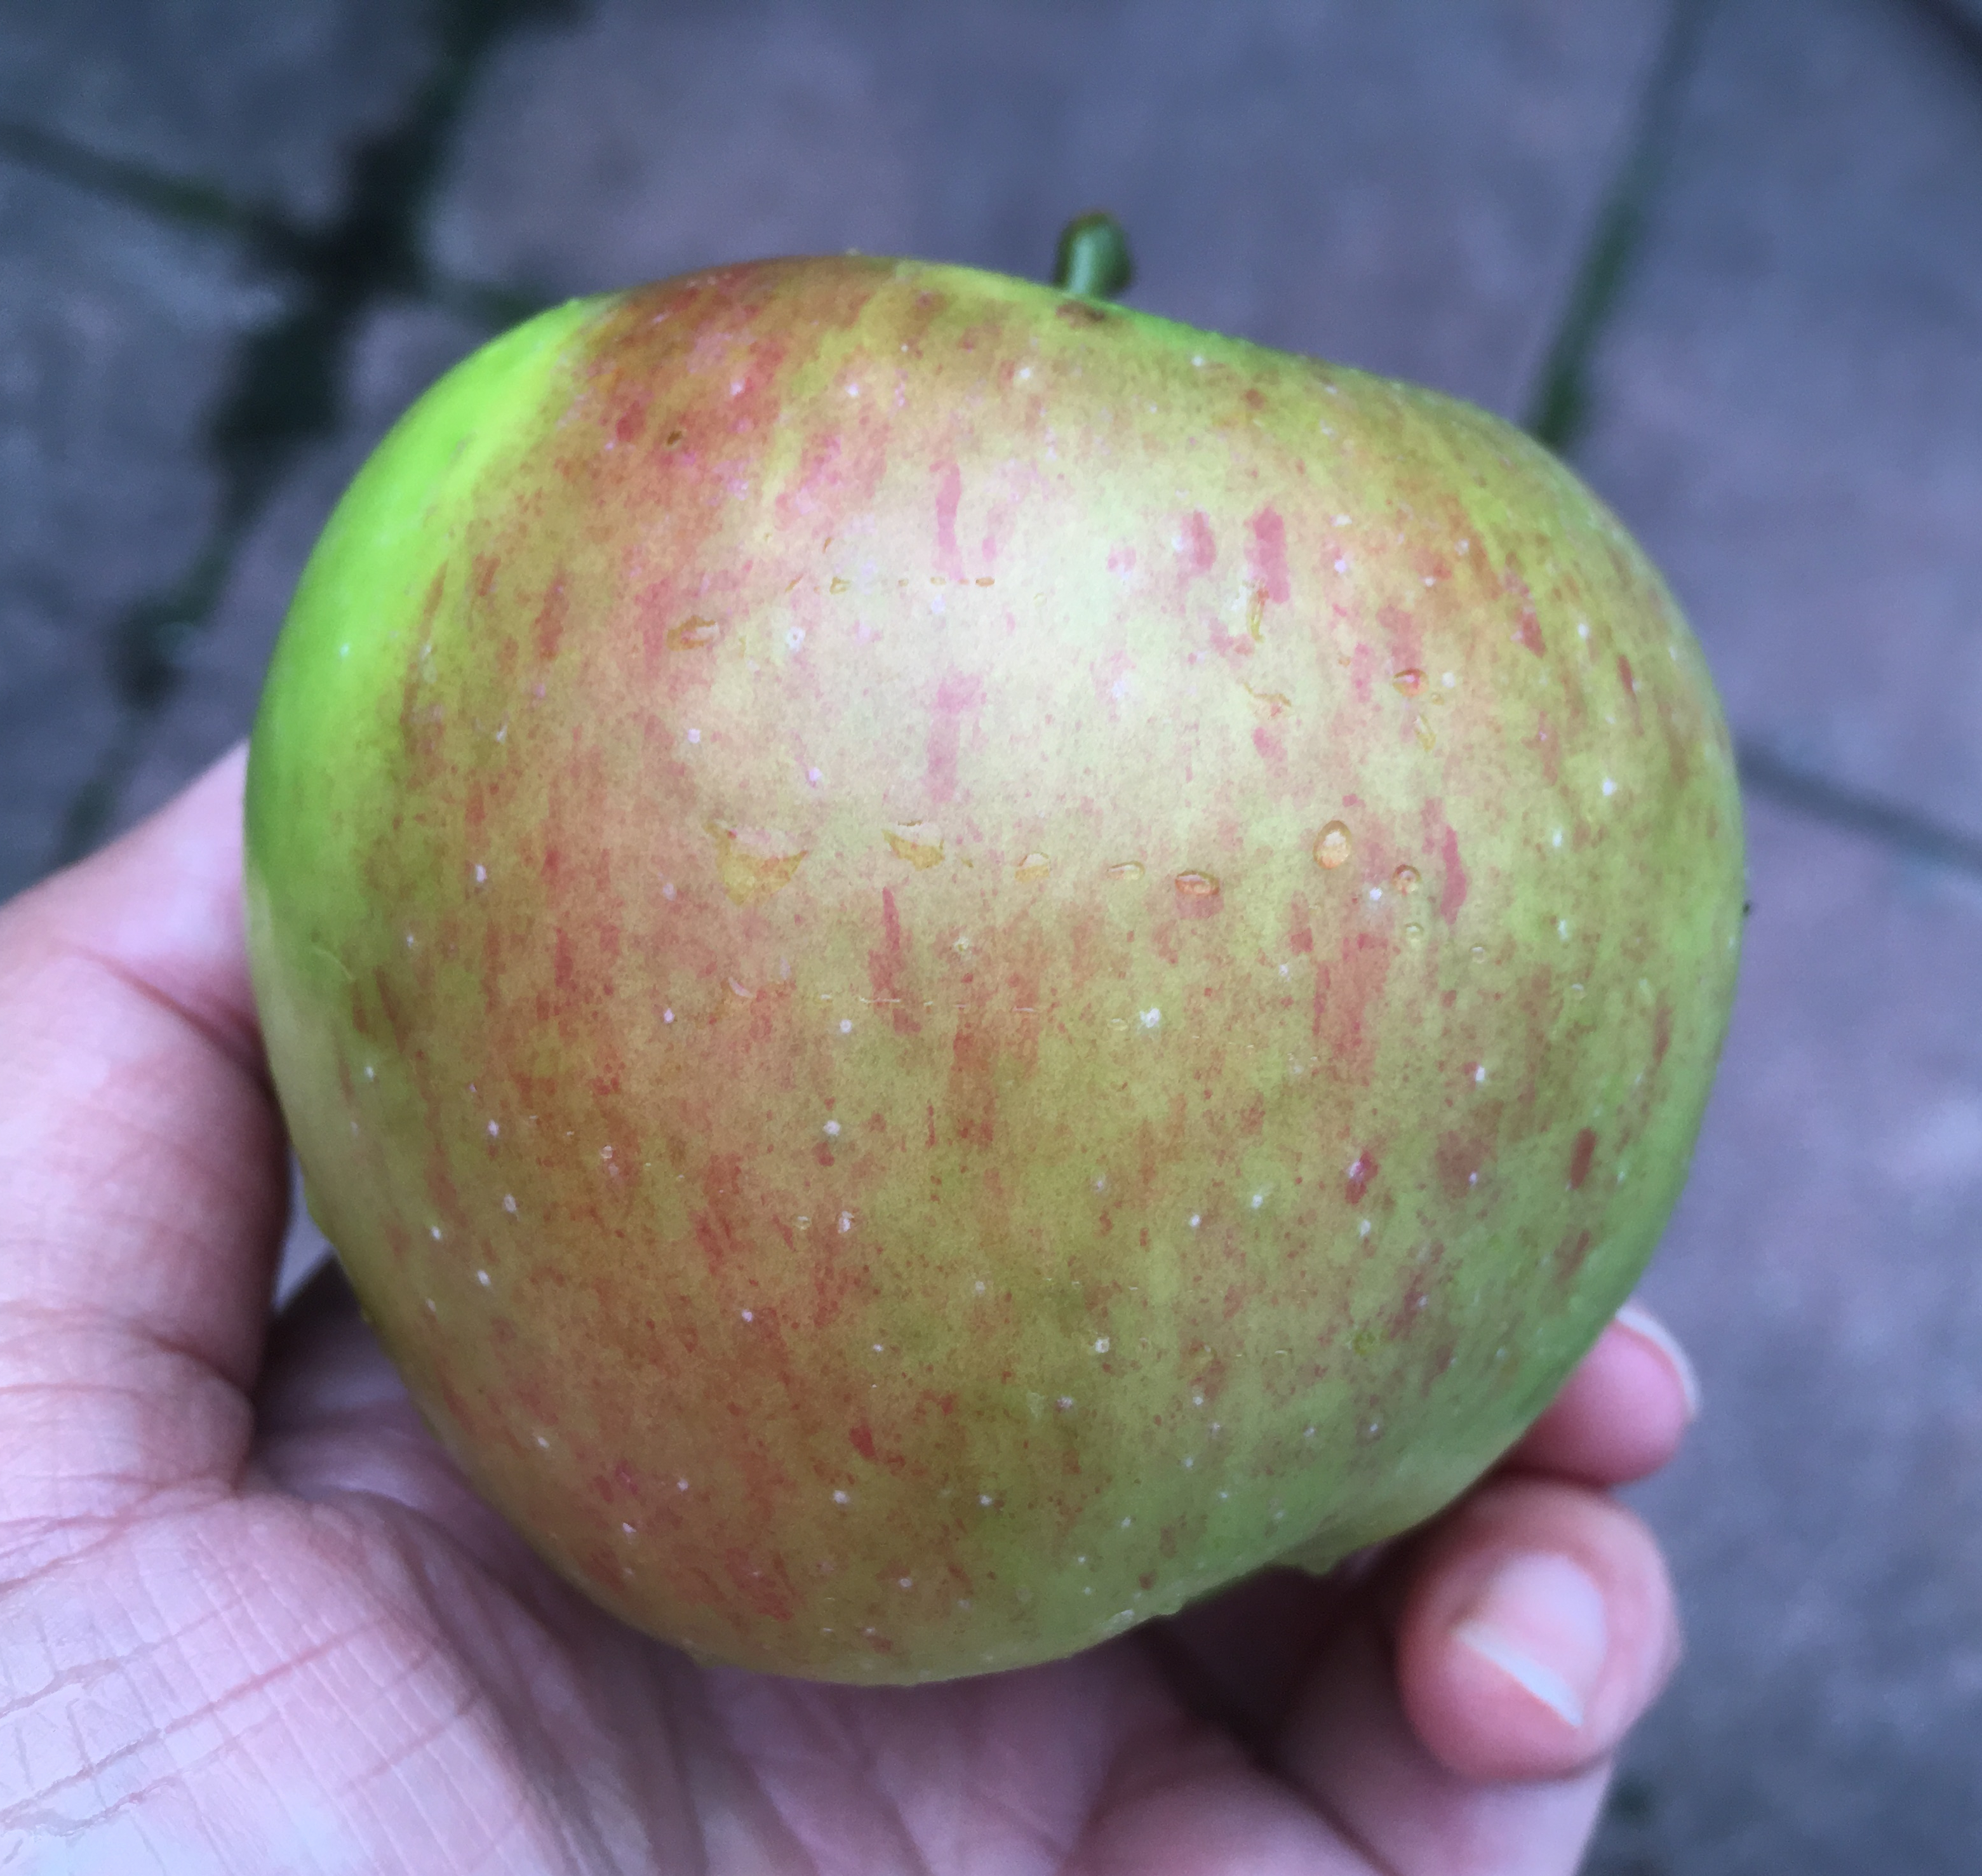
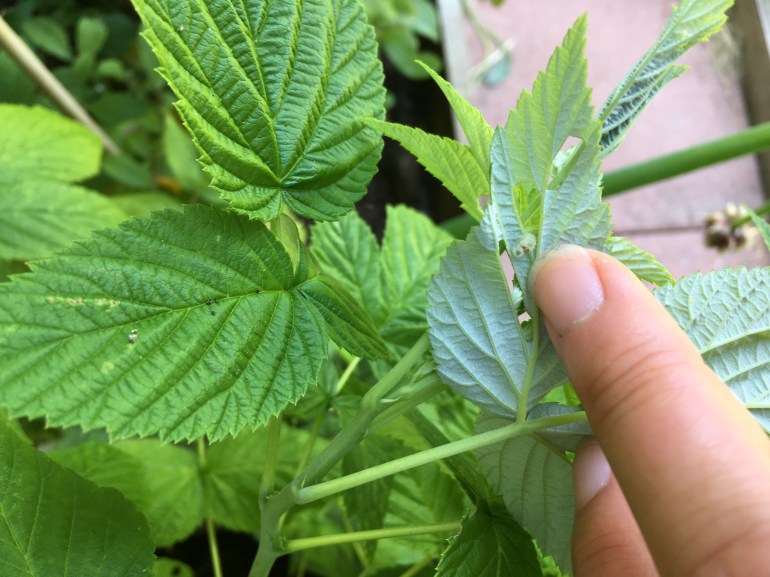
Malling jewel
Raspberry plant
In 2011, with the blackcurrant I bought a raspberry. It didn’t survive. On a whim in 2018 I tried again with a pound shop malling jewel. I looked it up and it’s a sweet variety. Avoid anything that says tart or acidic in the description, unless you’re fond of sour. Often raspberry descriptions that don’t specifically say sweet -will not be sweet. Full of flavour does not equate sweet. It’s a marketing ploy. It was of course a tiddly little stick, like the blackcurrant and didn’t amount to much in the first year. In 2019 though there were maybe 10 raspberries on it. Hopefully 2020 will be its year to flourish.
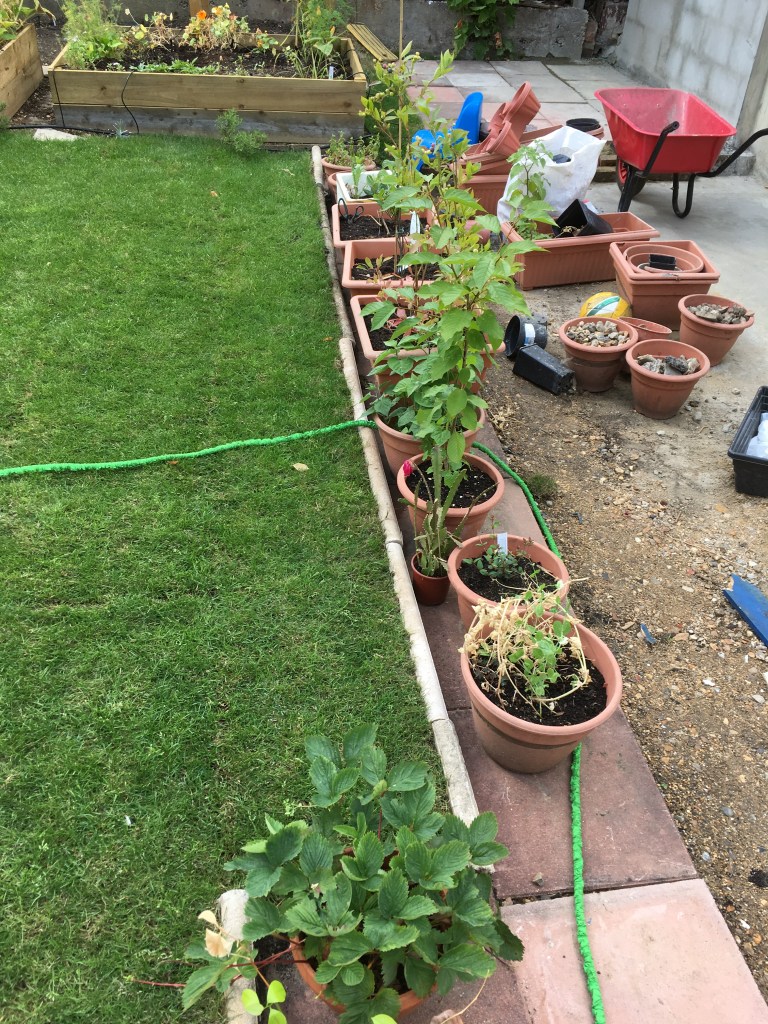
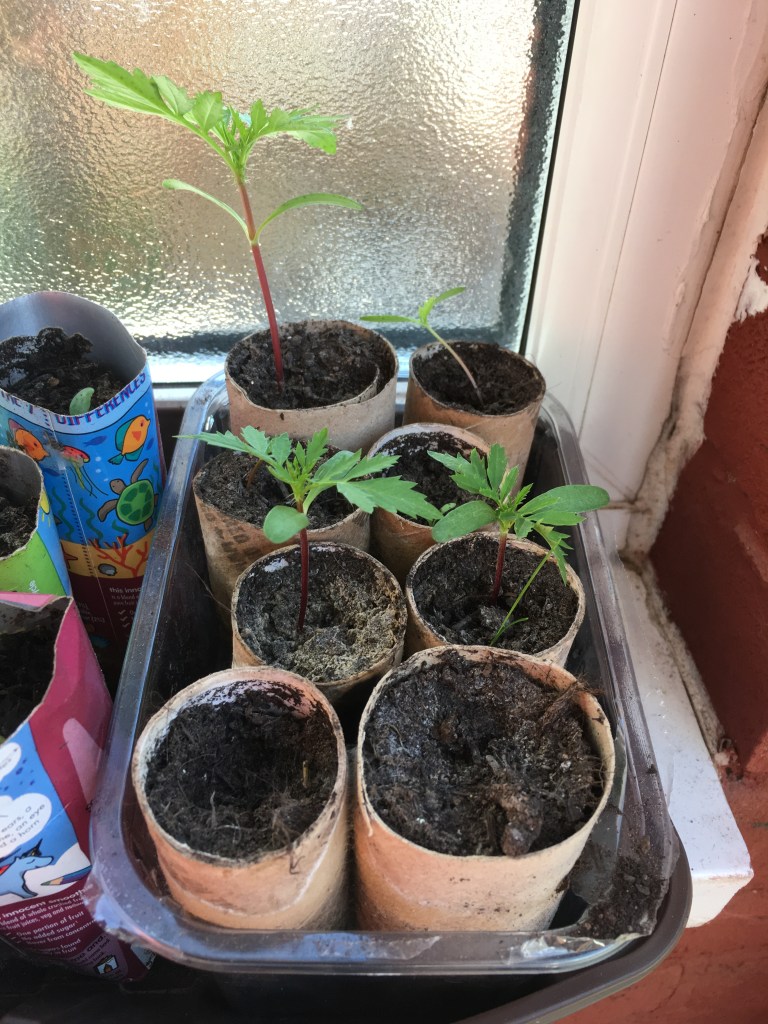
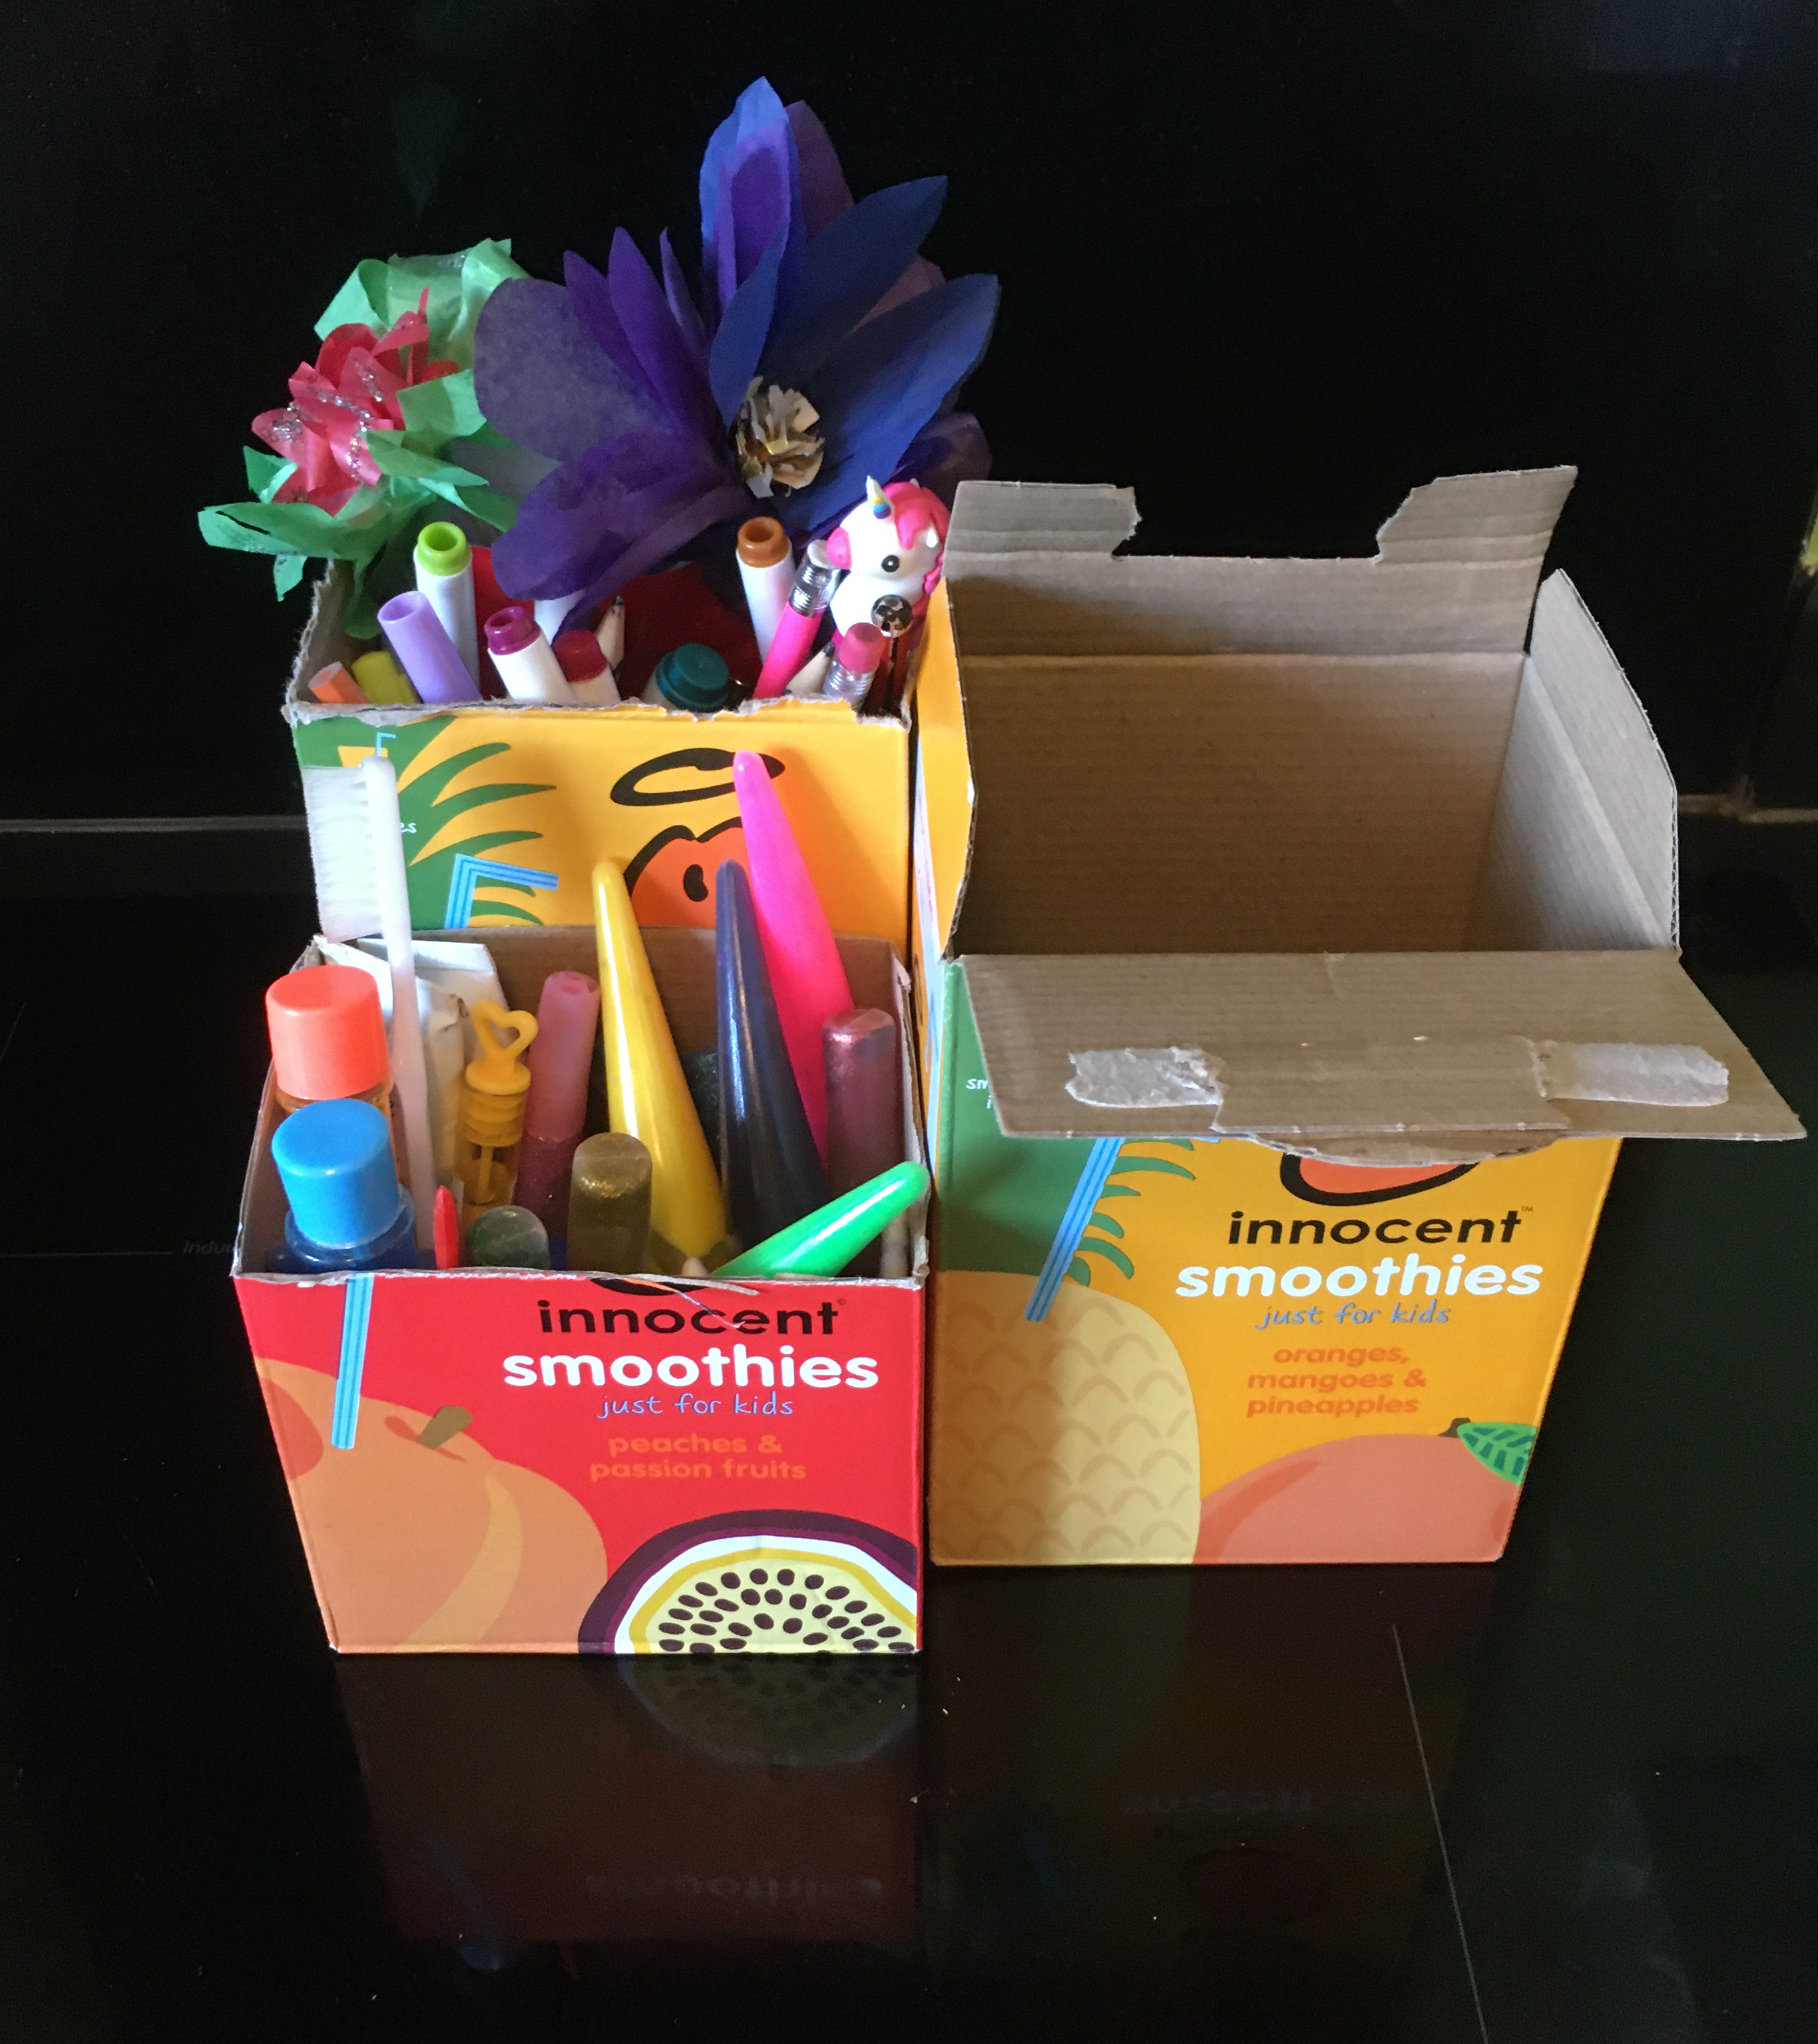
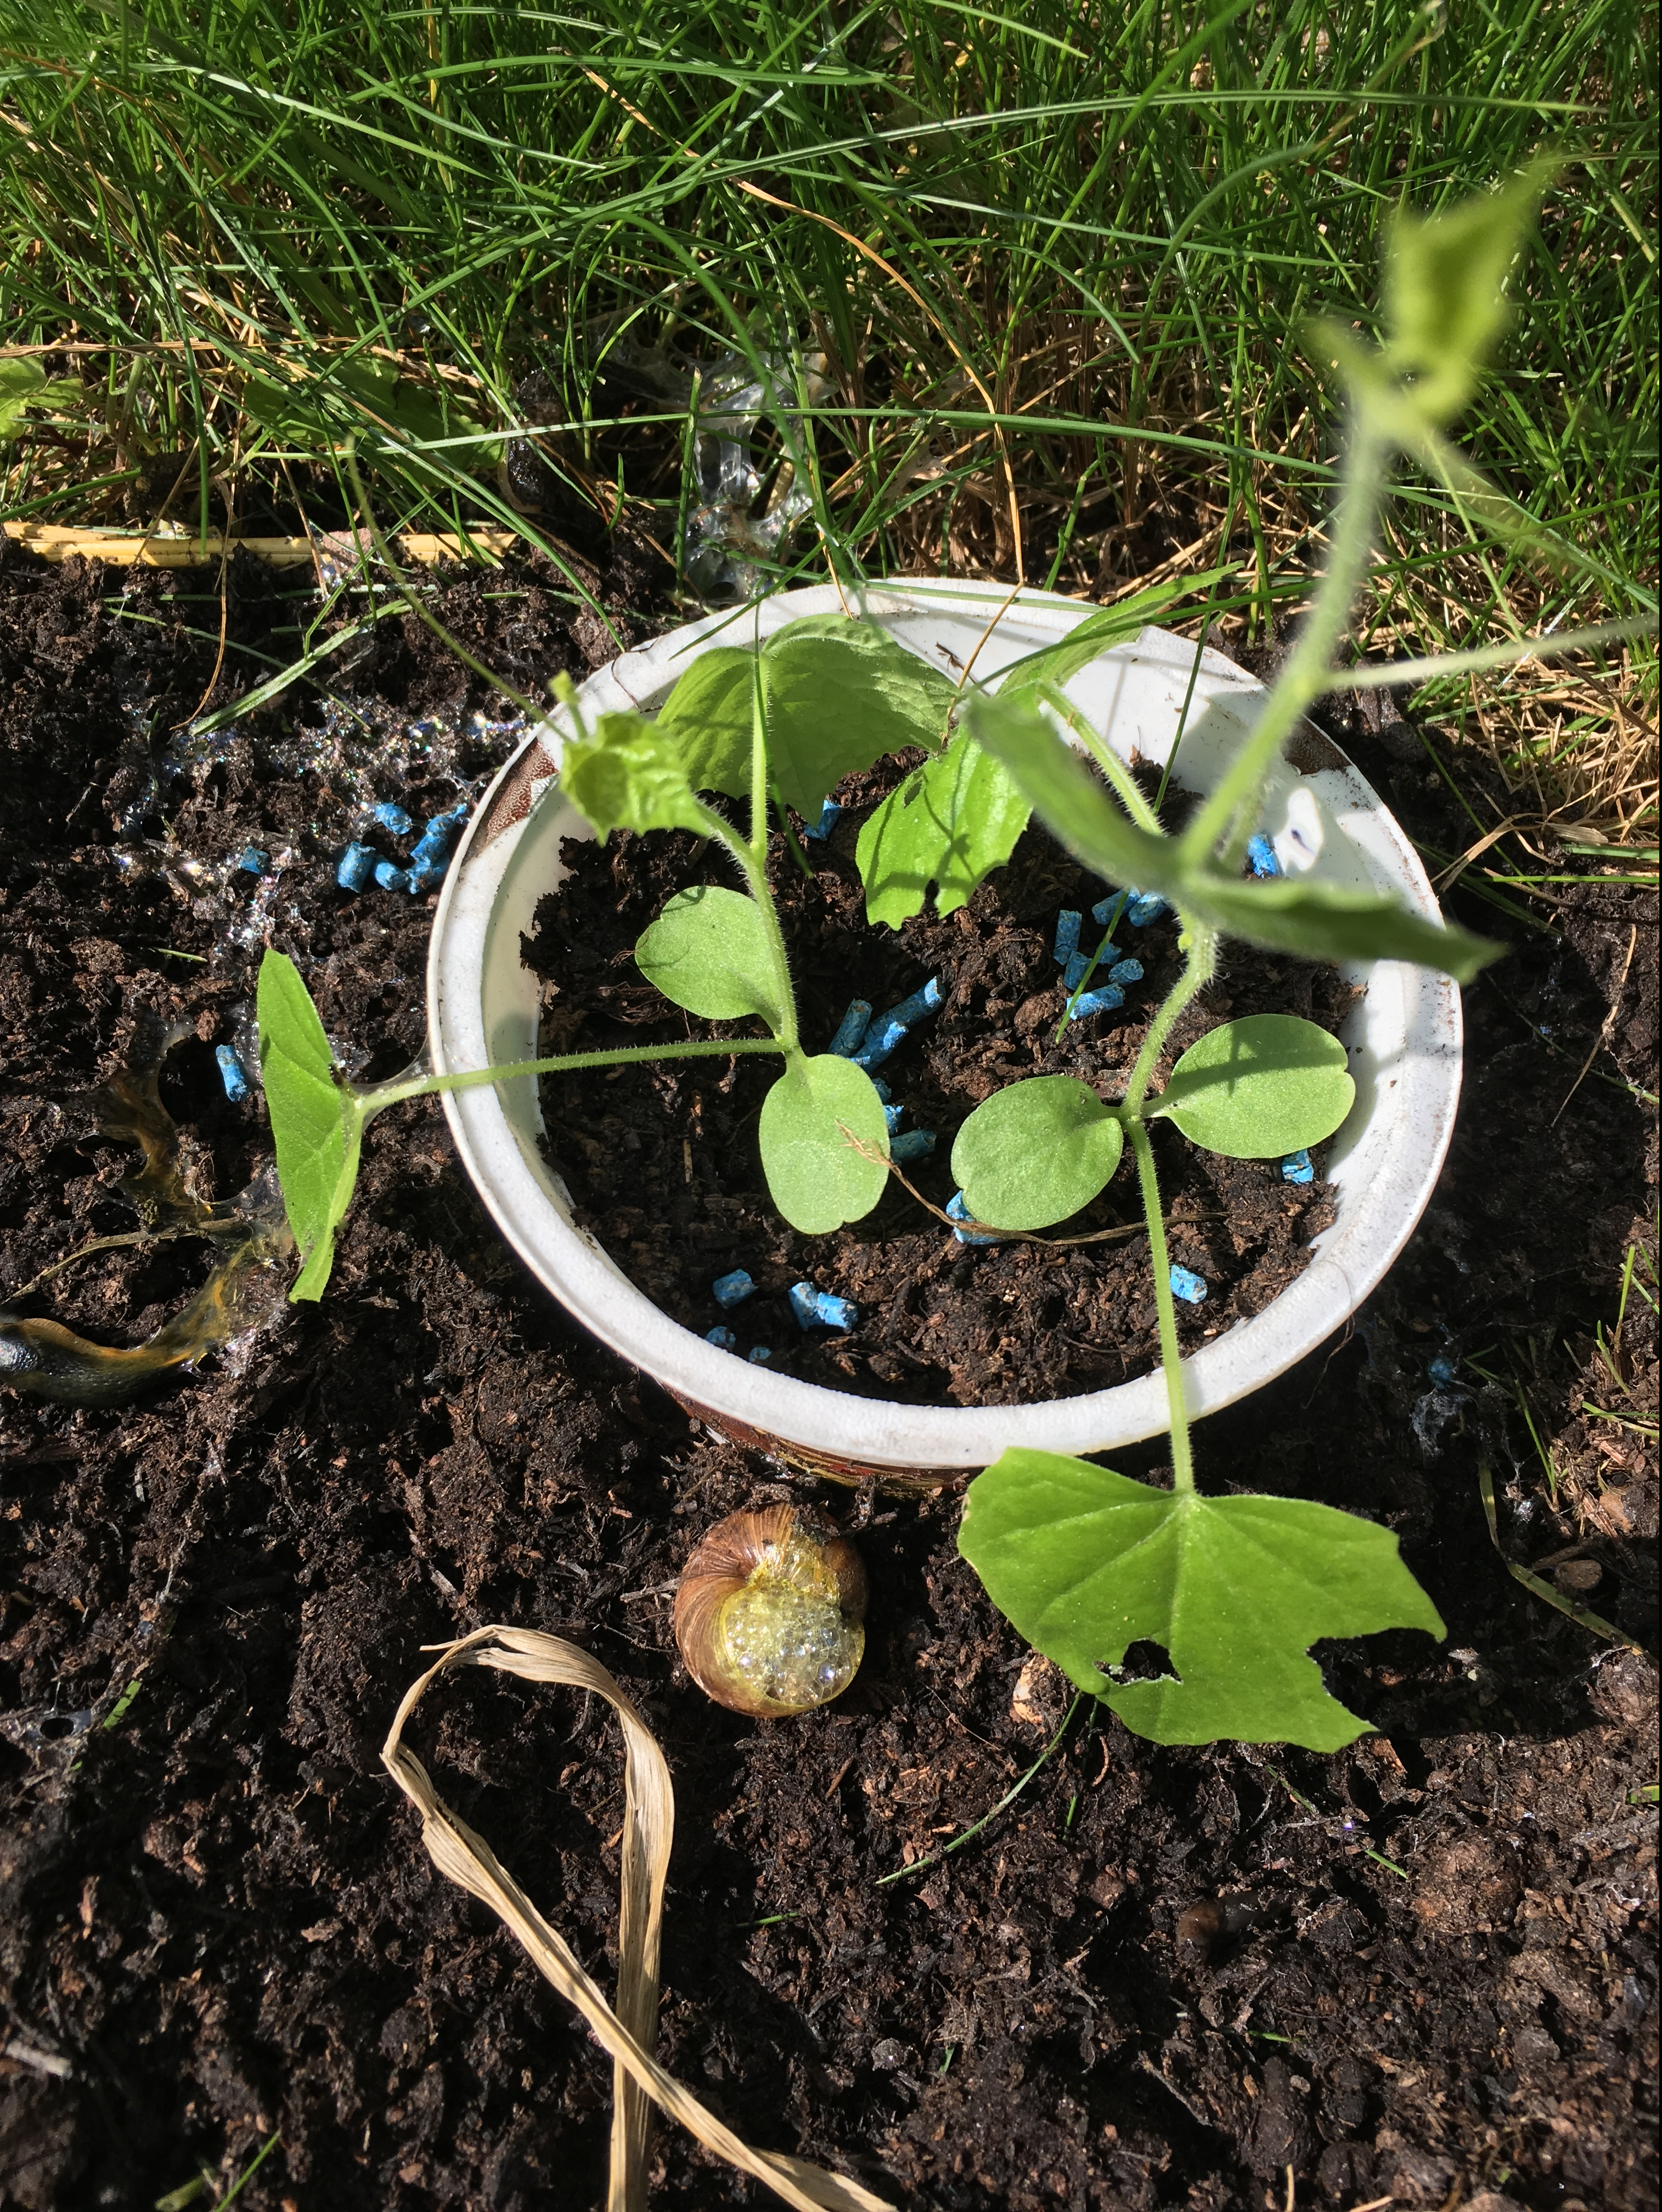
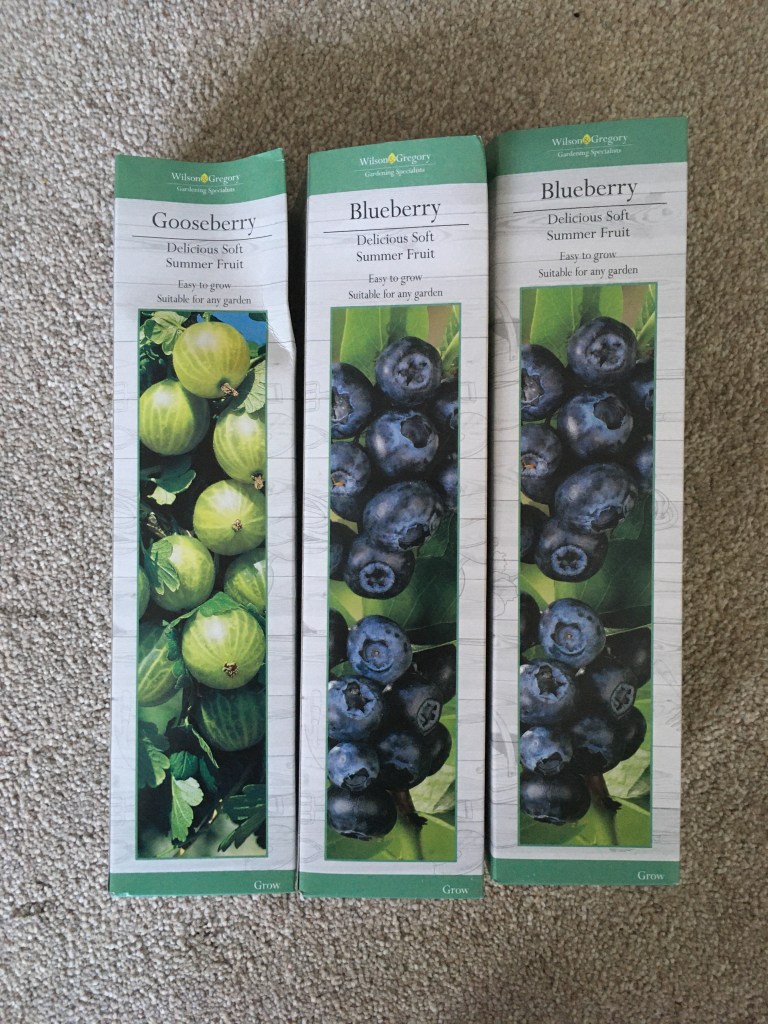
Blueberry and Gooseberry
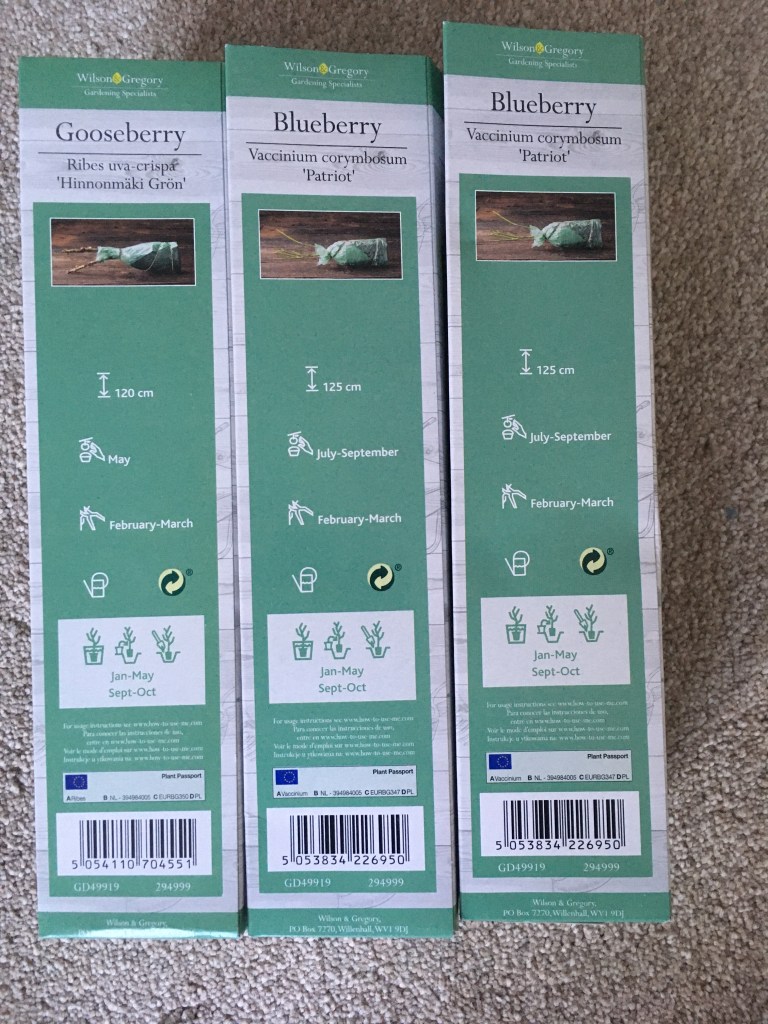
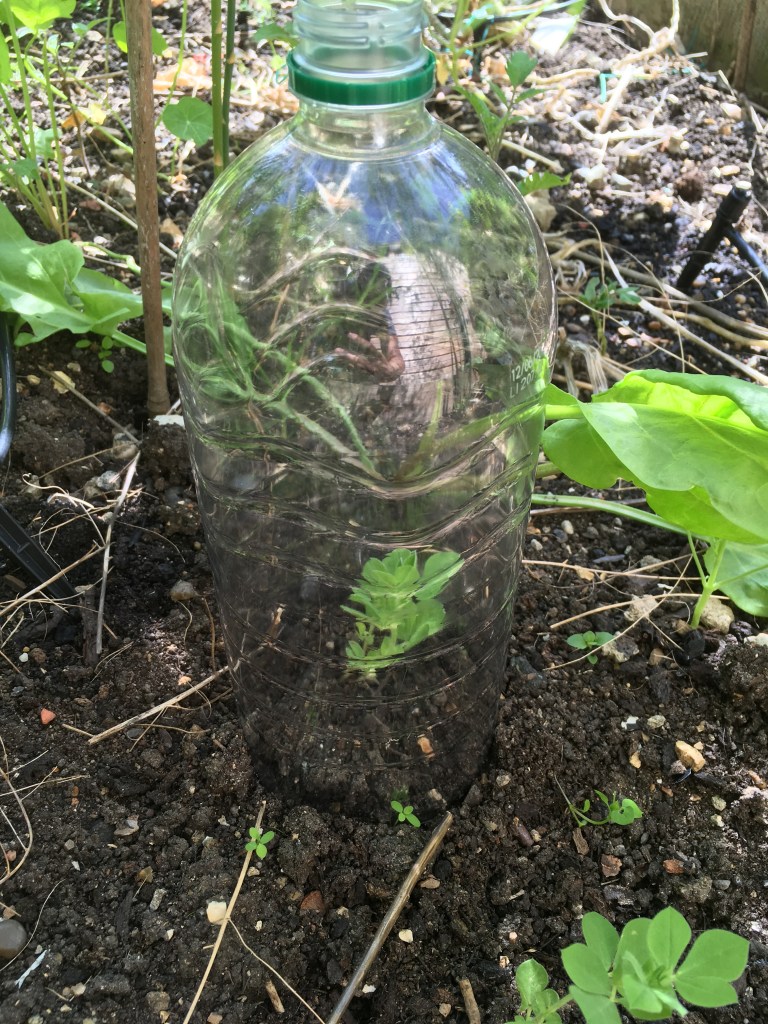
Impulse buy 
They’re all less than 30cm 
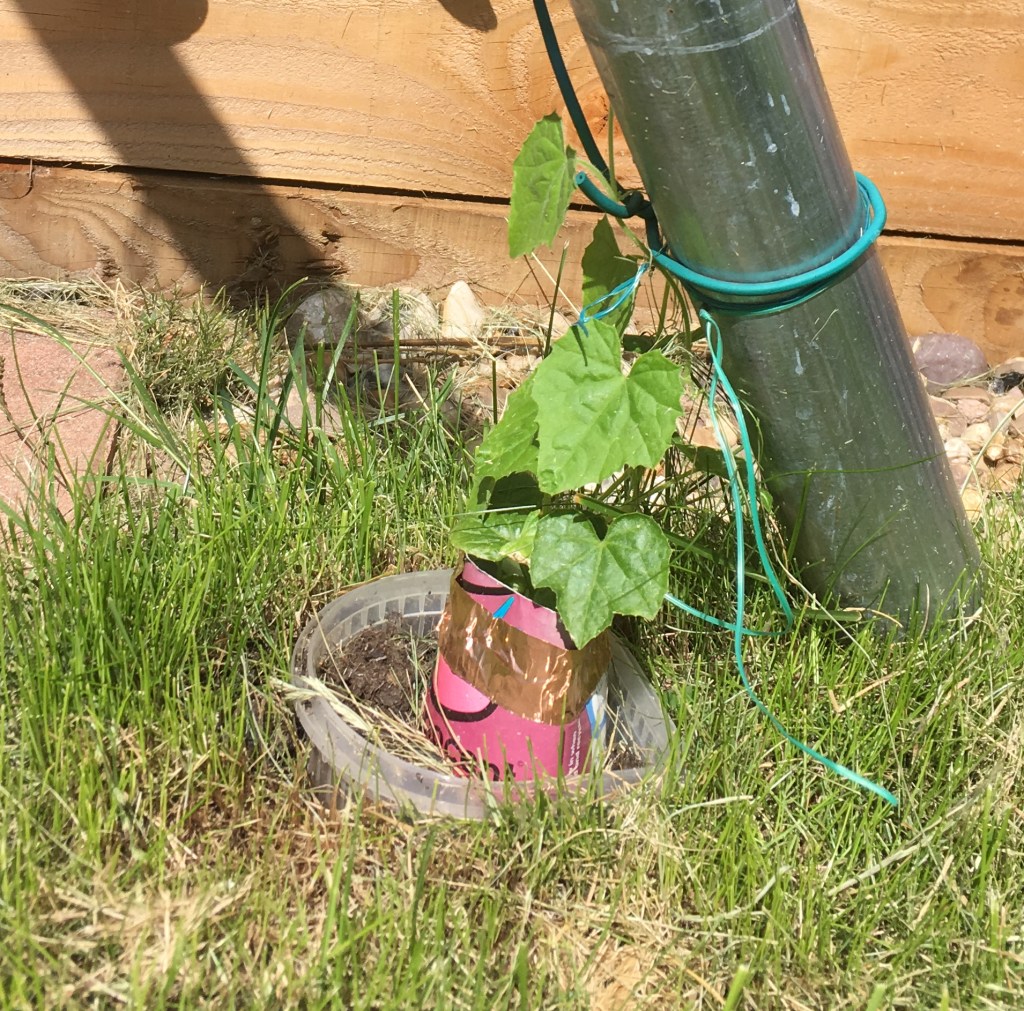
The gooseberry potted up
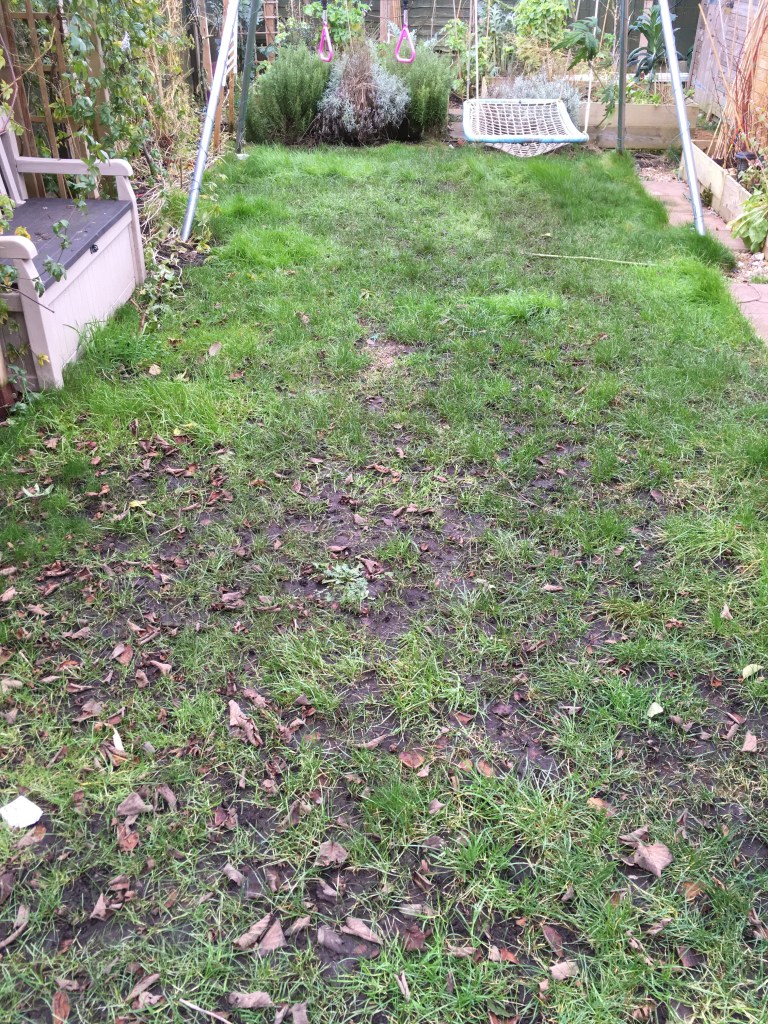
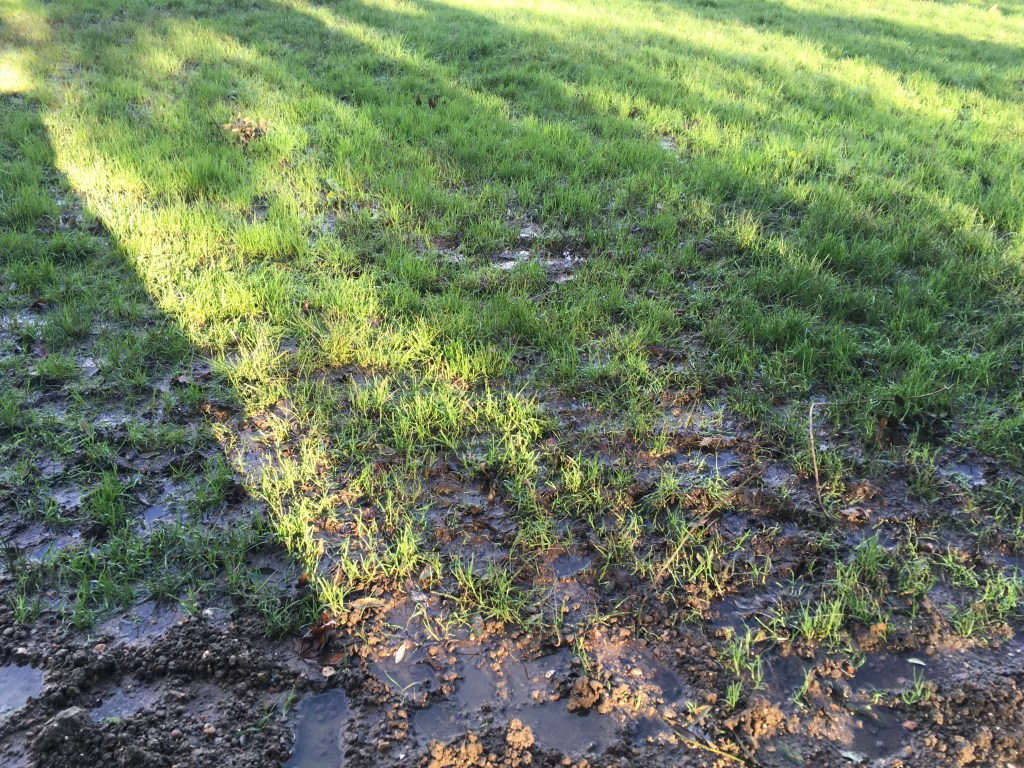
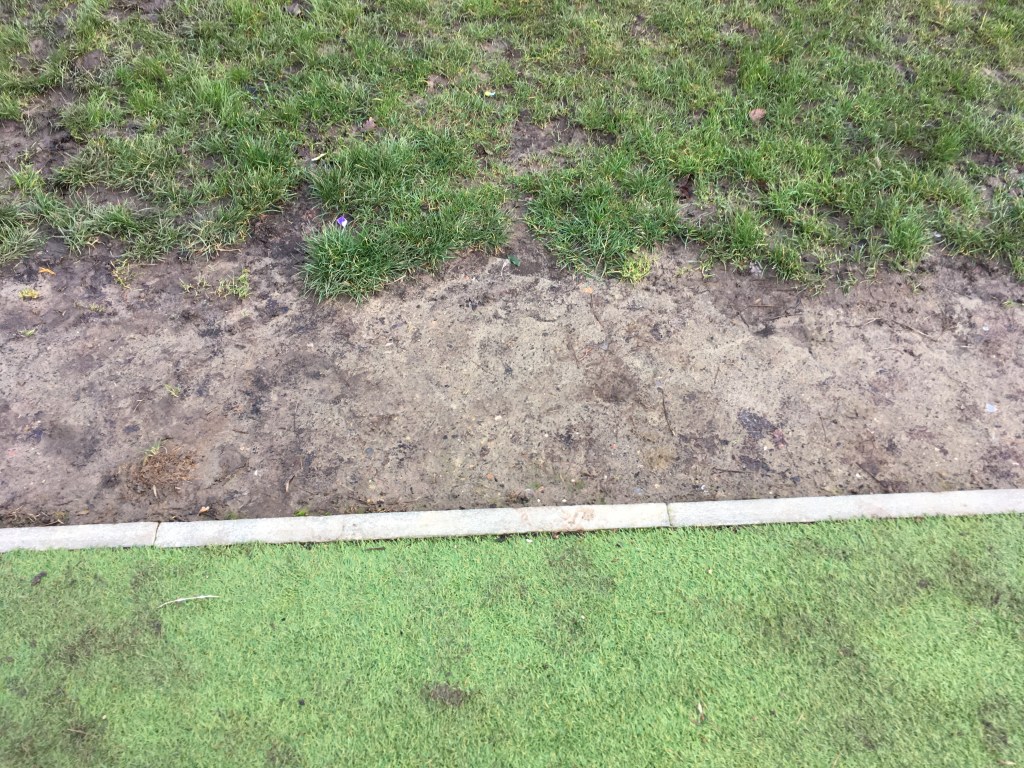
This year 2020 I have bought 2 blueberries “Patriot” and gooseberry “Hinnonmäki grön”. This may be foolhardy. I already have 3 very productive, carefully chosen blueberry plants and a gooseberry that I bought last year that hasn’t produced any fruit yet. It’s just so hard to resist a potential fruit bush that costs a pound. I did at least check before I bought them that they were likely to be tasty. I figure they’re so tiny and can be put into a pot and dumped somewhere for the next 3 years before they get really productive (or die) then I can try and find a space to squeeze them into. Alternatively, I can continue reclaiming bits of the lawn over the years until the husband concedes defeat.

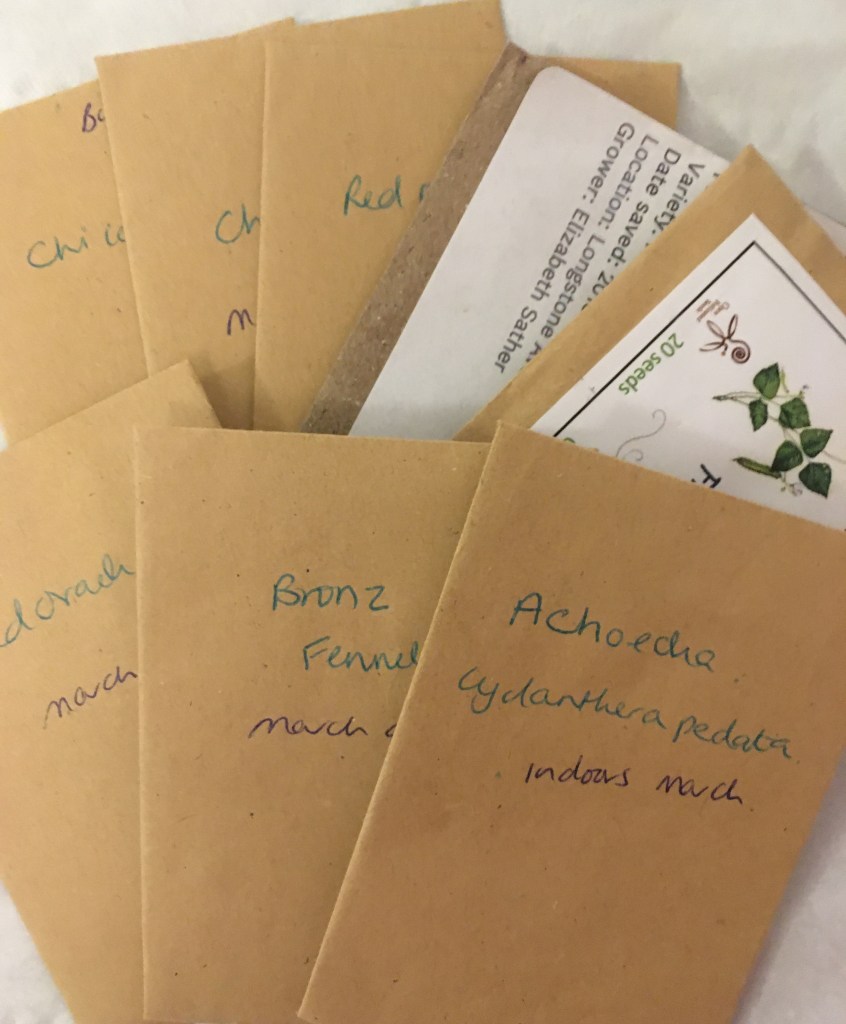
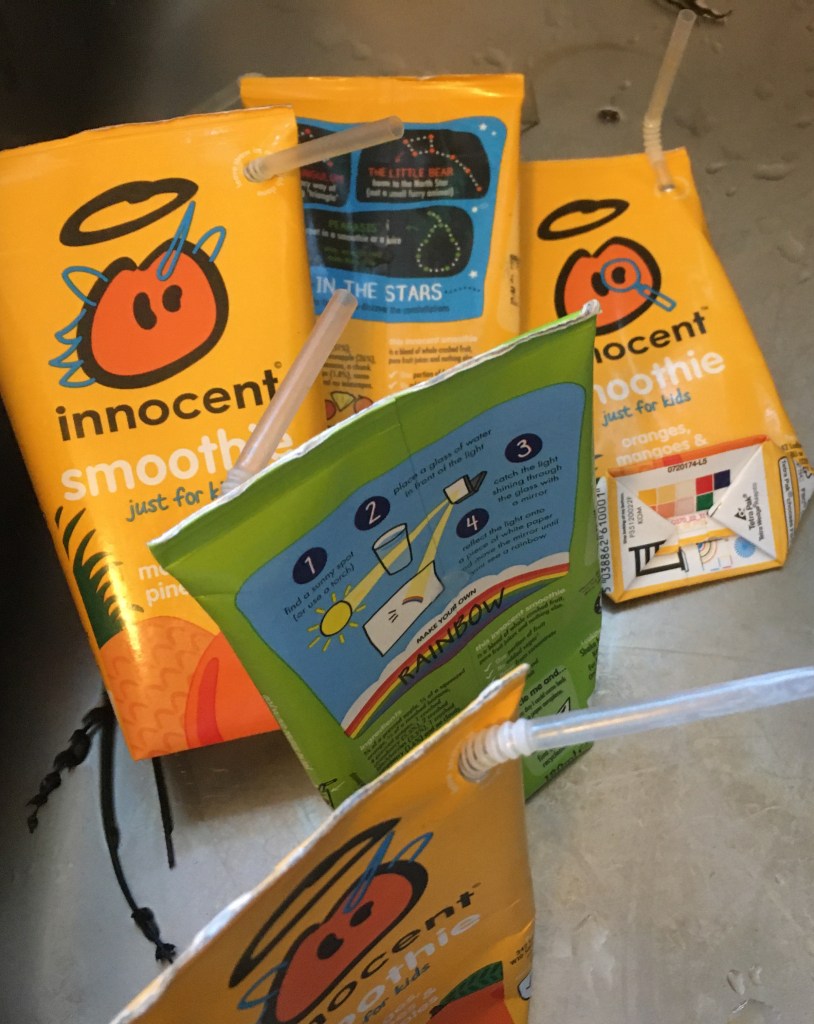
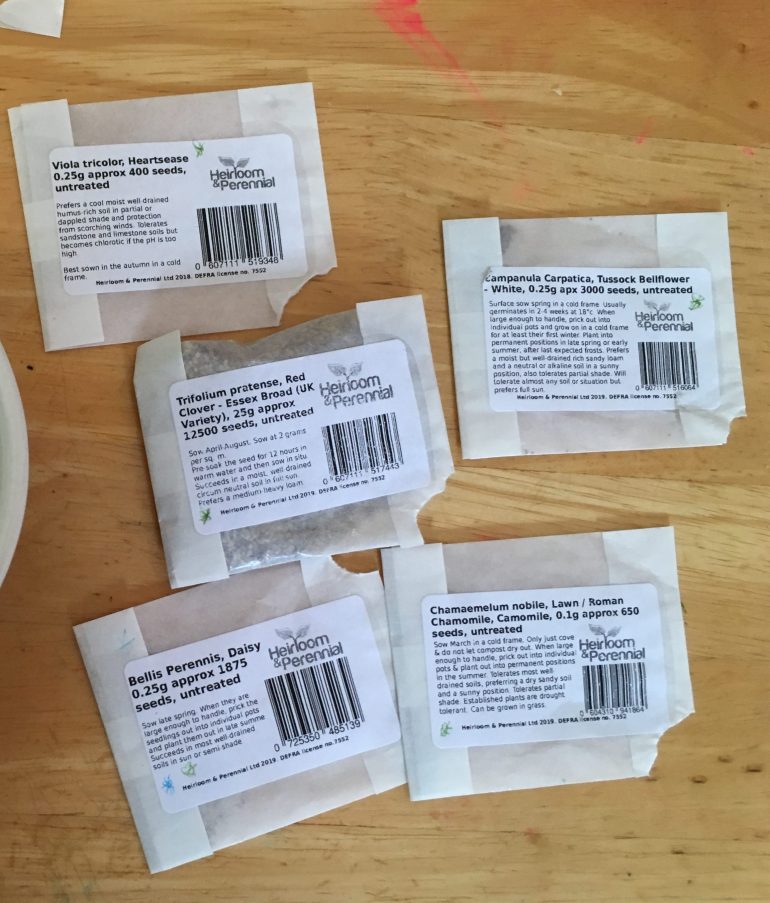
A packet from this year
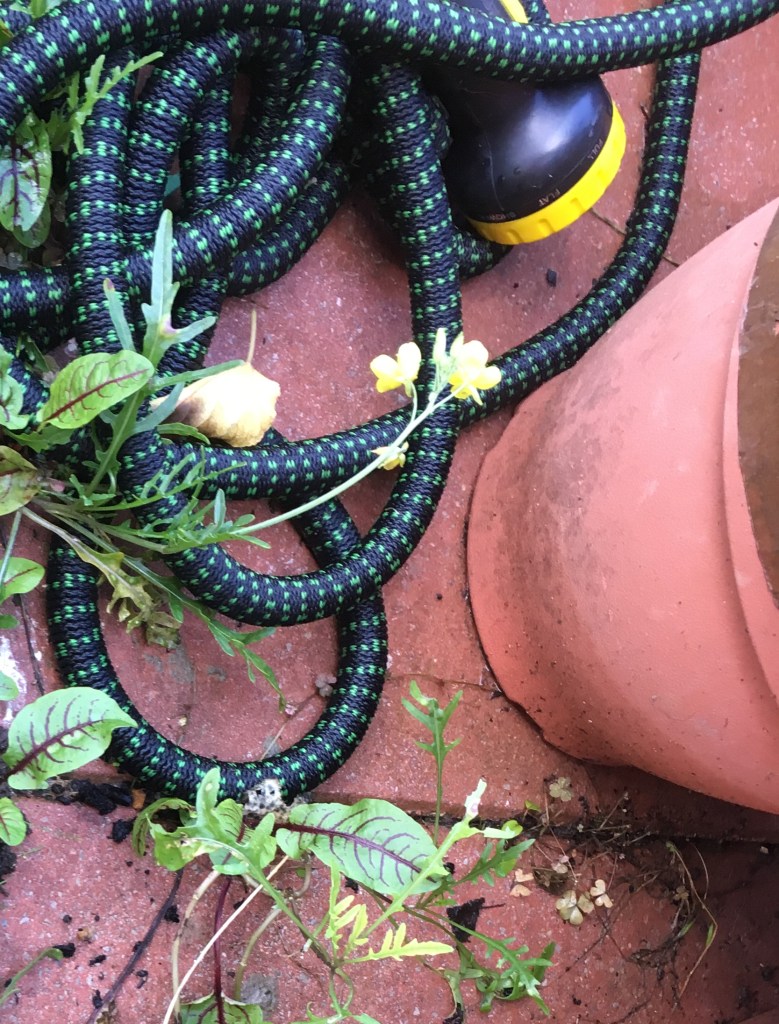
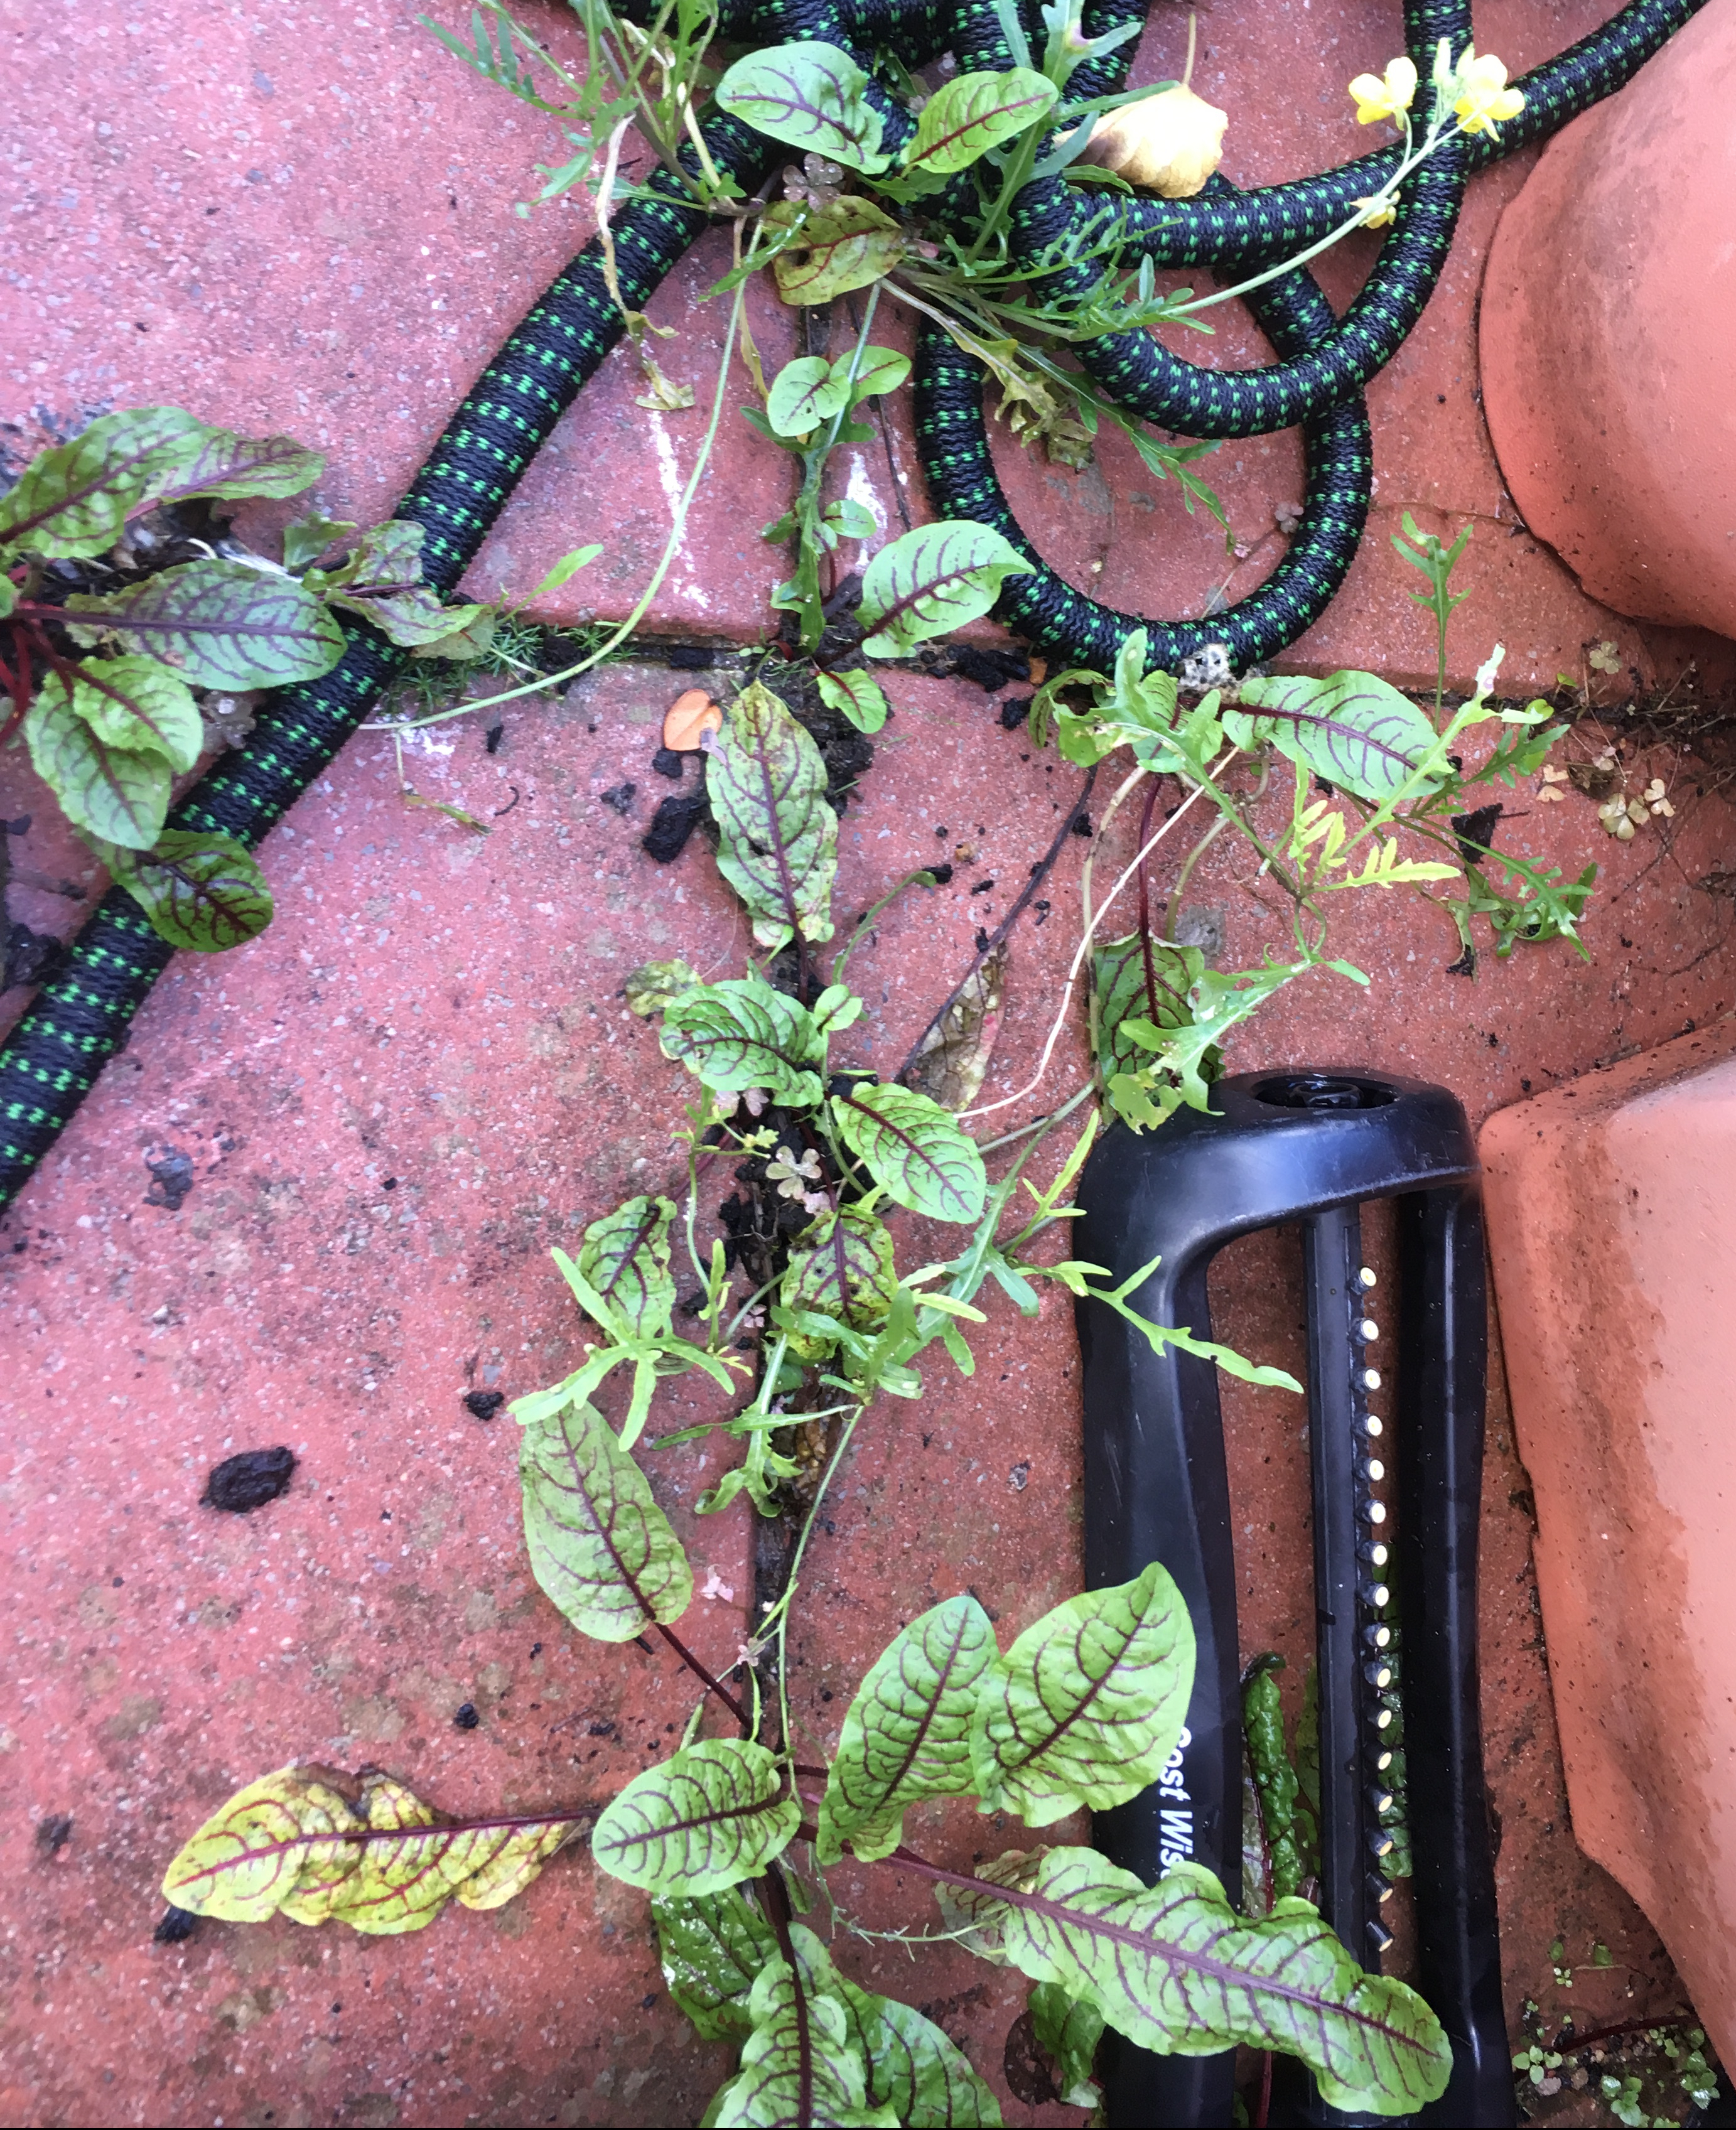
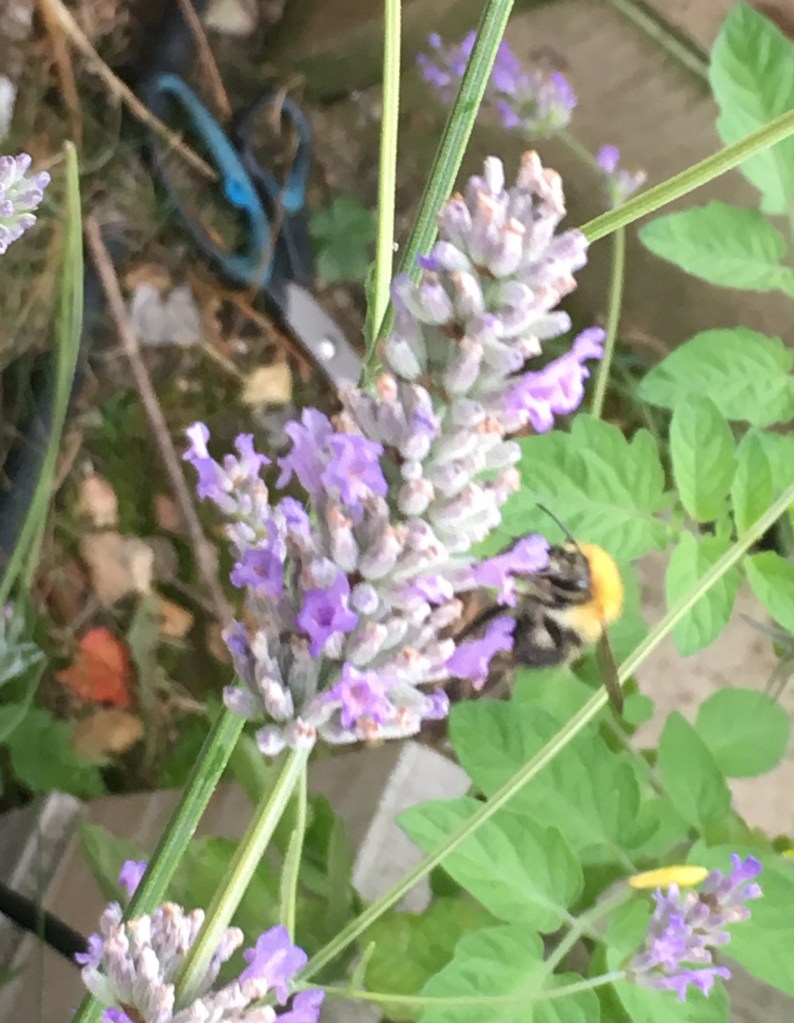
Flower seeds
I don’t really grow flowers, unless I can eat them but 6 different varieties for a pound is hard to resist. I bought some last year, 2019, though the flowers weren’t all the same as the one in the photo. This is a pack from this year. I didn’t sow all the flowers in the end as things like foxglove are toxic. My little one is good at recognising the edibles, but I don’t think it is worth the risk. I ended up scattering the non-toxic ones in a pot last year and then forgot to water them. I wasn’t too sad as it was only a pound.

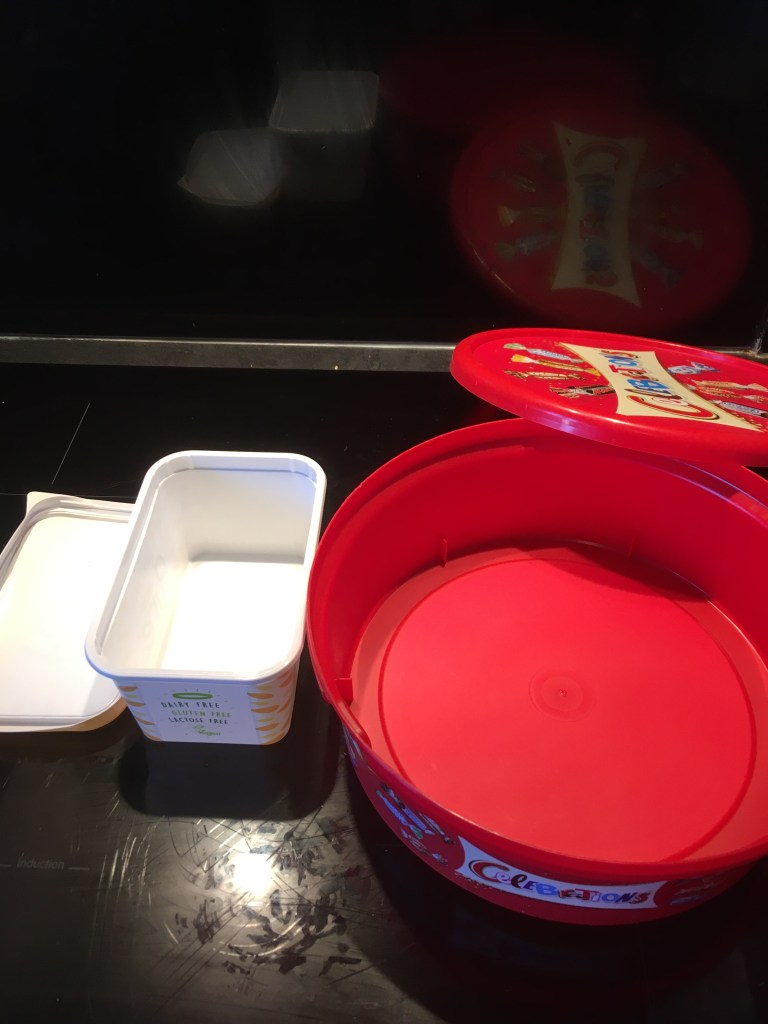
Bought, but not yet planted.
Flower bulbs
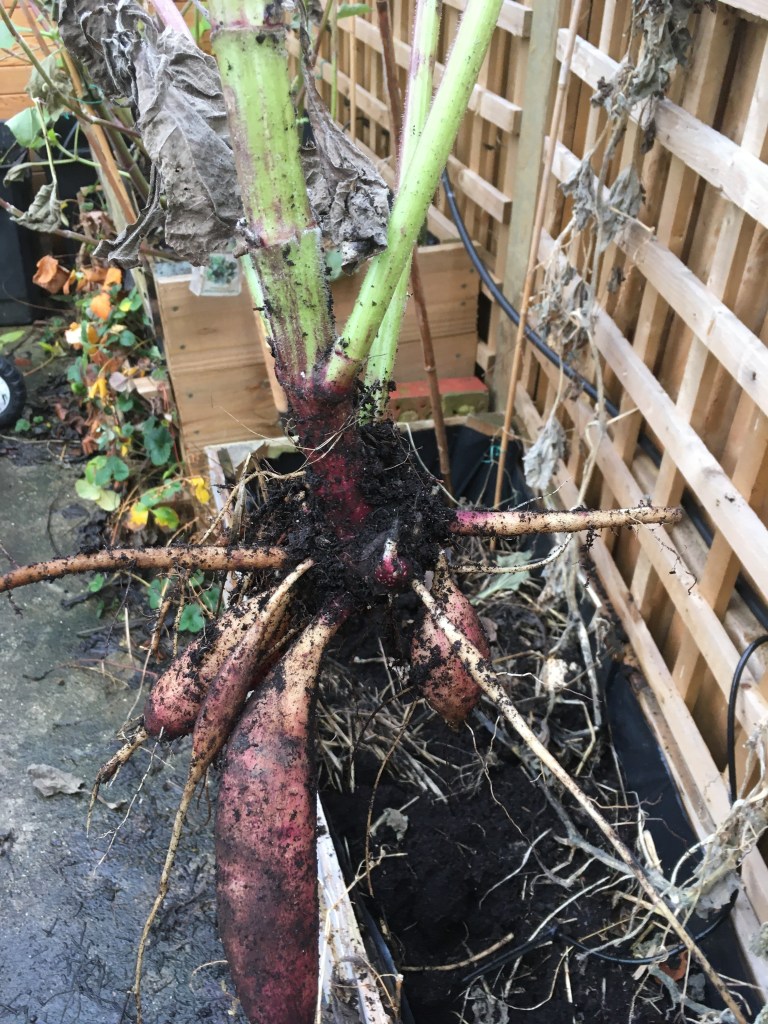
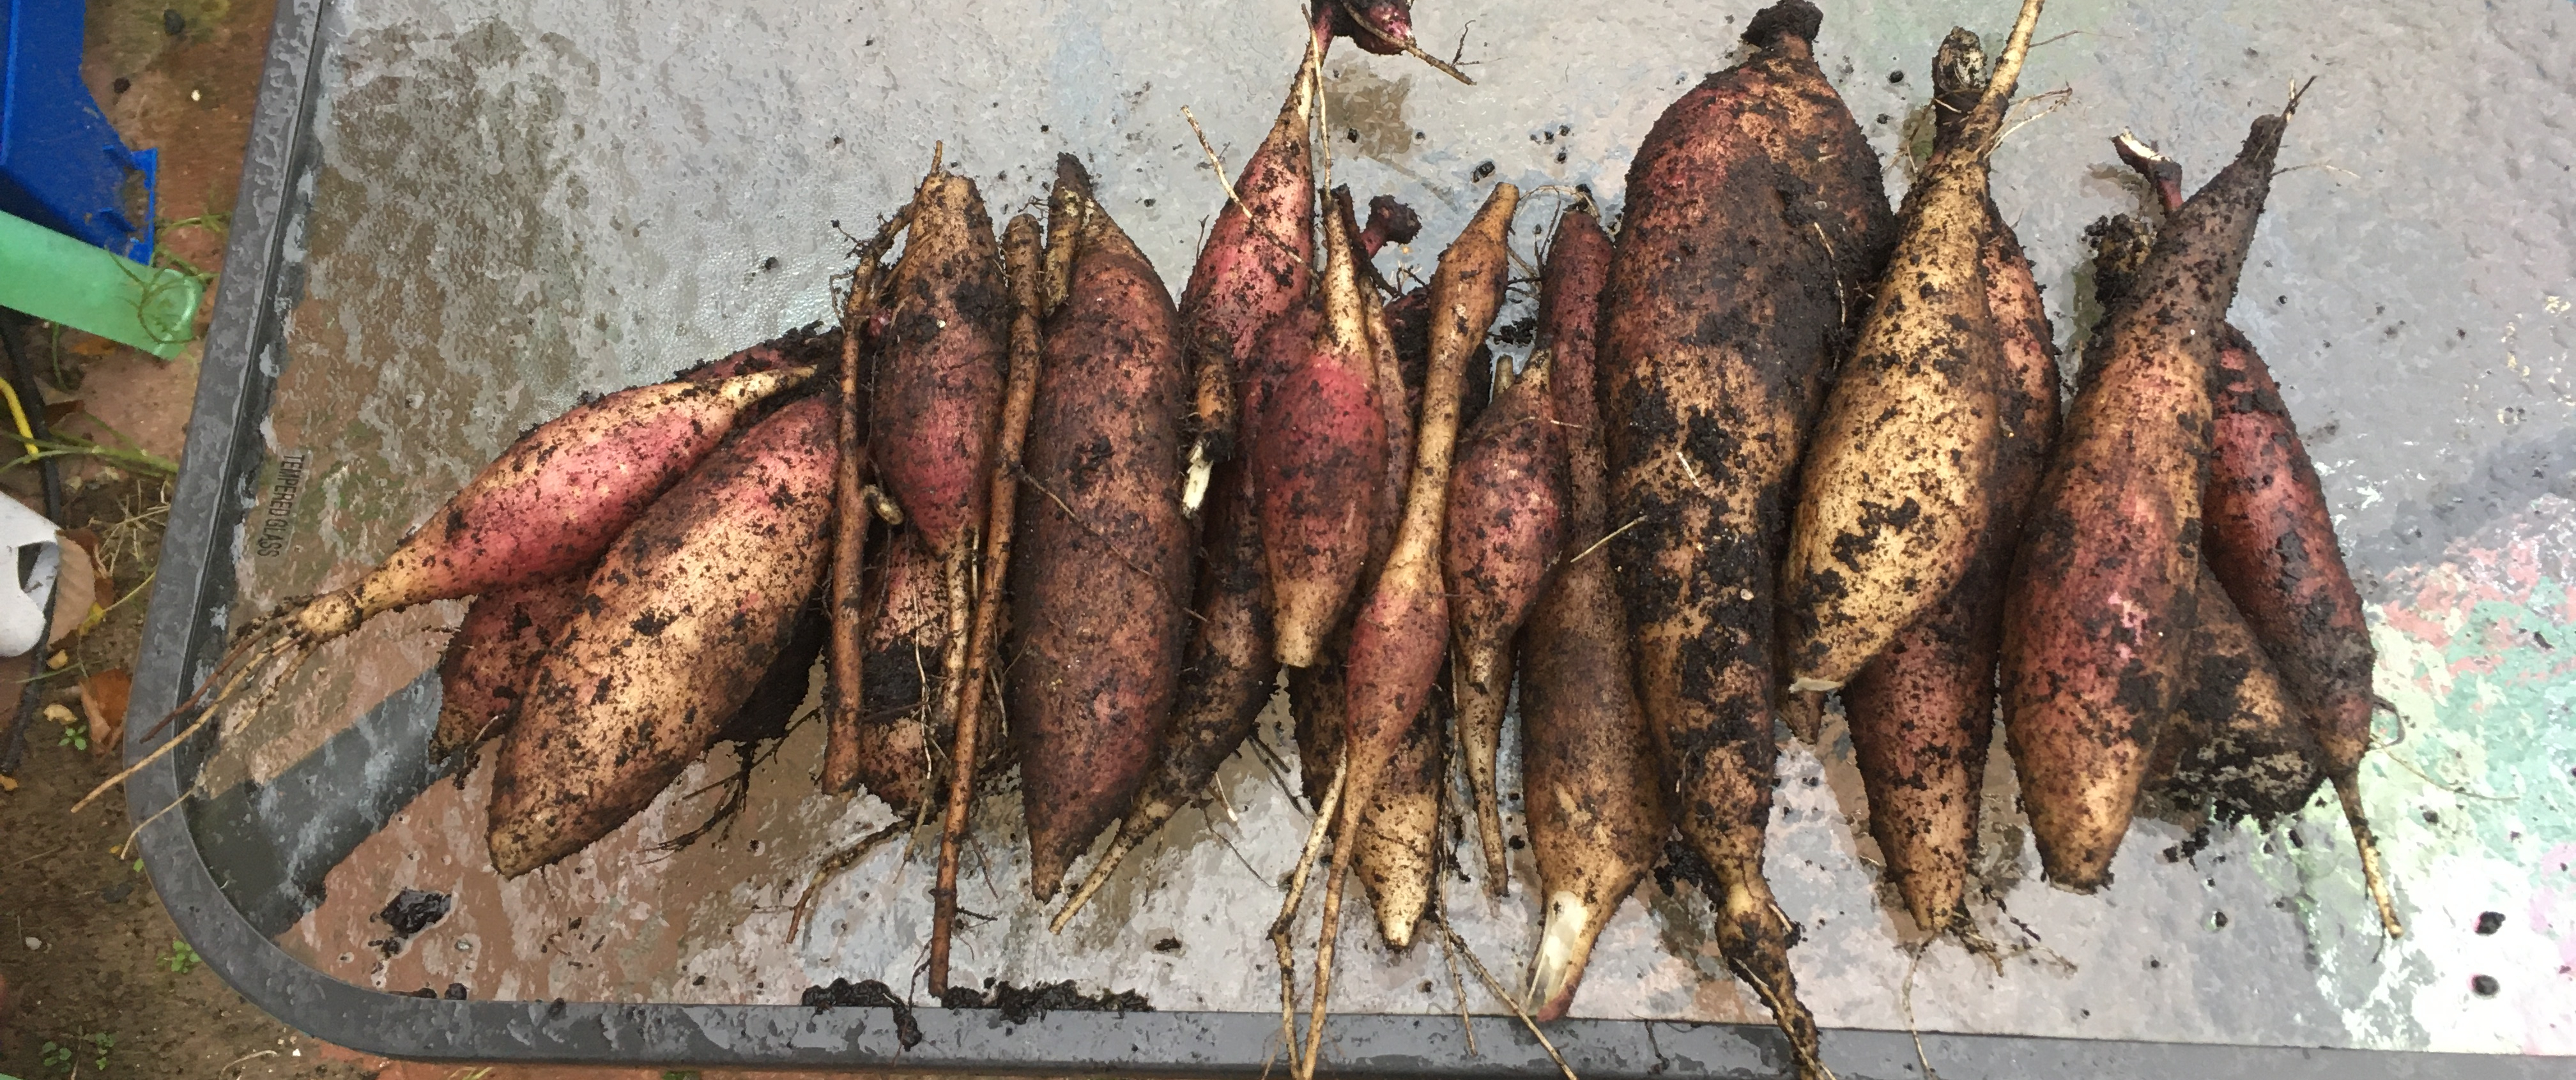
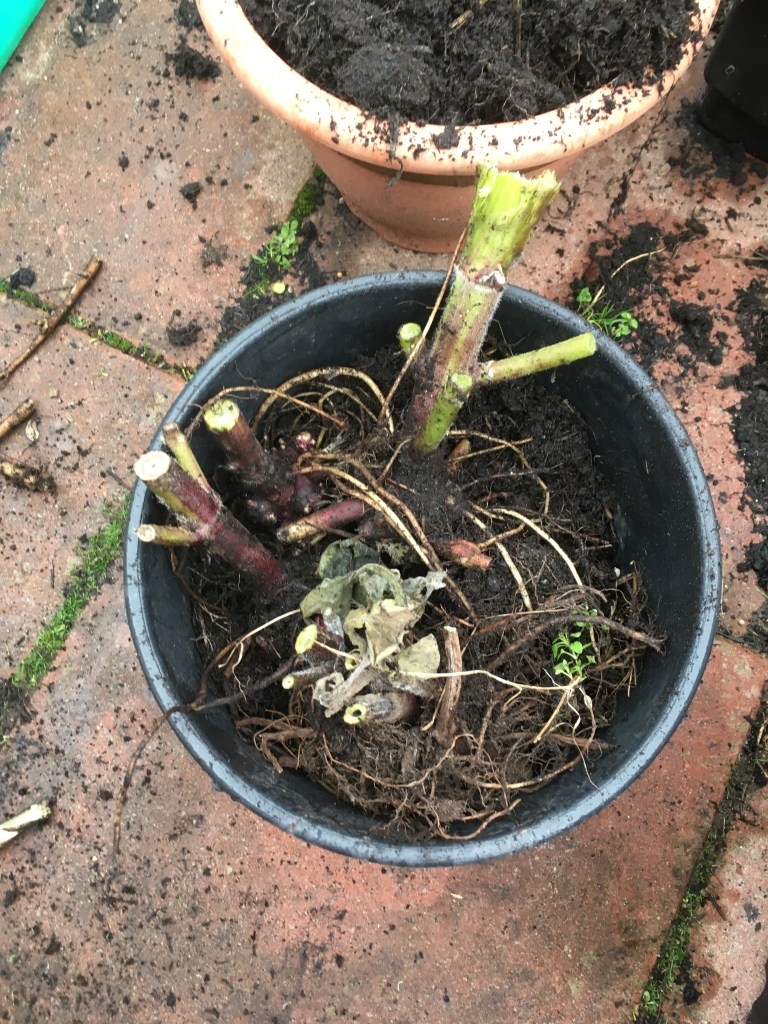
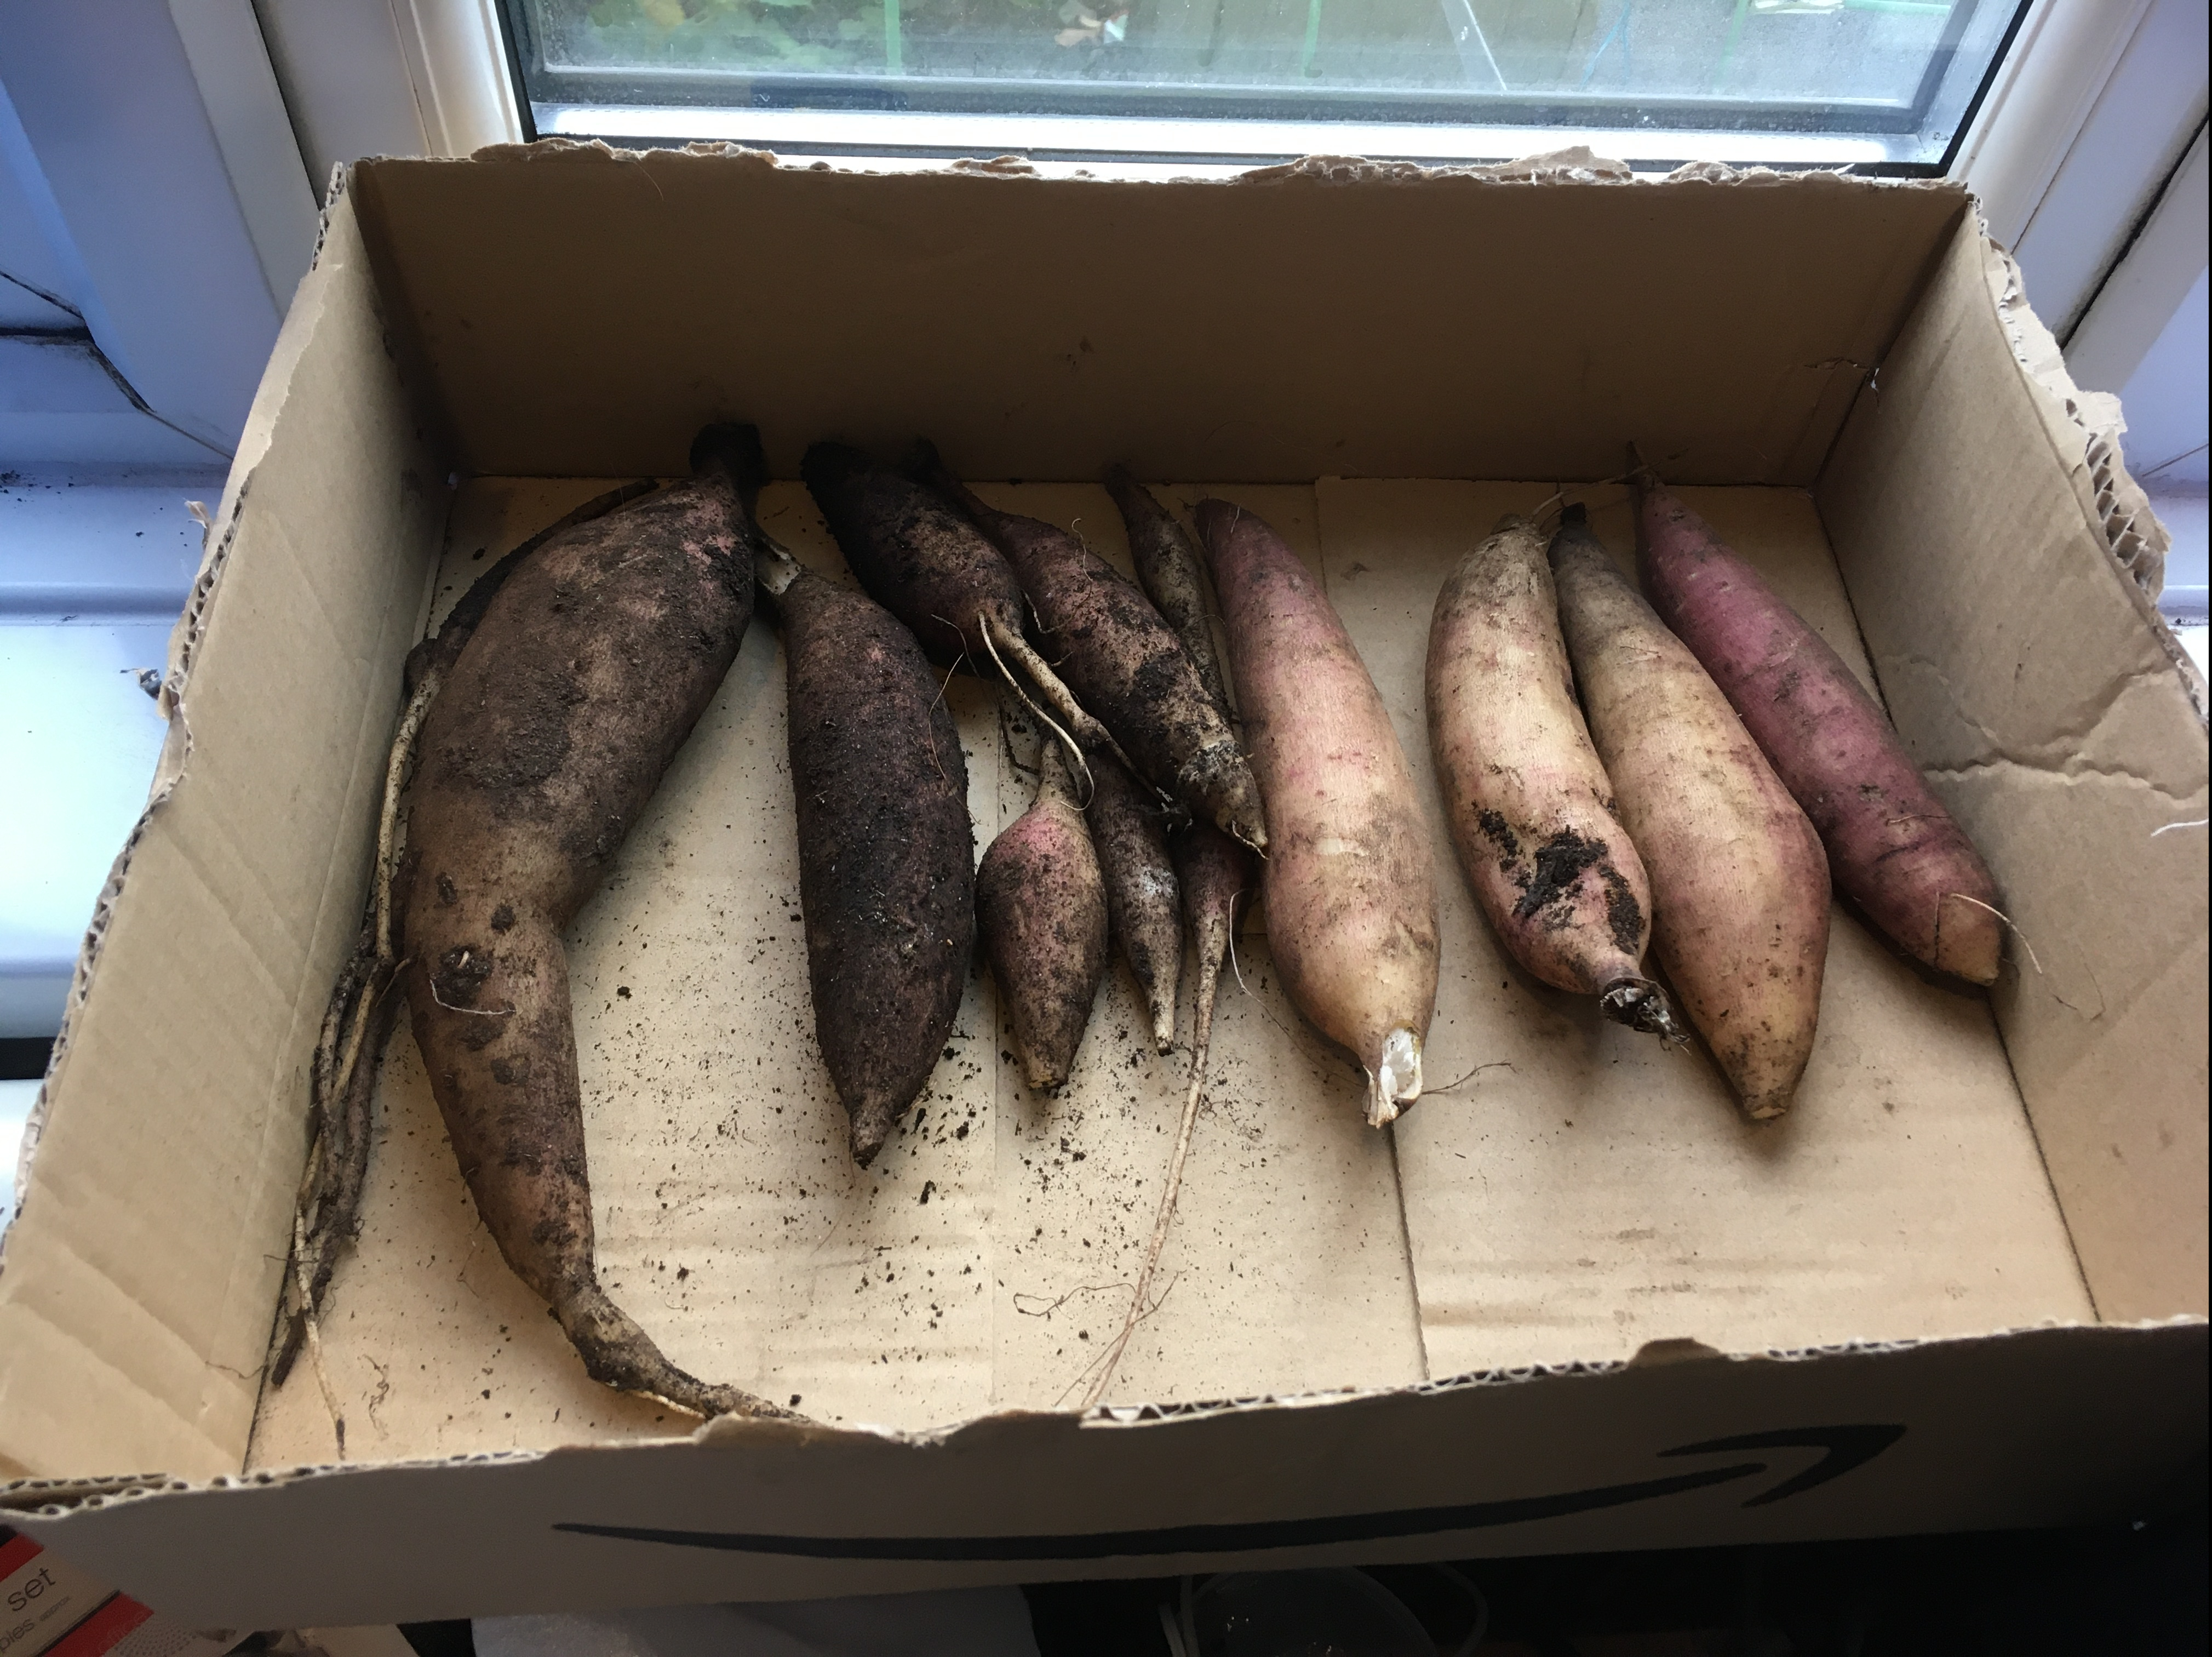
There are a large variety of flower bulbs. However, only the dahlia interested me. I have read that the flowers and tubers are edible. I figured that this was a cheap way to see how difficult it was to grow them and then see if I could figure out if the ones available were tasty. Apparently, they were considered as staples by the Aztecs, but due to the breeding of dahlias for display purposes over the year there is now a wide variety of looks and taste. I will need to do further research and maybe some tentative testing but supposedly all dahlias are edible, but not all taste good.
There are other things available like onion, garlic and shallot sets and bare root flower plants, which I haven’t tried. I guess if I followed my own advice, it wouldn’t be much of a risk to give these a go, but I’d rather have the space in the garden to grow my more perennial or self-seeding edibles. If I had an endless garden, I would probably fill it with pound shop plants…. Well, a girl can dream.