Short version:
A hardy, perennial, shade tolerant, self-seeding vegetable with a long taproot that can be eaten all year round. The best bit to eat though are the flowering shoots.
I have no idea why it is called Turkish rocket (latin name – Bunias orientalis) as it is nothing like what people typically think of as rocket (Eruca vesicaria subsp. Sativa) or wild rocket (Diplotaxis tenuifolia). All three of those rockets are, however, all part of the Brassica family. Bunias doesn’t look like the other 2 rockets and it doesn’t taste like them either.
How to grow
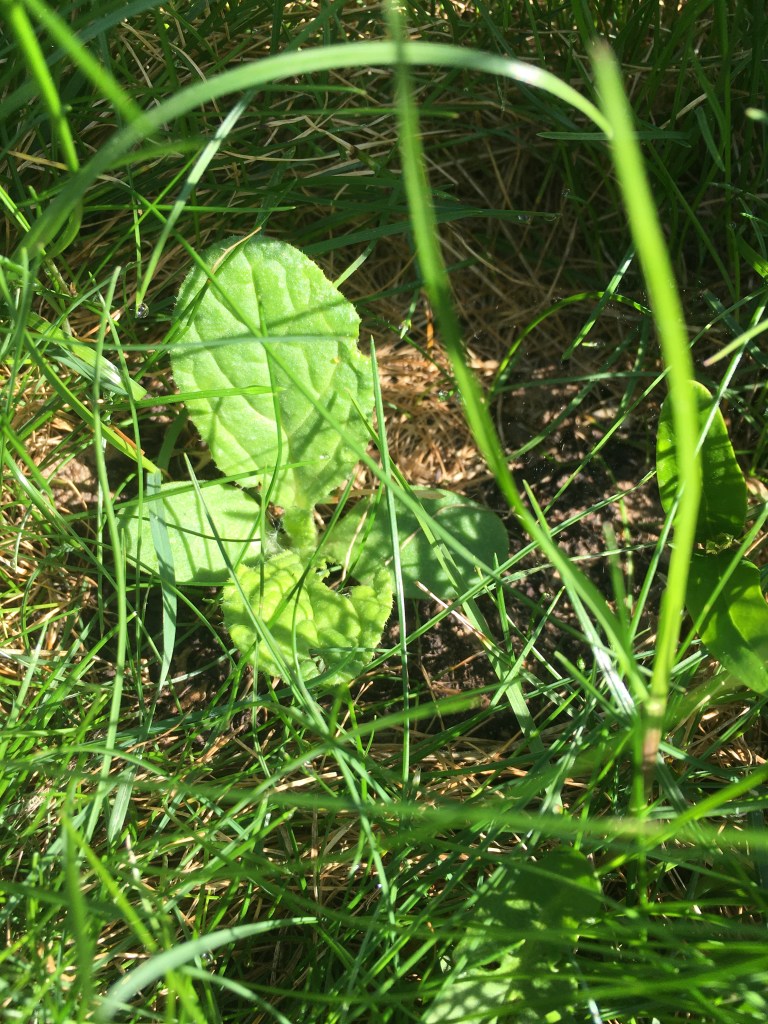
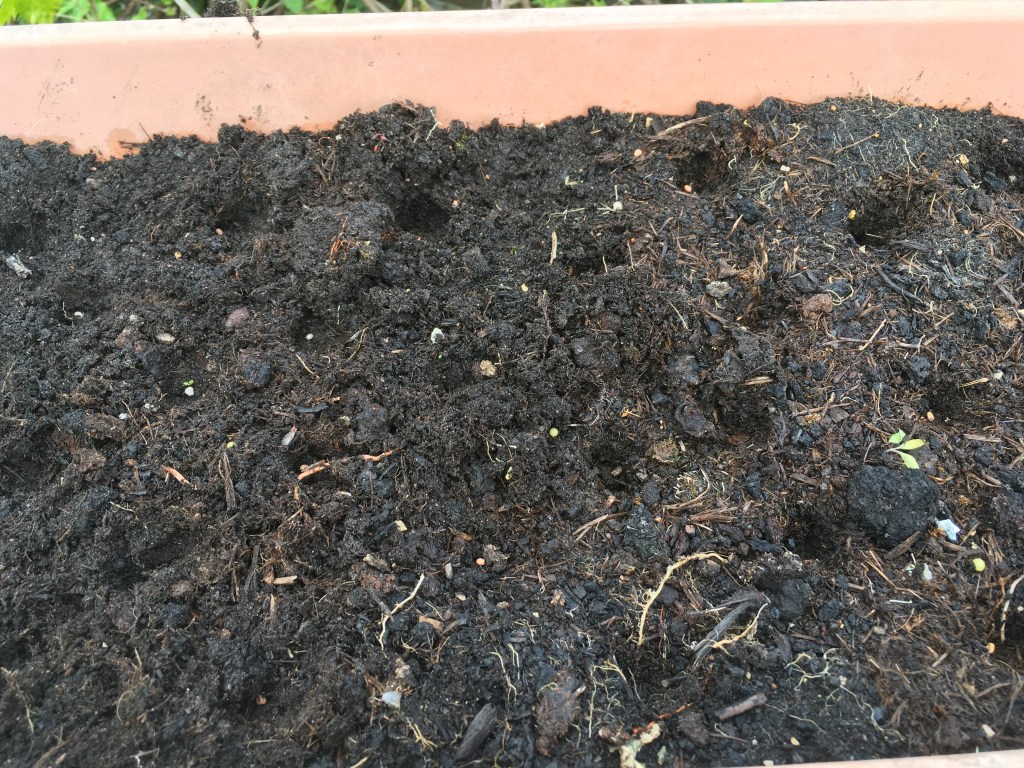
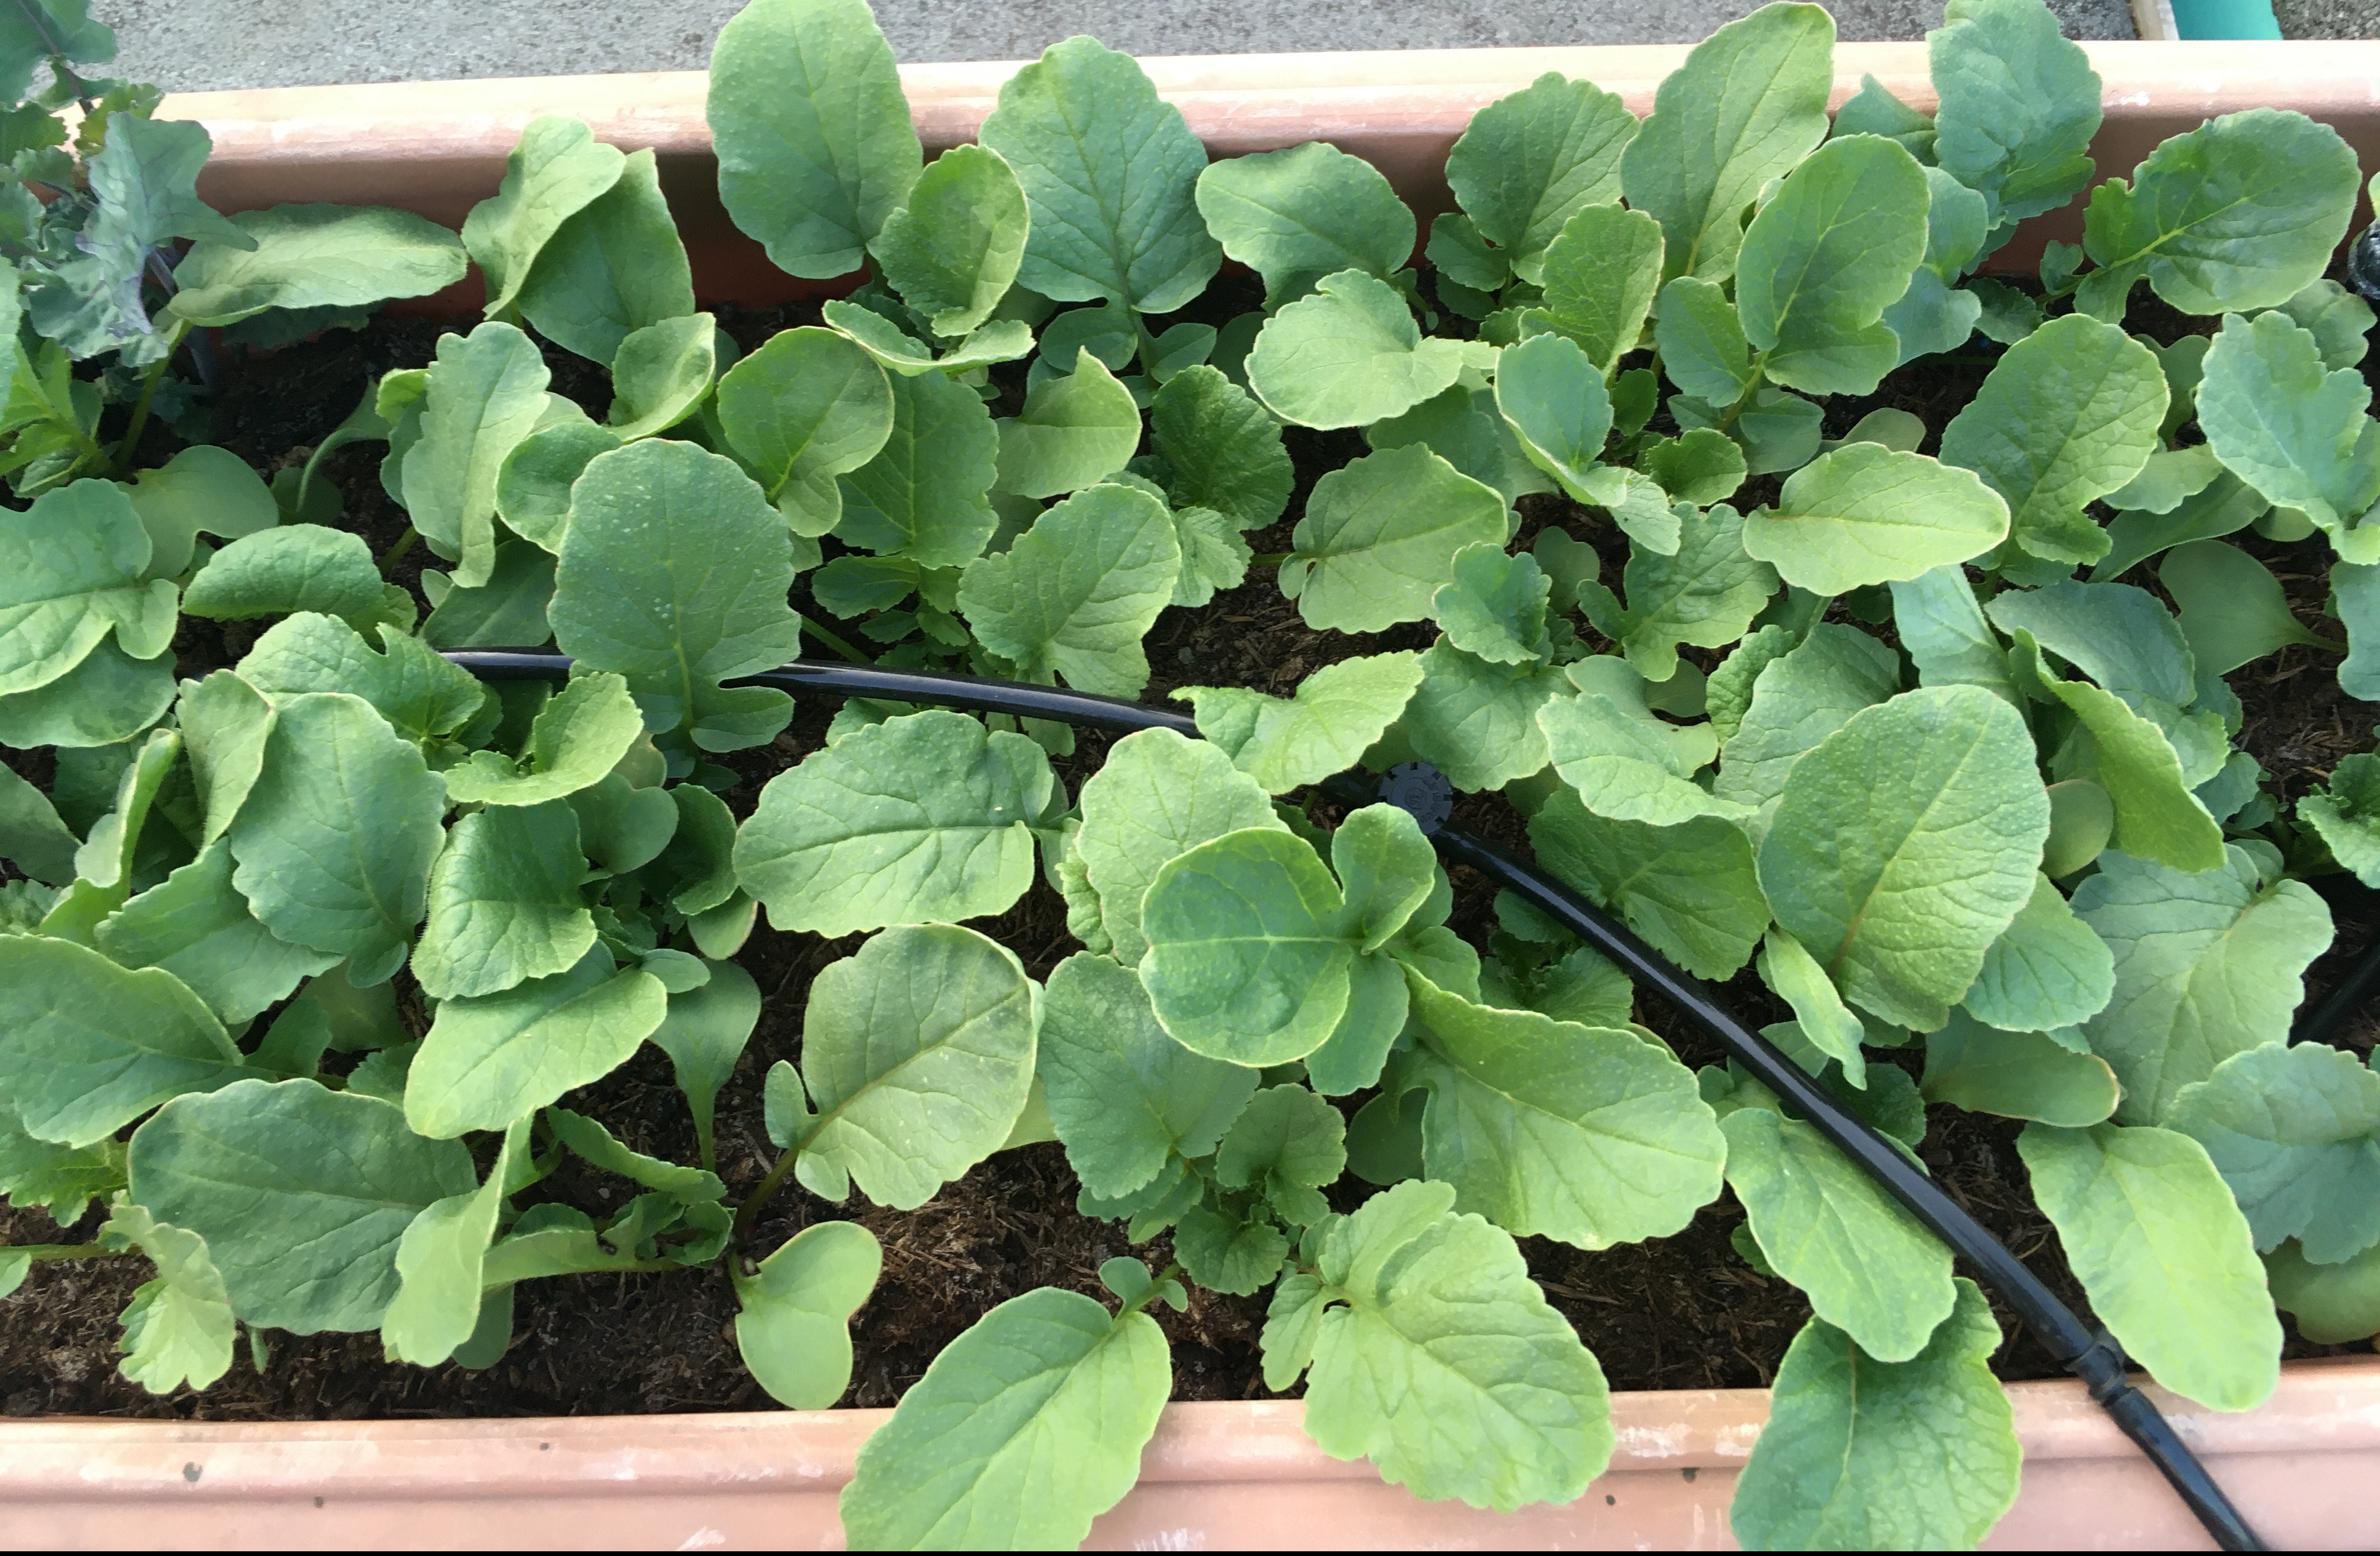
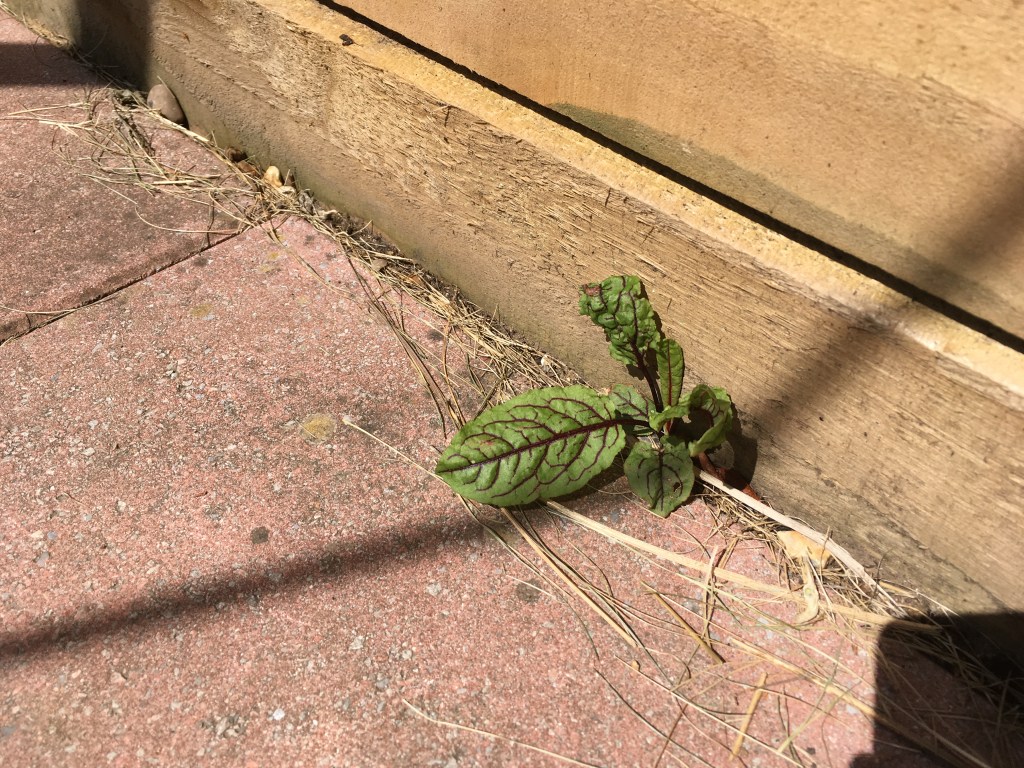
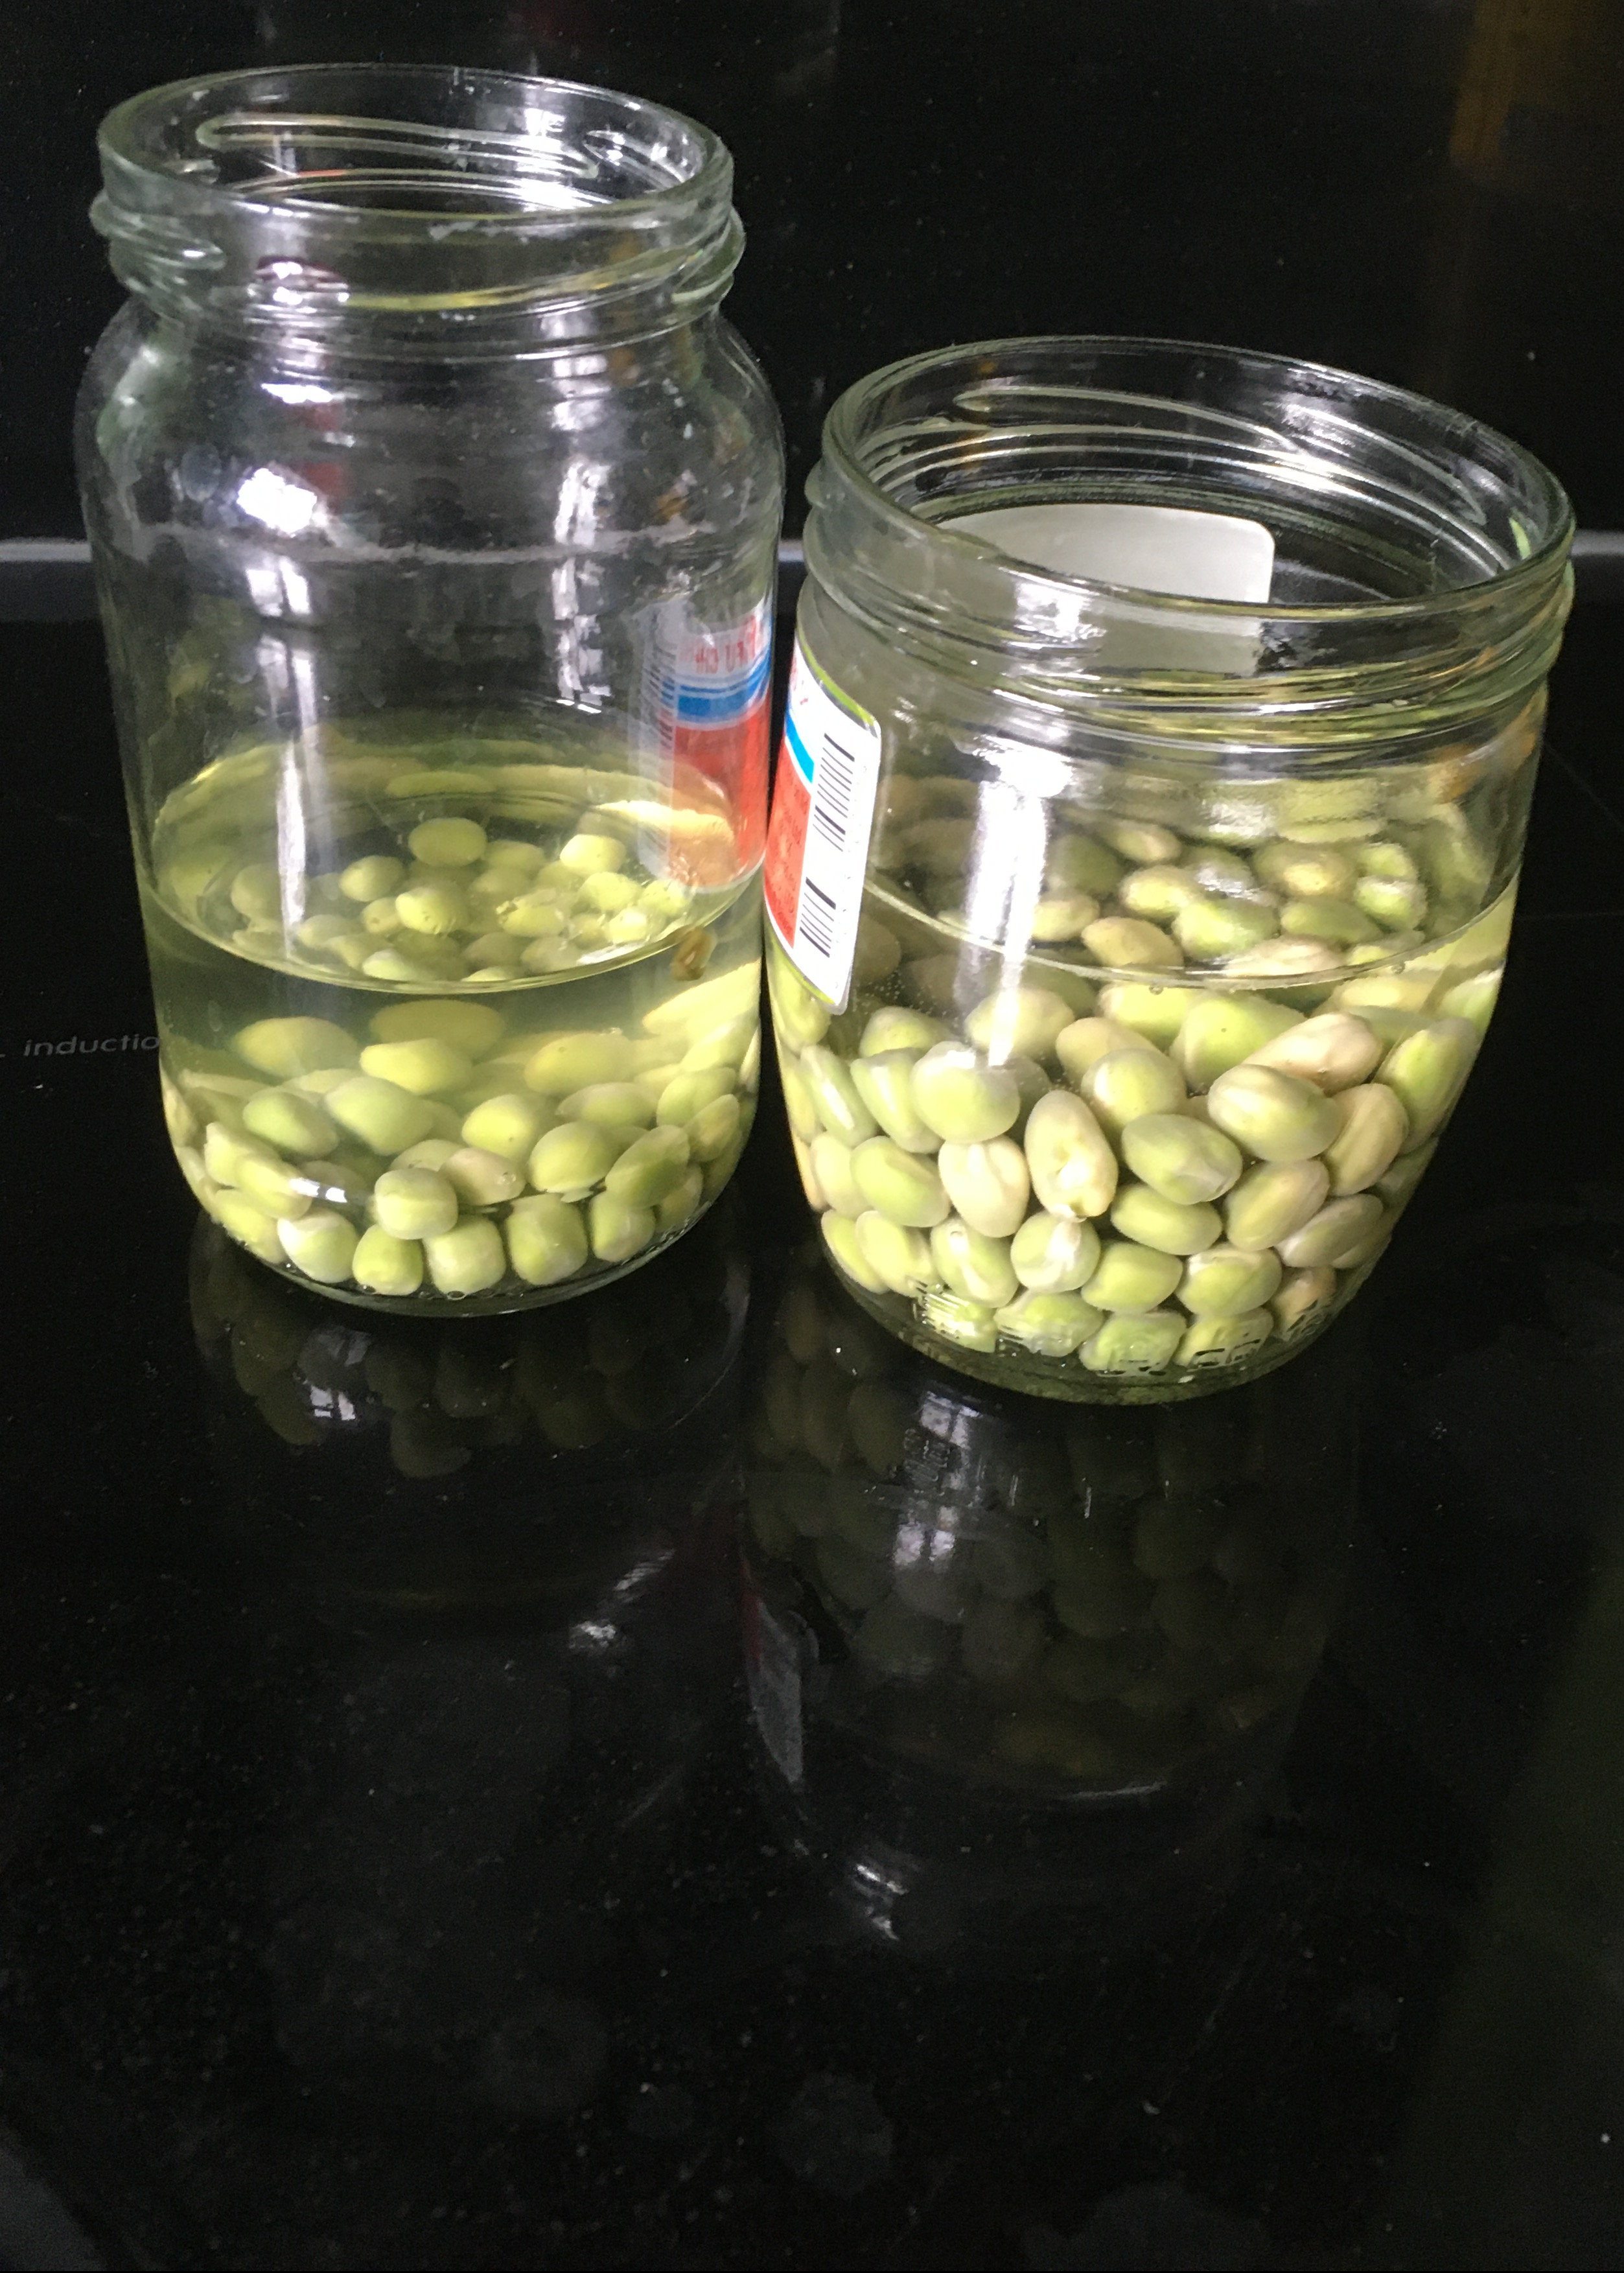
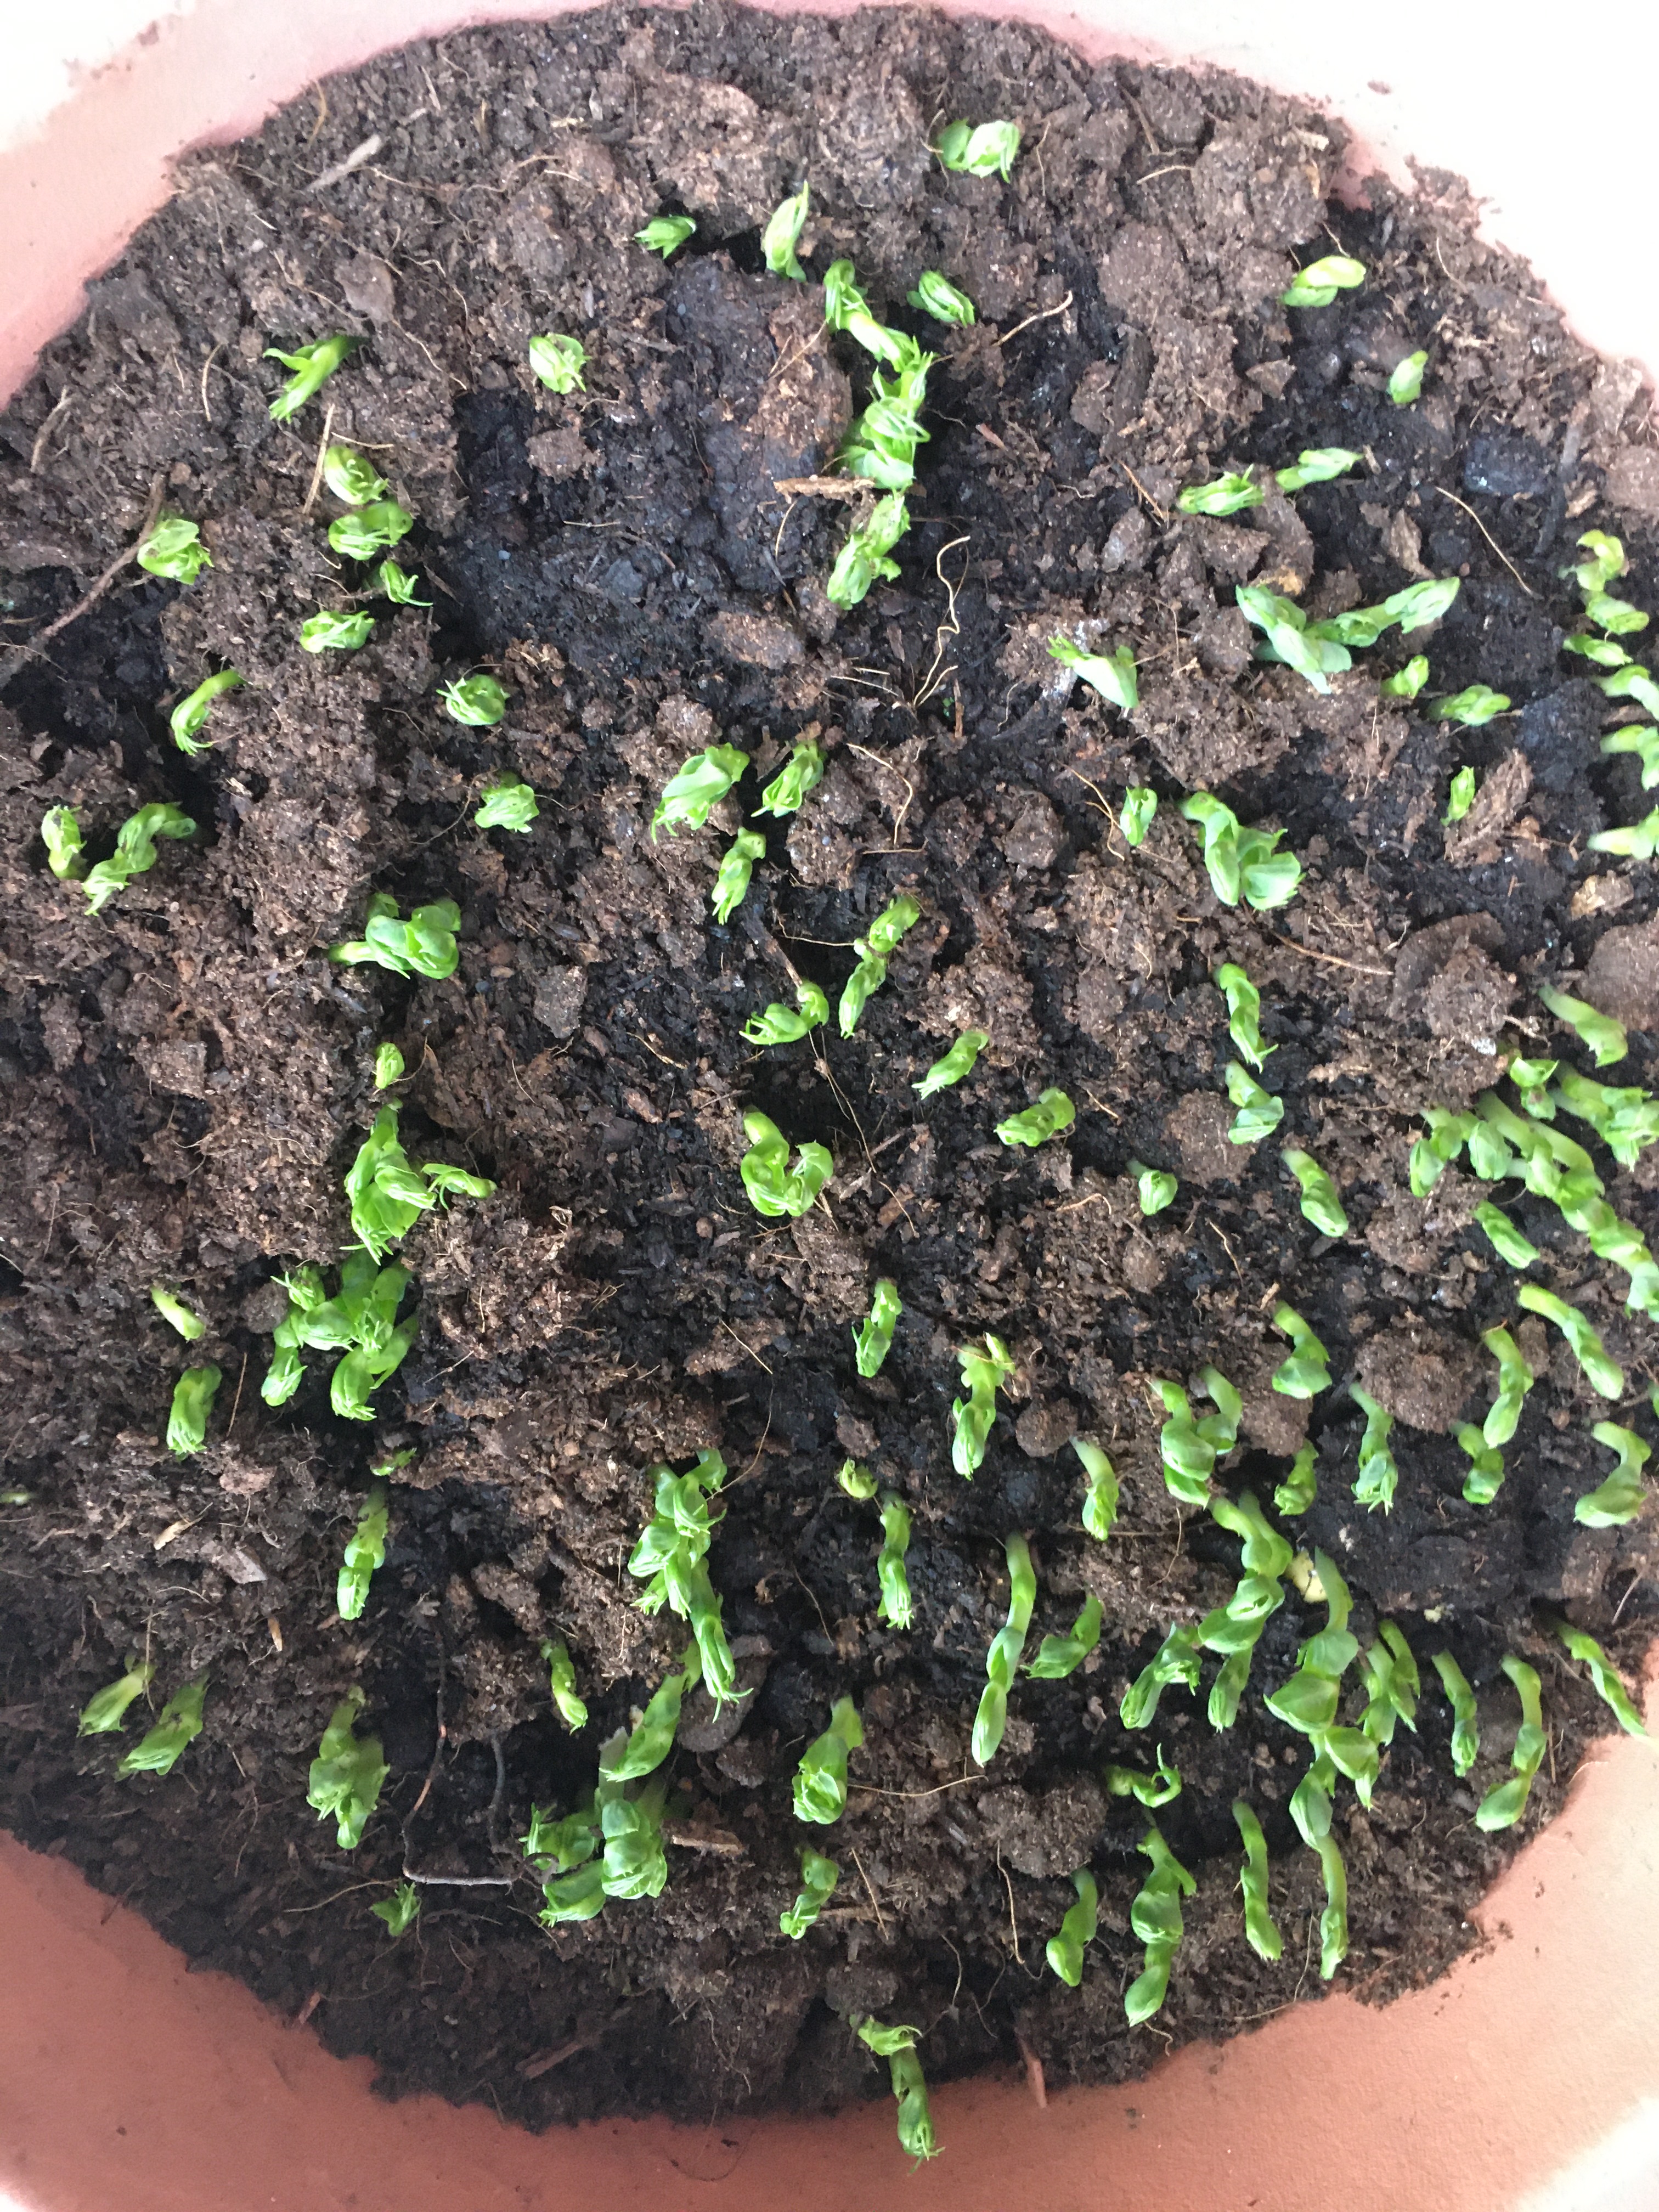
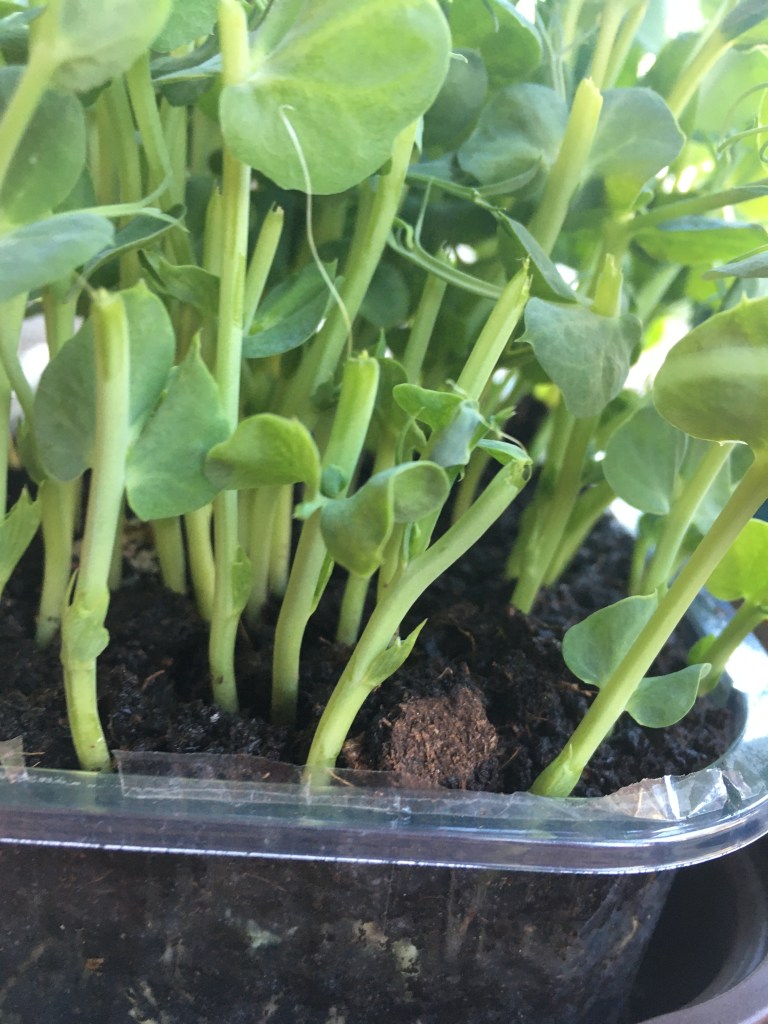
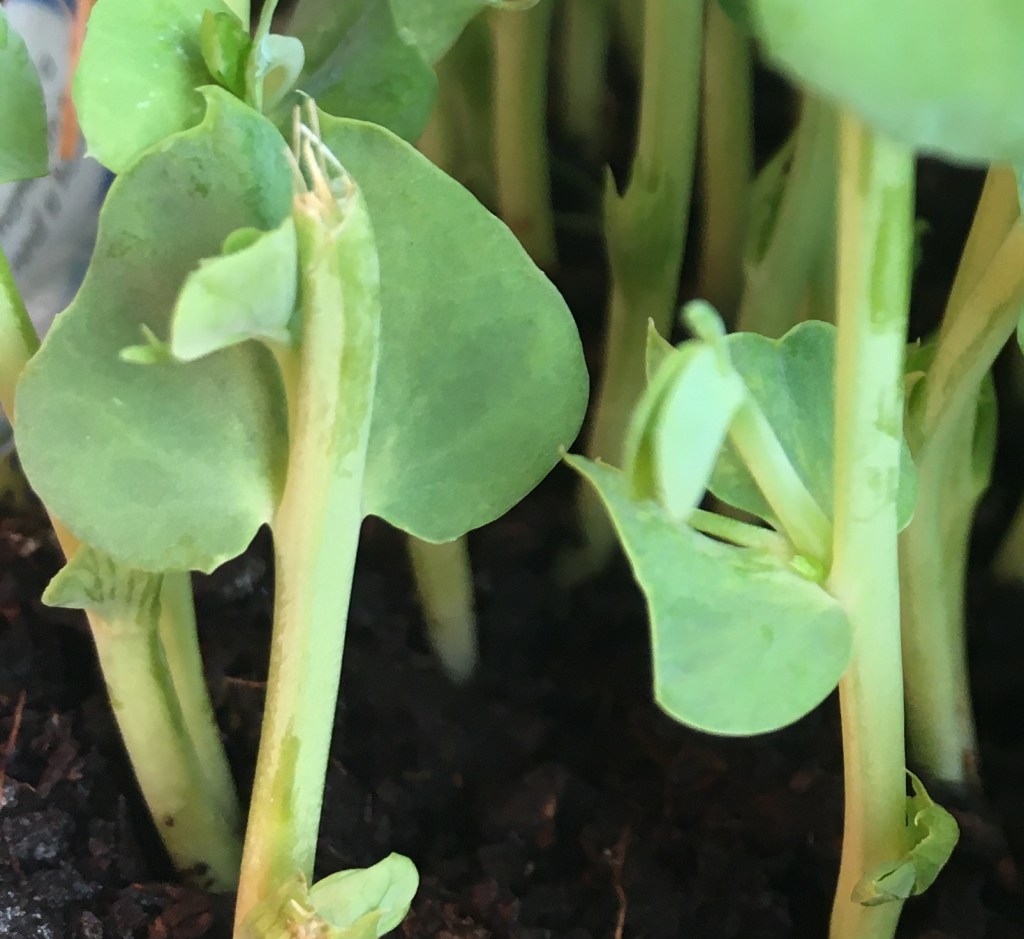
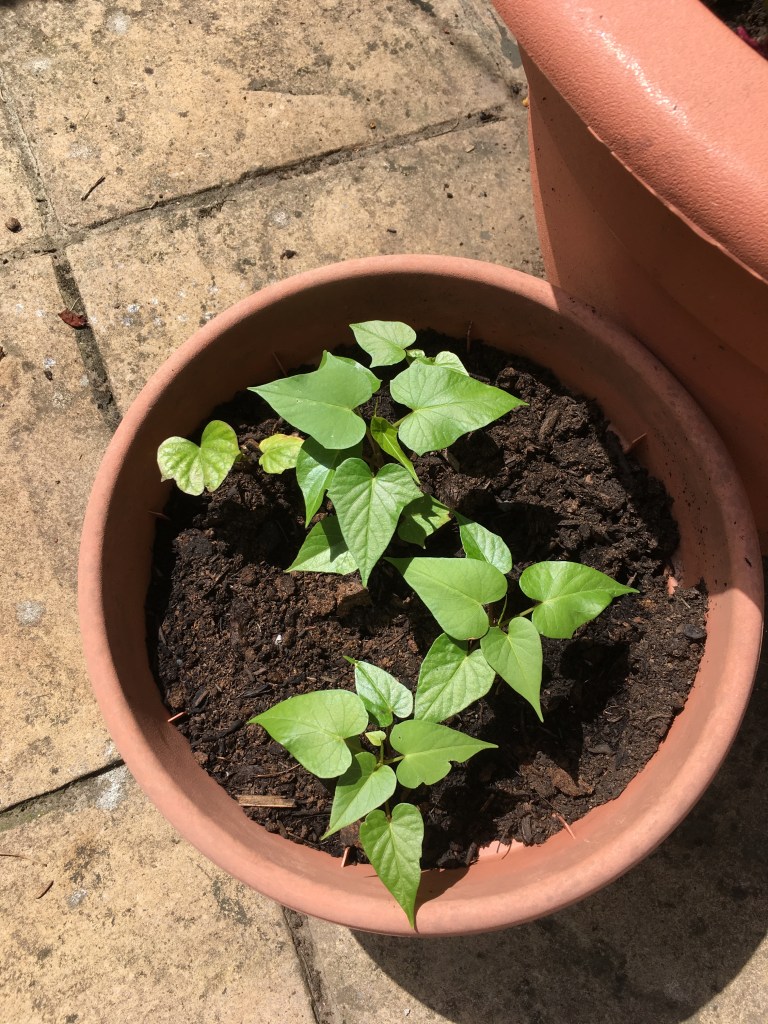
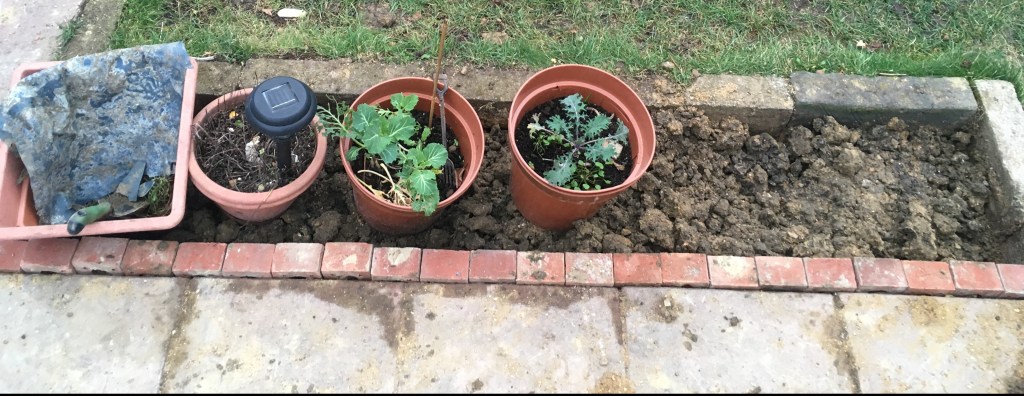
They can easily be grown from seed. As far as I know seeds are only available online but be careful and make sure you are buying Bunias orientalis because I’ve seen seeds marketed as Turkish rocket that look like they are just rocket. Turkish rocket can be slow to germinate so you do need to be a bit patient. I’d recommend starting them in pots indoors as they can look quite a bit like dandelion seedlings at the start with a similar rosette of leaves. This also gives you time to decide on a permanent patch.
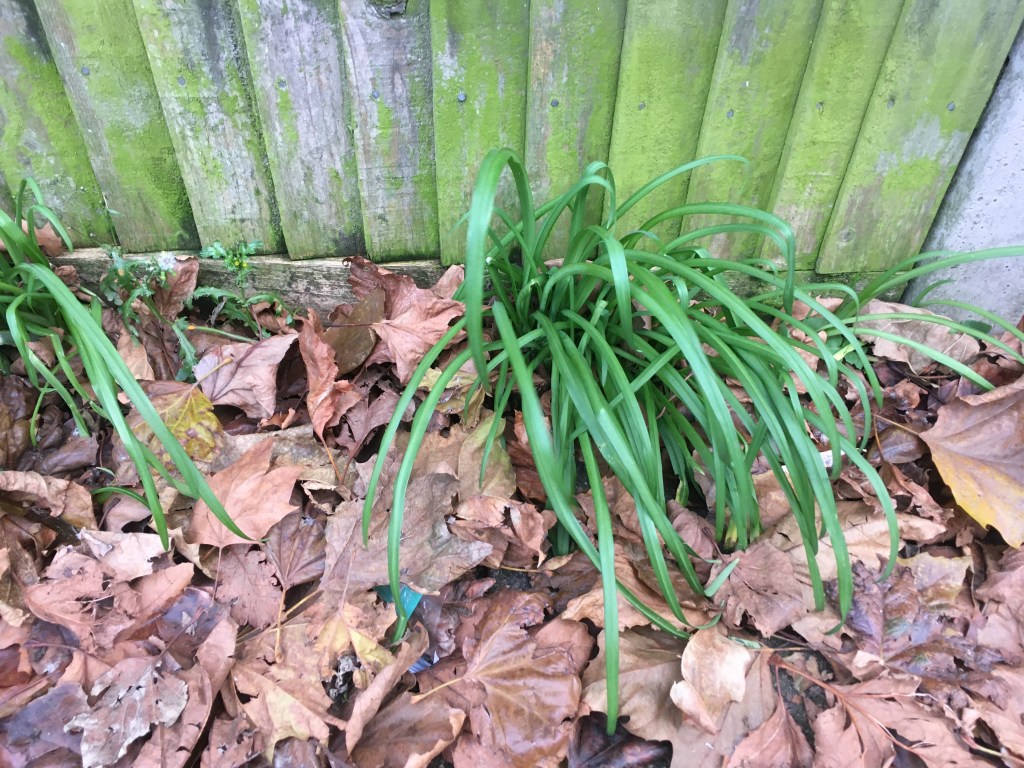
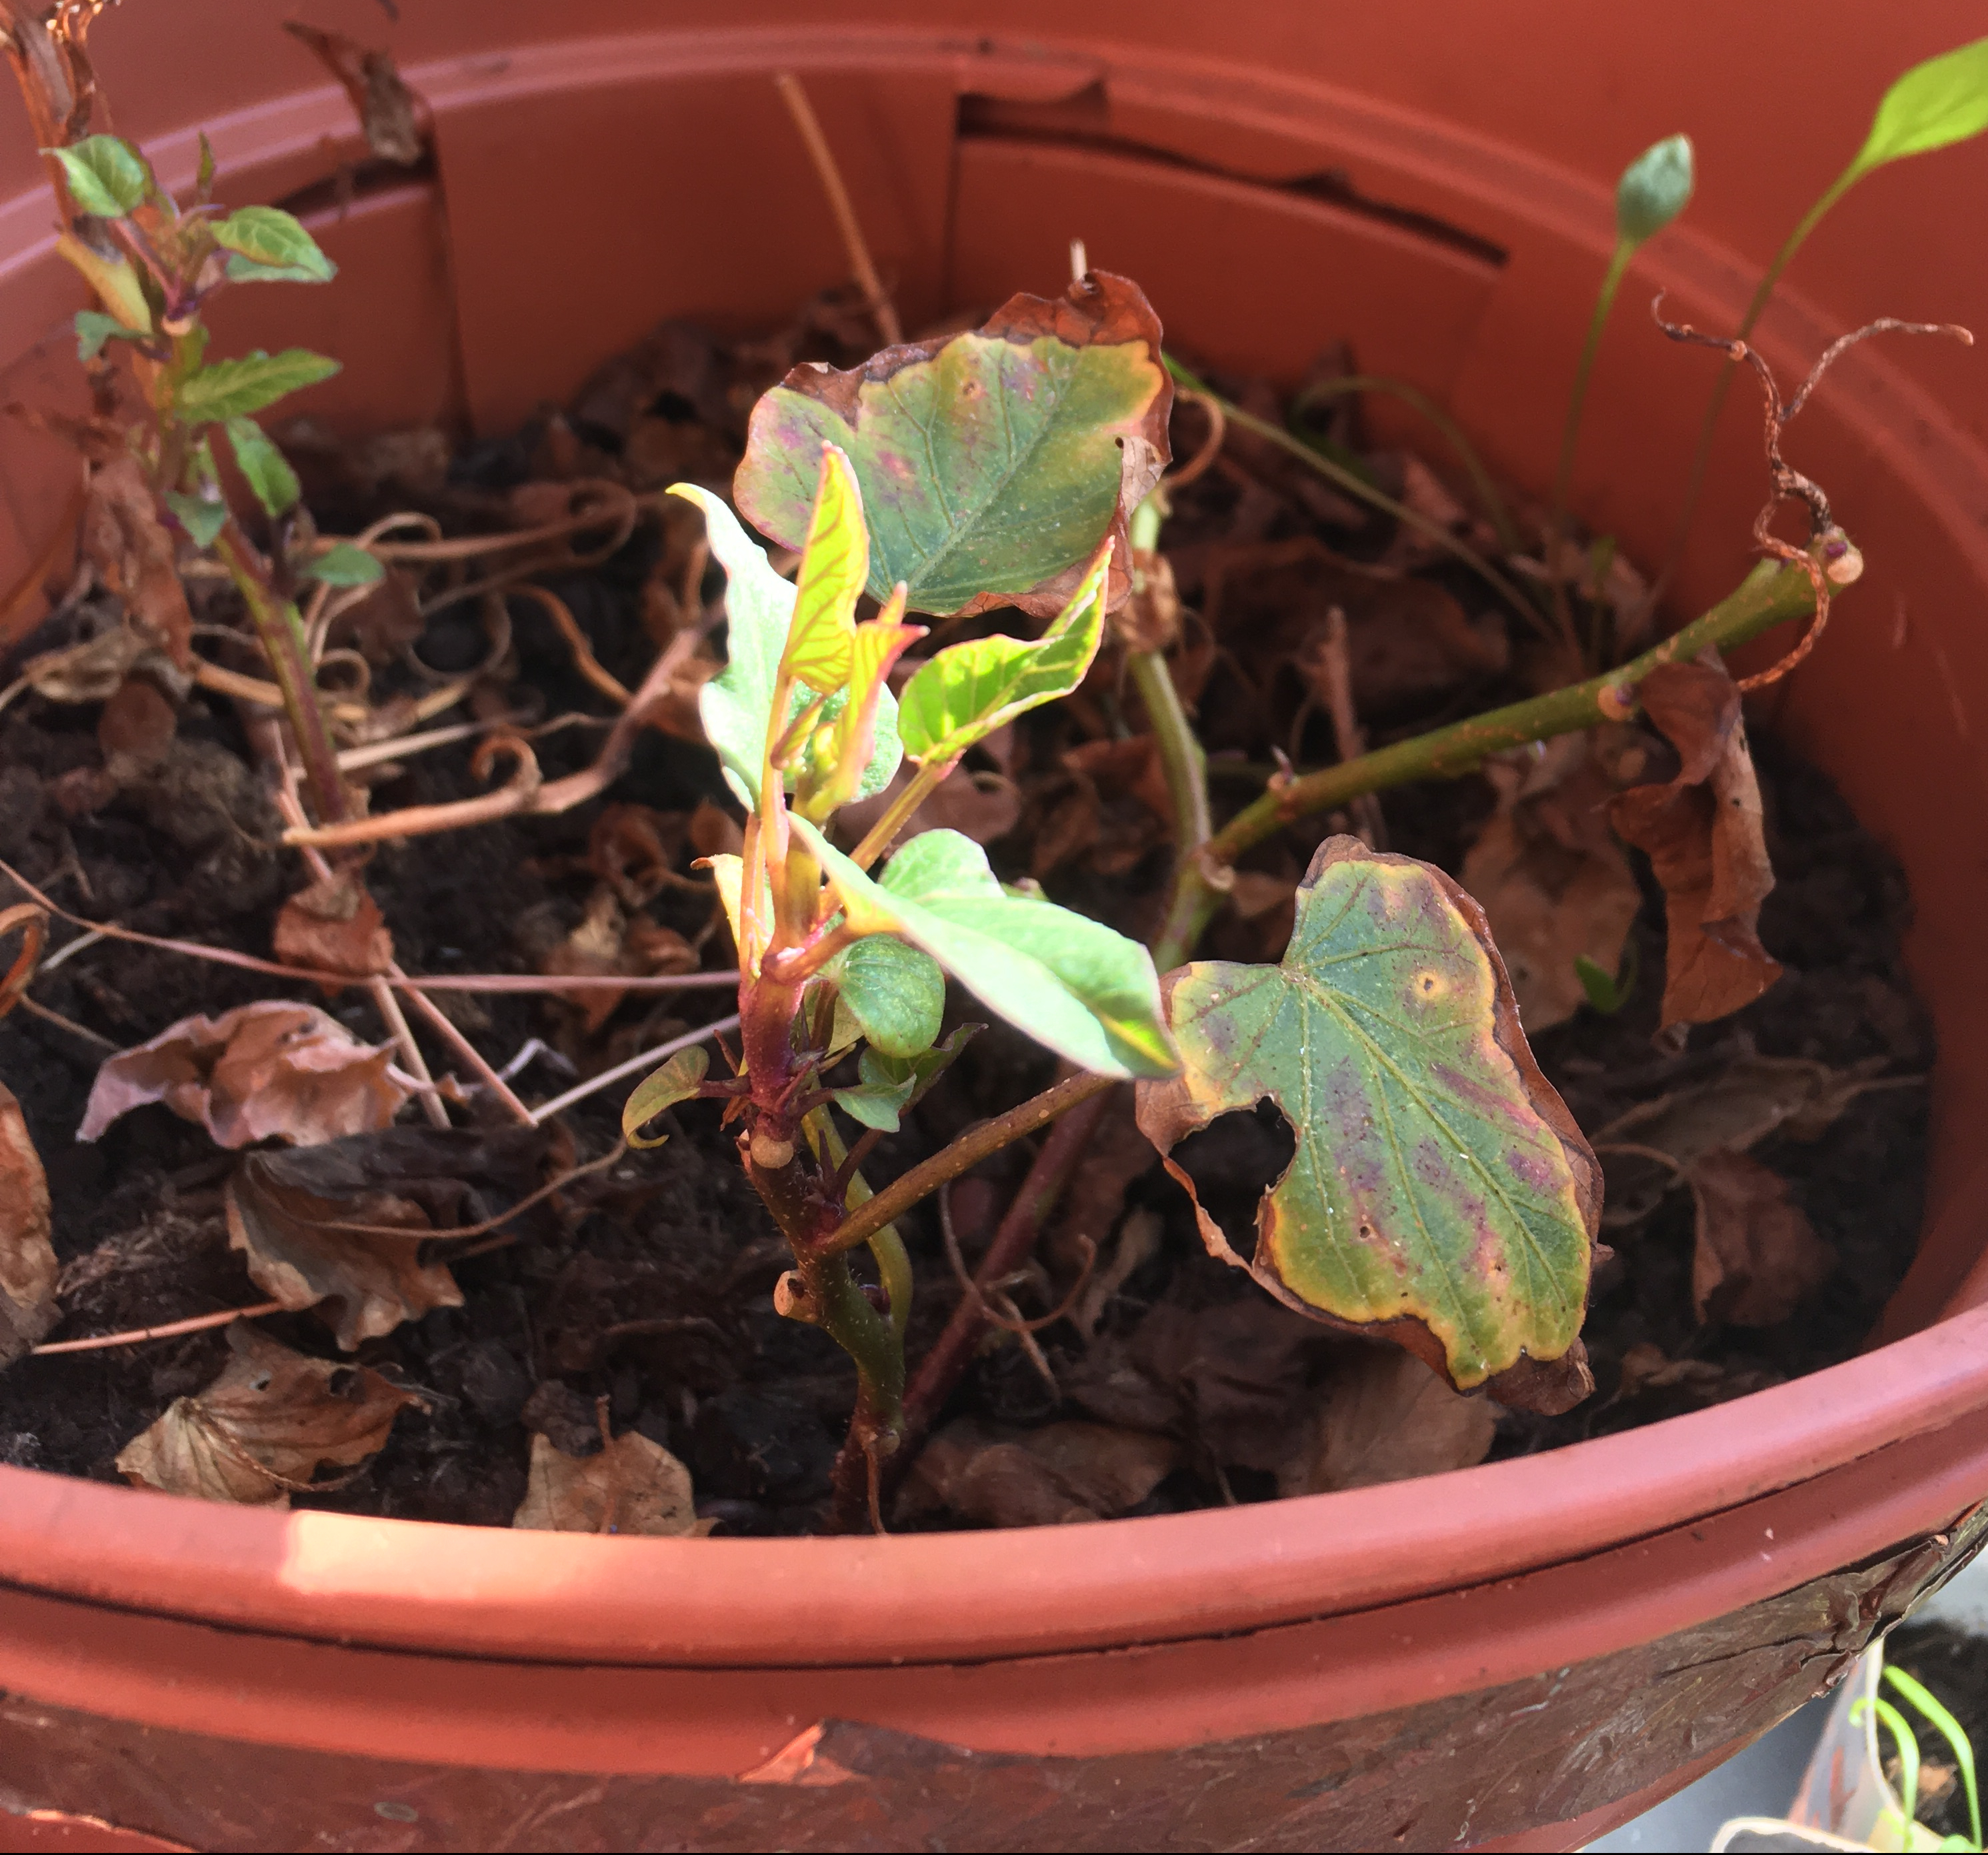
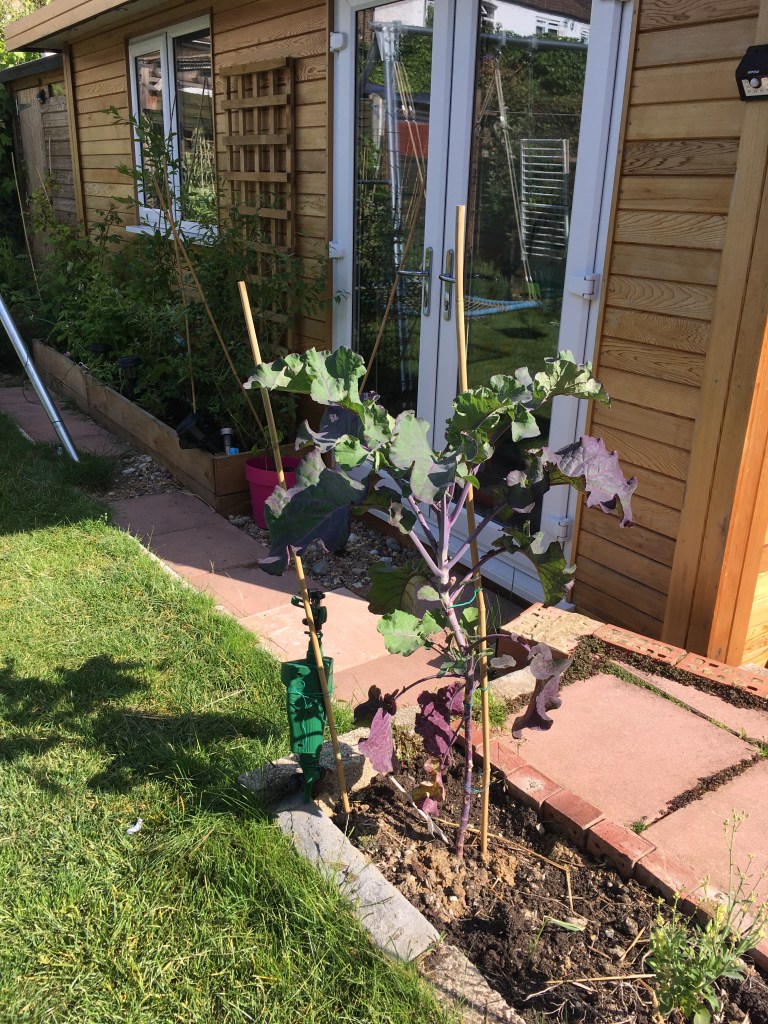
The plants like a bit of sun but they do very well in quite a bit of shade. Our Turkish rocket patch is by the apple tree next to a tall fence. In the summer it sits in the dappled shade of the little apple tree in the morning and the shade of the fence most of the afternoon but in the winter I don’t think the low sun shines on it at all. They don’t do particularly well in pots because they have a deep taproot. However, they do very well in just about any type of soil. They have thrived in our heavy clay. This deep taproot can reach down many feet to get nutrients and water. This means it does very well in drought. This also means you need to choose your patch wisely because once it establishes itself it becomes quite hard to dig up. I haven’t seen it for myself, but I have read that if any of the root is left behind, the plant will return. It can also self seed merrily, but we’ve not really left any of the flowers.

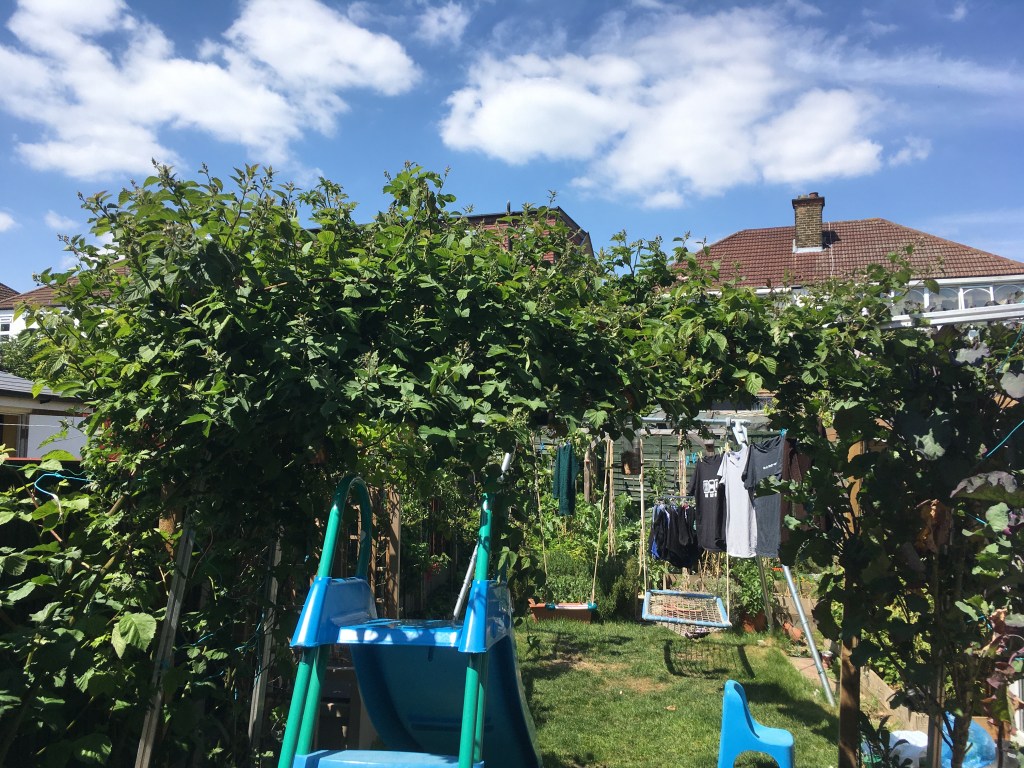
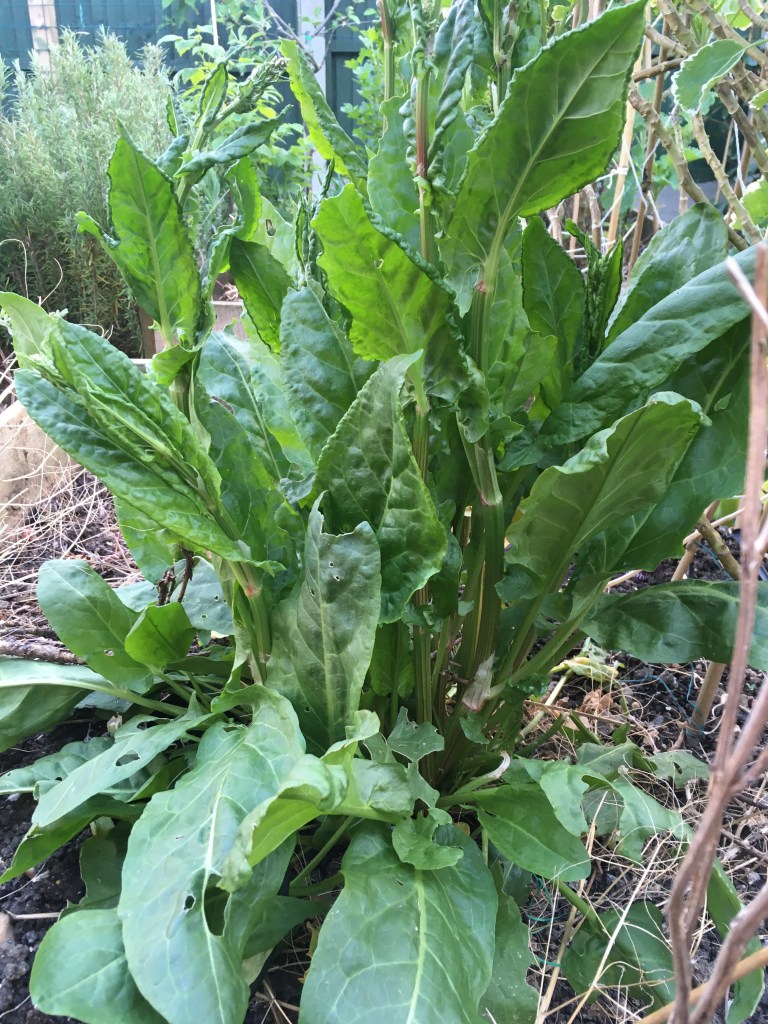
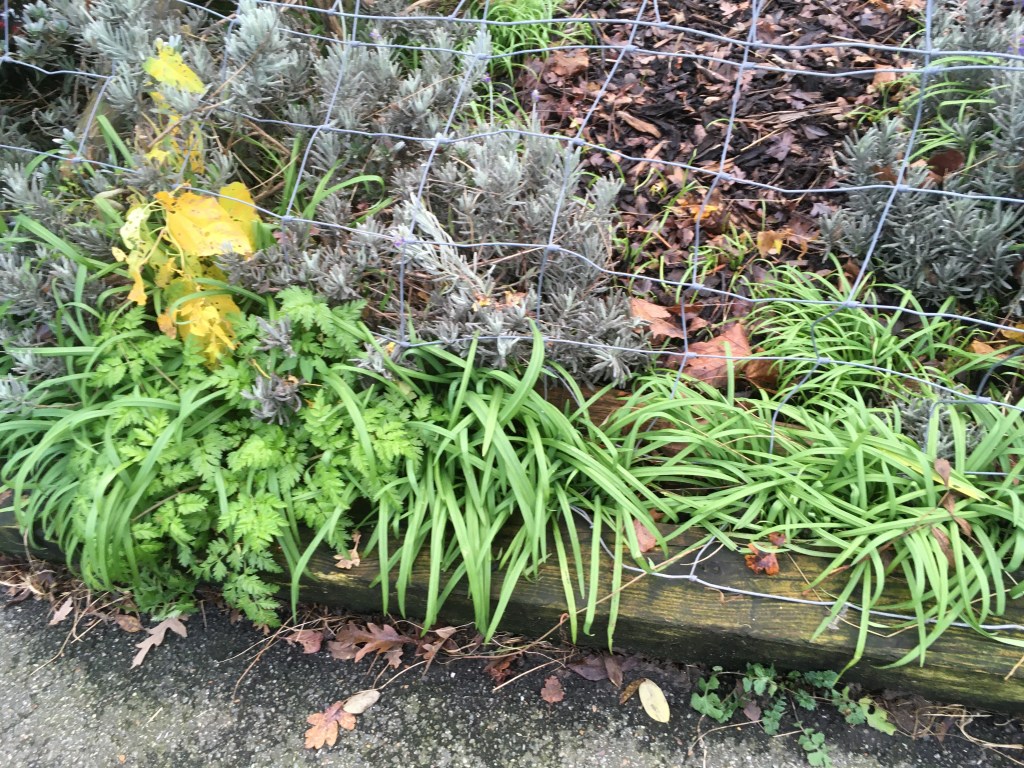
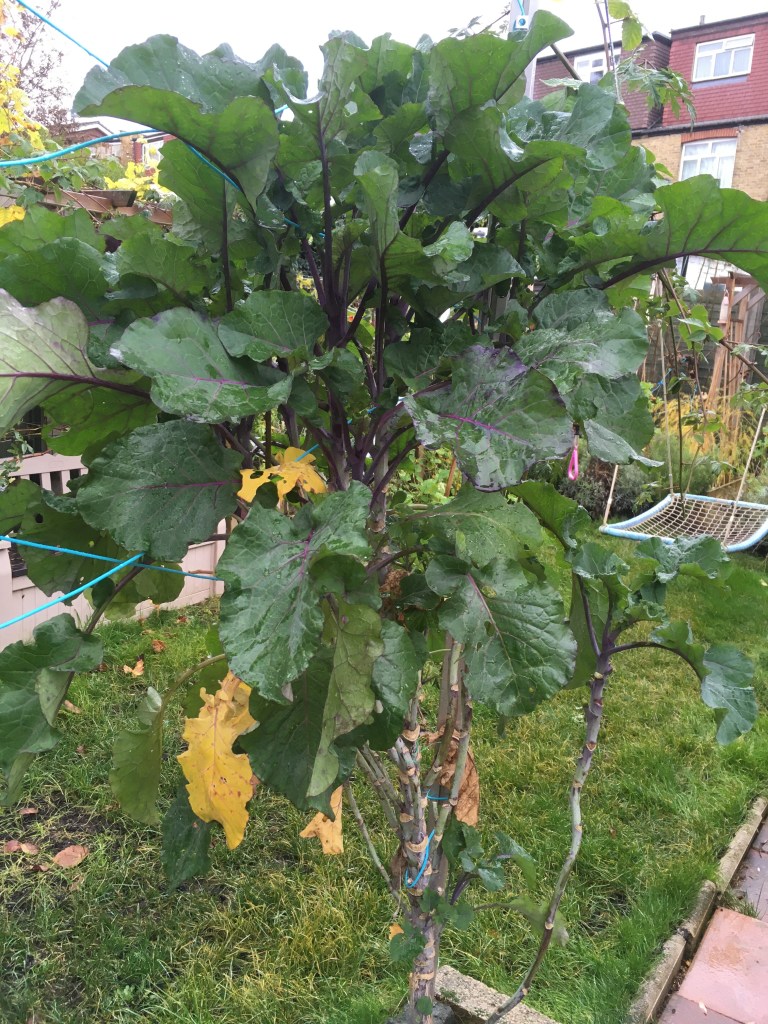
There it is to the right of the apple tree, behind the raised bed. You can see the sun doesn’t reach it. That was taken after the first harvest.

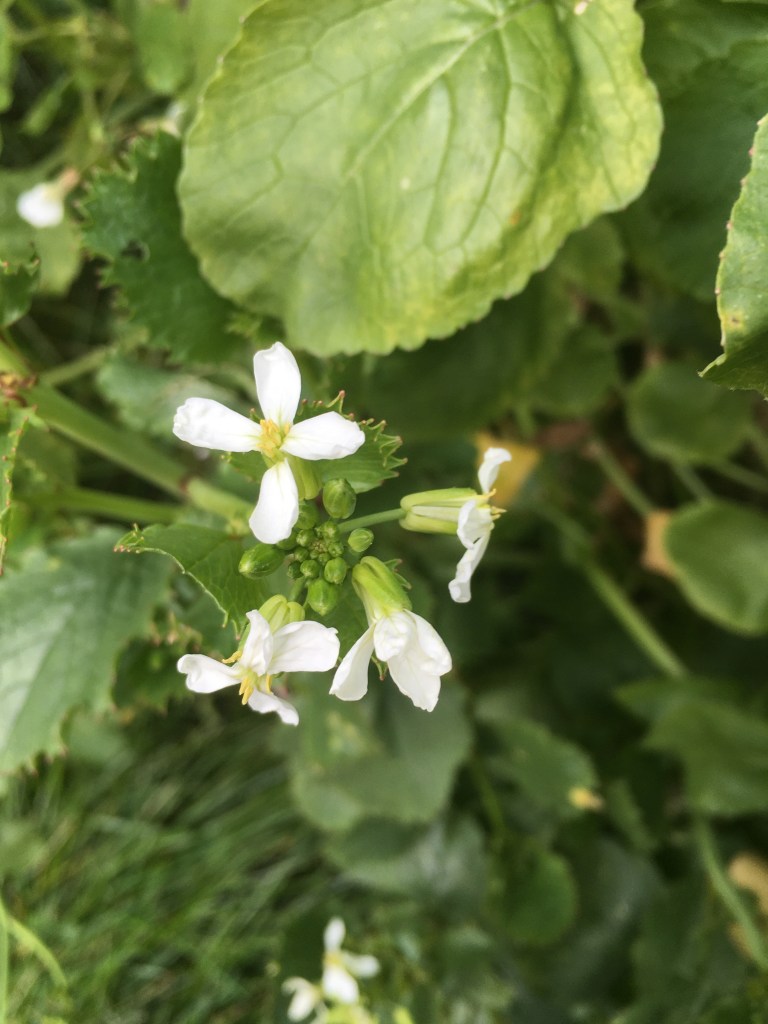
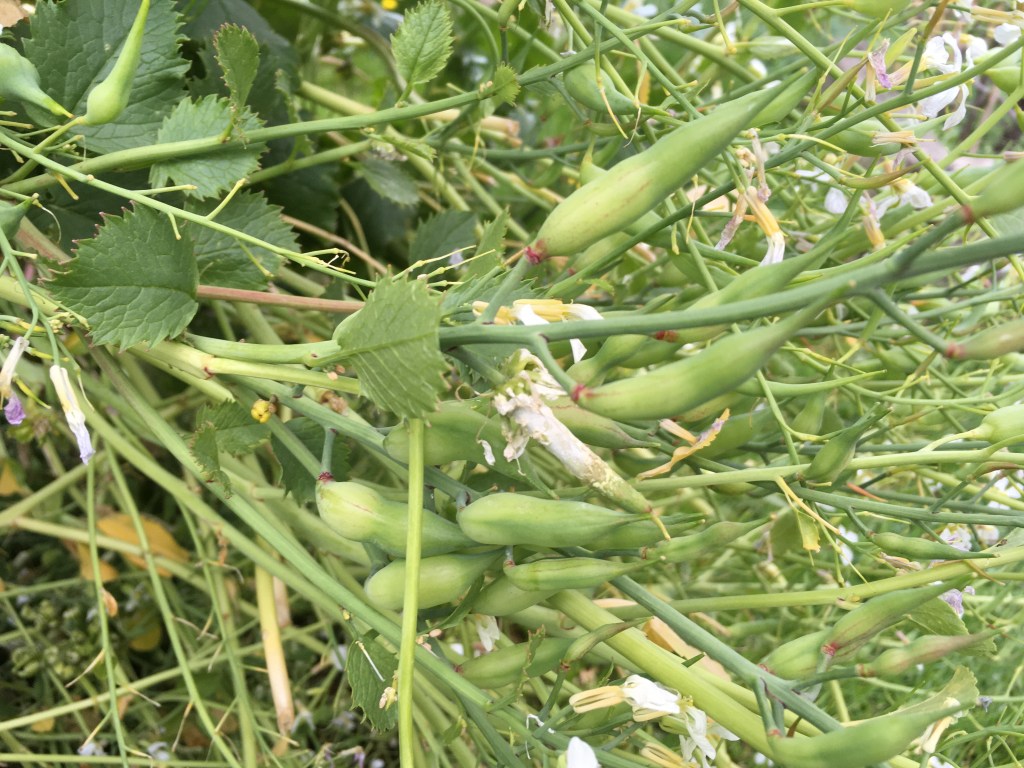
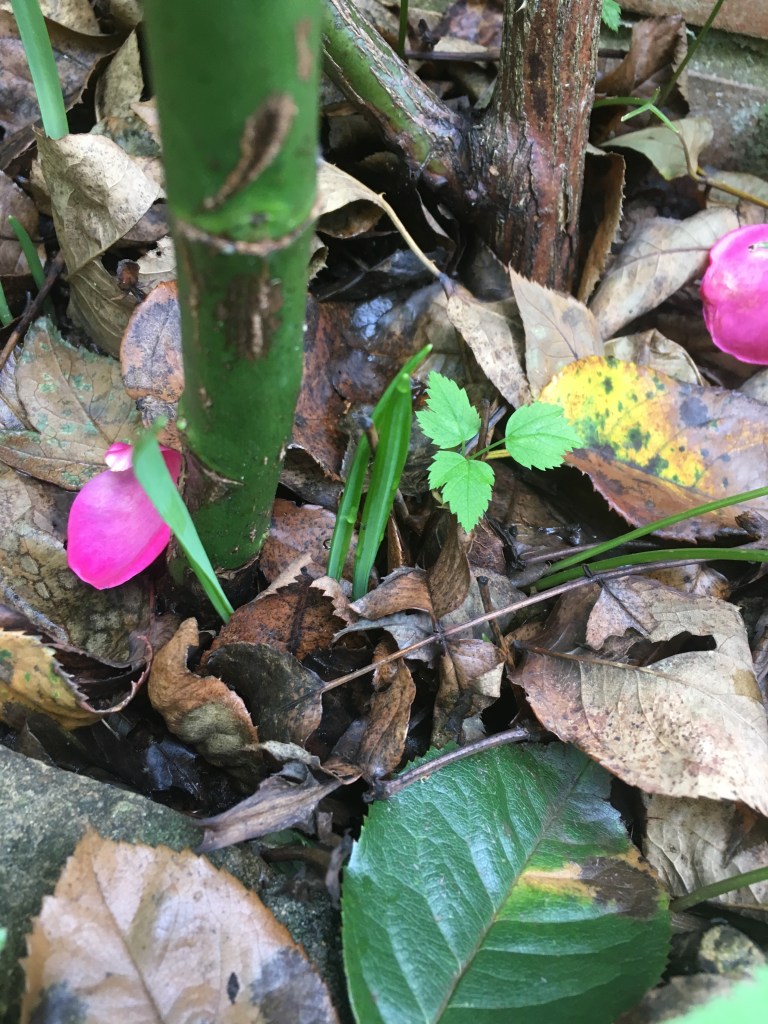
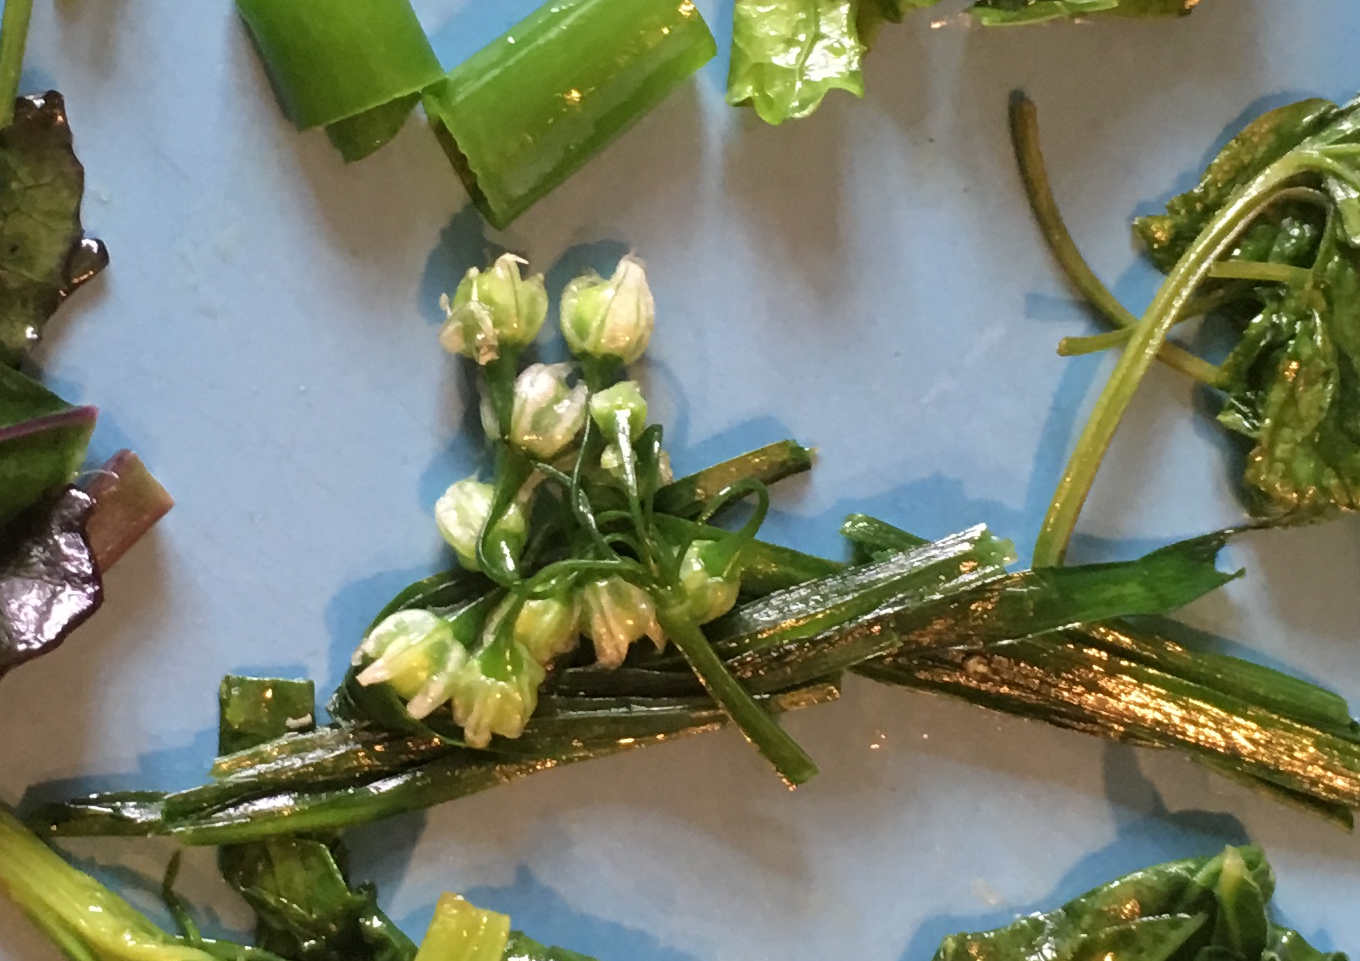
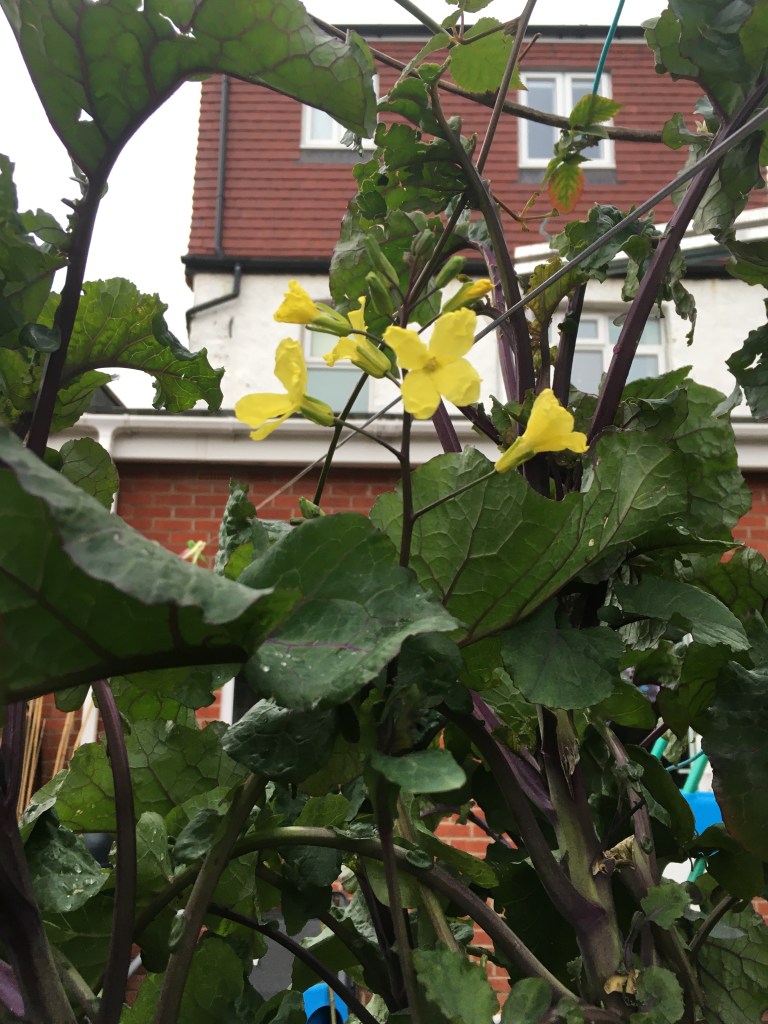
Was a bit slow to harvest and some of the buds had opened. Ate it anyway.
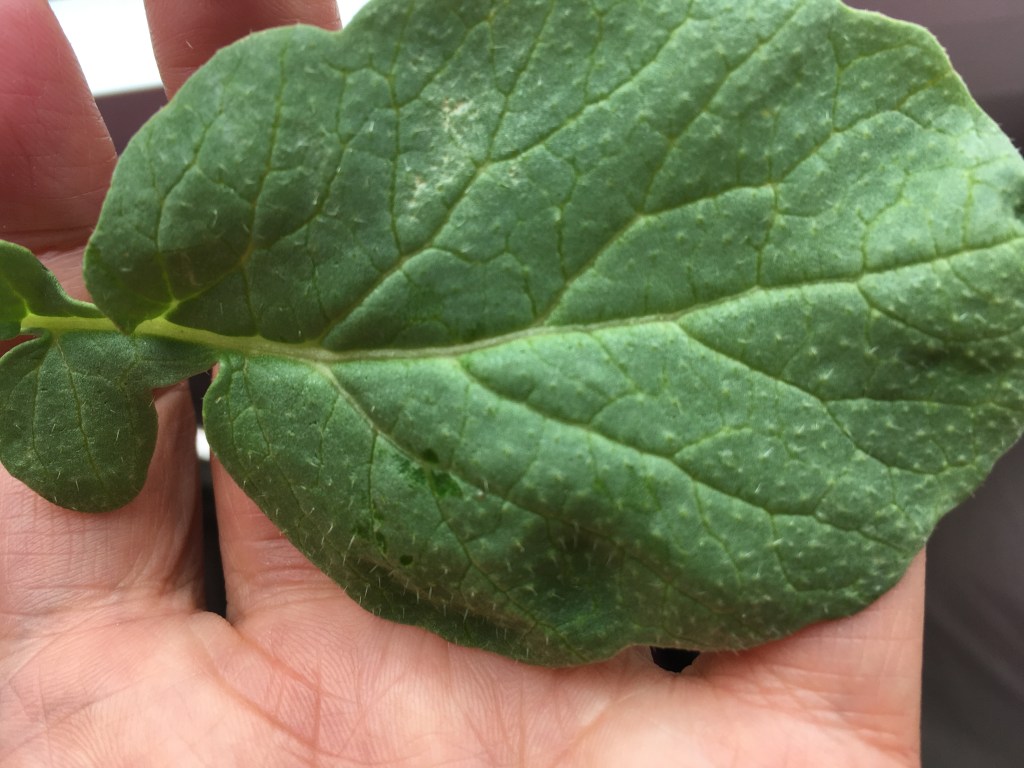
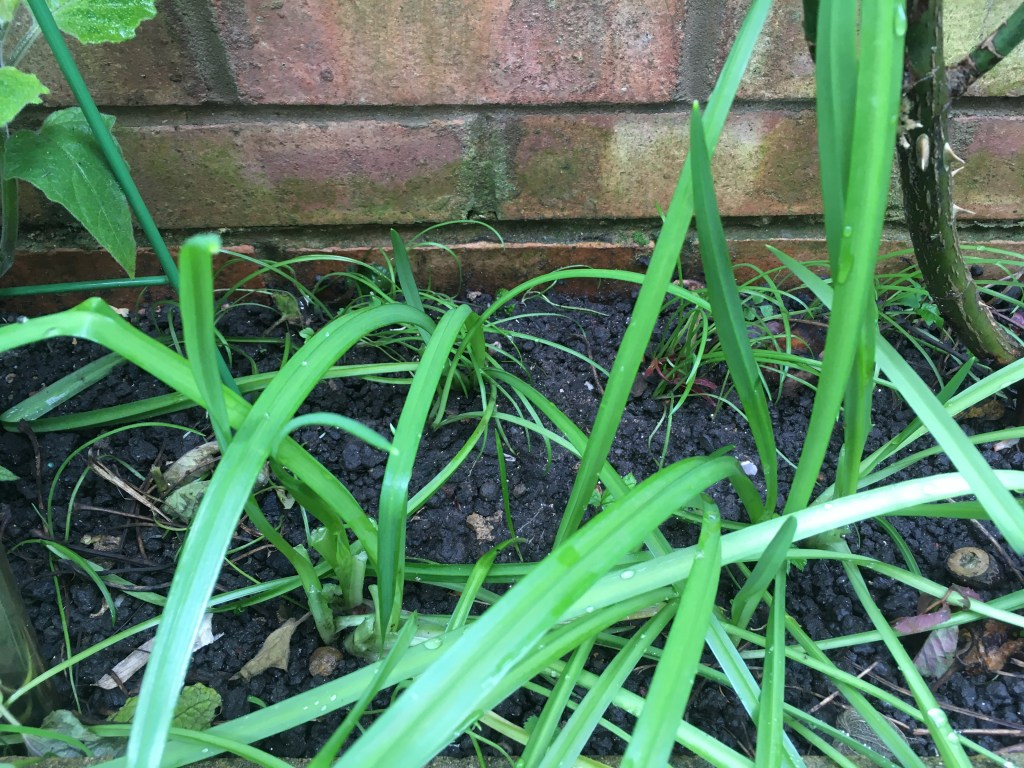
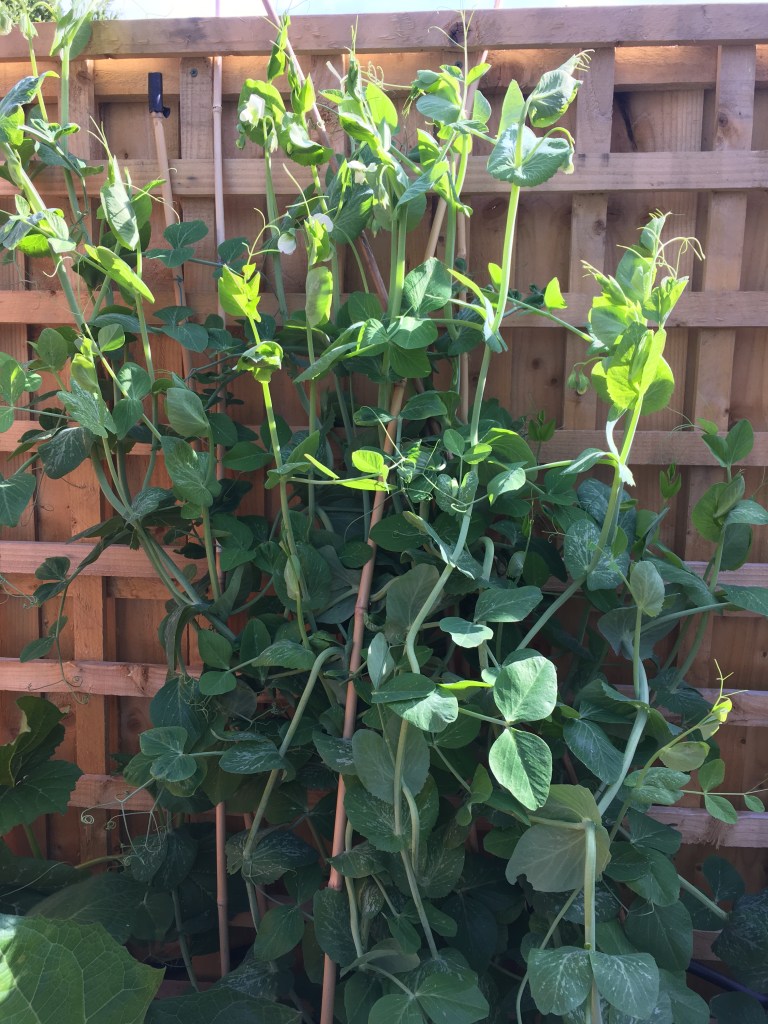
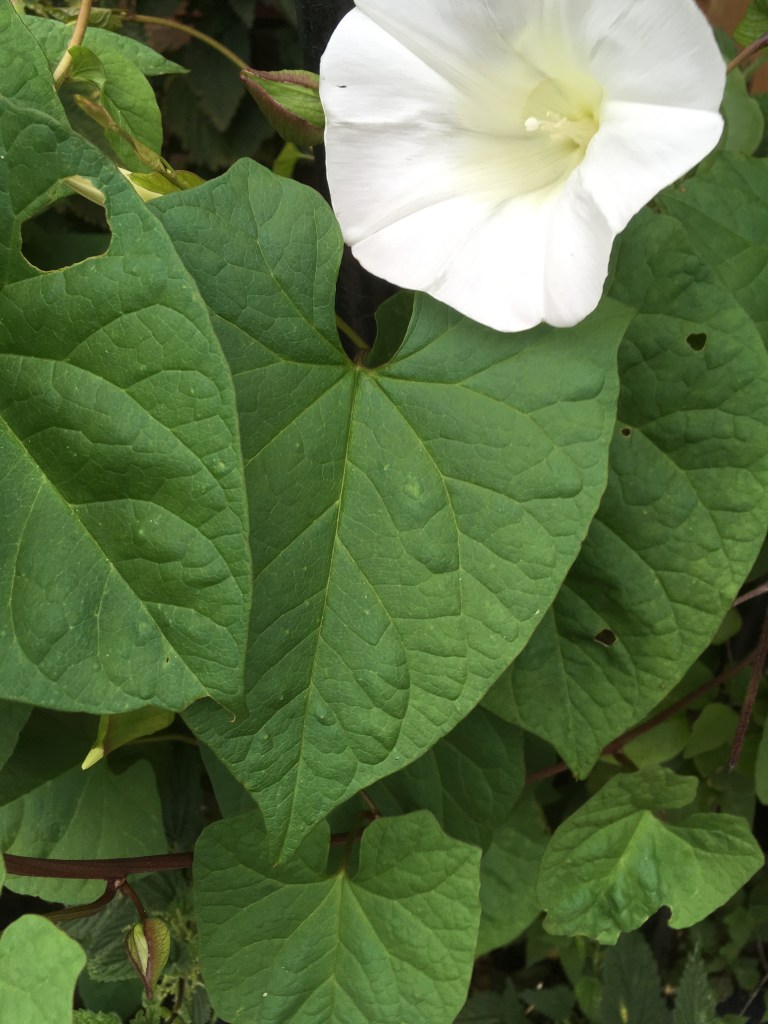
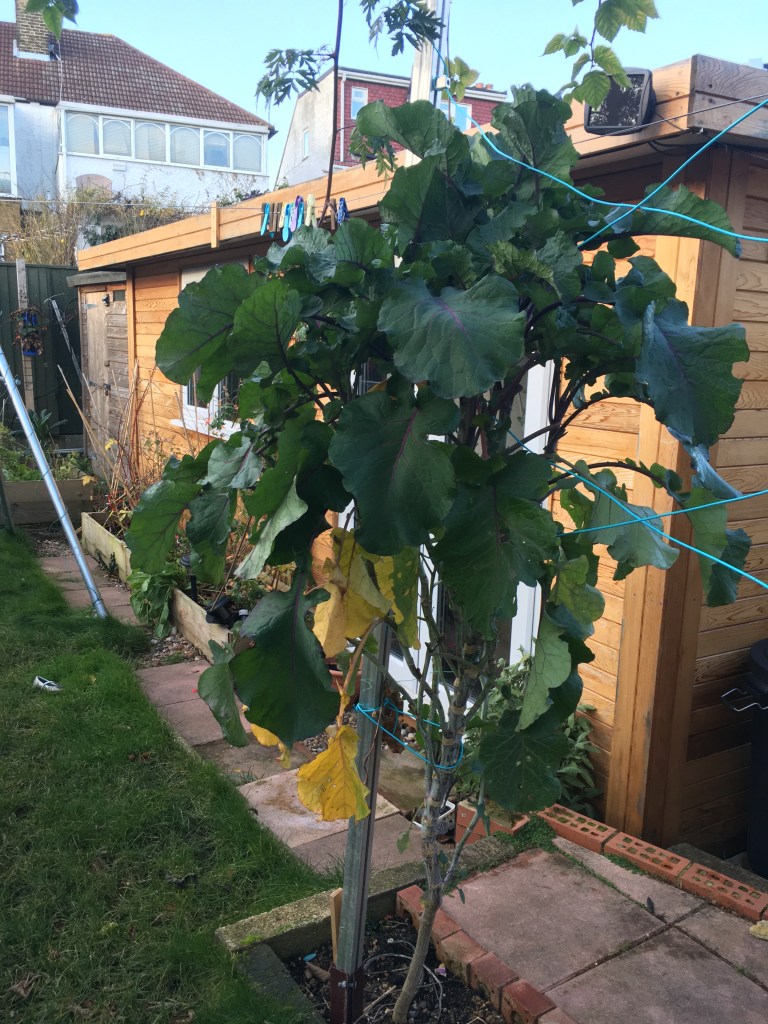
Most of the leaves are in a rosette around the base. The flower stalks can extend up to around 80 cm tall. If left to flower you get yellow flowers with the four petals typical of brassicas.
The plant is very hardy and can survive a very cold winter and come back fine the next year. I found with the mild winter we had last year we still had the rosette of leaves at the base.
How to harvest
The leaves and the flower shoots are edible. Leaves are available all year round. I don’t usually harvest any over the winter as it doesn’t seem to have many leaves, whilst my perennial kales and purple tree collard do very well over winter. The flower shoots start in late spring (making it a good edible for the hungry gap) and can continue in flushes through the summer. If you don’t want it to self seed, it’s no chore to eat all of the flower shoots. They are best when the buds are still closed.
How to eat
I wouldn’t recommend eating the leaves raw. They can be a bit bitter especially in the height of summer. To combat the bitterness, you can blanche with some salty hot water, then drain and discard that water. Then cook again in any manner of choosing, e.g. frying in a bit of oil, boiling, adding to sauces or stews.
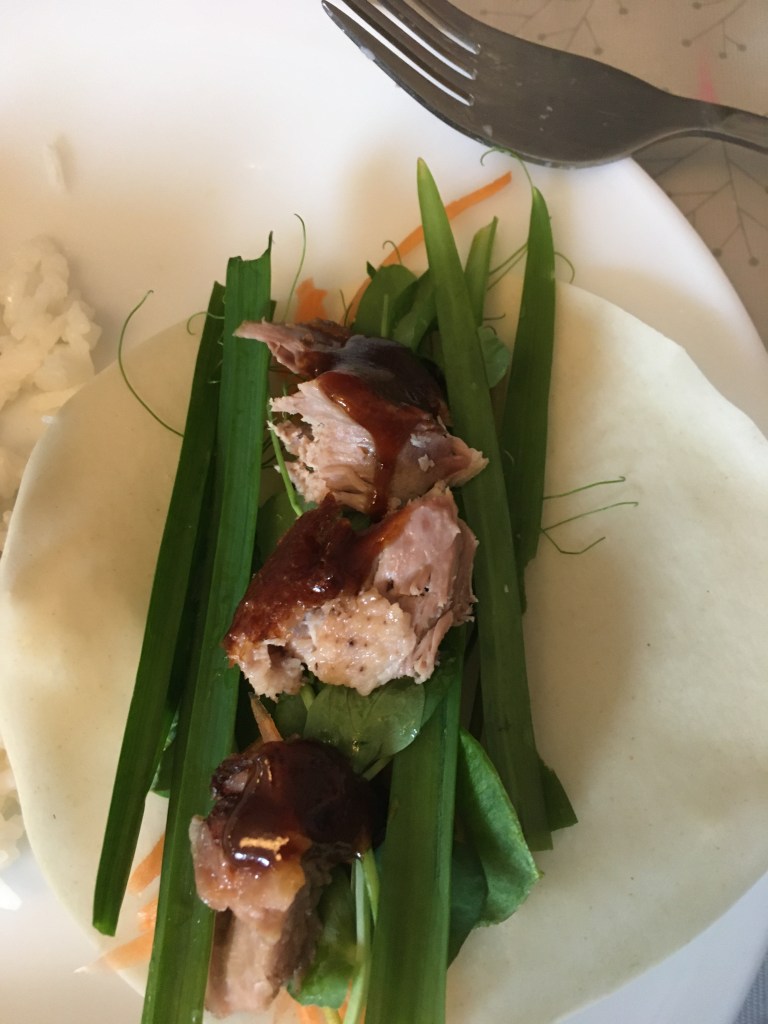
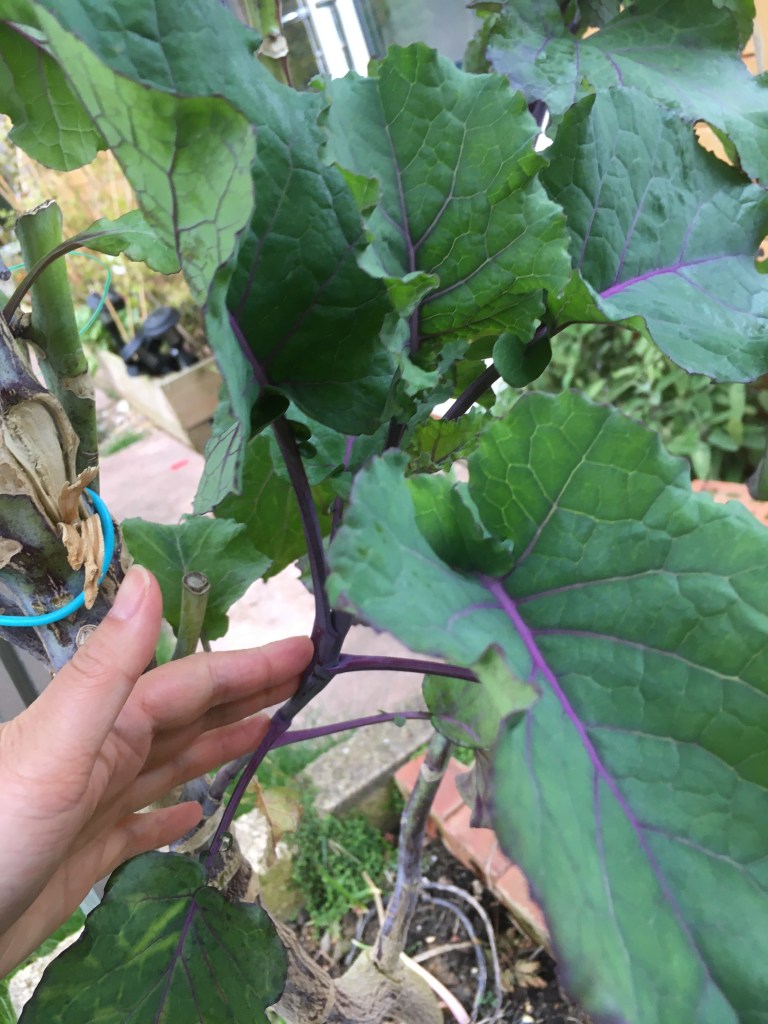
The flower shoots are the best bit and can be eaten like purple sprouting broccoli. They taste a little bit like a cross between purple sprouting broccoli and mustard greens. The texture doesn’t quite have the same bite as purple sprouting broccoli. It is more like the stems of the Chinese vegetable choi sum.

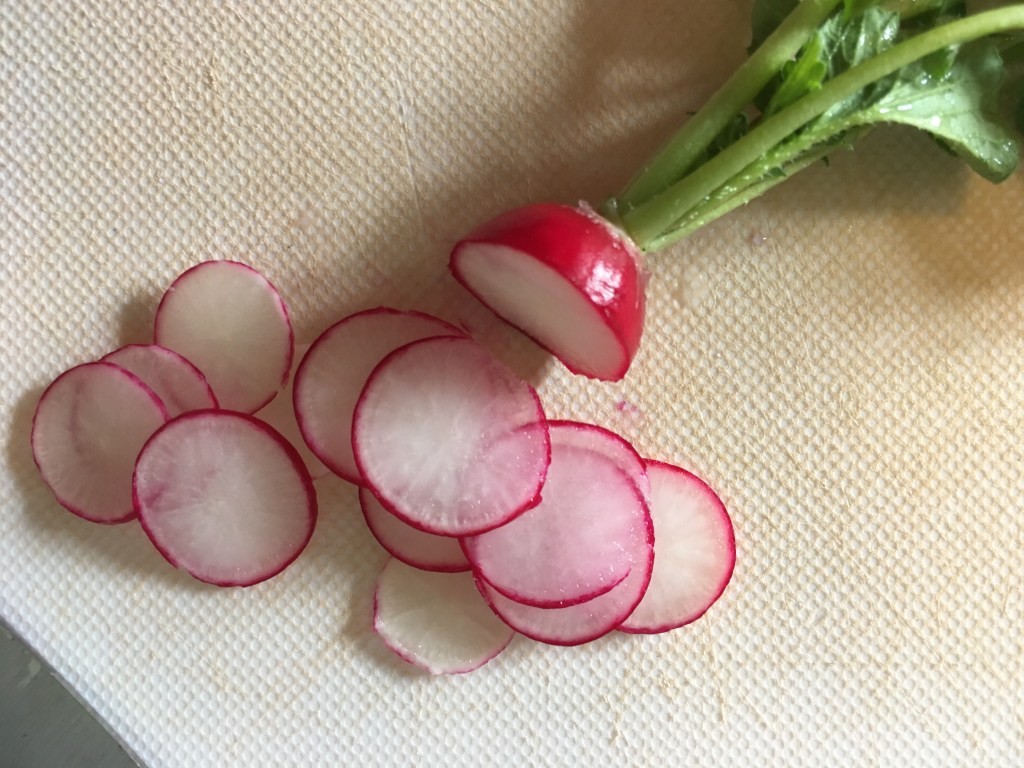
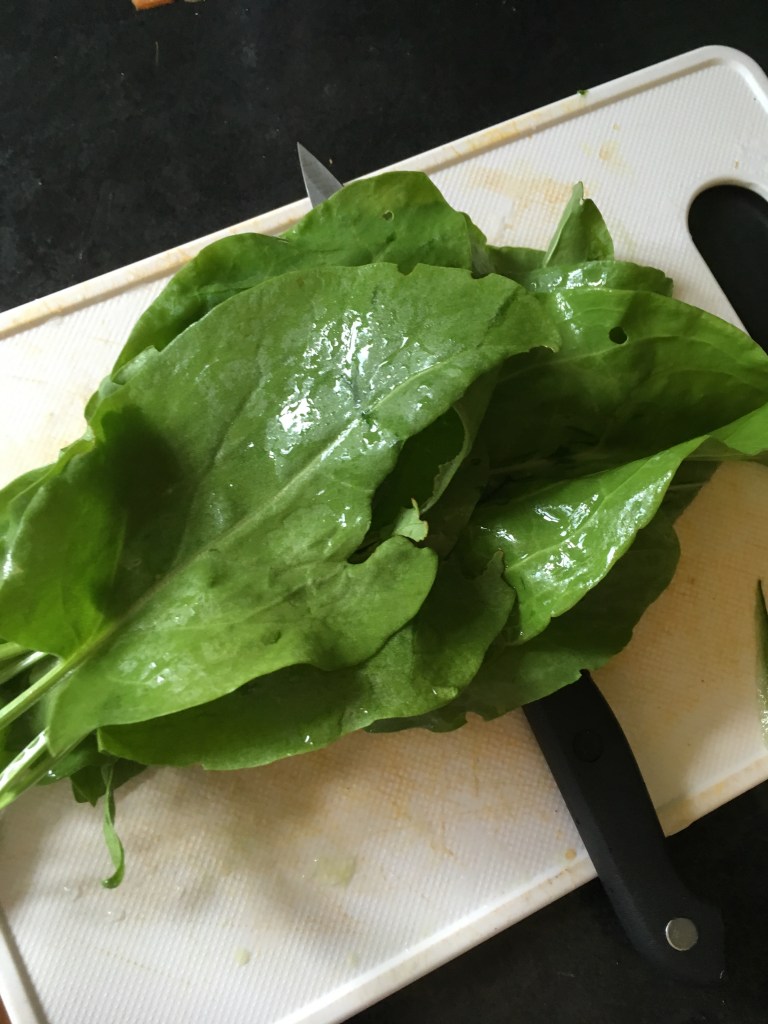
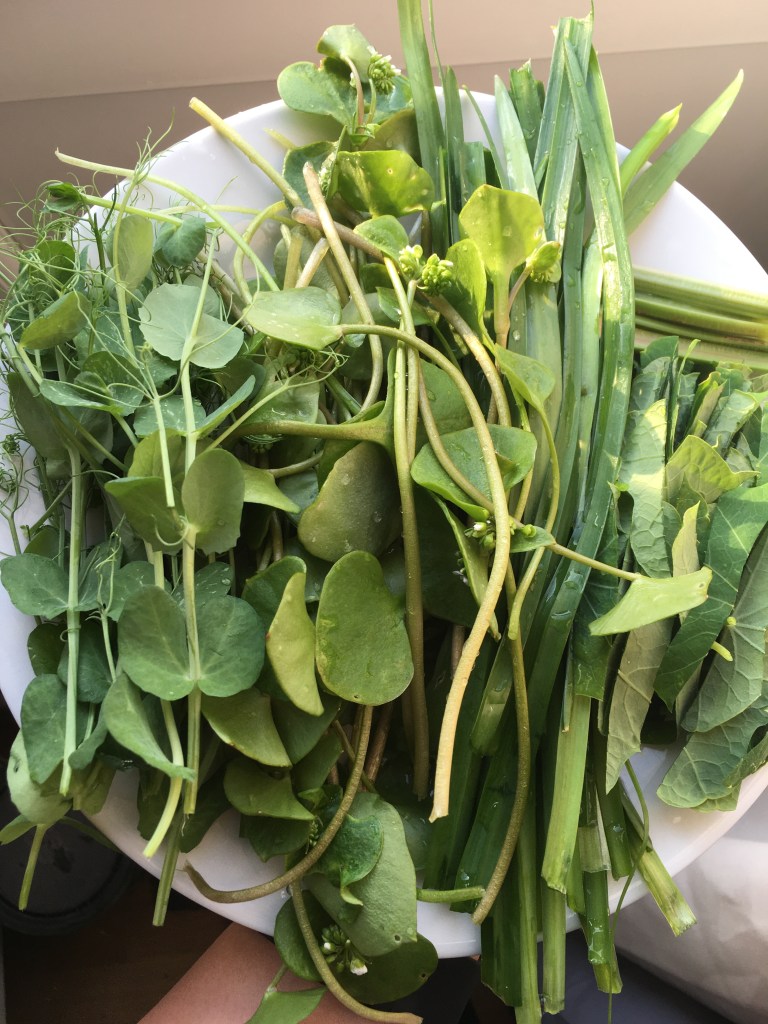
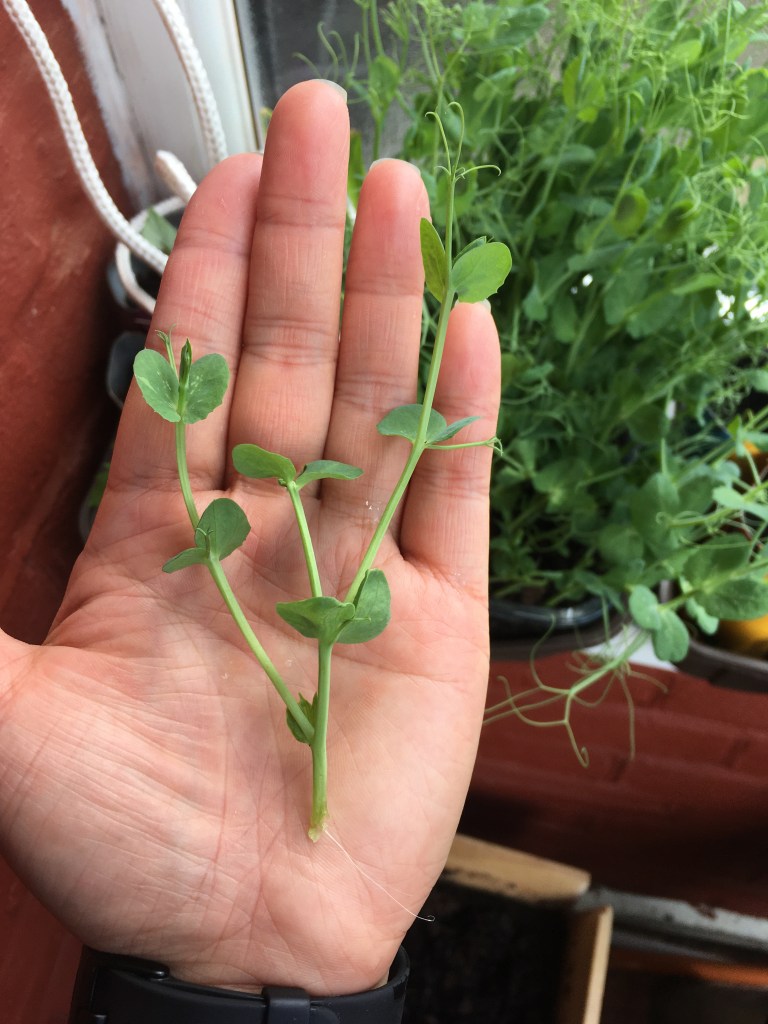
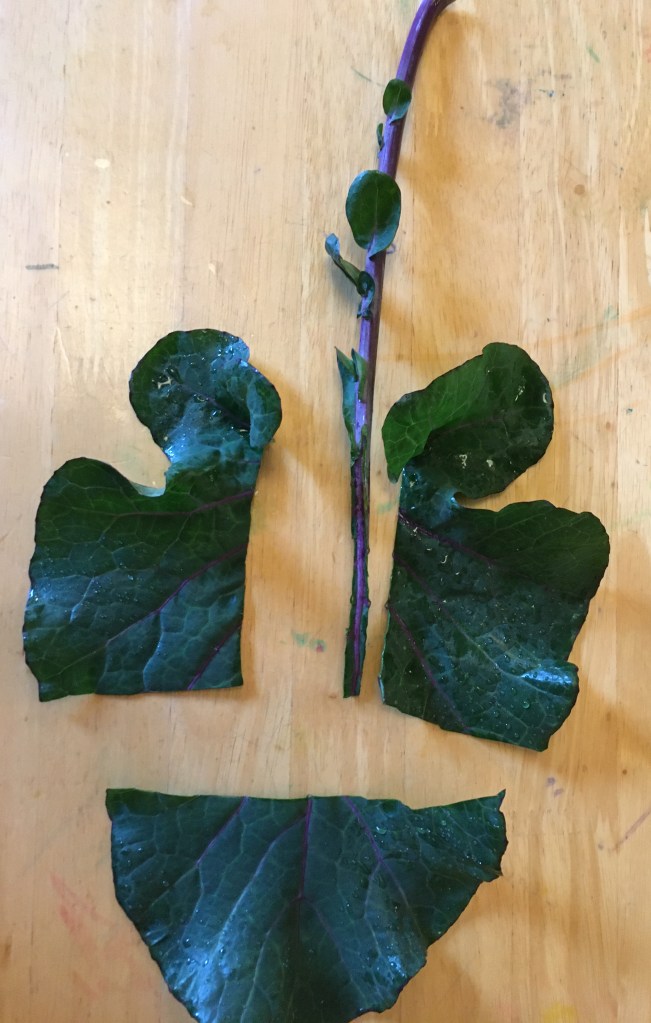
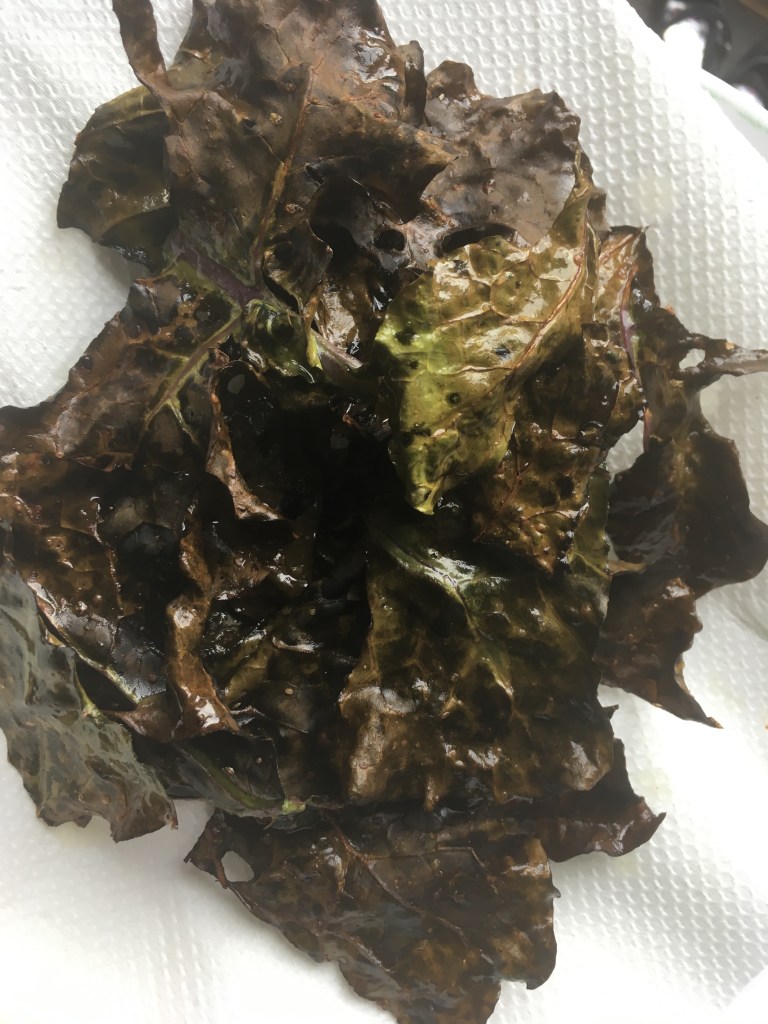
freshly harvested 
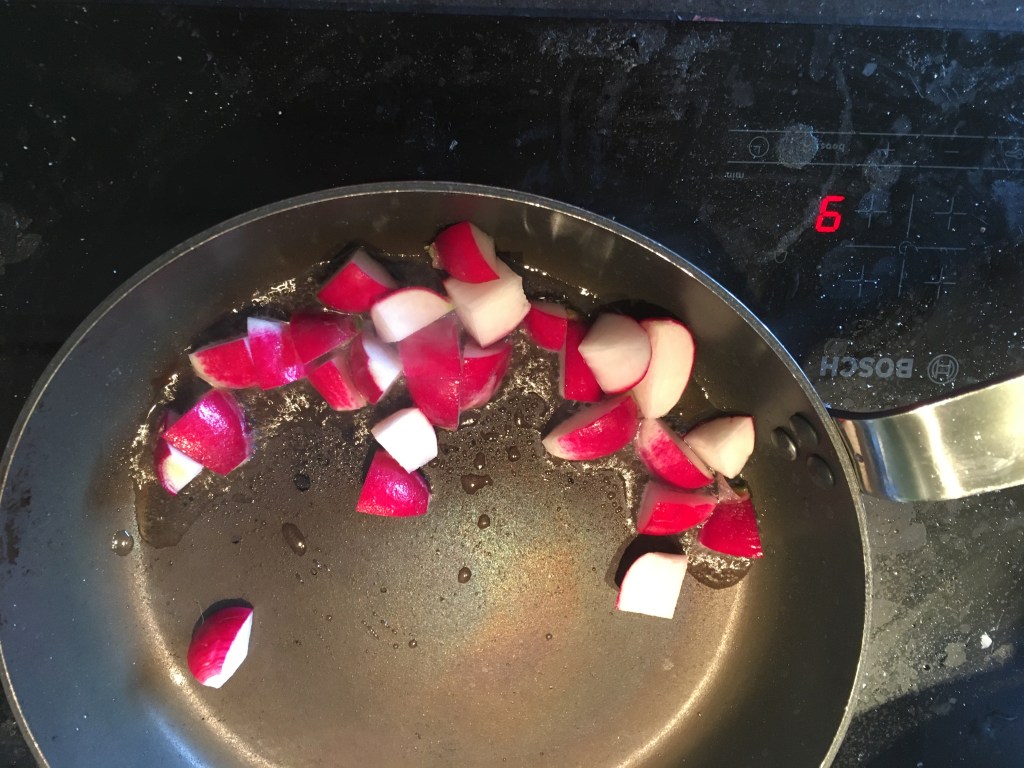
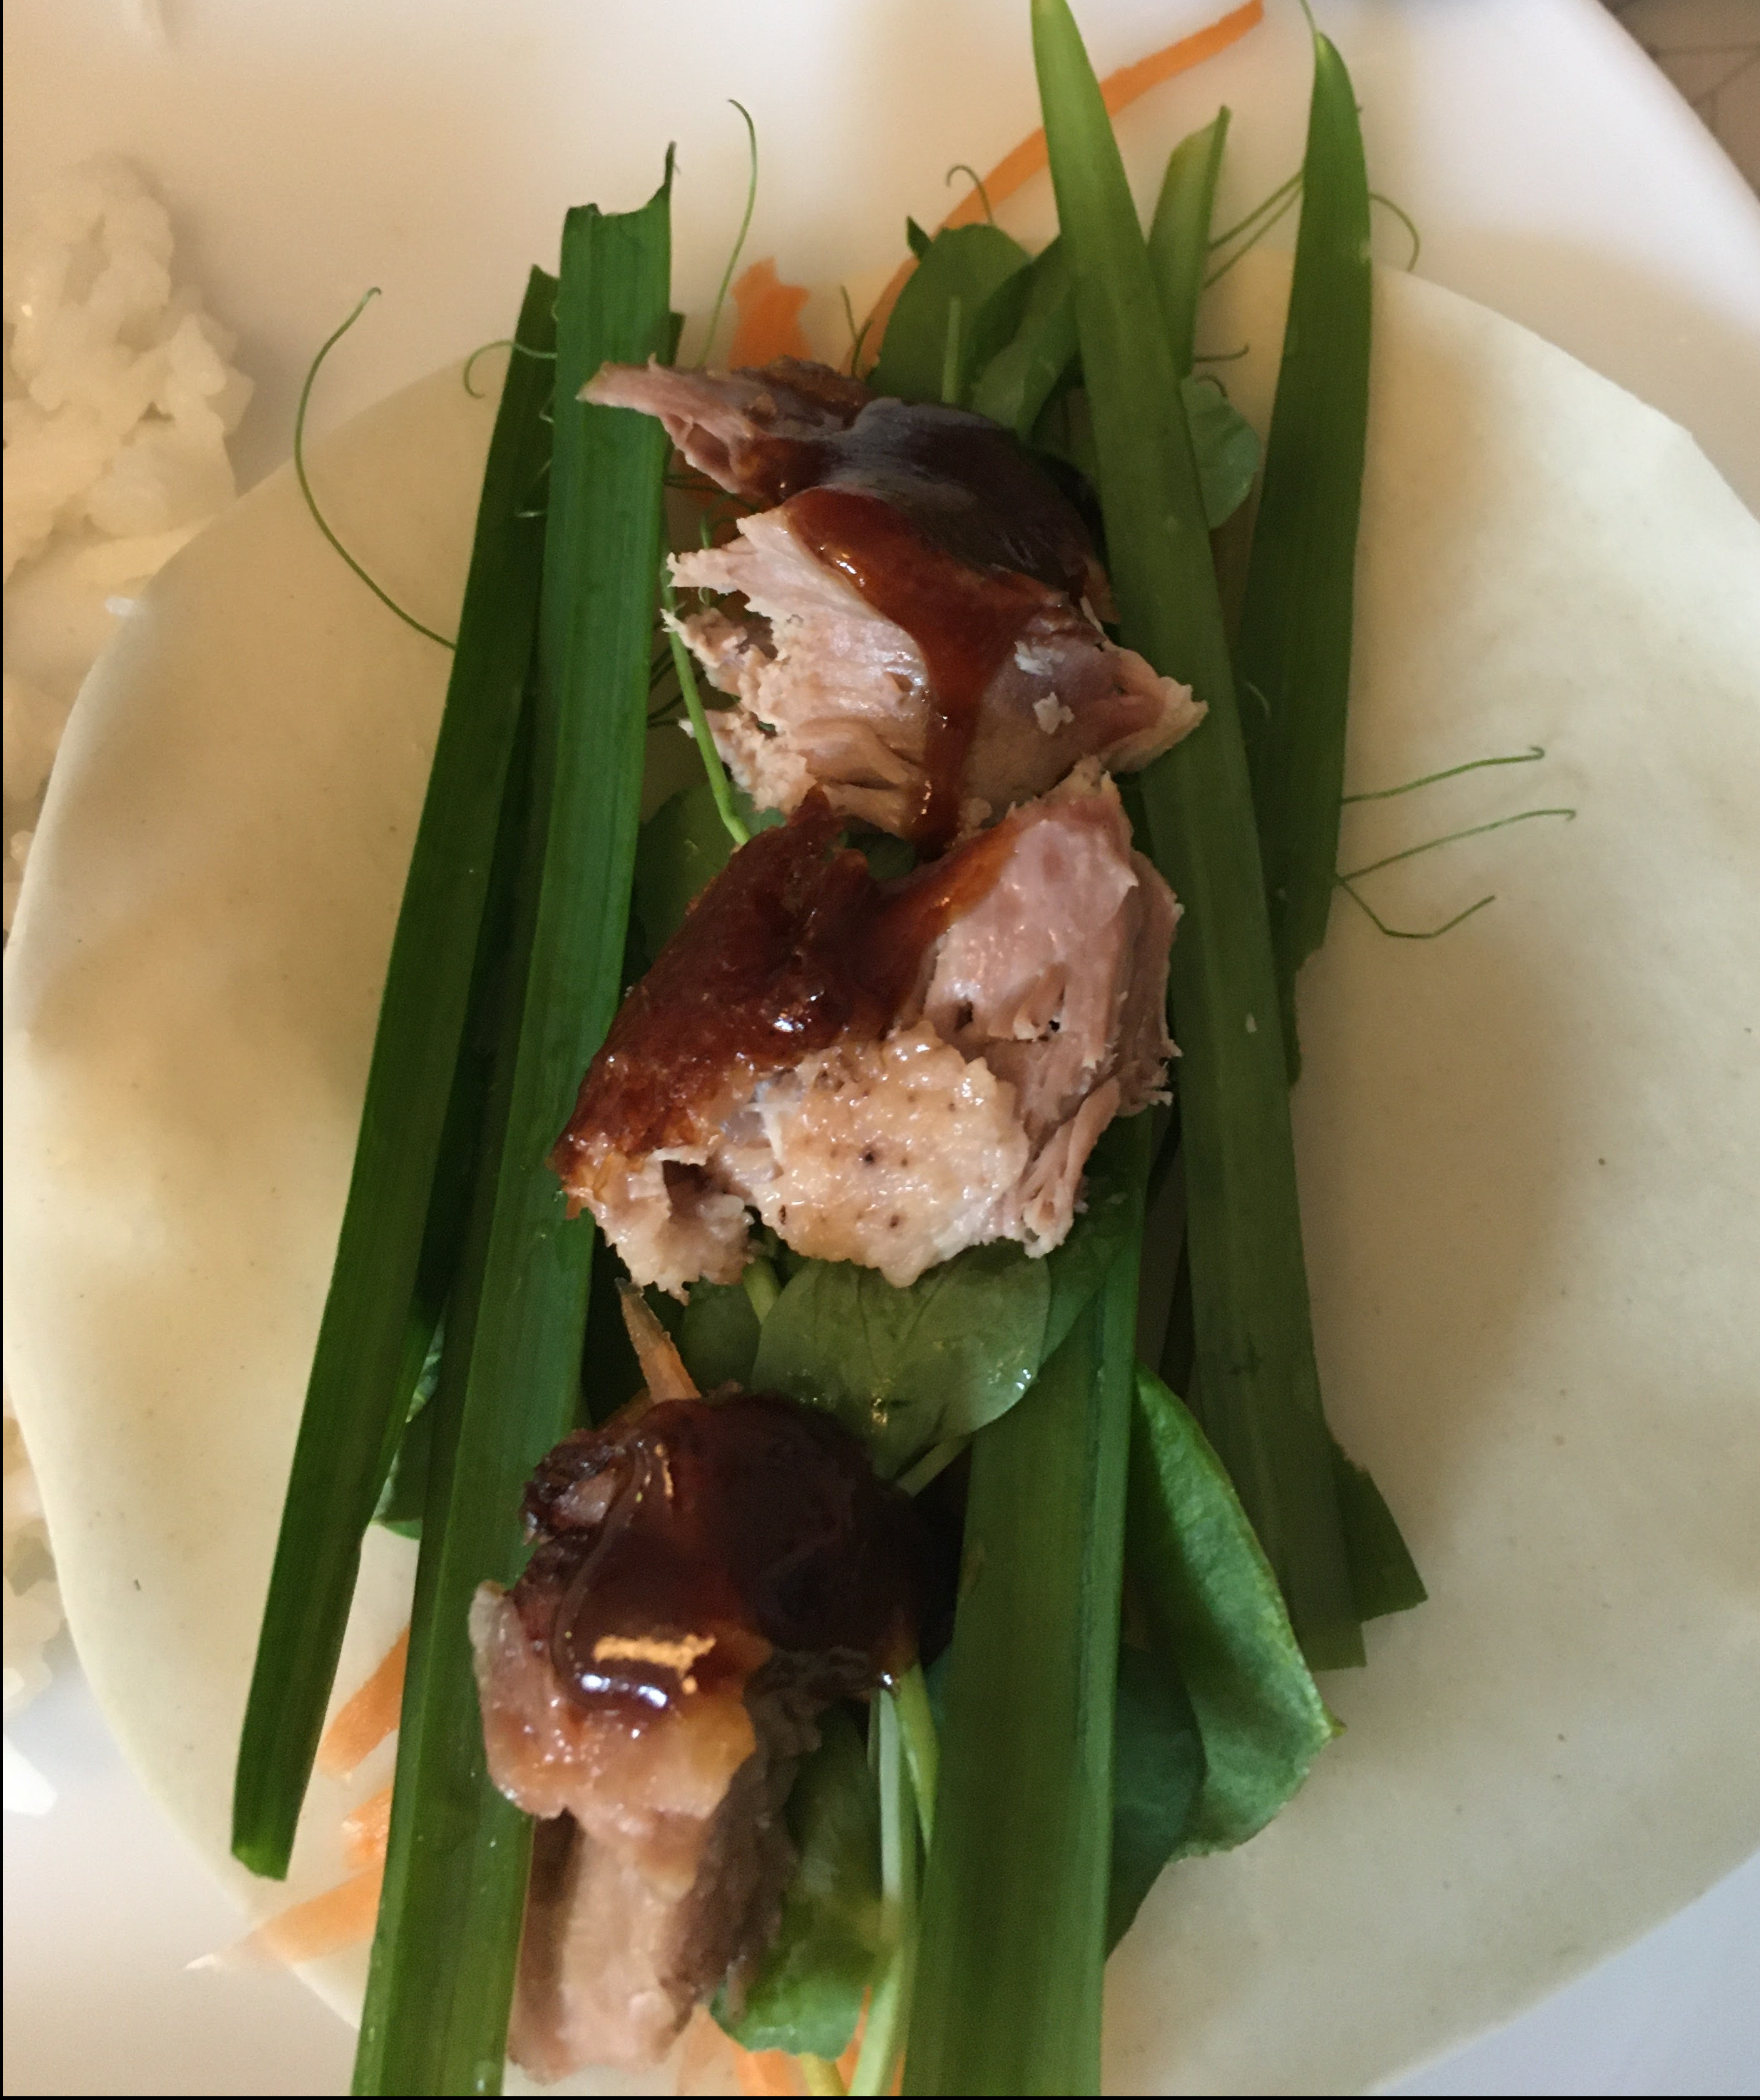
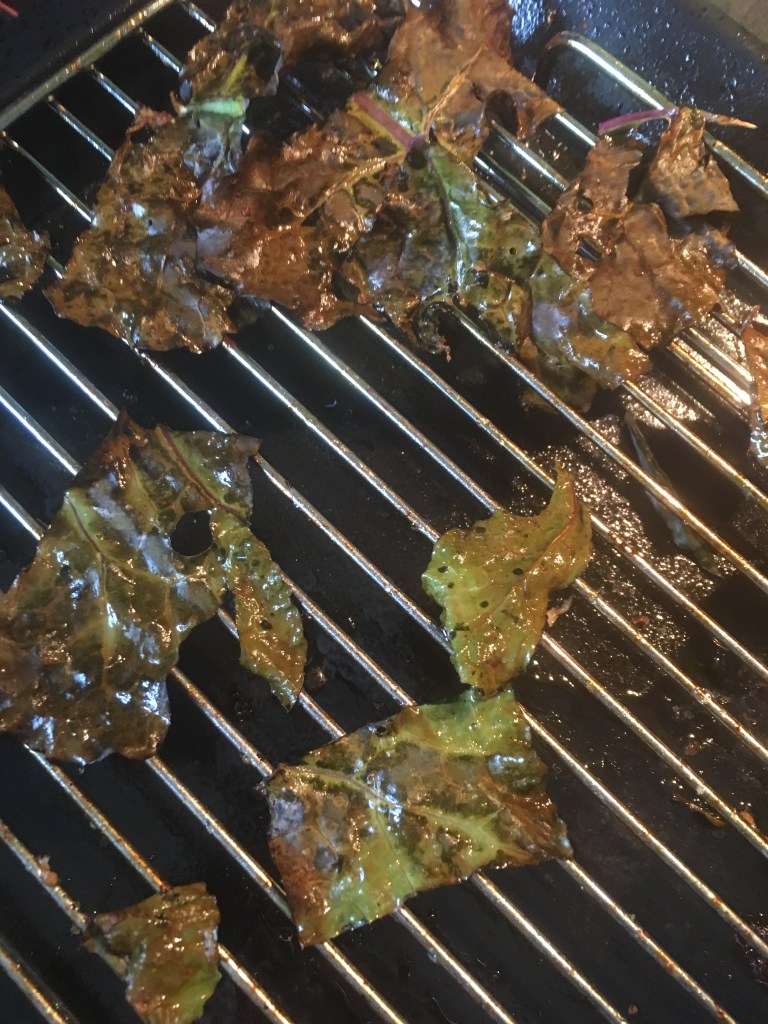
blanched and then added to a hot pan with a little oil and garlic 
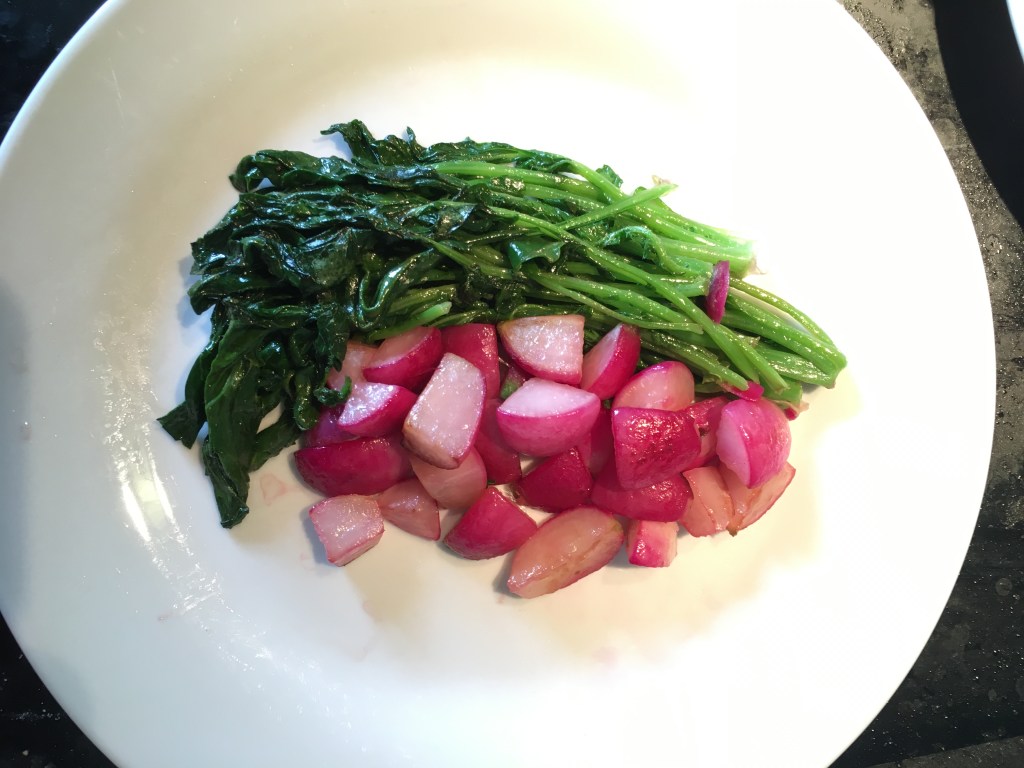
growing to dinner in 10 mins
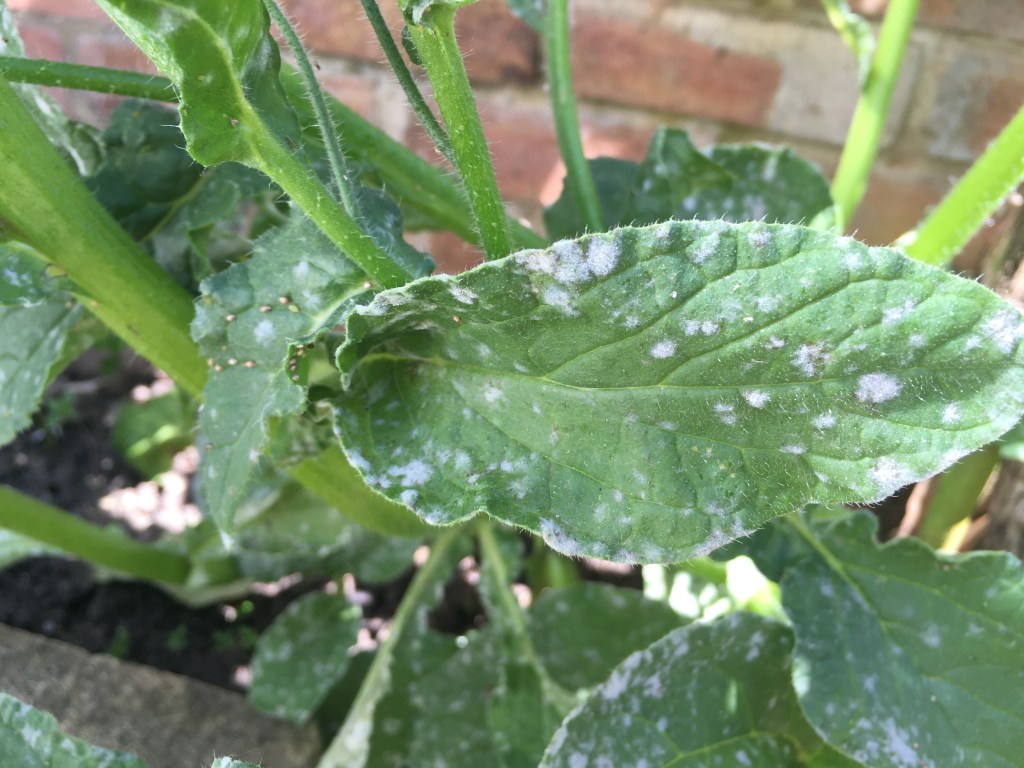
Problems
I only added this bit because one of the best things about this plant is that I have never seen any pests on it. It seems to be untroubled by my usual brassica diseases like powdery mildew. It grows like a weed and doesn’t need any tending at all. It’s true that I have only had it for 2 1/2 years but in that time after the original sowing and then planting out all I’ve done is harvest and eat.