Short version:
A well known, long lived, perennial vegetable that tastes far superior to shop bought when home grown. It requires fertile, well draining, water retaining soil in a sunny spot. A great spring vegetable that grows in the hungry gap and once established requires little attention other than weeding. It takes some effort to start an asparagus bed and you’ll need to be patient enough to wait 3 years for the first harvest.
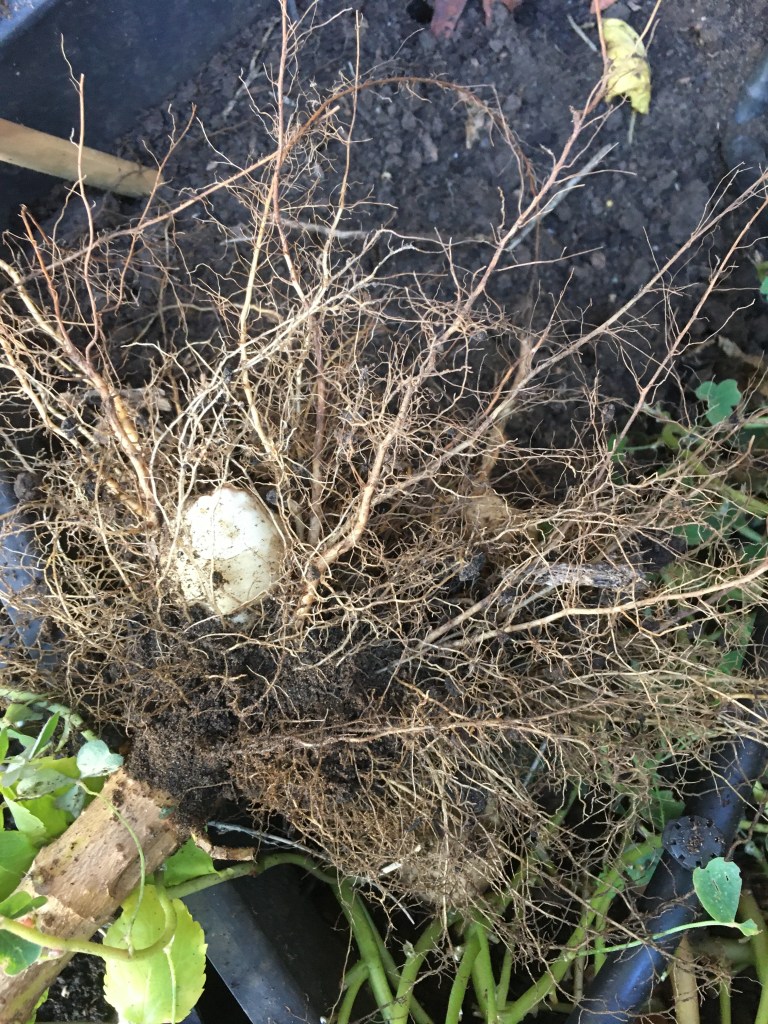
Asparagus (asparagus officinalis) is the first perennial vegetable that I grew. 2 plants have been with us for 13 years and through 2 house moves. I think the variety was Gijnlim, bought as crowns from the pound shop. They started off in the first home in the ground, in a garden that was about 3x4m. When we moved to a new place that had a paved garden about the same size, I dug up the asparagus and took it with us. It lived for 5 years in a very large pot, coincidentally in Battersea near the Asparagus pub, so named because the area was famously known for growing asparagus.
They’re now in a raised bed and new asparagus plants have joined them (varieties: Connovers Colossal, Jersey Knight and Crimson Pacific).

How to grow
Before you grow asparagus, you need to understand a little about them. They are perennial plants that love fertile, well draining, moisture retaining soil i.e. with lots of good compost in it.
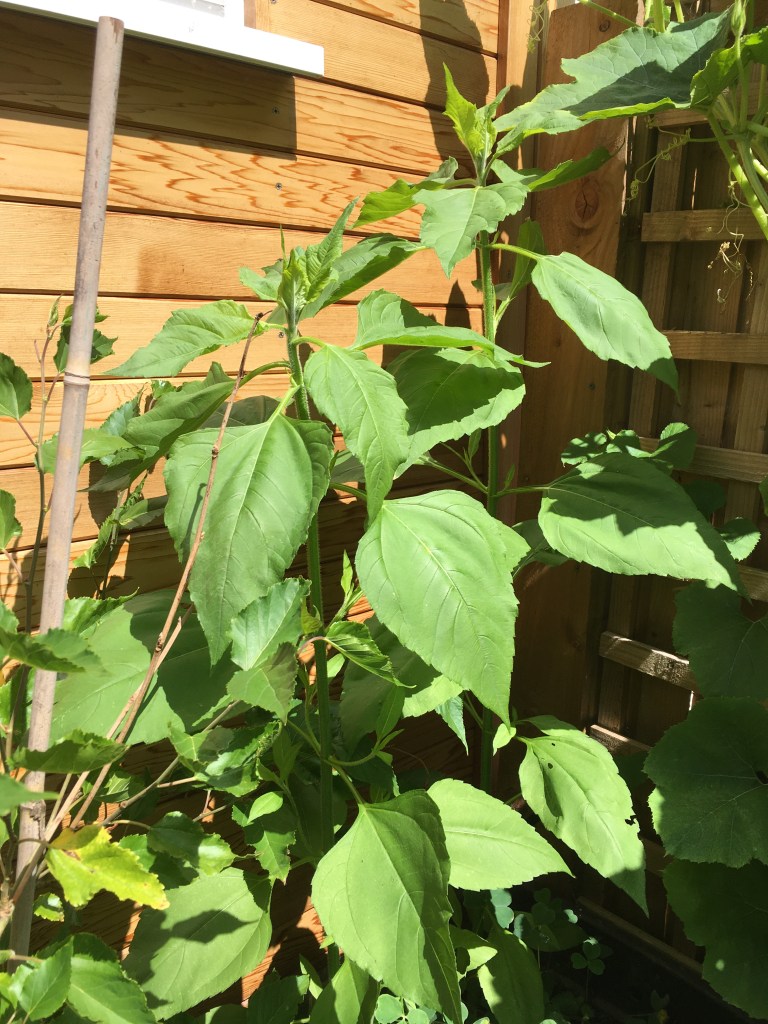
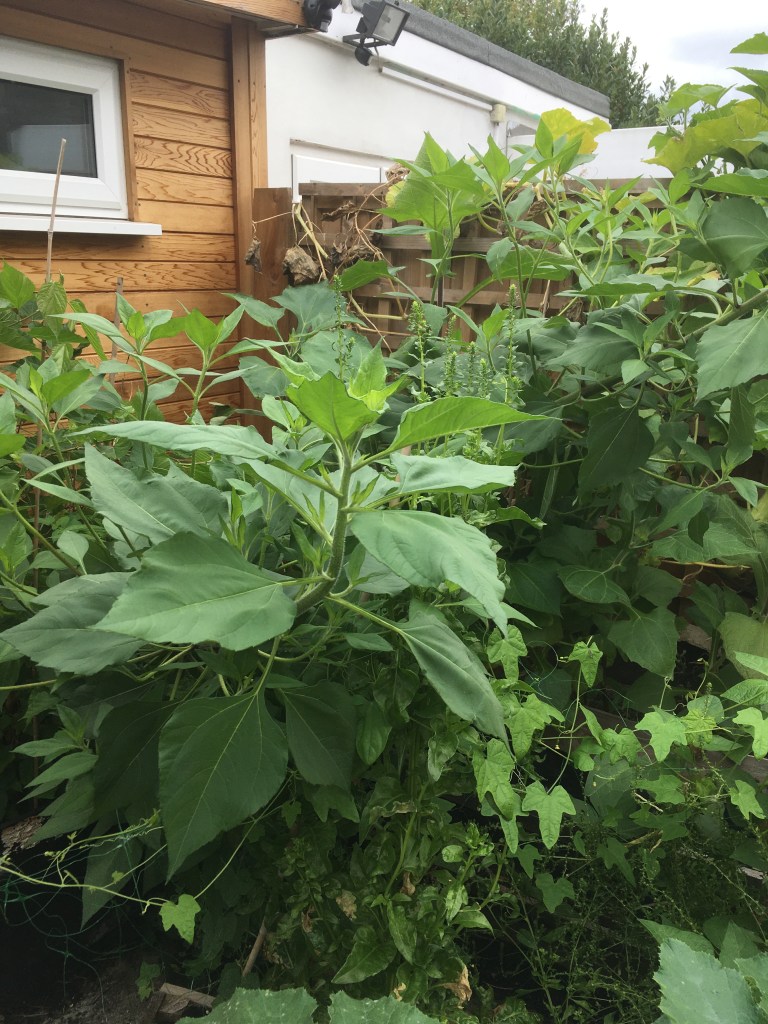
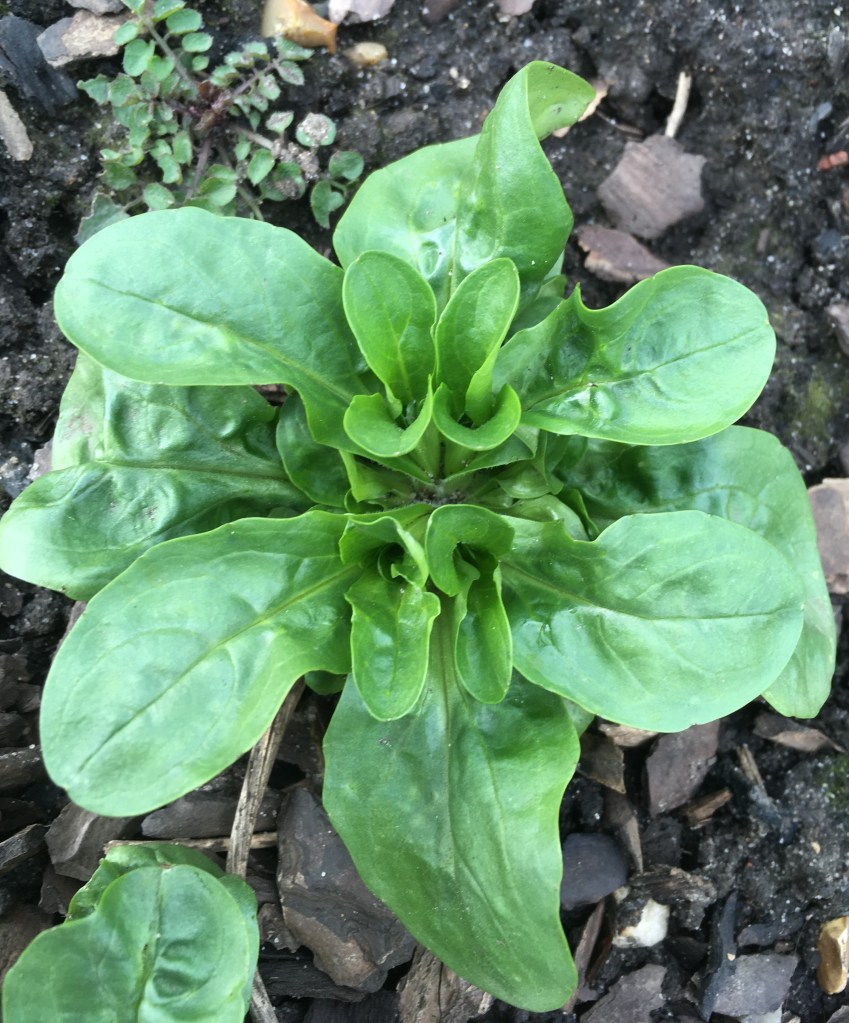
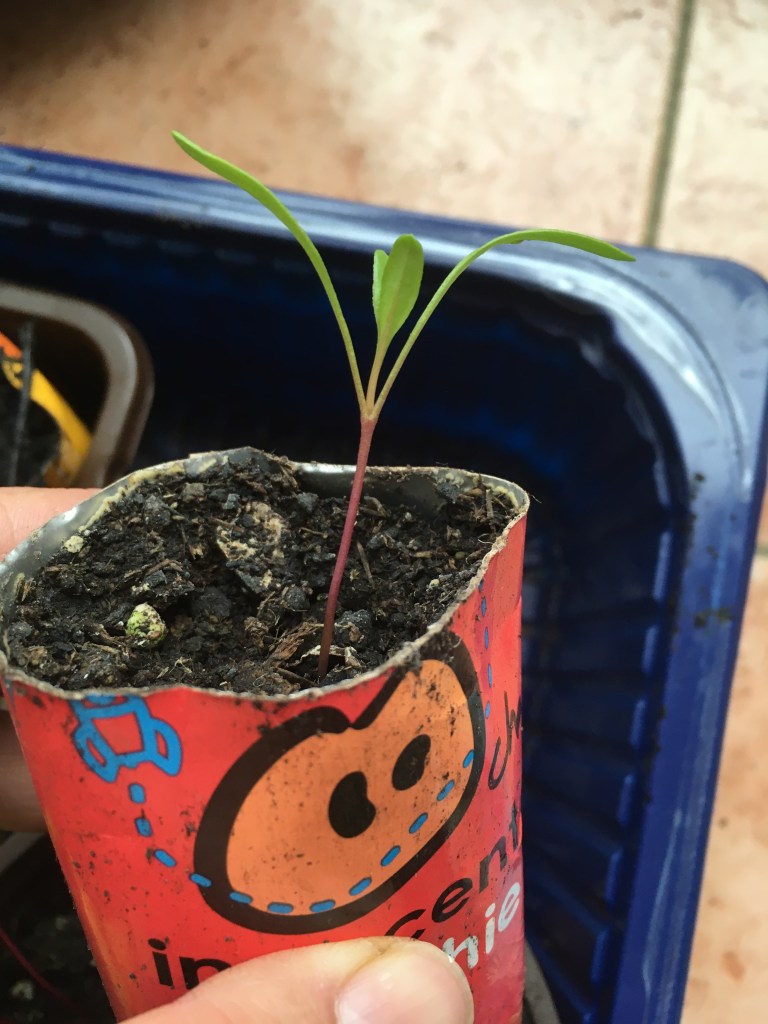
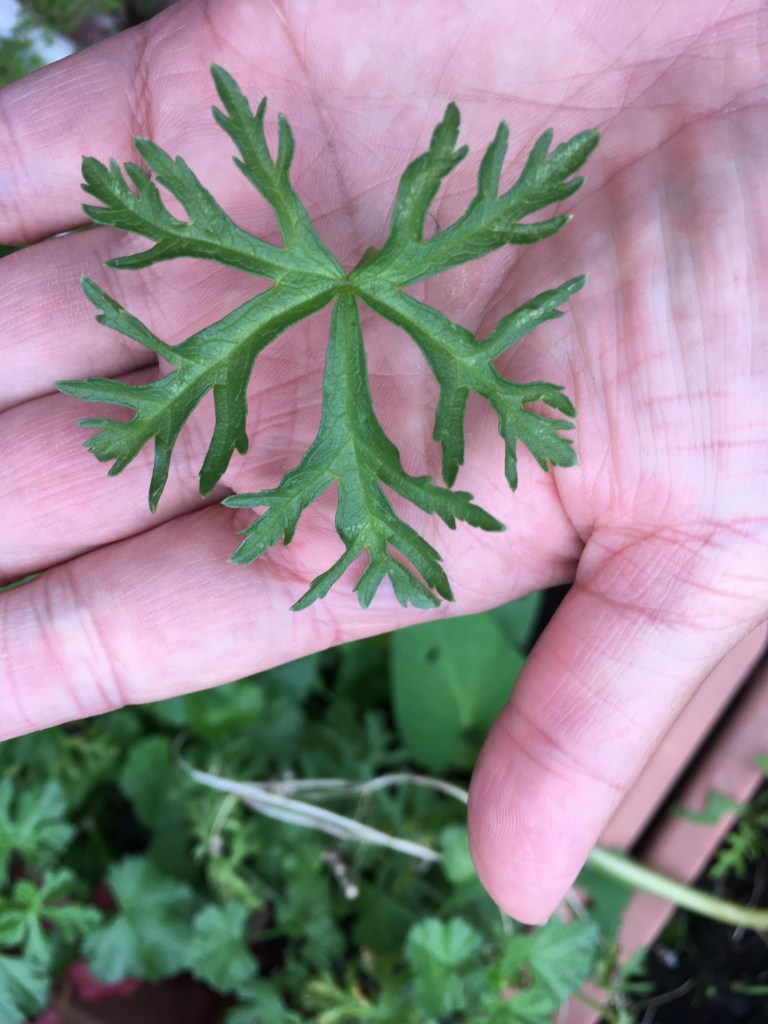
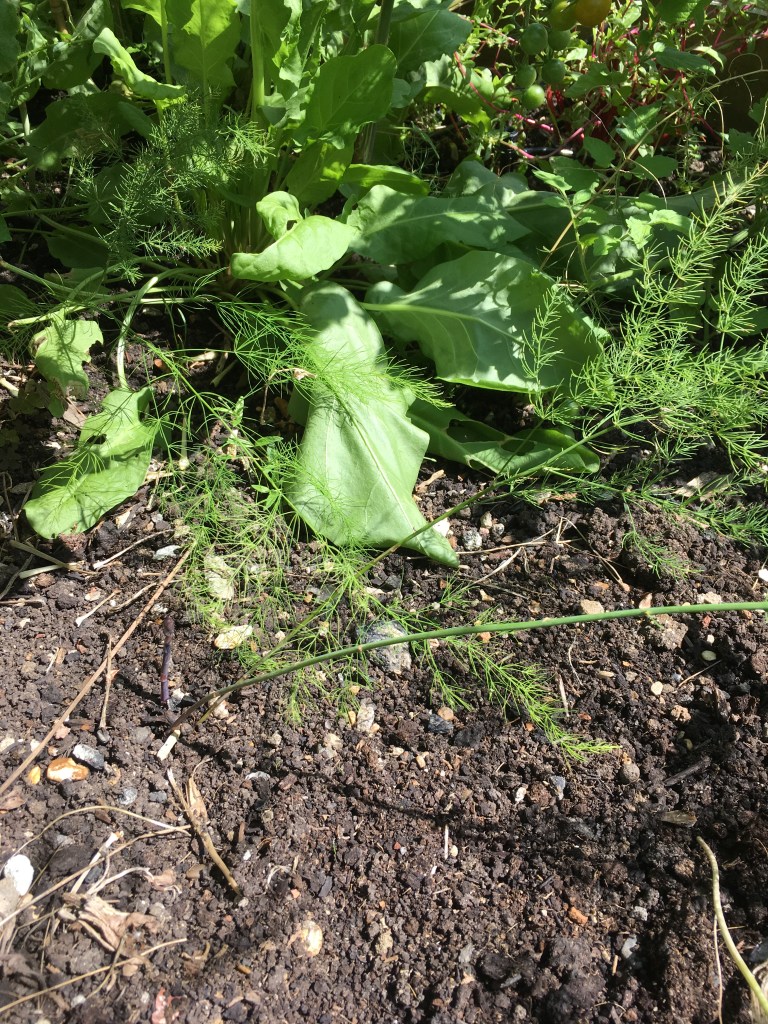
When you start with a seed, for the first couple of years, the stems are very thin and unrecognisable as asparagus. They reach their feathery frond state (in the picture above) at about a foot tall. These leafy green tops need to be left for the first few years to photosynthesize and provide sugars for the plant. Asparagus should ideally not be harvested till the plant is 3 years old. When the plant is established, in early spring they send up the spears that you recognise from the shops. They grow upwards in their closed bud state and then begin to branch out. The stem gets tougher as thin green branches covered in thin feathery foliage appear off the main stem. With established plants, once the spears being produced become thinner than a pencil you should leave them to grow and feed the roots.
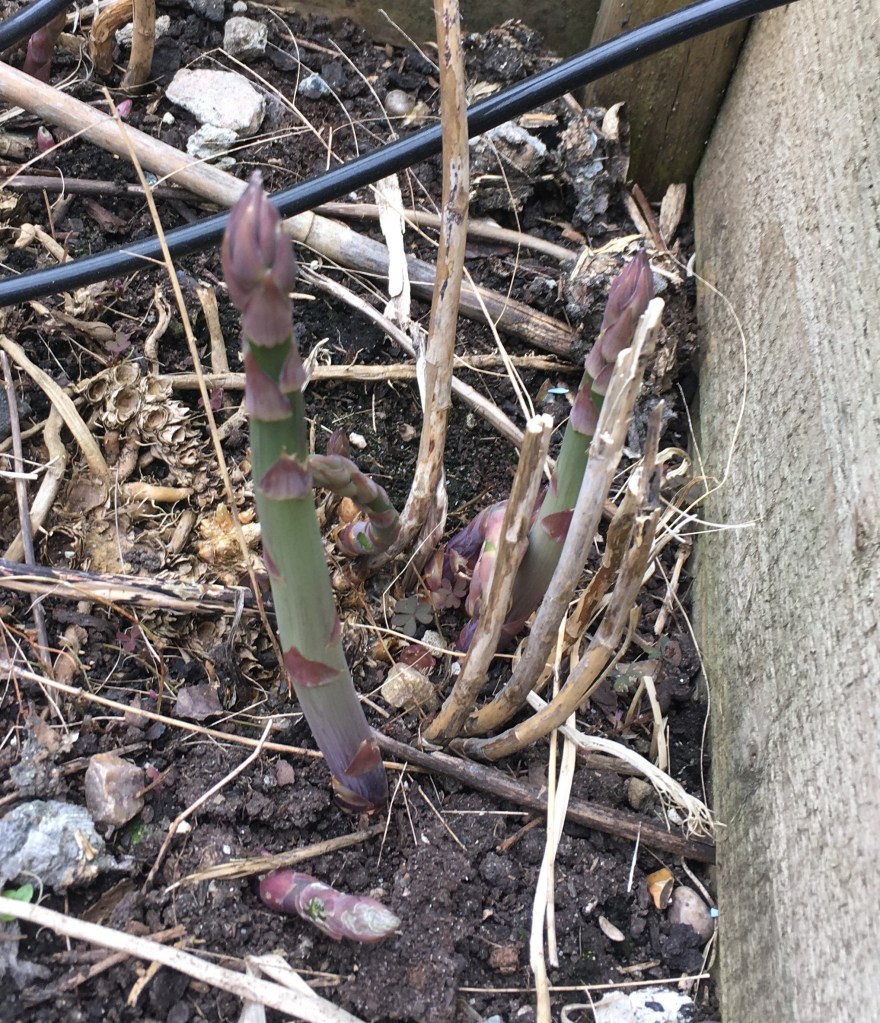
The recognisable spear… 
grows tall… 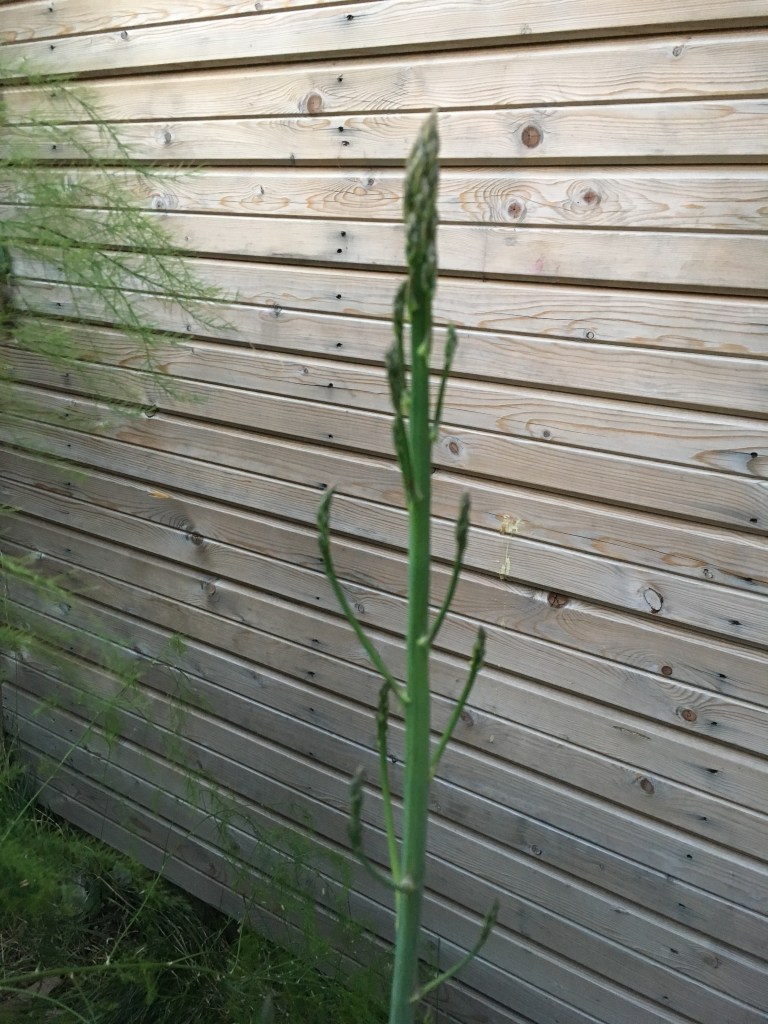
then starts to branch… 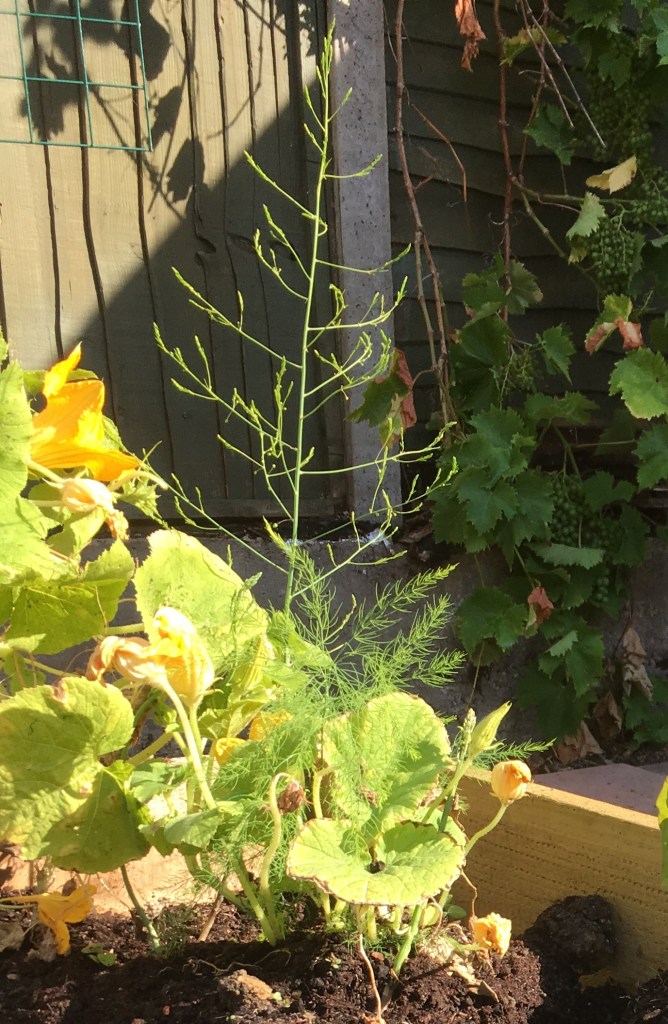
and then the leaves start growing. 
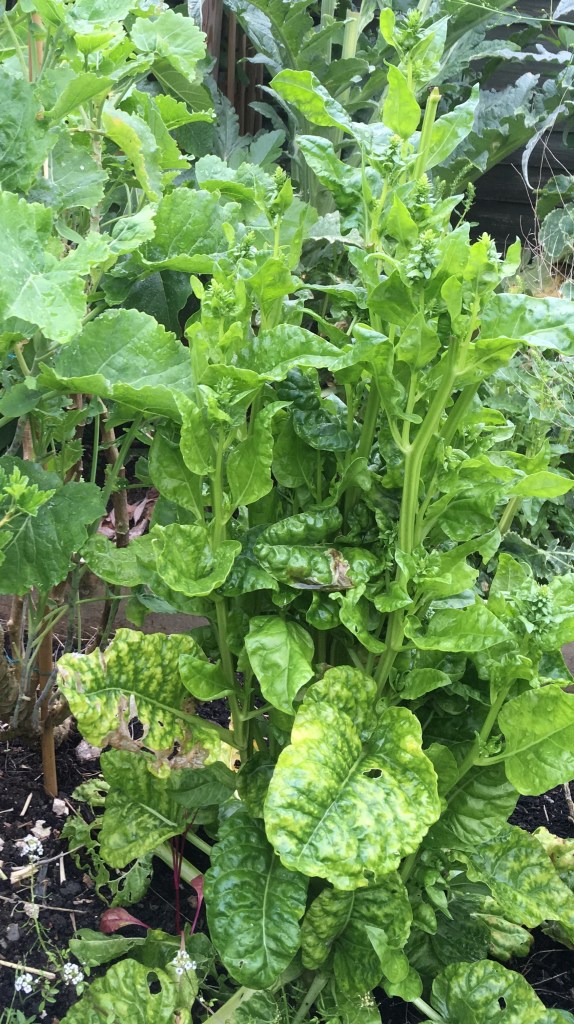
A well established plant looks like this in August after some of the thinner spears are left to grow.
Males plants are reported to be more productive and less prone to disease. The female will produce little poisonous scarlet berries the size of a petite pois. You could save seed and propagate new plants. This is free, but as you can see from the info above, requires much patience.
Organic matter
However you choose to grow asparagus you should prepare the ground they grow in by one of the following:
- In spring, when planting, dig a 20cm deep trench and incorporate 5-10cm of well rotted manure into the base of this trench and then fill it with 5-10cm of the original soil. How much you fill the trench will depend on whether you’re planting plants or crowns.
- In winter for the environmentally friendly, recycling, cheaper route you can also dig 30cm trench and fill this with lots of green kitchen waste and brown waste like shredded cardboard. If you mix it in well with the soil around it, it will breakdown in a few months (hole composting) ready to receive the asparagus plants in spring.
Growing from seed

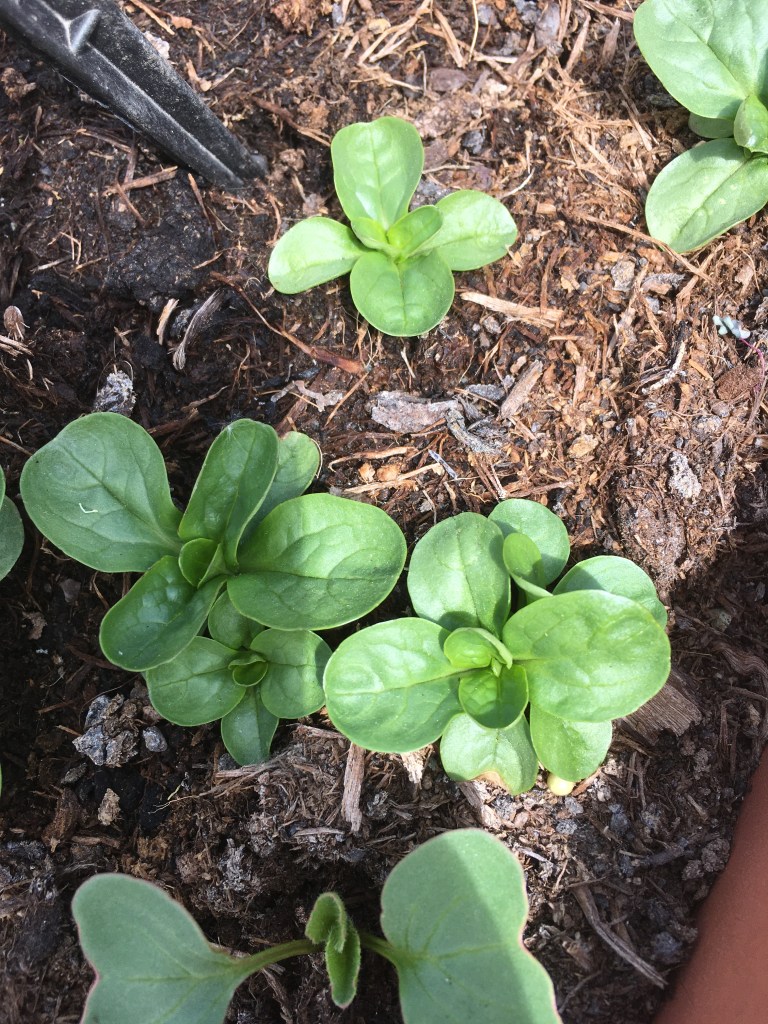
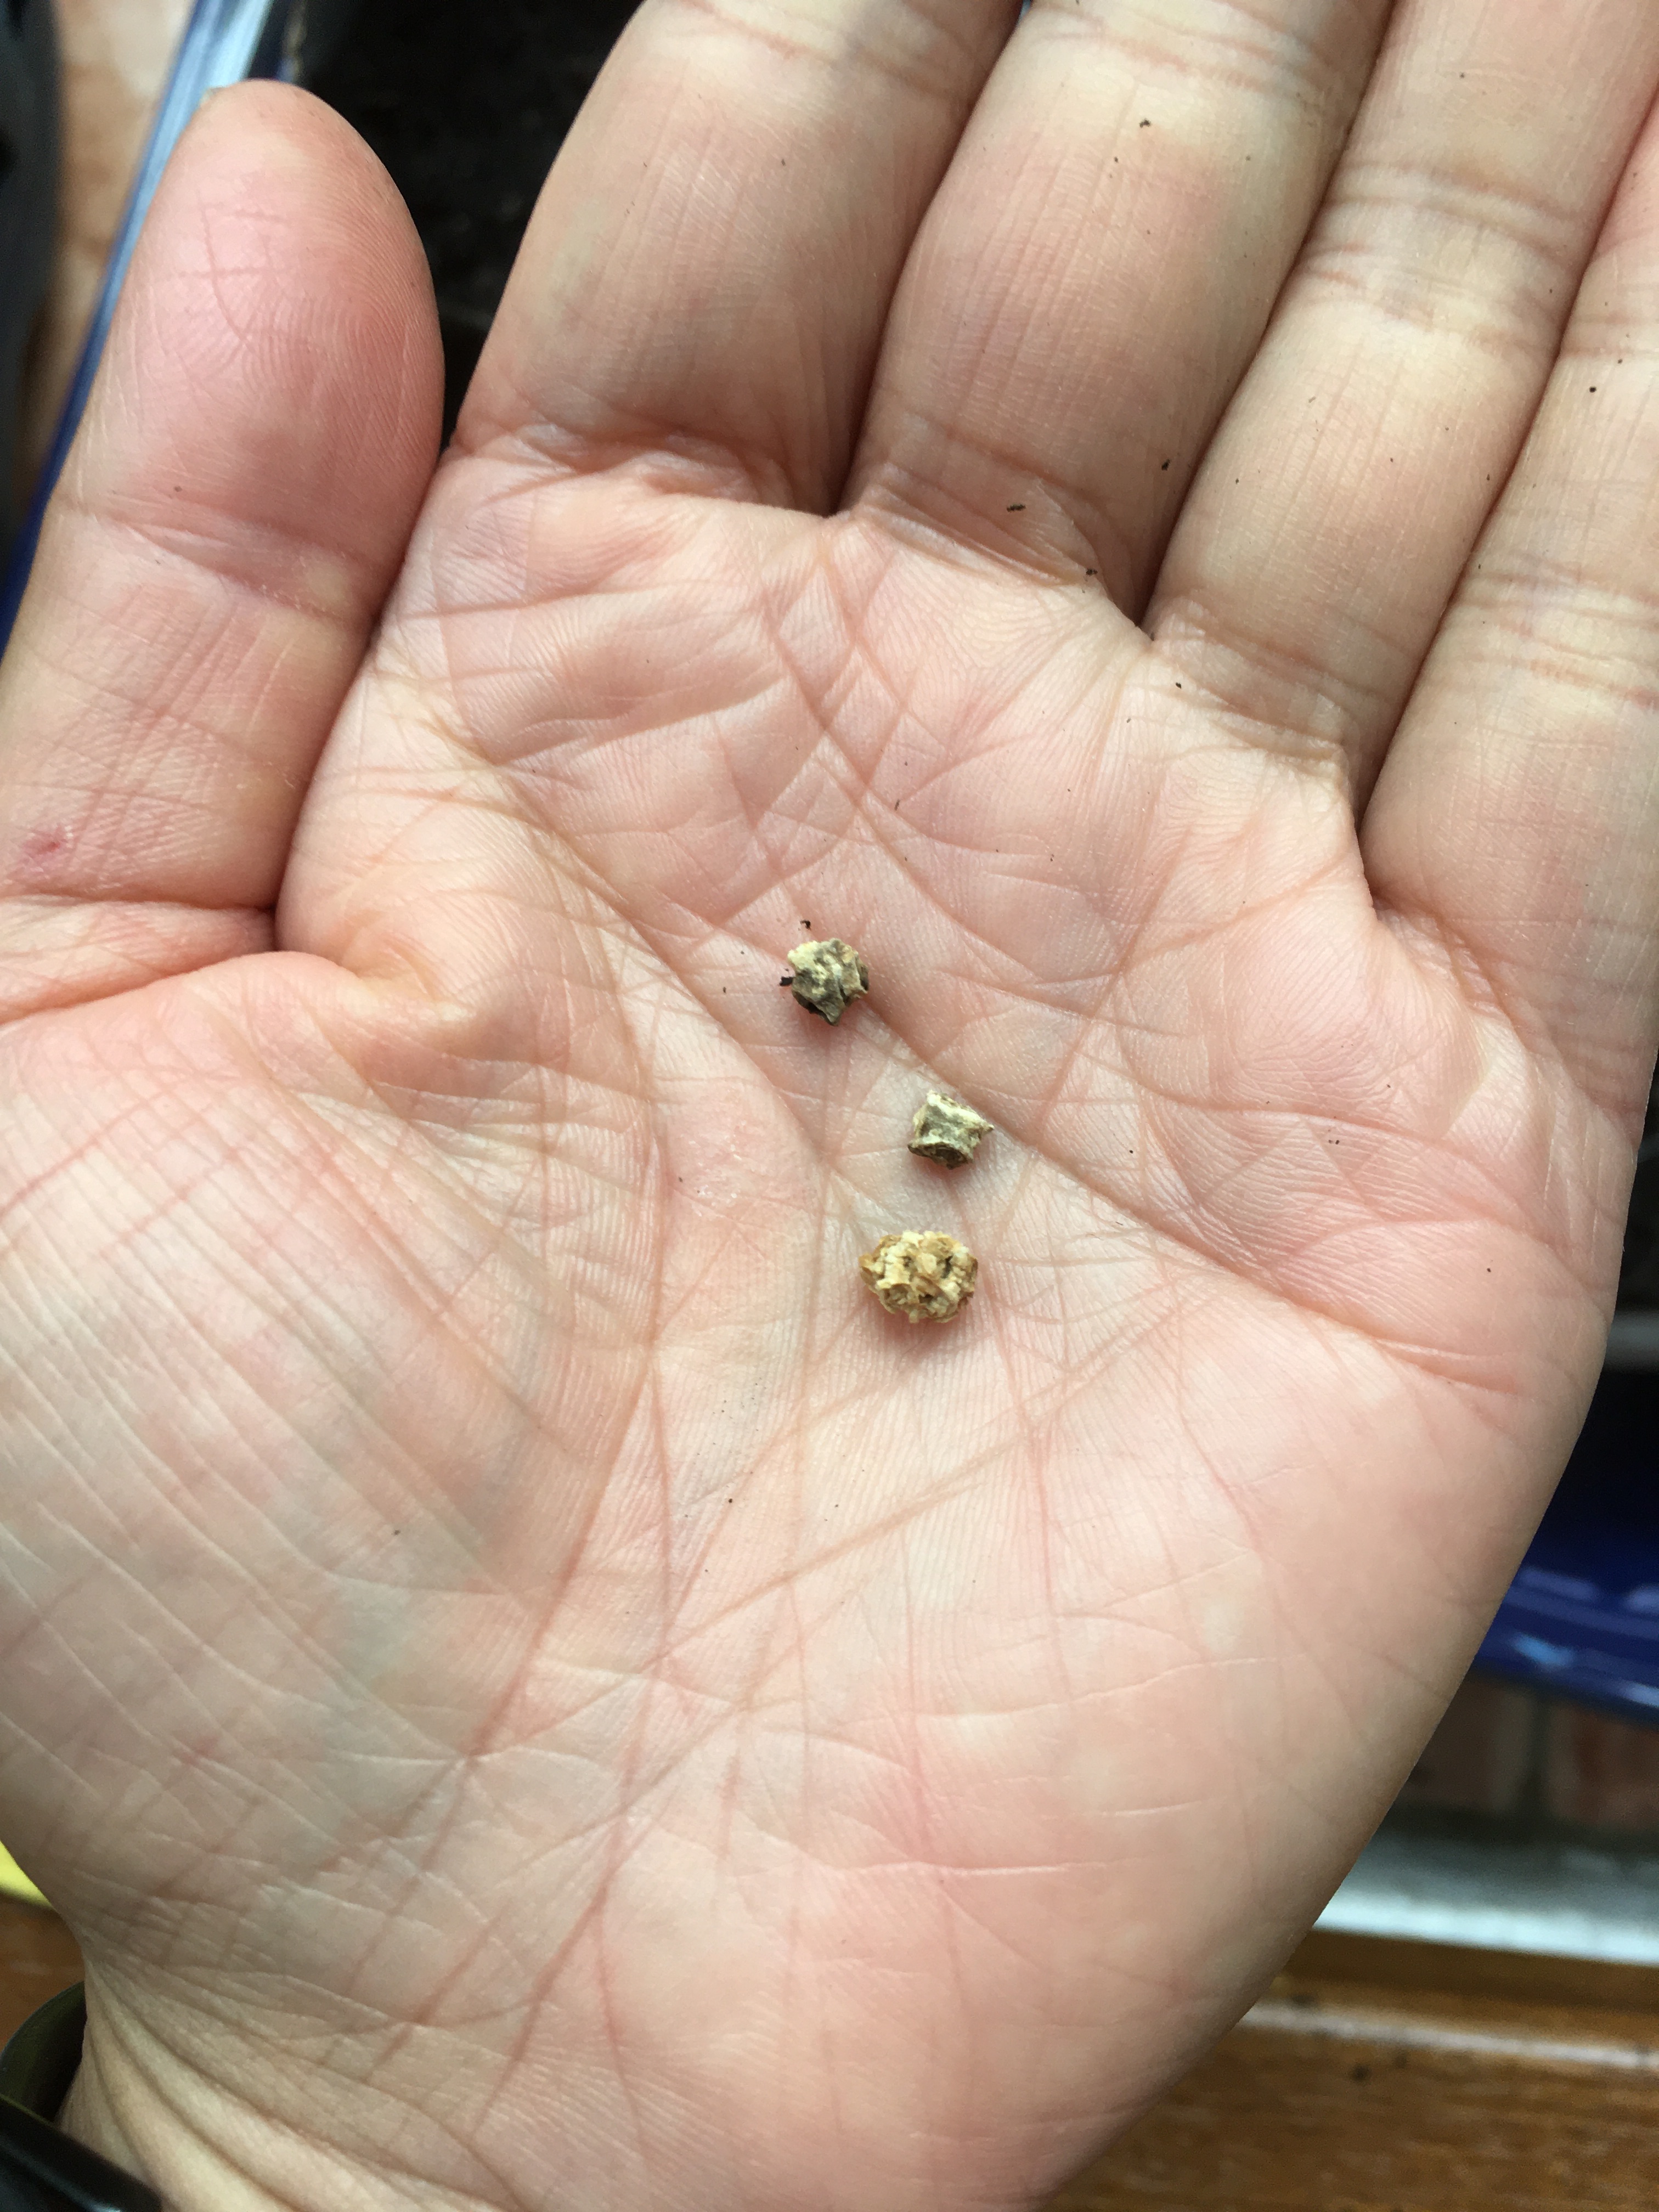
This is the very cheapest way to get asparagus. Sow single seeds in pots (or toilet tube rolls) indoors about 2cm deep in late winter. These can be transplanted into the garden late spring (biodegradable pots, like loo rolls, makes this more gentle on the fragile roots). The seeds can also be sown direct mid-late spring when the weather warms up. The picture shows three little seedlings pulled out so you can see the size of the seed and the roots (don’t do this with your seedlings).
Growing from plants
You can buy little plants from specialist nurseries online. These are seedlings that are a few months old. These are cheaper than crowns but will take longer to establish.
Growing from crowns
Crowns are the roots from a year old plant. If you are adding the well composted manure in the spring then you make a mound in the trench after you’ve added your 5-10cm of soil back. If you went the composting kitchen waste route the dig a hole about 15cm deep and then make a mound in the middle. Spread the roots of the crown over the mount like hair on a head, with the growing shoot buds facing up. Cover with soil leaving the bud tips just about visible. Water in to remove any air spaces in the soil.
Plants should be around 30cm – 40cm apart.

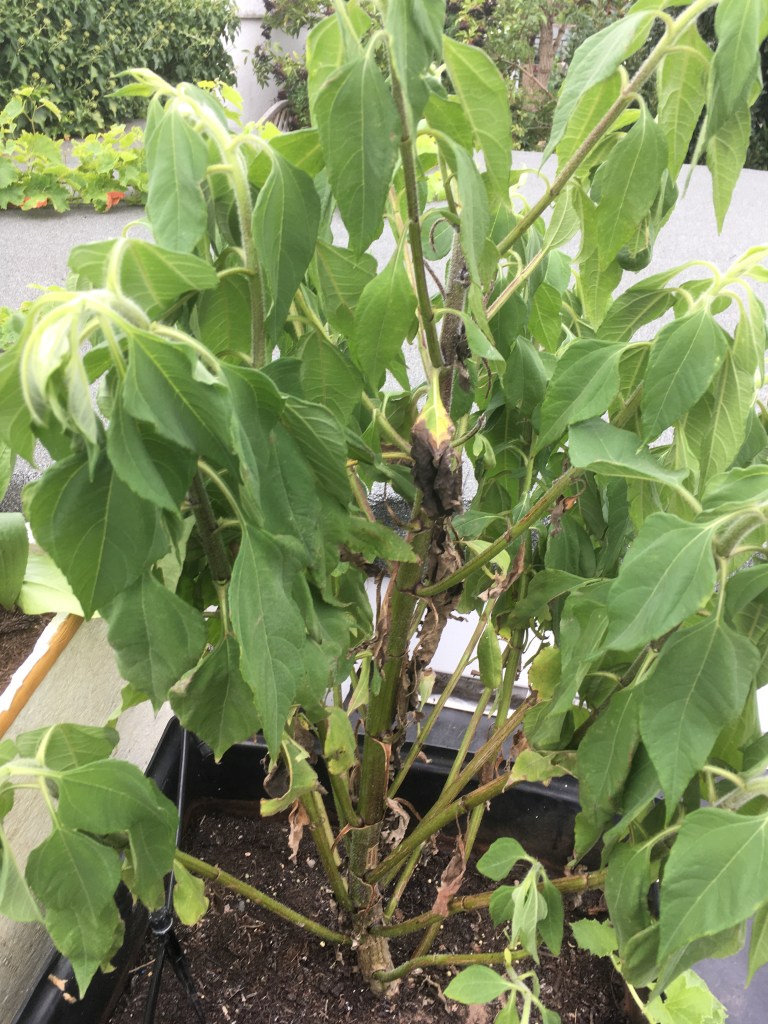
In late autumn when the leafy fronds have turned yellow you should chop down any of the above ground growth. I either put these in the compost bin or sometimes chop them into smaller pieces and spread it over the ground as a mulch and to try and deter the neighbours’ cats from pooing on my soil. At this point you could also mulch with some well rotted manure.
You could also add some blood, fish and bone, or other general purpose fertiliser in early spring before growth starts. It’s worth nothing that organic fertilisers are less prone to run off and therefore less likely to cause eutrophication.

How to Harvest
You will need to wait till the plant is around 3 years old (2 years if started from crowns) before you can start harvesting. Once you get shoots that are thicker than a pencil you can harvest by cutting the spear at the base with a knife. In this third year you should only take a couple of shoots. Leave any shoots that are thinner than a pencil. Through the season the plant will generally produce spears that are thinner and thinner. Once plants are established, spears can appear as early as the last week of March and last for about 2 months before you need to leave the rest of the spears to turn into the feathery fronds that can then photosynthesise and feed the roots. This makes it a welcome vegetable in the hungry gap.

How they taste
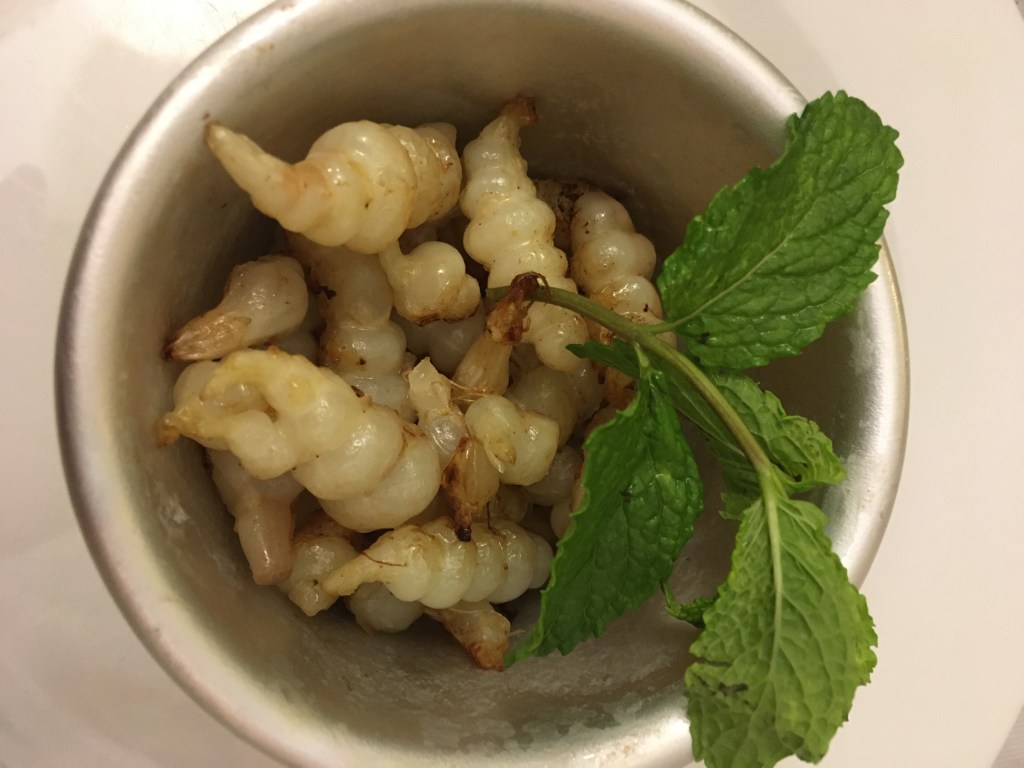
Once you eat fresh, home grown asparagus, the stuff you get in the shops seems absolutely pants in comparison. I guess it’s hard to describe the taste of asparagus as it tastes… well… like asparagus. However, if you’ve tasted shop bought asparagus and hated it, don’t pass judgement till you’ve tried it very fresh.
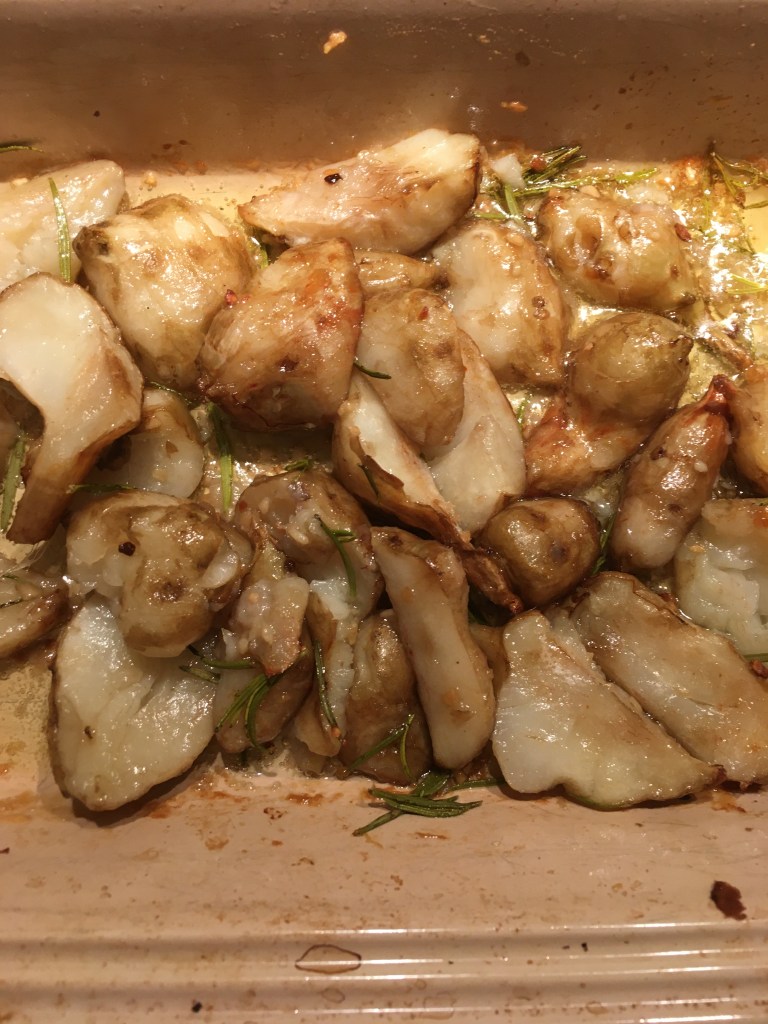
It tastes lovely and ‘clean’ blanched or steamed. If you sauté it or roast it, it develops a complex nutty flavour.
Purple asparagus is reportedly sweeter. We ate 2 spears of our Crimson Pacific last year and it was lovely, but I think we need another year with a bigger crop (and maybe to try a few more varieties) to really be able to compare.
Problems

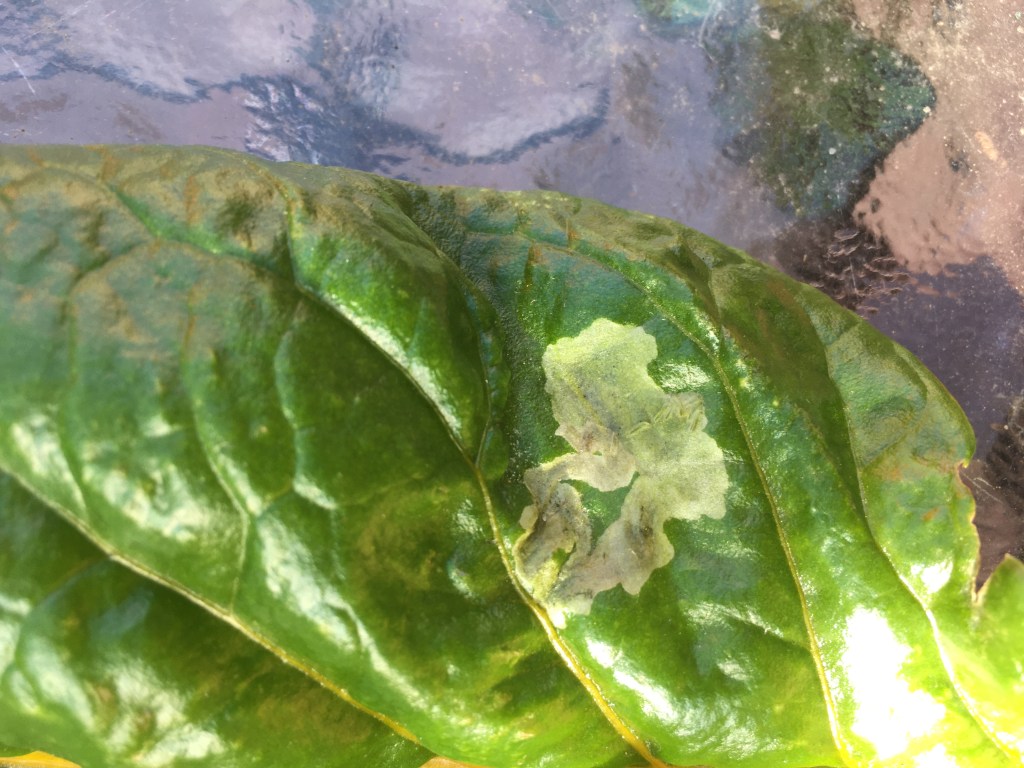
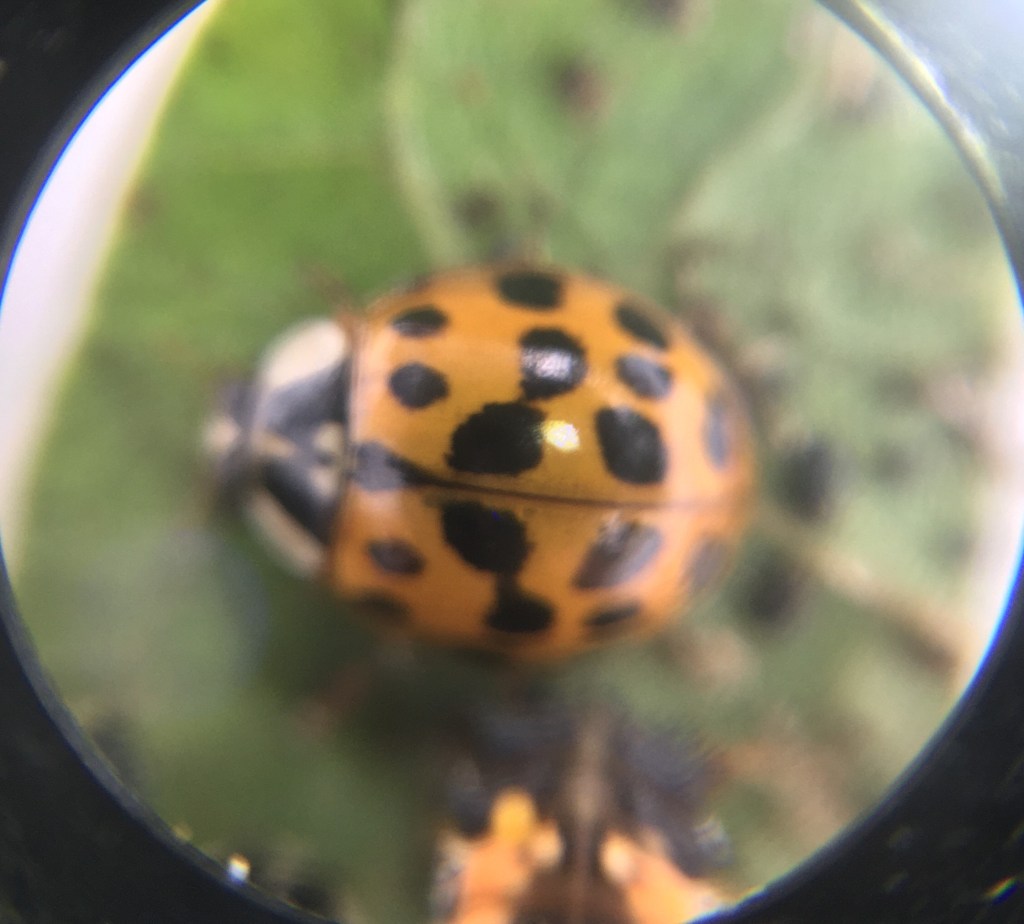
Slugs and snails can eat through the base of a spear, felling the entire thing. If you notice early enough you can still salvage the spear. Sometimes they nibble the tips causing the asparagus to curl. I haven’t done research on this, but I suspect this is because there are hormones all round the tips of growing shoots causing growth all around the tip at the same rate. When there are less hormones on one side there becomes uneven growth so one side grows faster than the other.
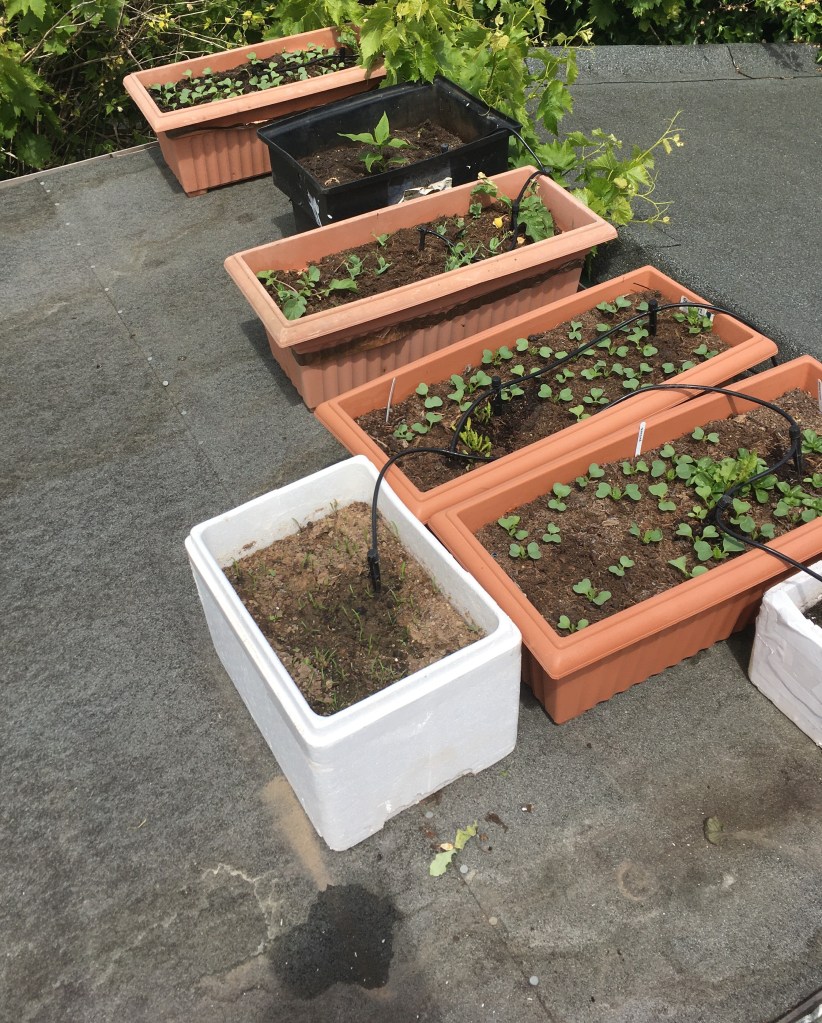
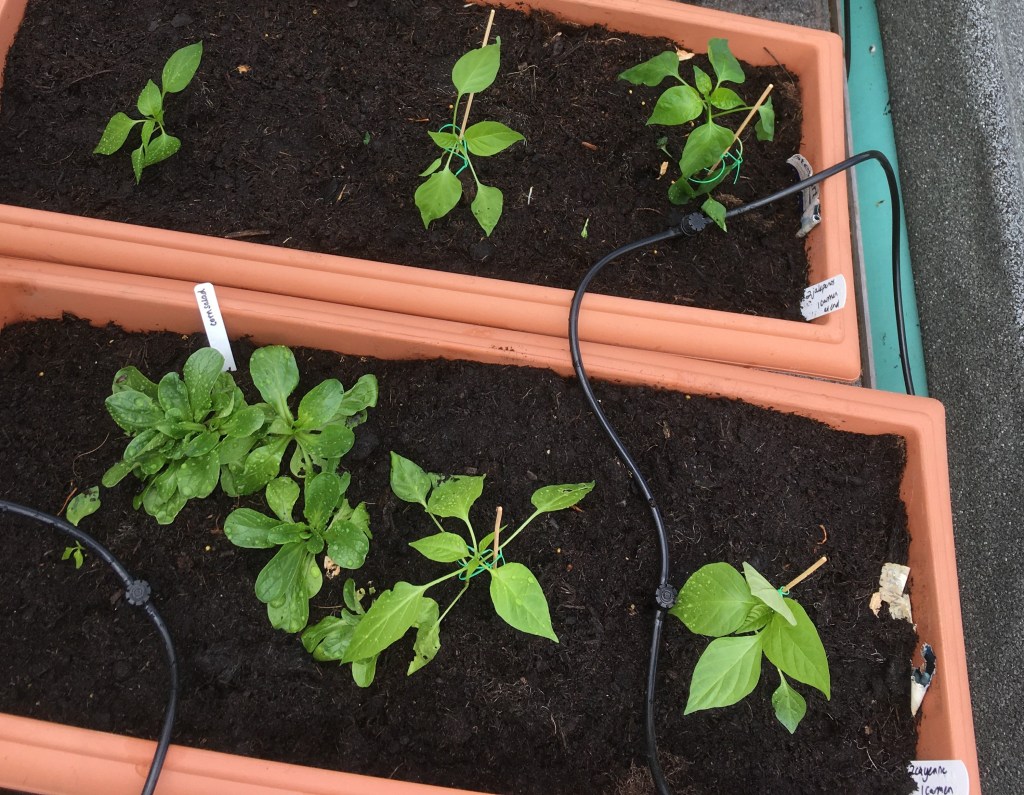
I suspect the biggest problem is actually me. Asparagus does not do well with competition so their bed should be weeded carefully by hand to avoid damaging the fragile roots. Impatience and lack of space in the small garden means that I am incapable of leaving the asparagus bed alone and I keep planting other edibles in and around them. They then compete for nutrients and then grow taller than the asparagus and shade it. Unfortunately I find it impossible to stop myself.